




gold
coin
easy
print
detailed
structure

- 0.2mm layer, 2 walls, 15% infill

1-disc
PLA
Designer

65

29
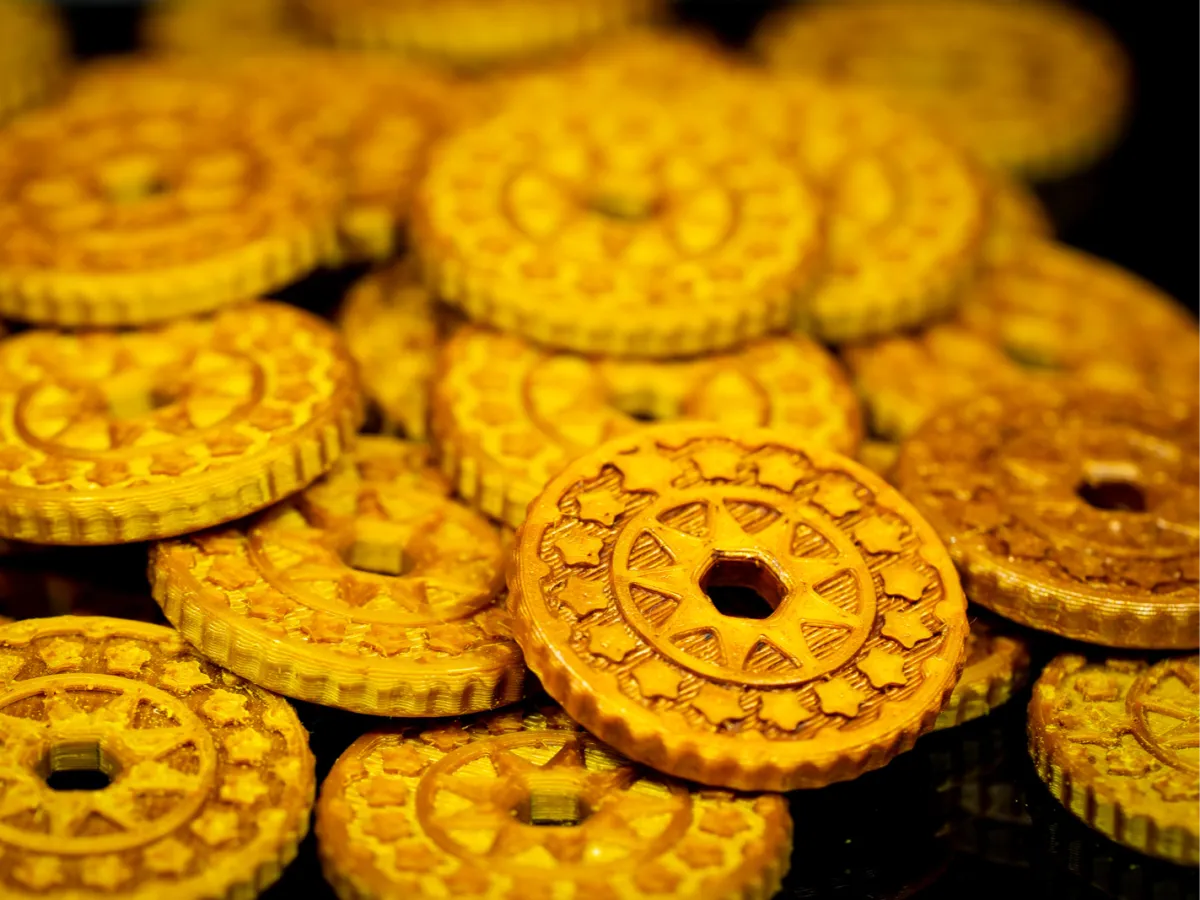
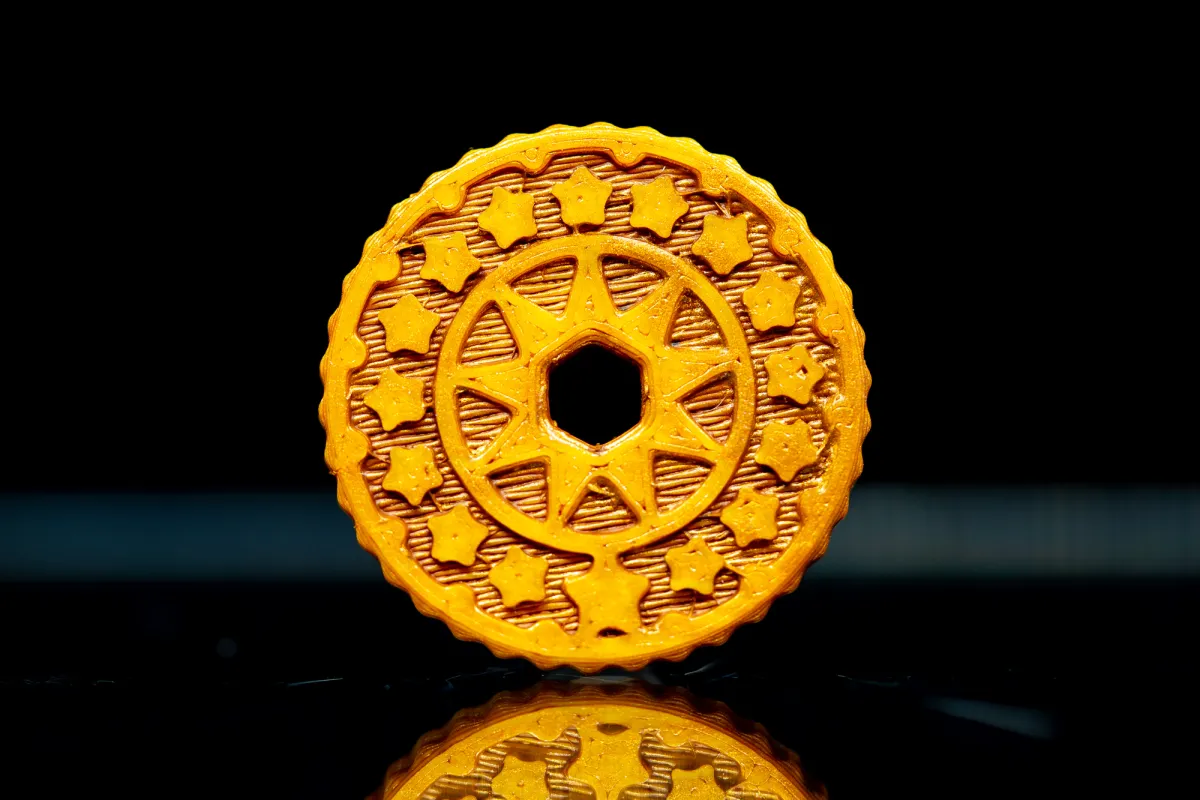
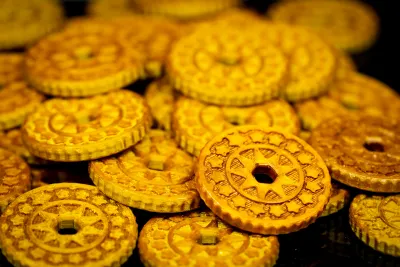
I designed this coin for games and as decoration for gifts. The coin has large details to be printed with most filaments. Also, they are placed so the coin can be easily printed without support.
Use single coins as a gift wrap decoration, or print plenty to fill a small treasure chest.
Postprocessing
Use the coins as printed, or make them even better with post-processing.
Remove Strings
First, use a heat gun to remove any strings left on the coin: Place the heat gun on a table so you can quickly move in and out of the hot air stream. Use pliers and be quick. If you use PLA, drag each side of the coin quickly through the hot air. This is usually enough to get rid of all the small strings that are left from printing.
Flatten the Rough Surface
While one side of the coin is already flat and shiny, the top layer usually has rough spots. Use fine sandpaper (~800 grit) and remove these rough spots from this side. If you take the coin in your hand, you will easily feel smooth and rough.
Paint the Coins with Gold Paint
For the best look, apply a thin coat of high-quality gold paint. I recommend “Maya Gold” from Viva (not a sponsor) or similar paints from this manufacturer. These paints have lots of pigments and reflective particles in them and give 3d prints an incredible shine and look.
Use gloves to paint the coins with a thin layer of gold paint. By holding the coins with a glove, you can easily paint them from all sides without leaving marks. Use the middle hole to hang the coins on a wire for drying.
Please do not use cheap paint, as it only has little pigment in it. Before using cheap paint, you better leave the coins as they are.
Weathering the Coins to Enhance Details.
After the gold layer is dry, mix a dark brown paint (like dark chocolate) and thin it with water until it is runny like milk.
Now, use a brush to apply the paint on each side of the coin, so it flows into every groove. Then use a paper towel to remove the paint.
If you are unfamiliar with these techniques, watch a video that explains how to “weather” a surface or create an “Antique Gold Patina”.
Explore More from Meti·kumi
Interested in my designs? Browse through my collection of 3D models:
👉 https://metikumi.com/3d-models/
Stay connected on social media for the latest updates and work-in-progress insights:
Originality of the Model
The author declares that this work is their personally original model
This model is licensed under the following terms:
Credit must be given to the creator
Models(1)
- LR2287.3mfDesigner

450.68 KB

2025-11-14


