




mod
fan
carbon
noise
heated
centauri
chamber
heatedenclosure
recirculation

- 0.2mm layer, 3 walls, 20% infill, snug supports

3-disc
ABS
Designer4(1)

1.1k

90
Updates over on Printables: https://www.printables.com/model/1452398-elegoo-centauri-carbon-air-recirculation-mod
About air recirculation mod
Keeps recirculating air inside the chamber.
Reduces noise significantly. Better print quality*
First off I want to thank Synthetic Electron 3D for the original idea and Robert Samples for the CAD model that I used for fan and starting measurements.
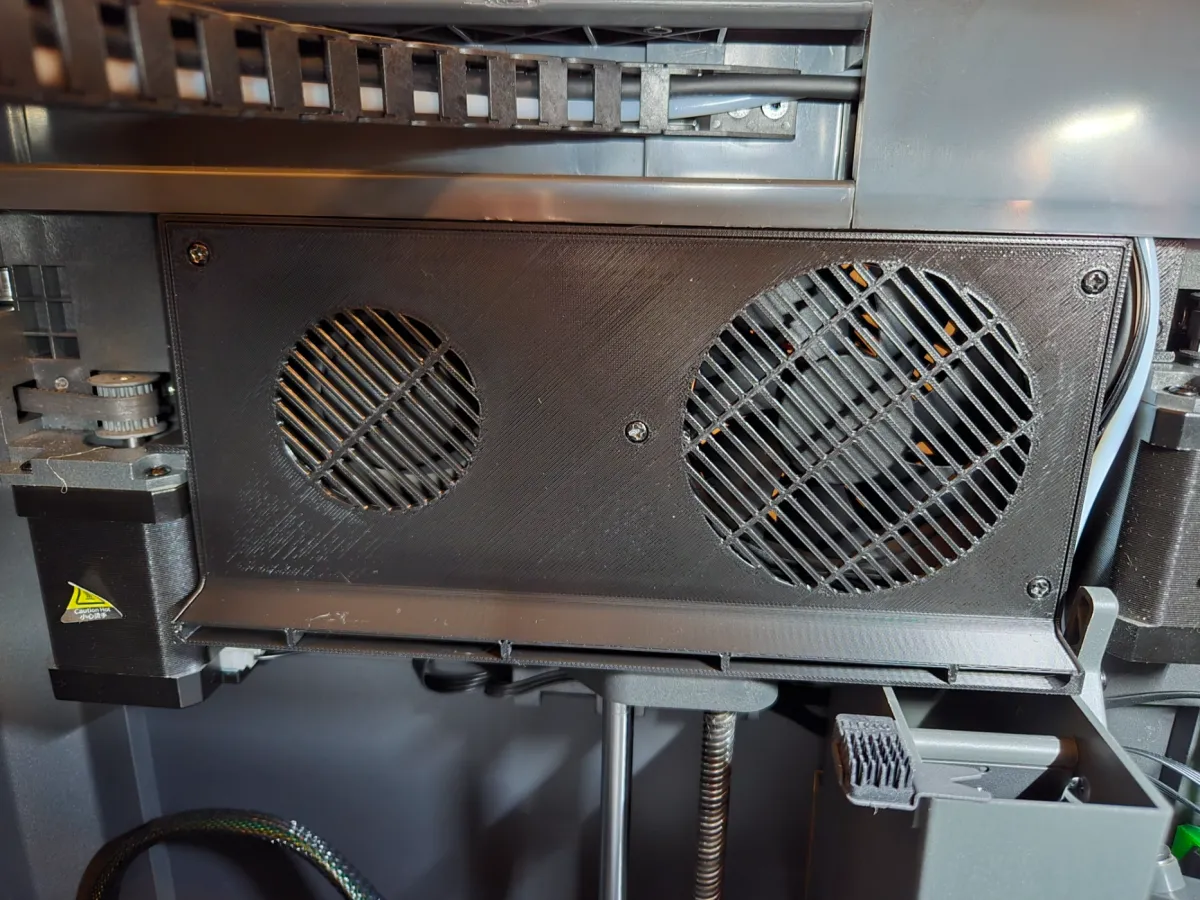
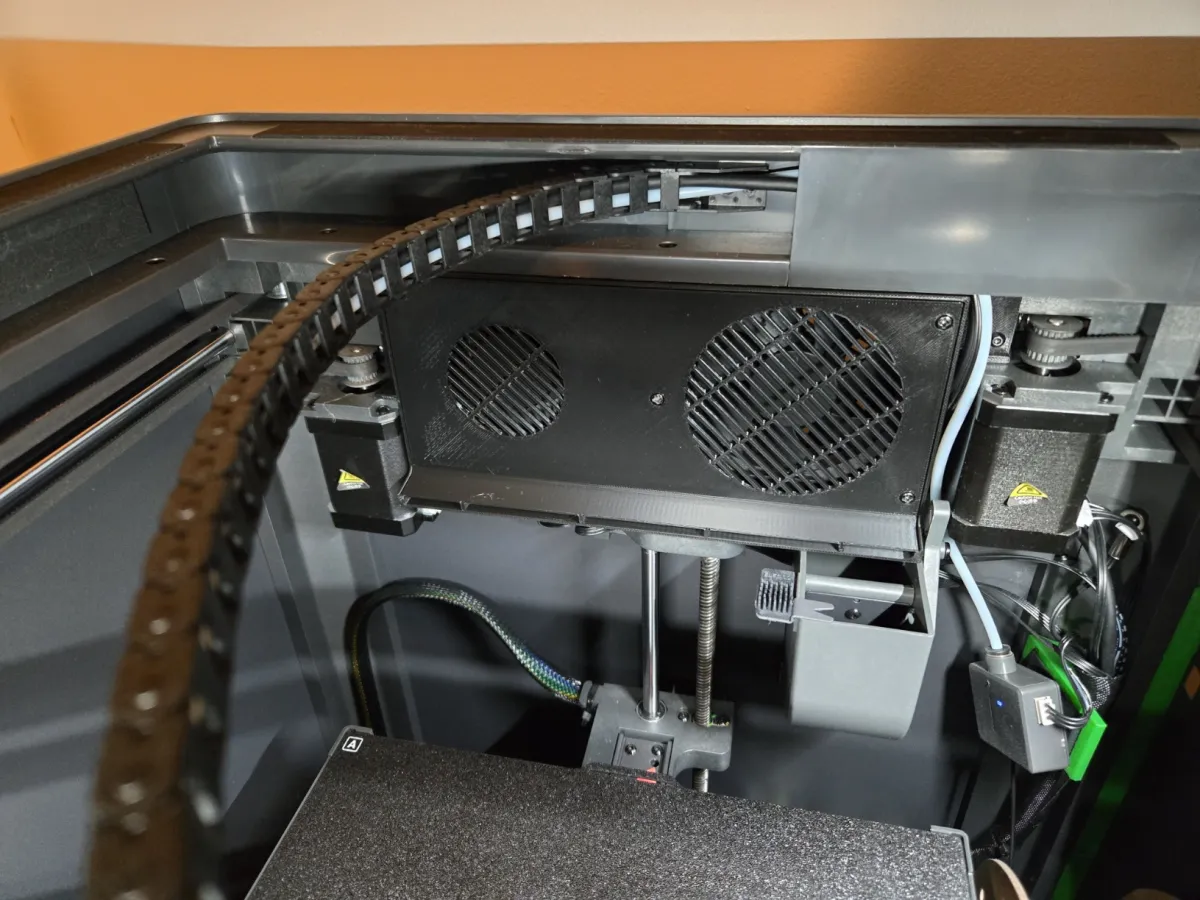
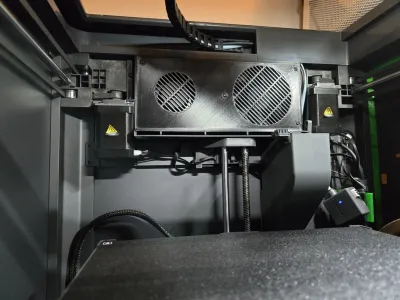
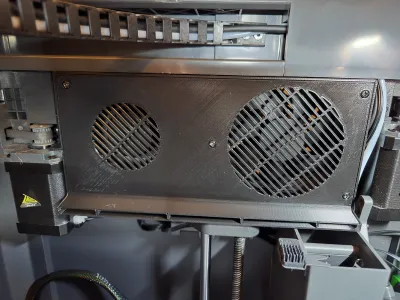
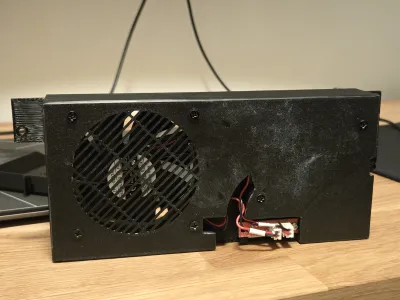
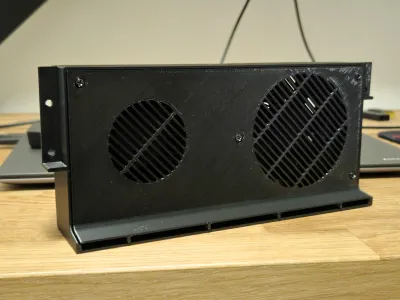
This is a auxiliary fan recircluation mod for Elegoo Centauri Carbon printer. What it does is turn the fan 180 degrees to recircluate air inside the chamber rather than suck in colder fresh air outside the printer.
My main goal was to retain as much of the original look of the fan enclosure and reuse original screws for the assembly.
What benefits come from recirculating the air then? Basically the chamber retains heats better and *reduces warping on engineering filaments when the print is not blasted with “cold” ambient room air. Consequently turning the fan around and closing the inlet air hole reduces the noise significantly too.
Most likely there is no benefit or downside for PLA printing but you still get the noise reduction that most seek after.
You can use the original filter with this mod and it is recommended.
Fusion360 file is available in the downloads!
Instructions
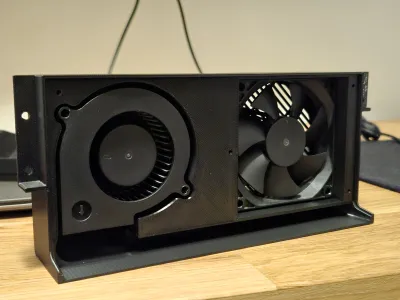
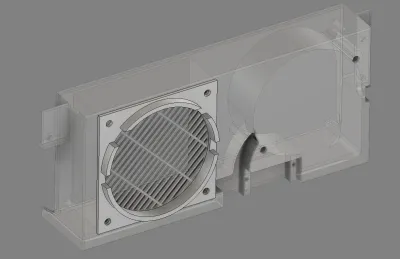
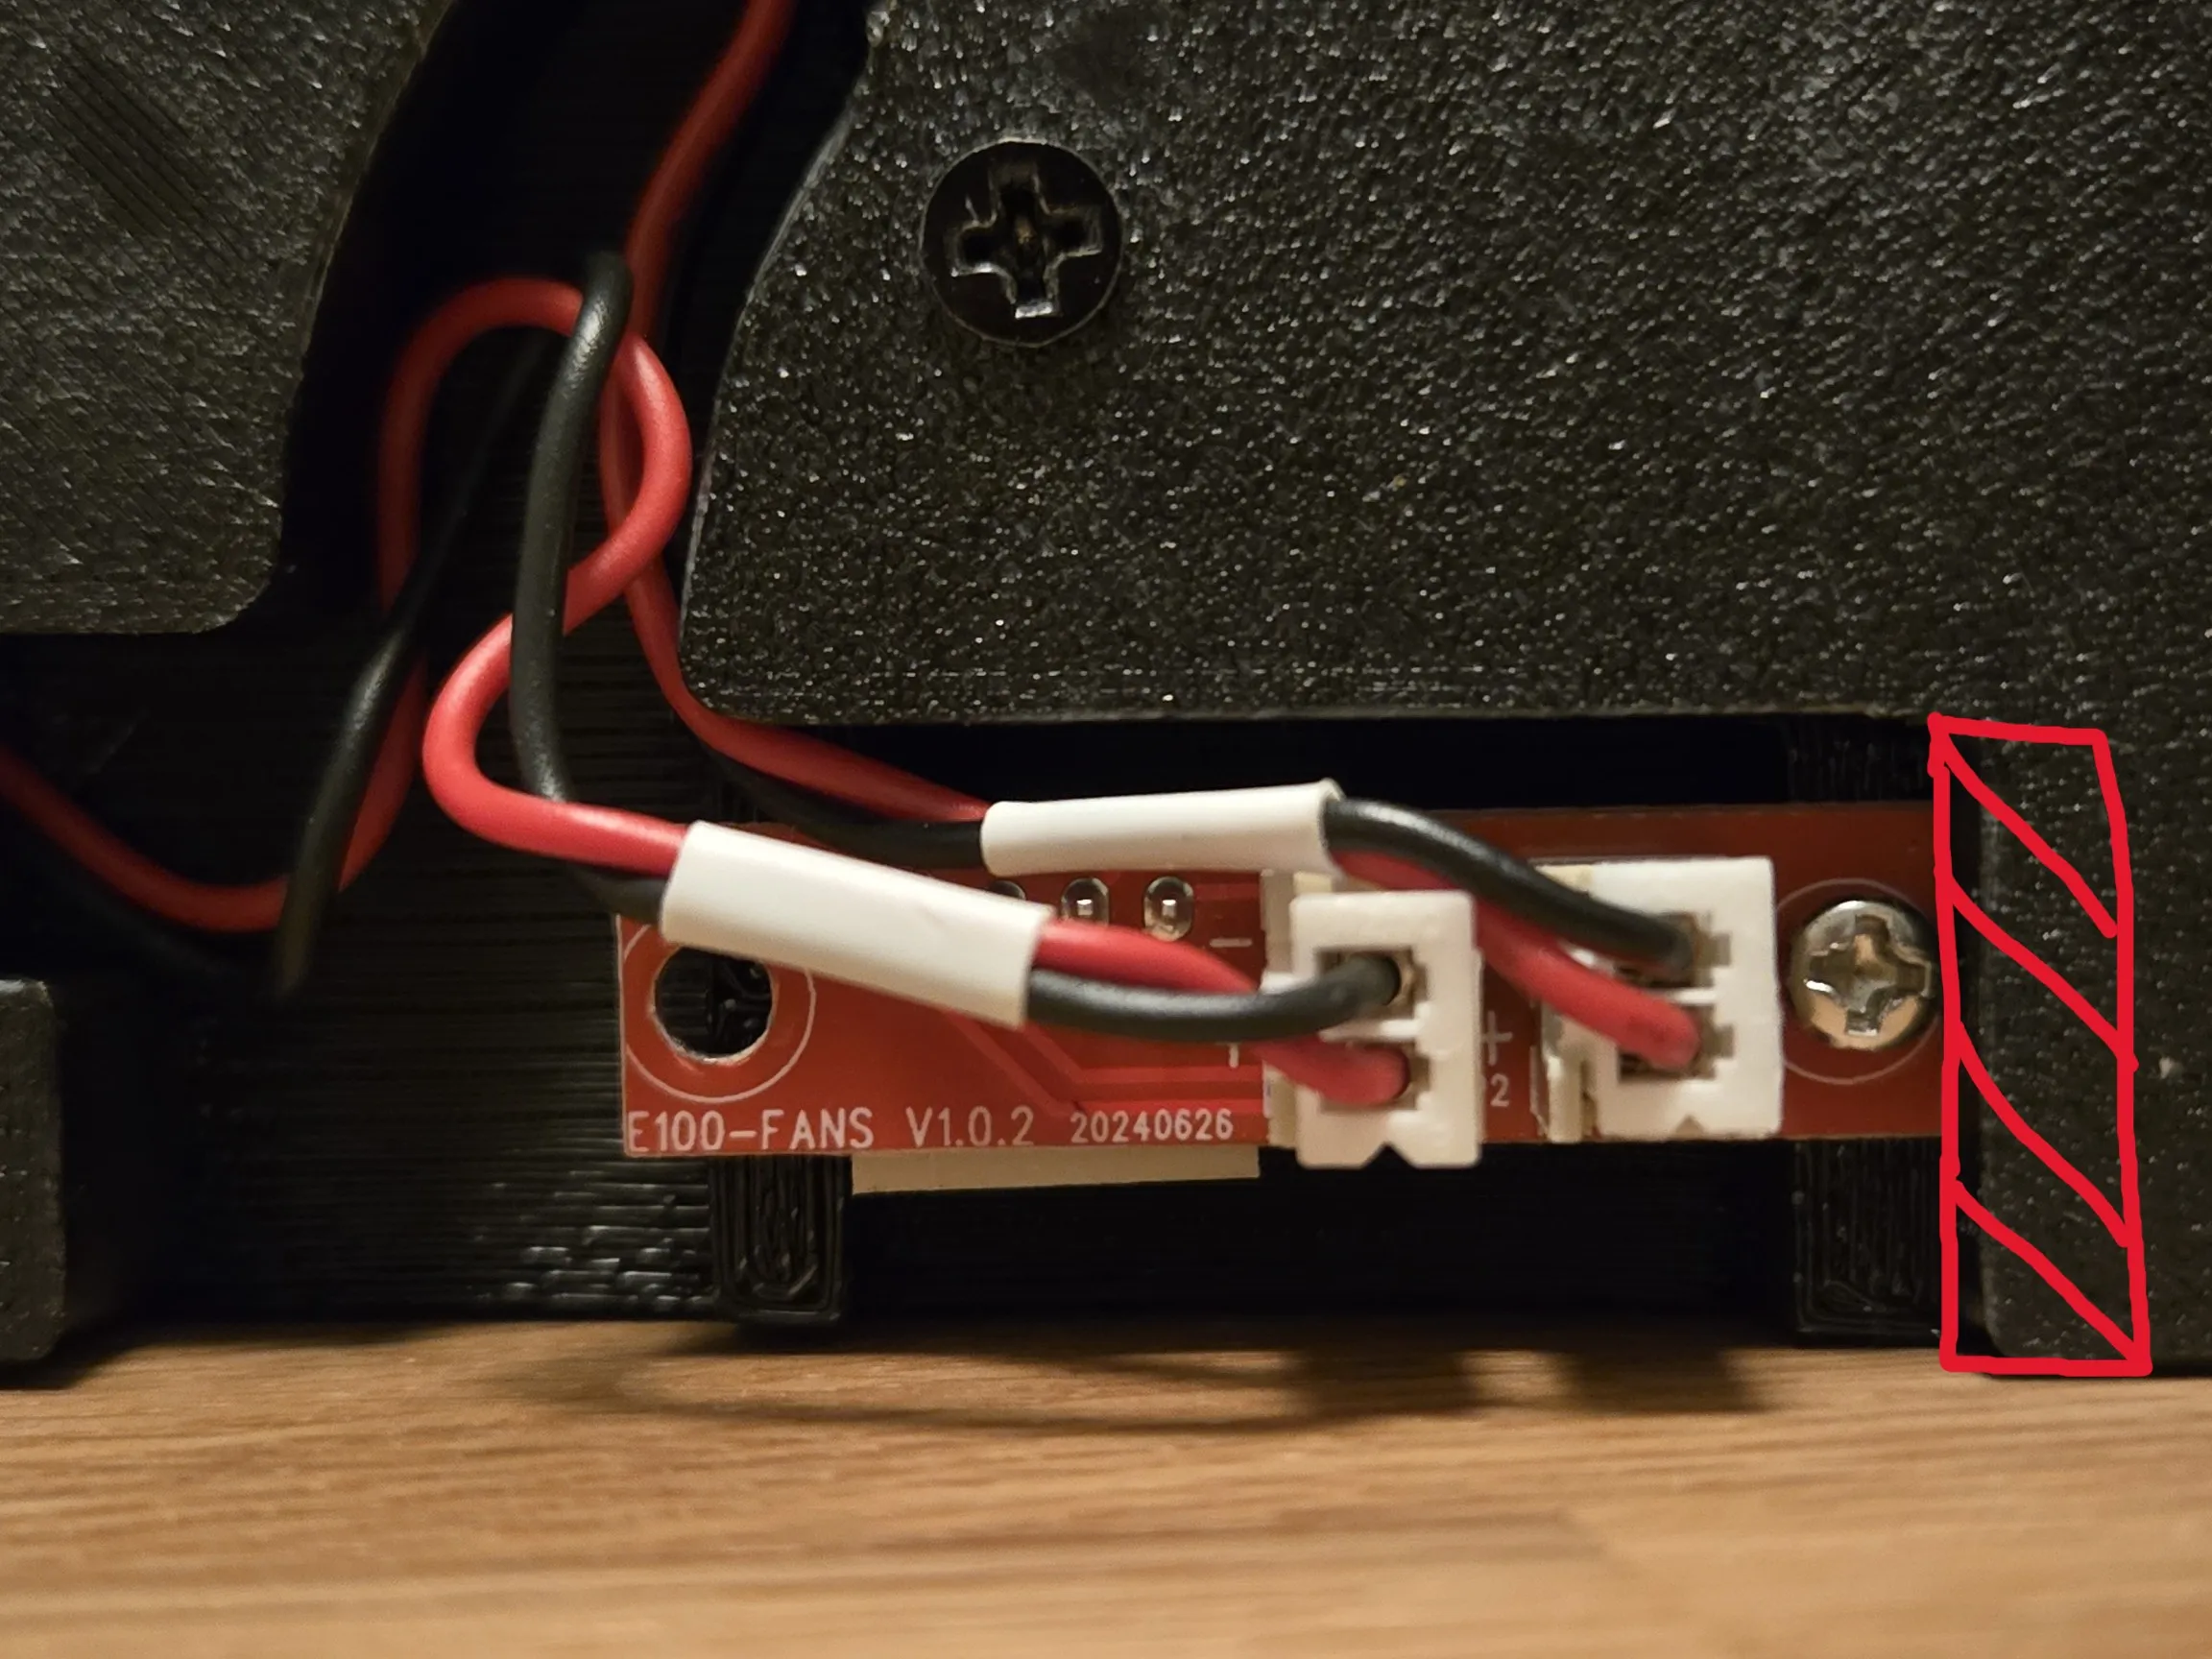
- Unscrew three hex screws and carefully remove the enclosure. Remove the cable once you have detached the enclosure as it is easier to unplug the cable once you can turn the enclosure on its side. You can see the cable connector in 4th picture so you get an idea what to expect.
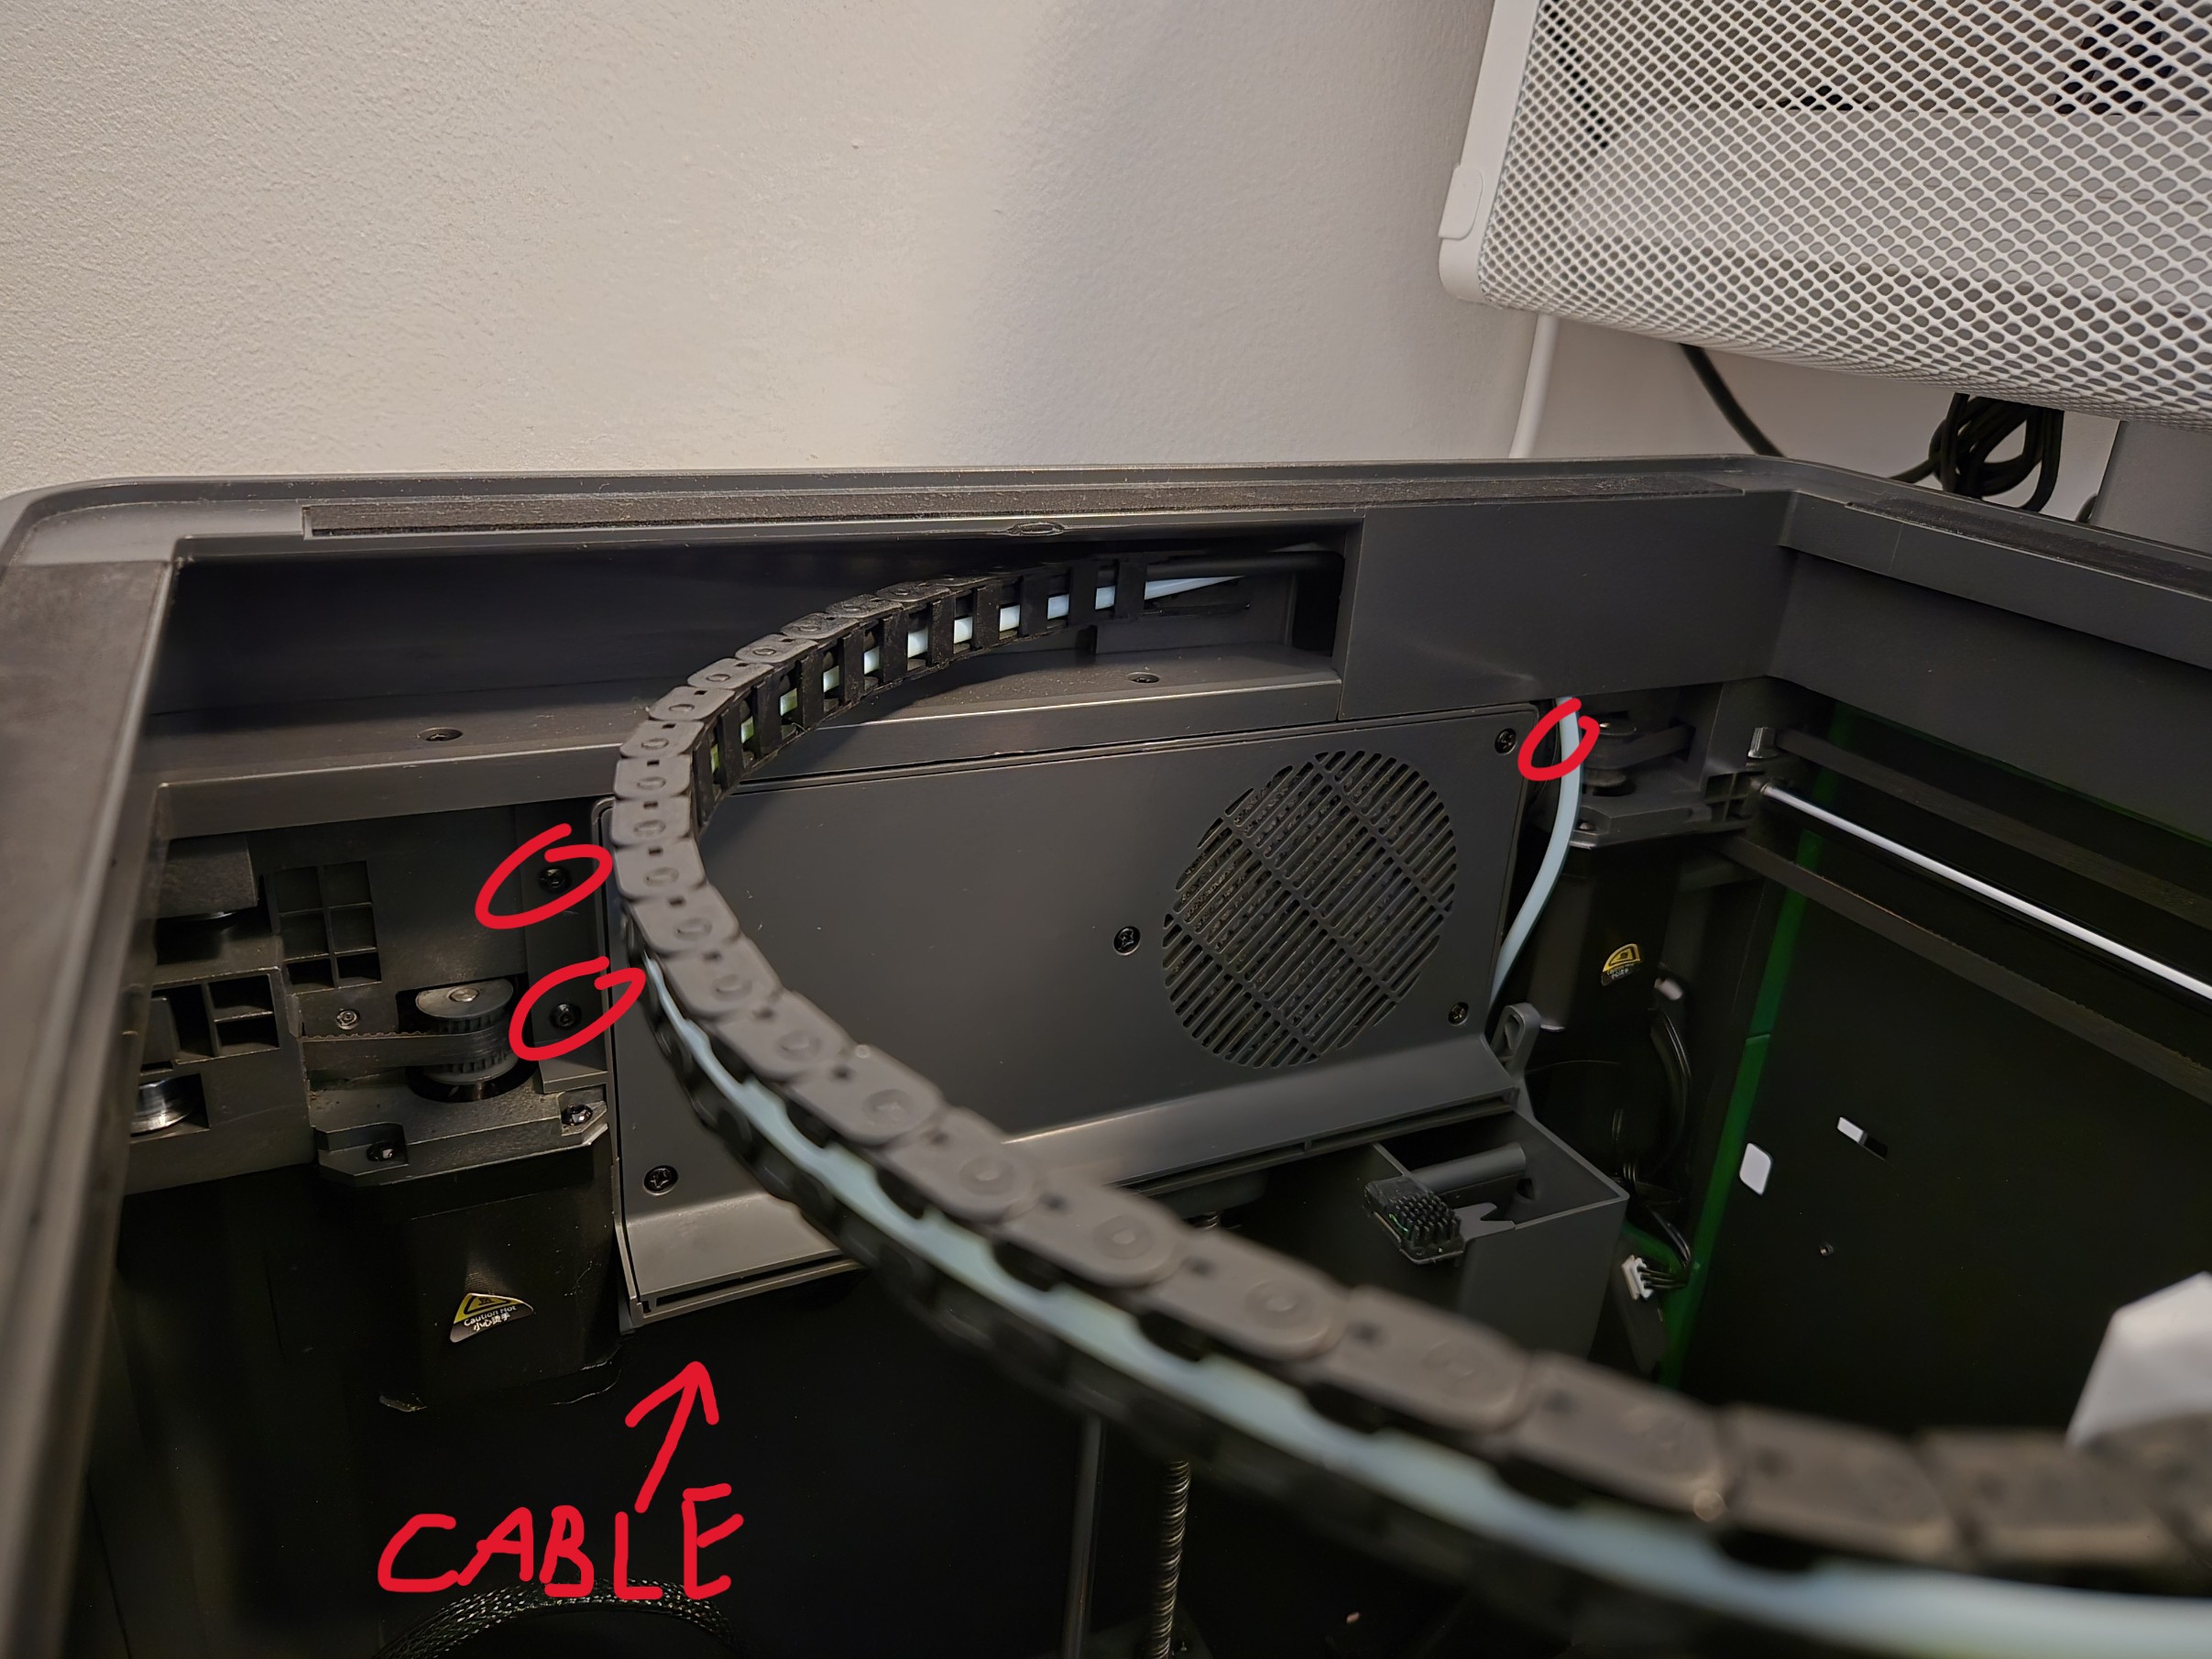
- Unscrew the cover screws:
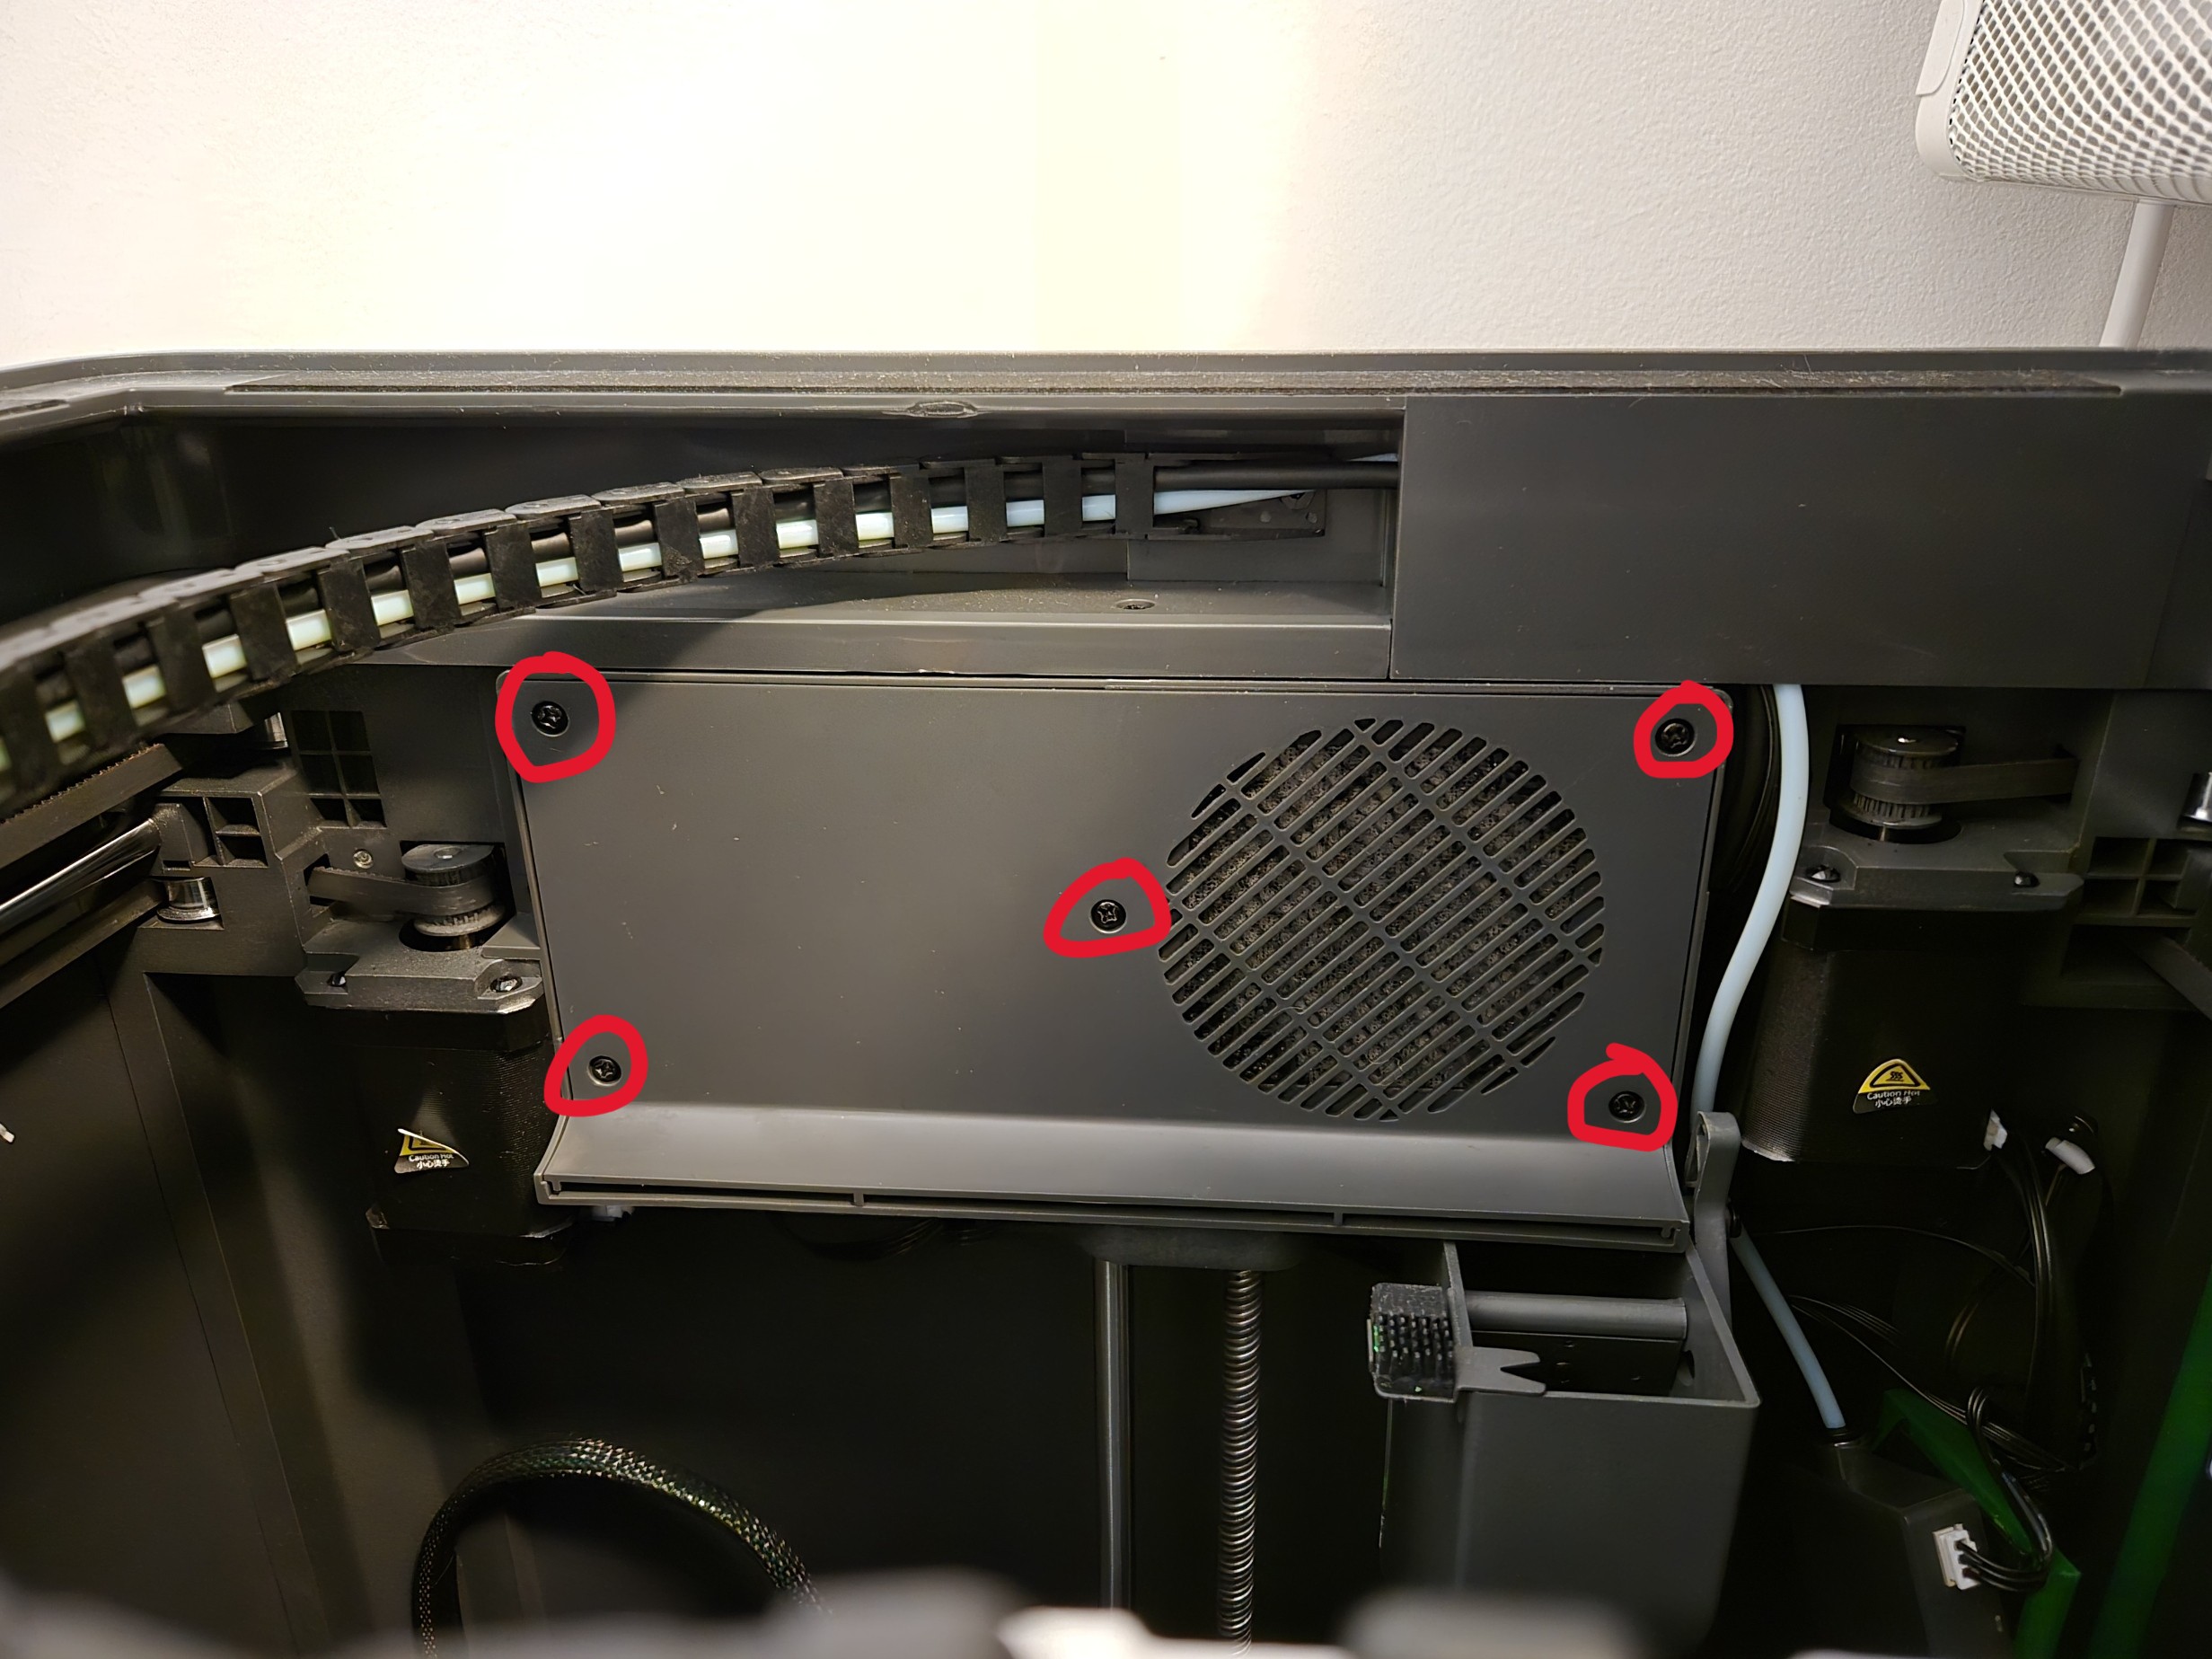
- Save the filter for later as it is intended to be used in the mod.
- Unplug the fans from the pcb and unscrew the pcb:
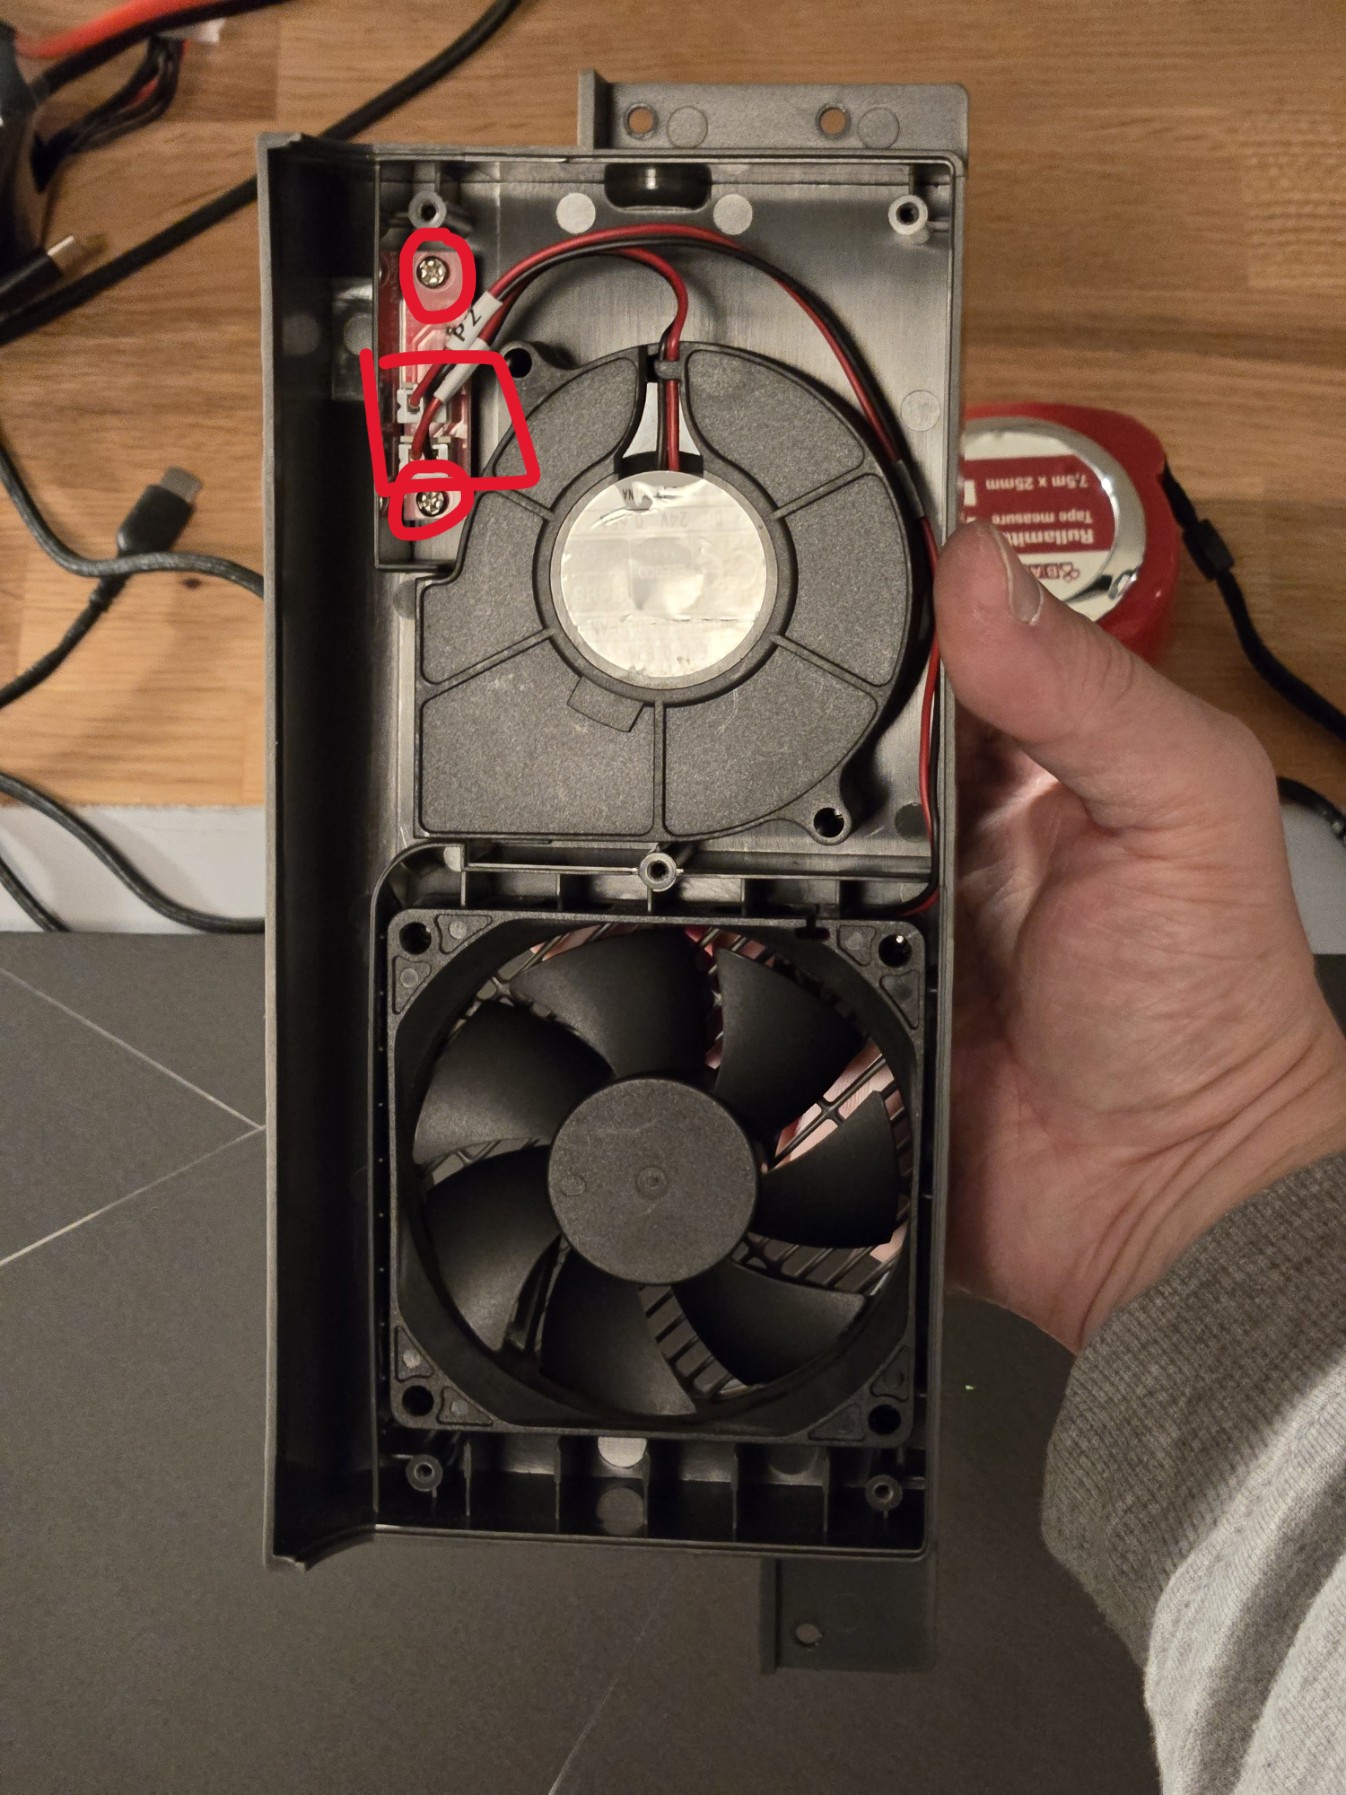
- Remove the fan screws and take out the fans:
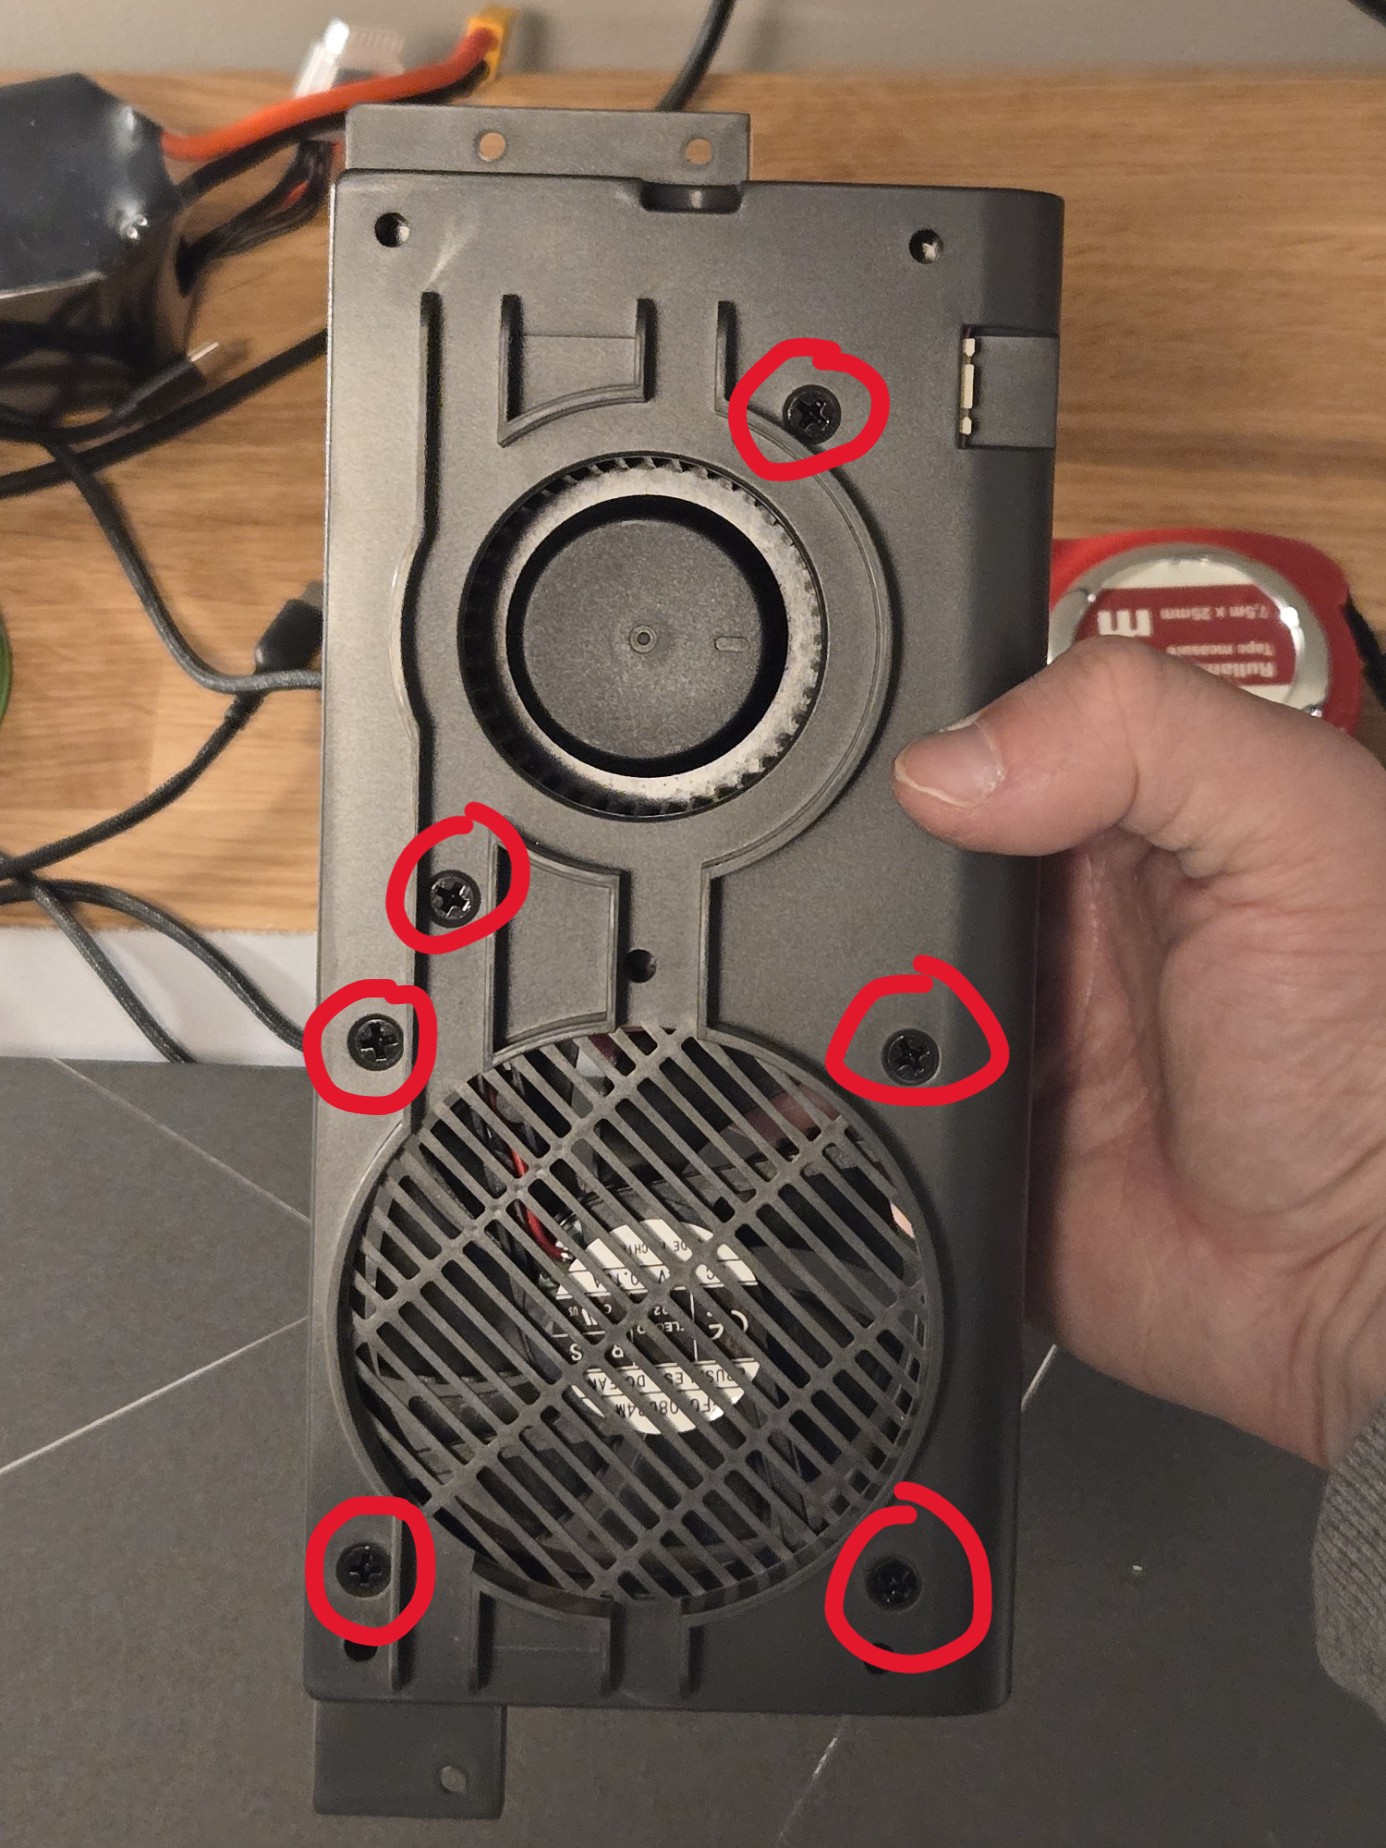
- Install the pcb behind the housing where the are two screw holes (might be covered in supports after print). The original screws self thread so the might be a bit tedious to get started in the small holes.
Tug the wires in the channels.
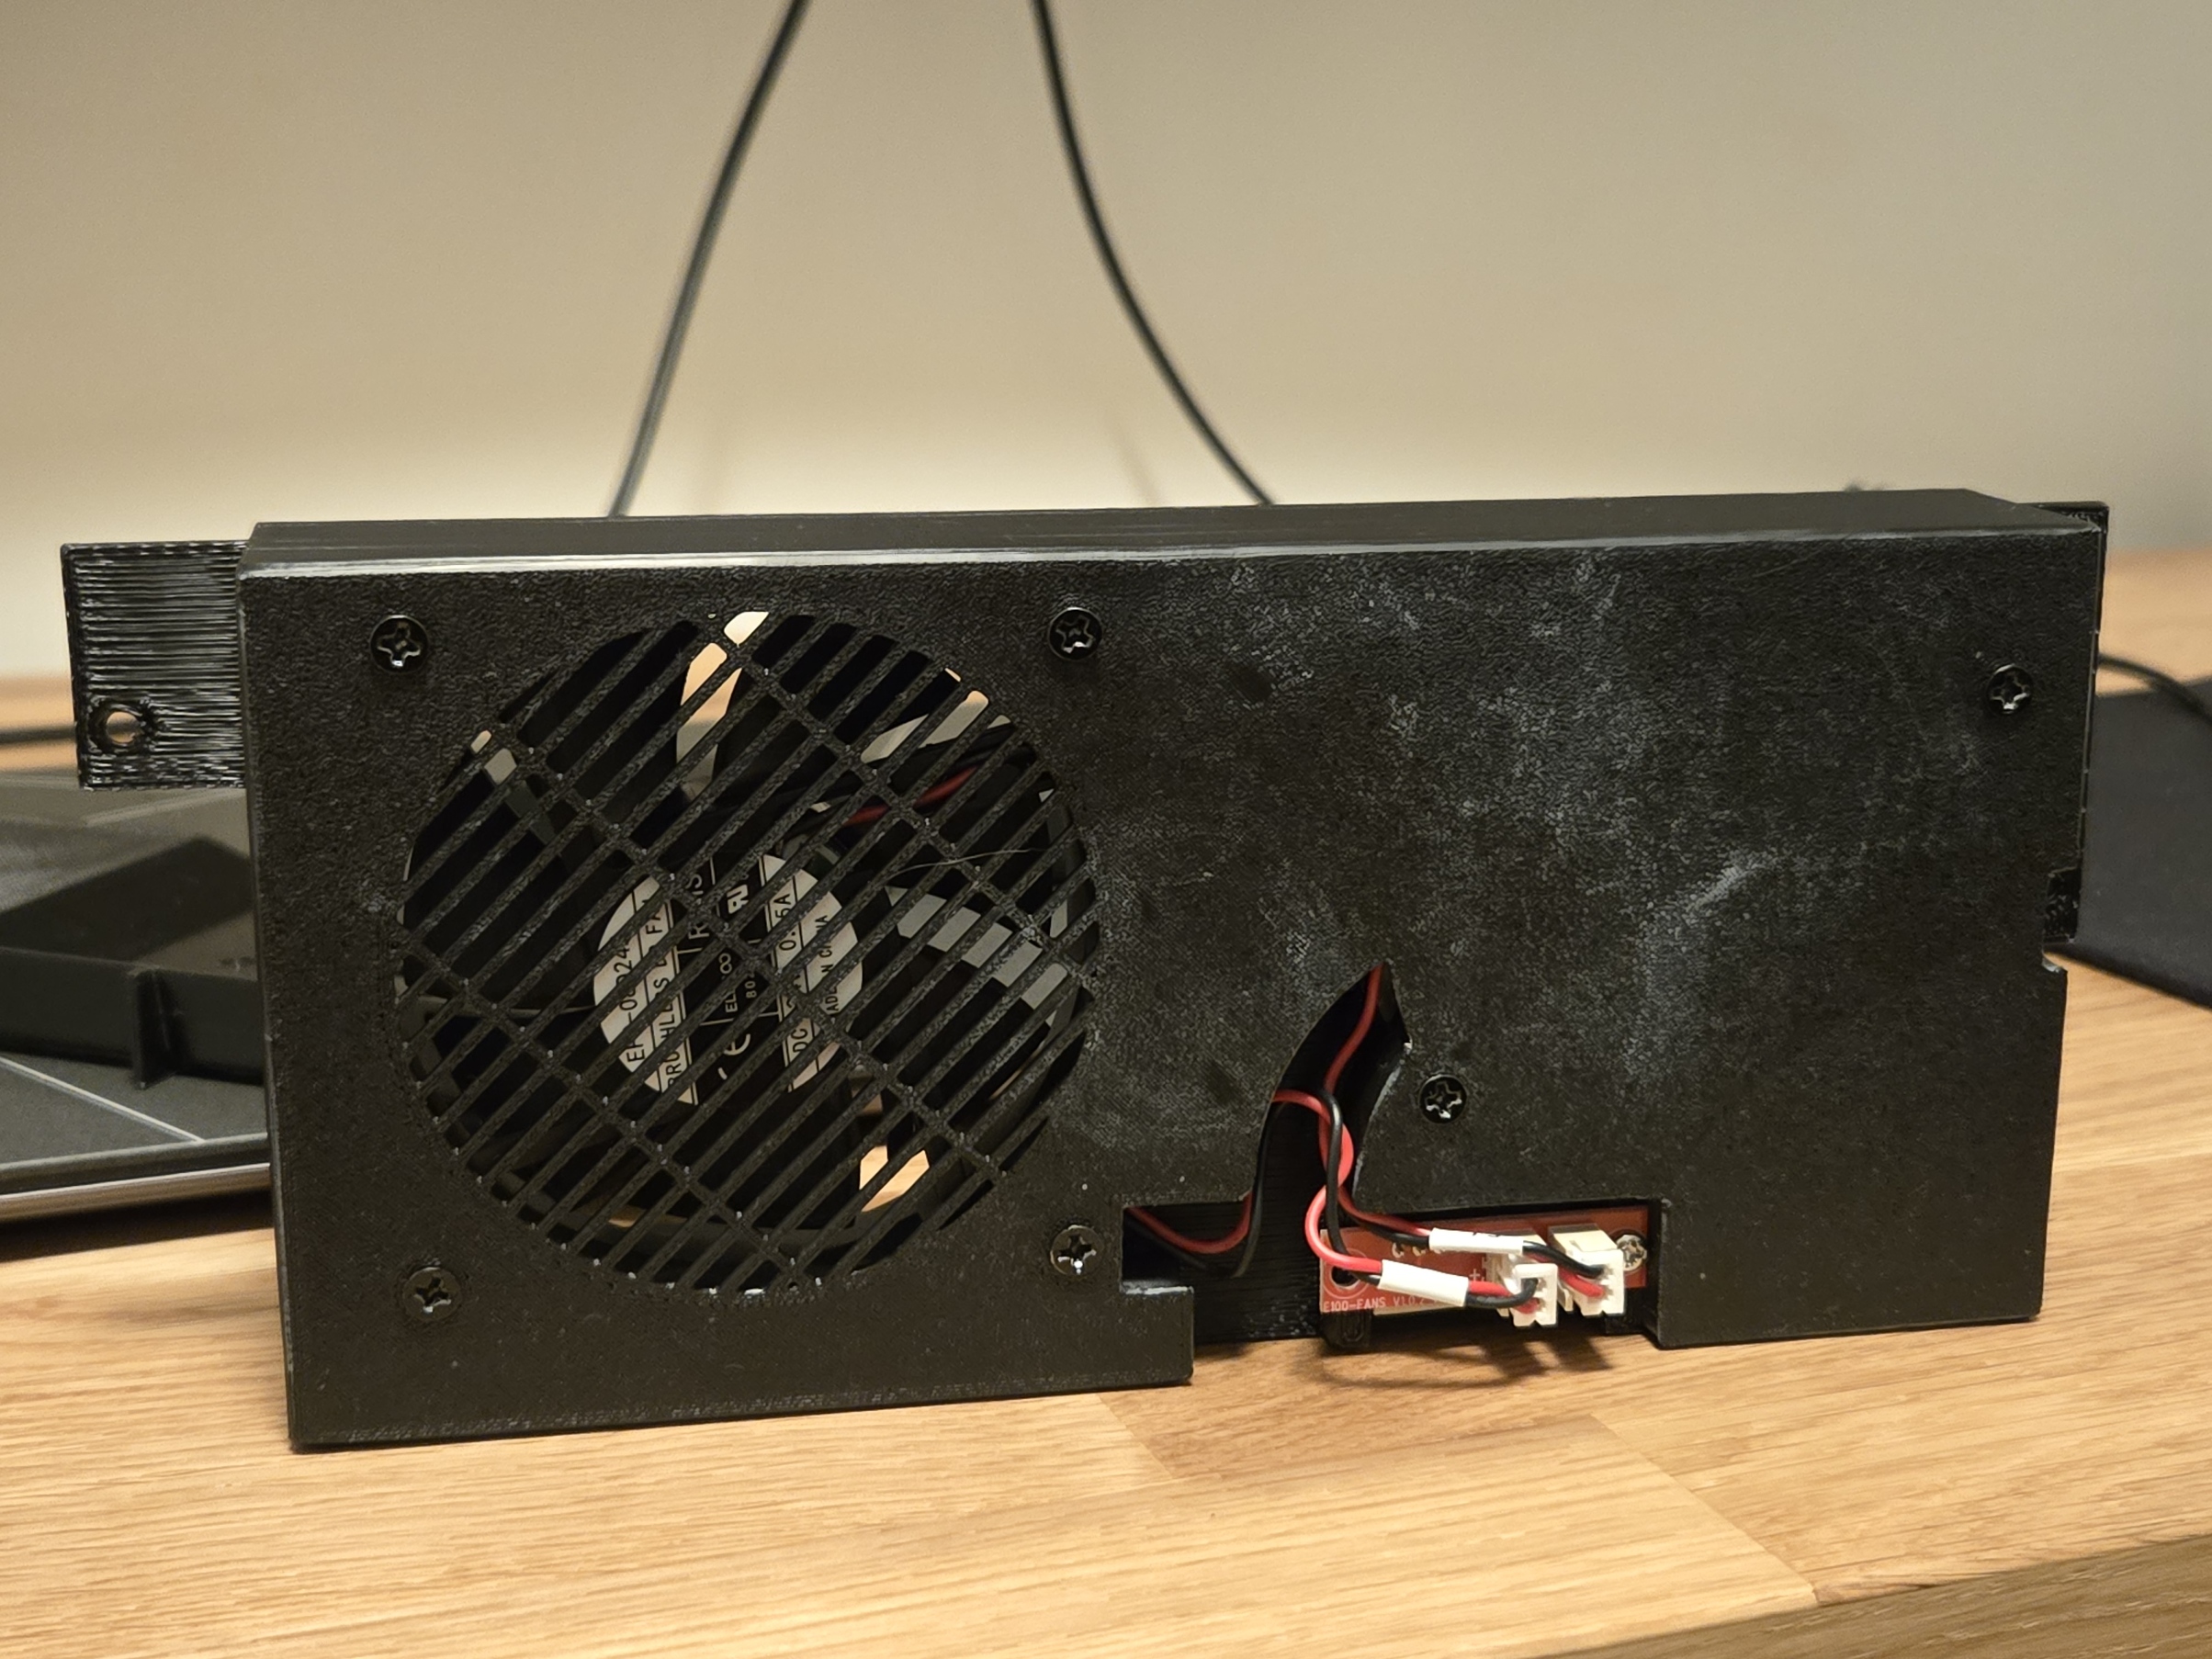
- Then go backwards these instructions to complete the installation.
Things worth mentioning
- When installing the enclosure back into the printer, be carefull with the plug that connects the fans as I have noticed it is finicky about its position and even small pulling of the cable can cause fan not spin.
- A small tip is to have power on and from the printer UI set the fans to spin while you set the enclosure back to its hole seeing if either fans stops spinning.
Gently push the connector in if either fan fails to spin. - Avoid pinching the cable against the bed support piece and fan enclosure:
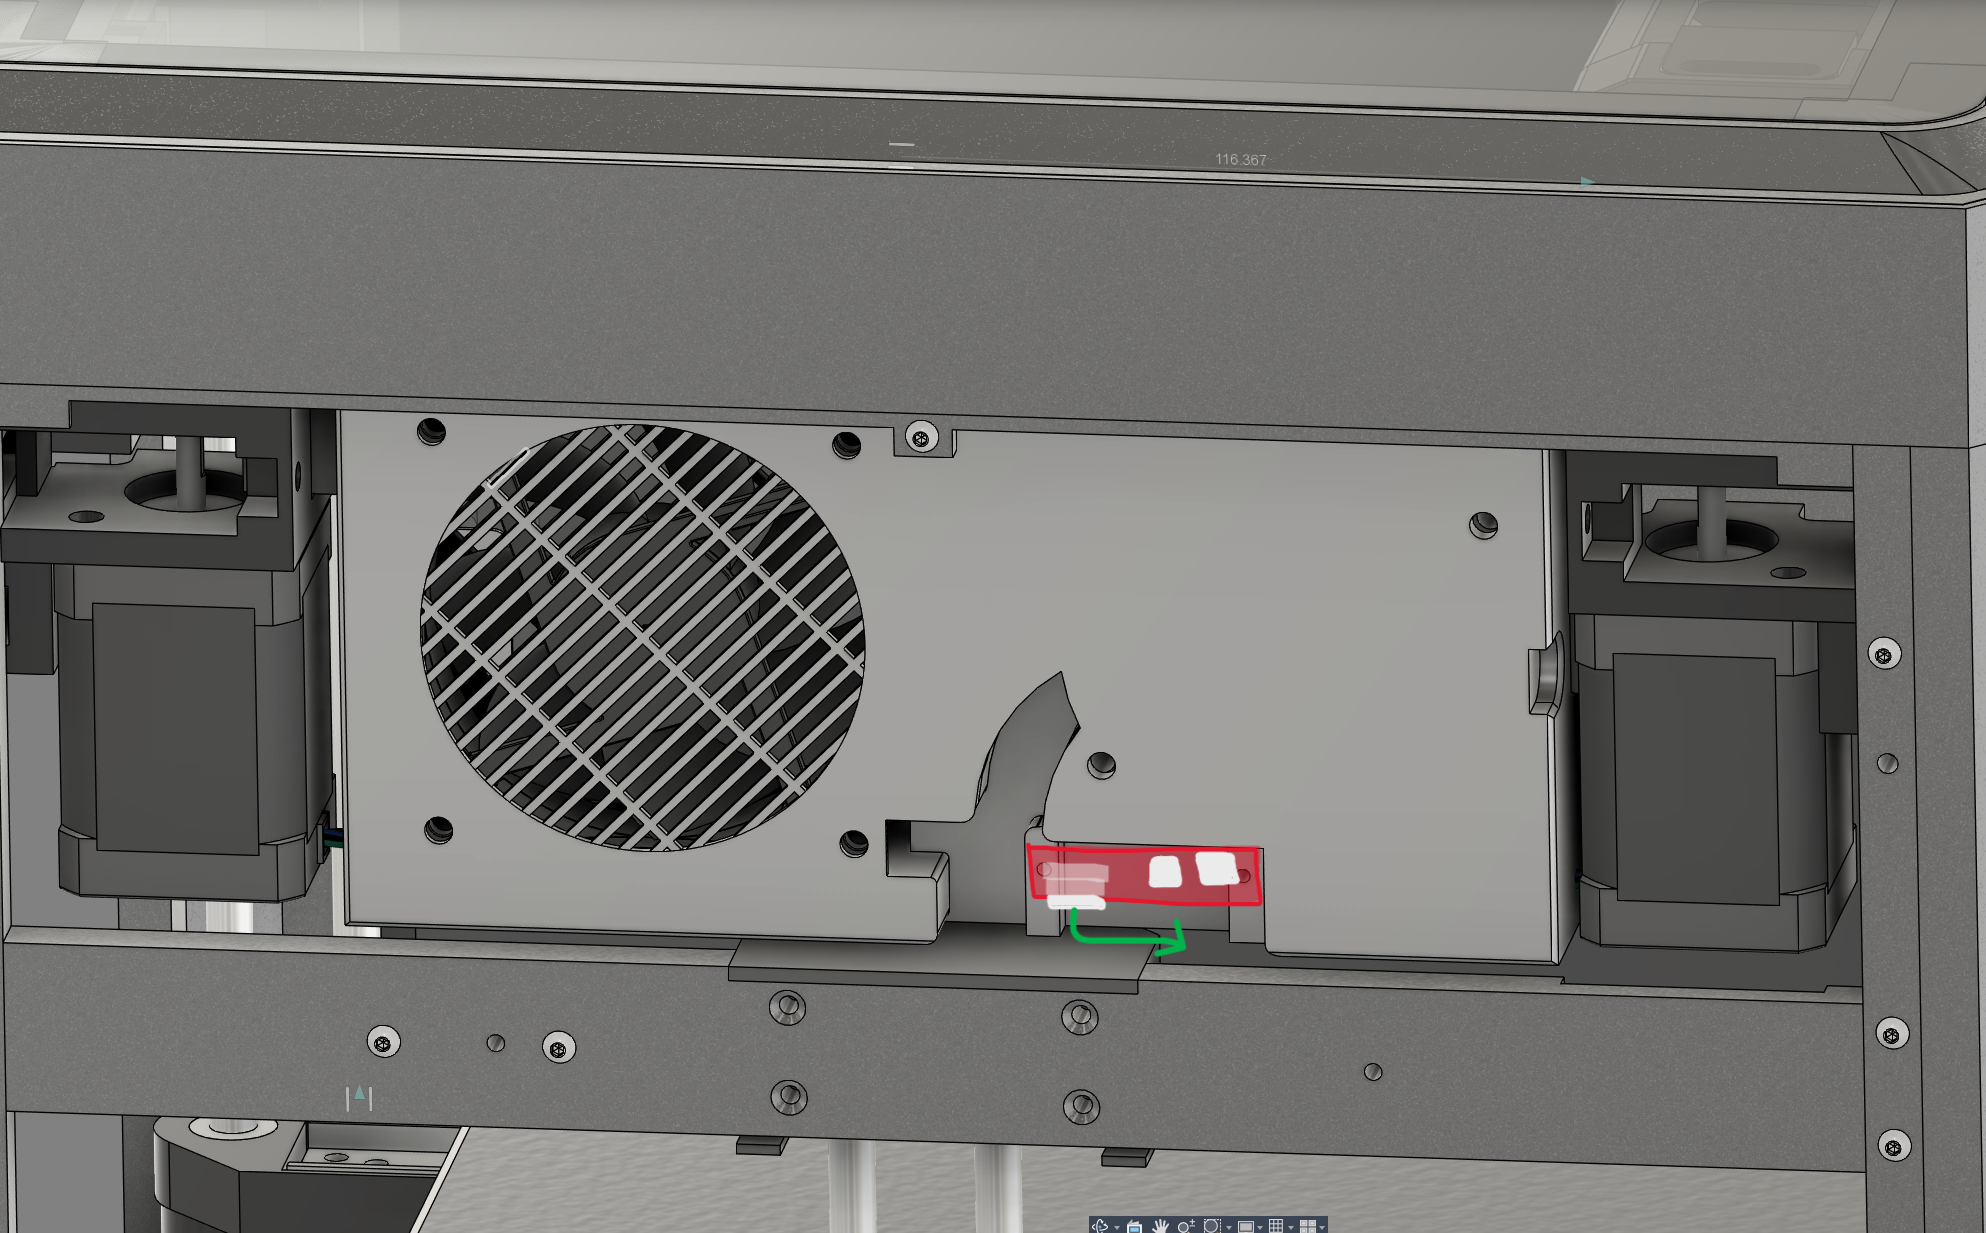
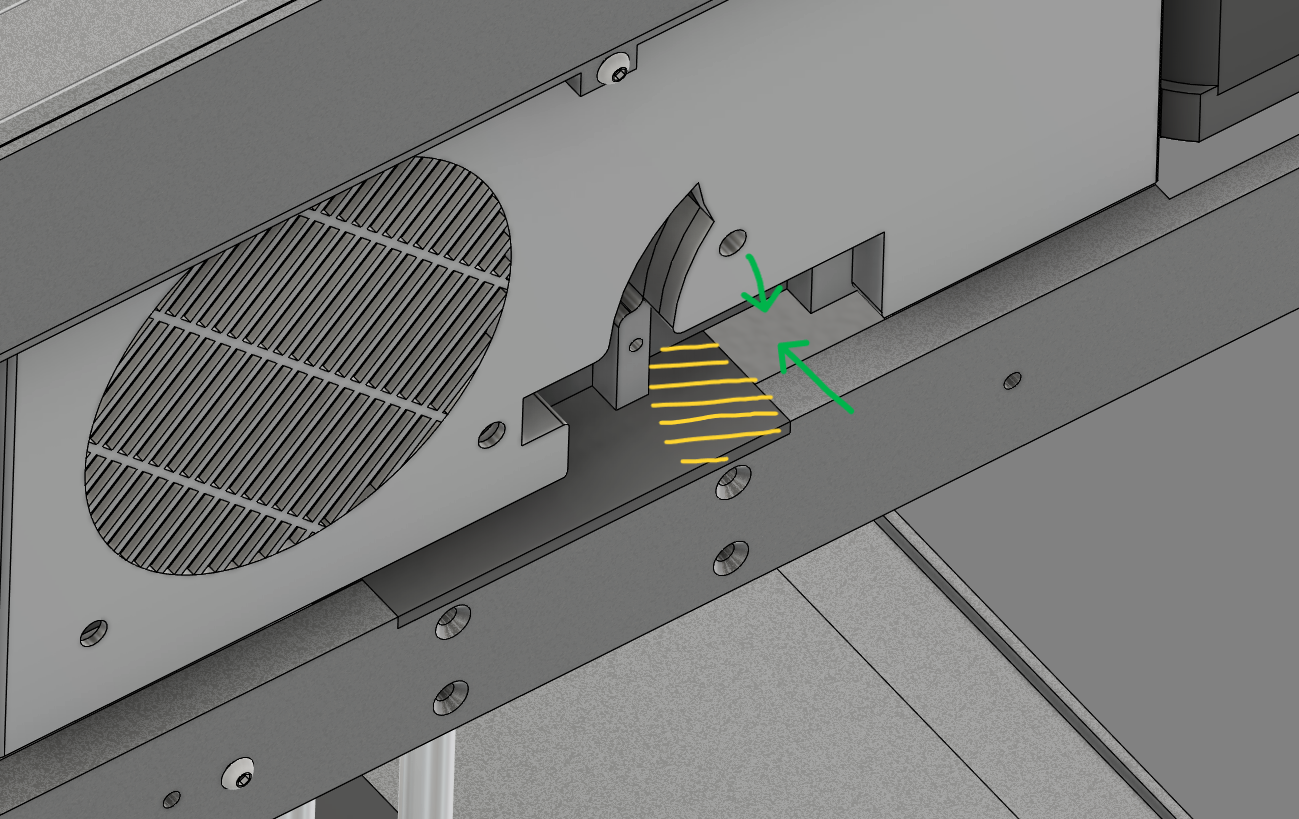
If you cannot get the cable to route without pinching it between the support, open the back panel to get easier access and direct sight to complete the step. - The original filter has a snug fit but should not interfere with the case fan blades. If you don't want to use the original charcoal filter, please use mods that provide fume filtering. Also, consider looking into hepa filtering mods.
Printed parts
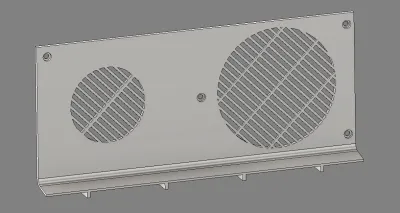
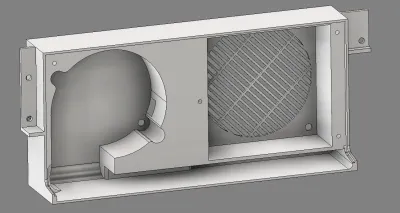
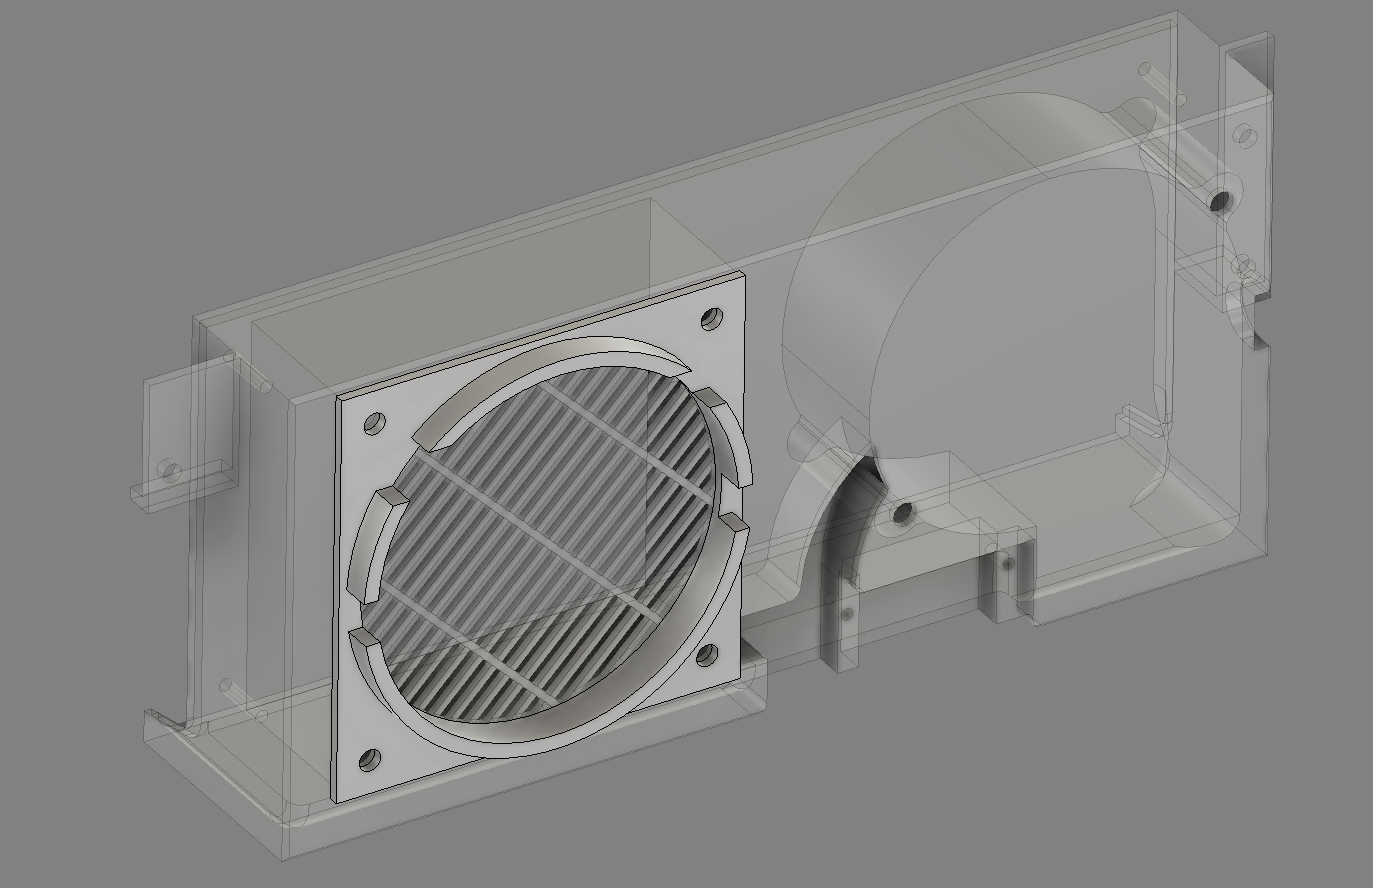
- Housing
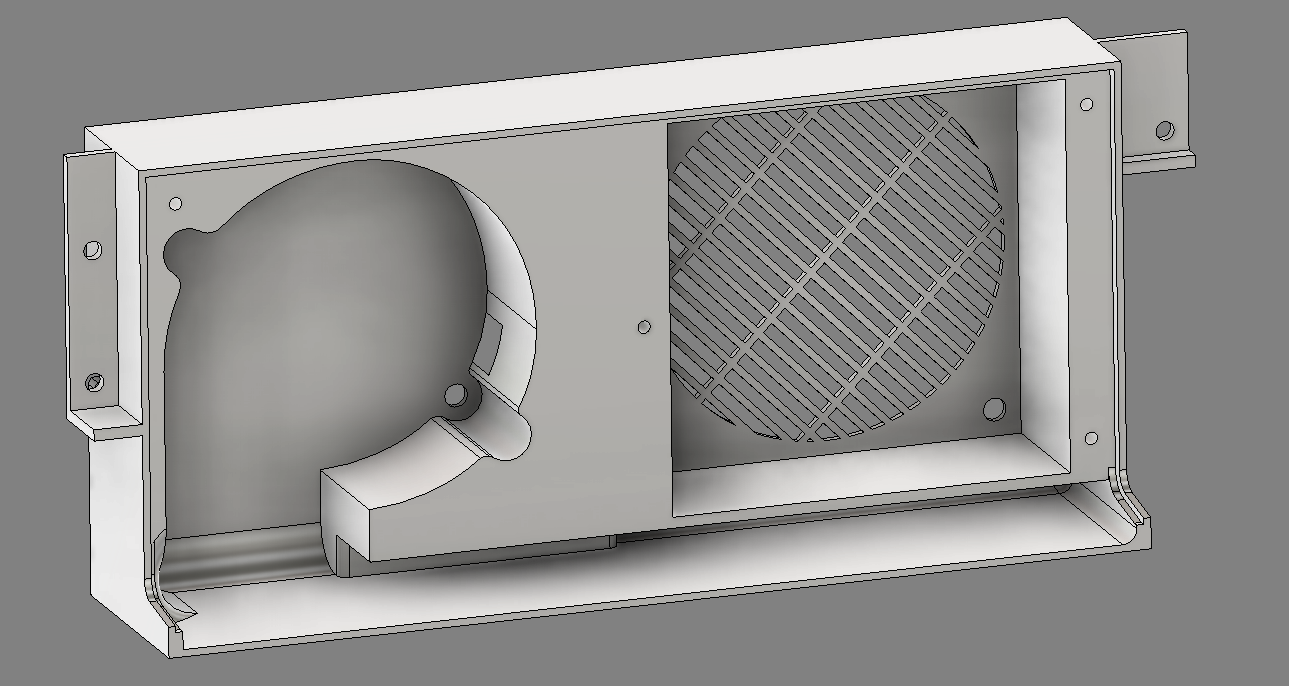
- Cover
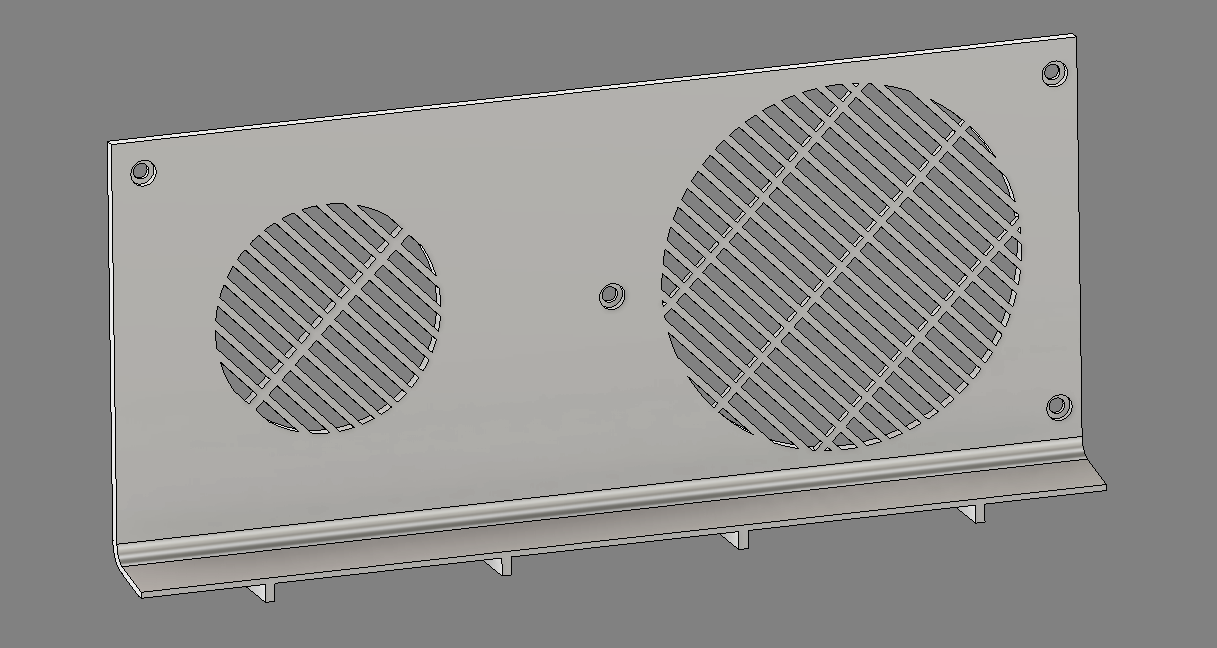
- Case fan duct (optional).
Print orientation and printing
This is how the parts are meant to print to minimize overhangs.
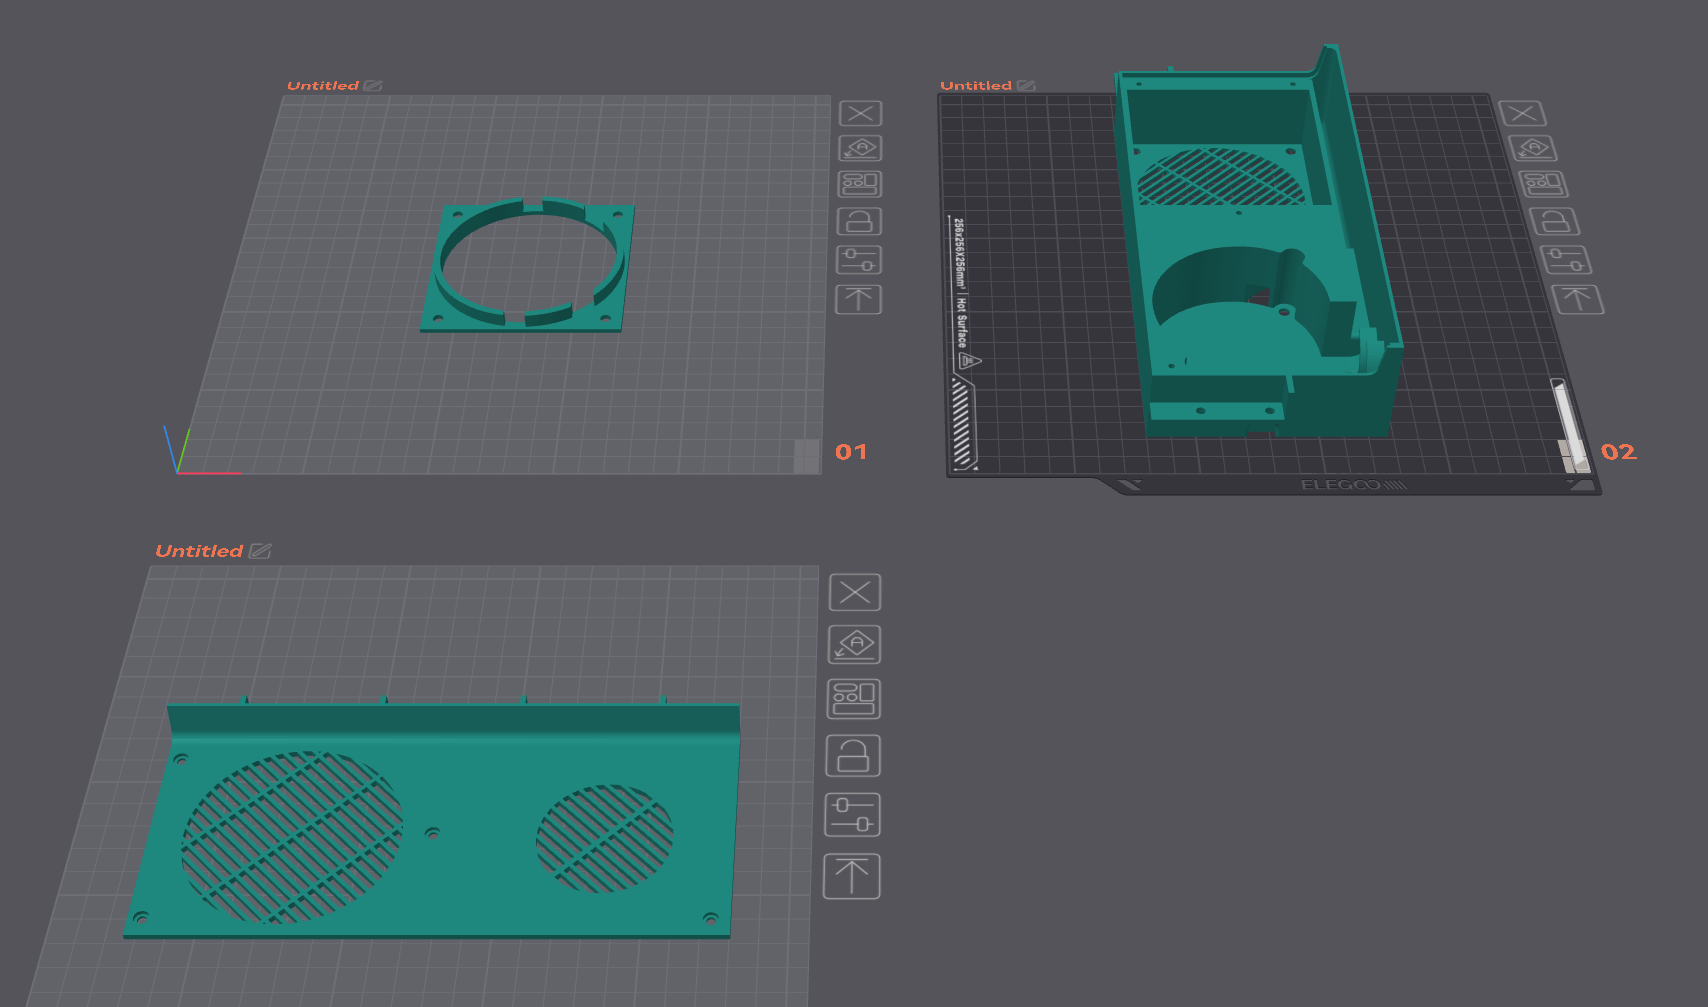
Incase you download the .stl file you need to seperate the parts by right clicking and selecting “Split” → “To objects”.
I recommend printing atleast 3 walls as the screw holes are self threading and need some material to bite into.
Changelog
-V2.2
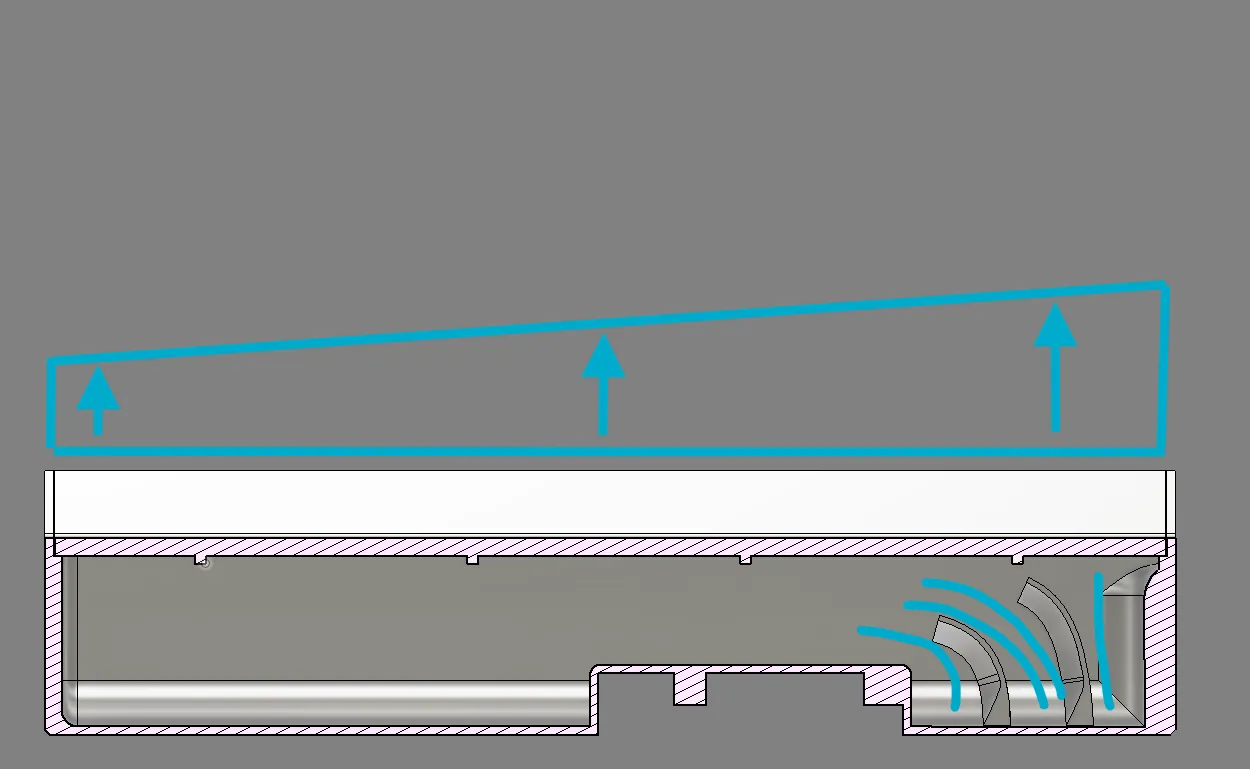
- Added airflow guides to guide more of the air to the other end of the enclosure. (left 2.1 right 2.2)
Edit: from testing it is still unbalanced. I will work more on the air guiding.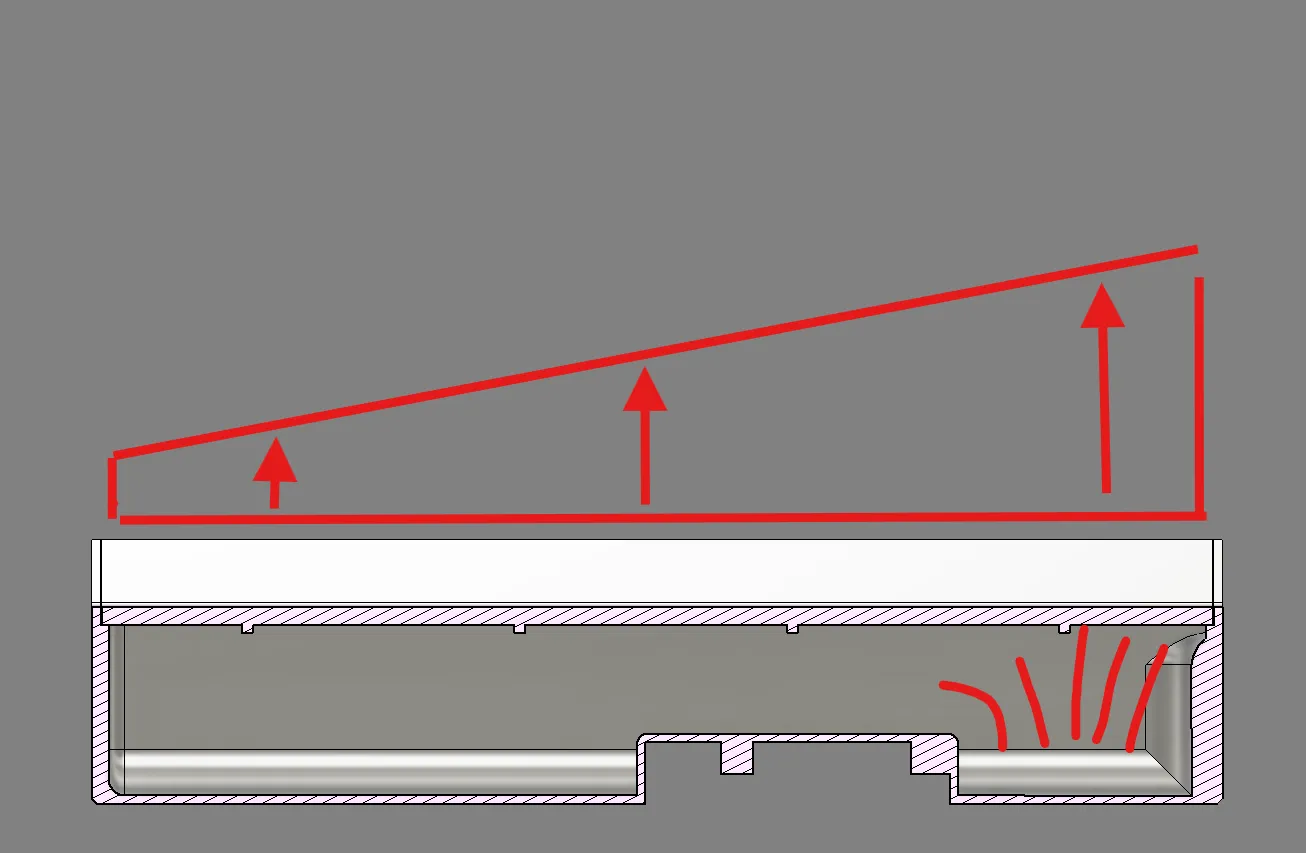
- Increased the space for the pcb mount so that screws align better.
Edit: Tested the fit. Can confirm it working now.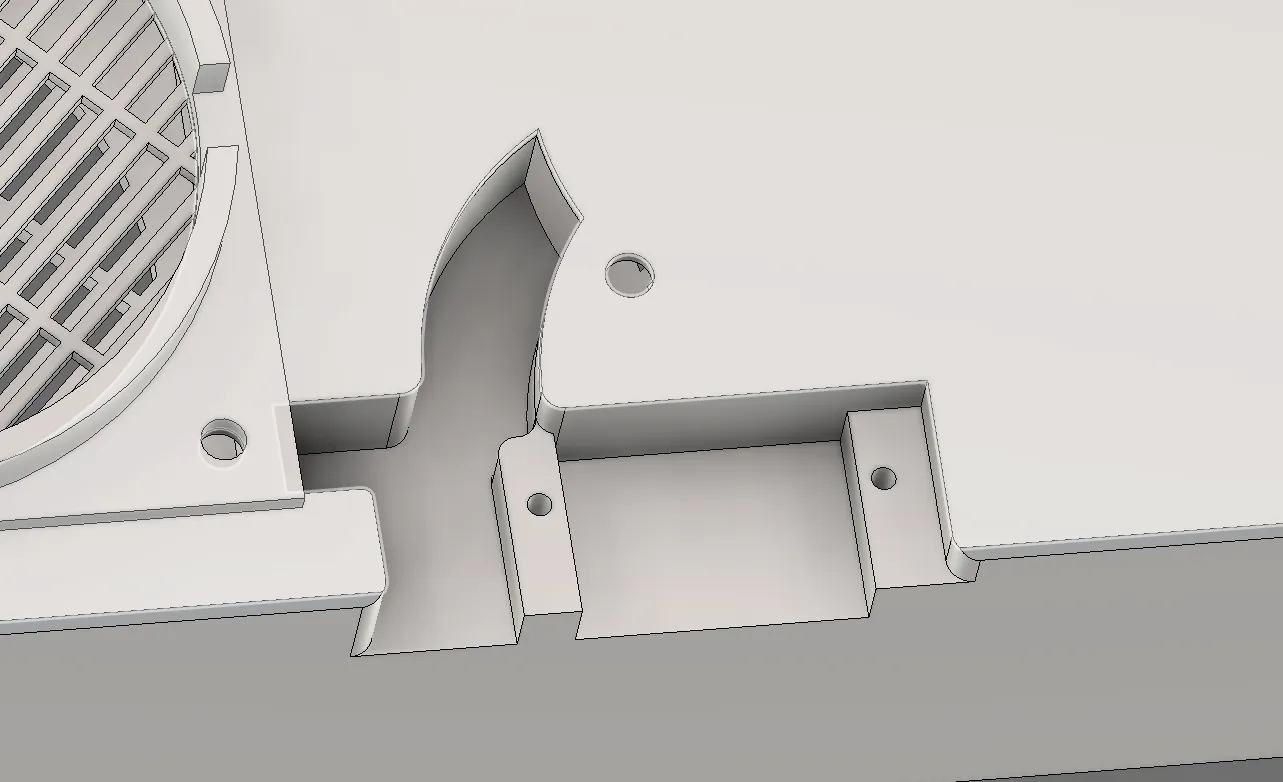
-V2.1
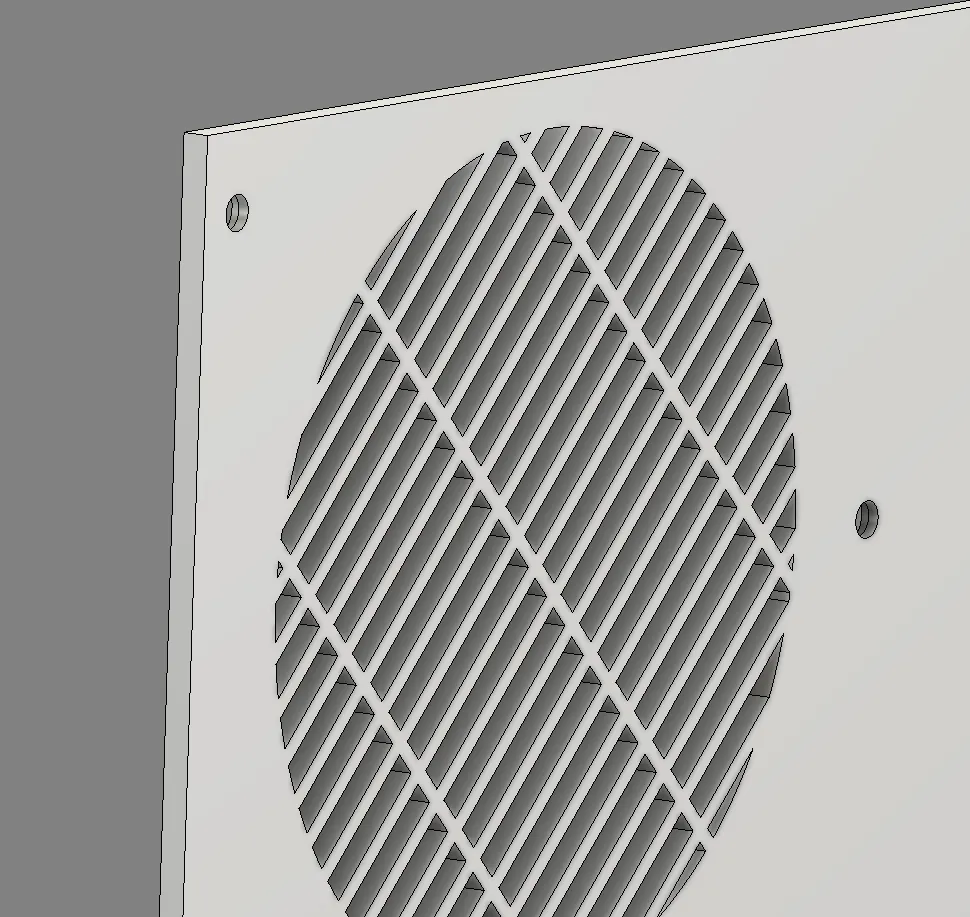
- Fixed small issue with cover fan grid not being flat with the surface. This prevents unnessacary supports being made.
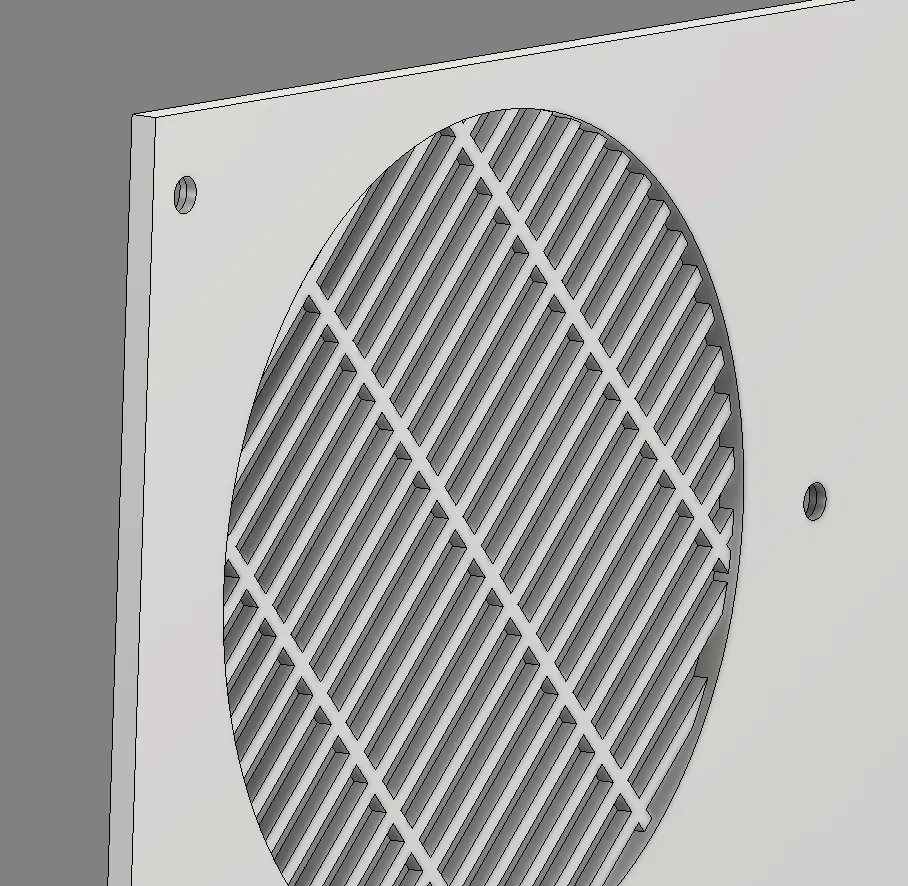 →
→
- Small issue that will be fixed in the next revision is that the pcb board only screws on with one screw as I did not leave enough space on the side of the board.
-V2
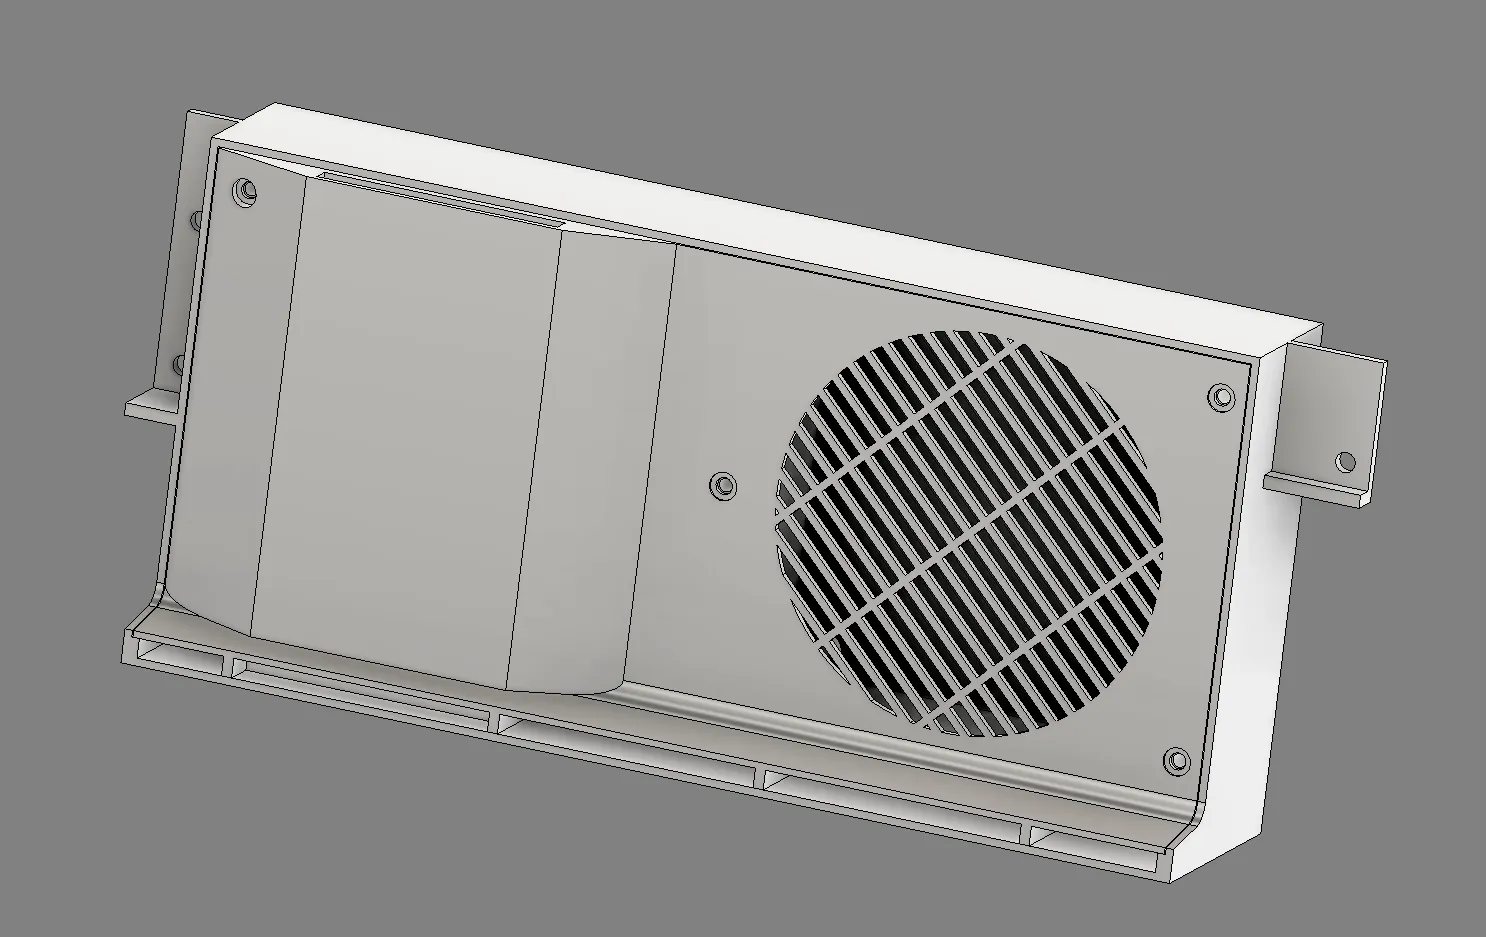
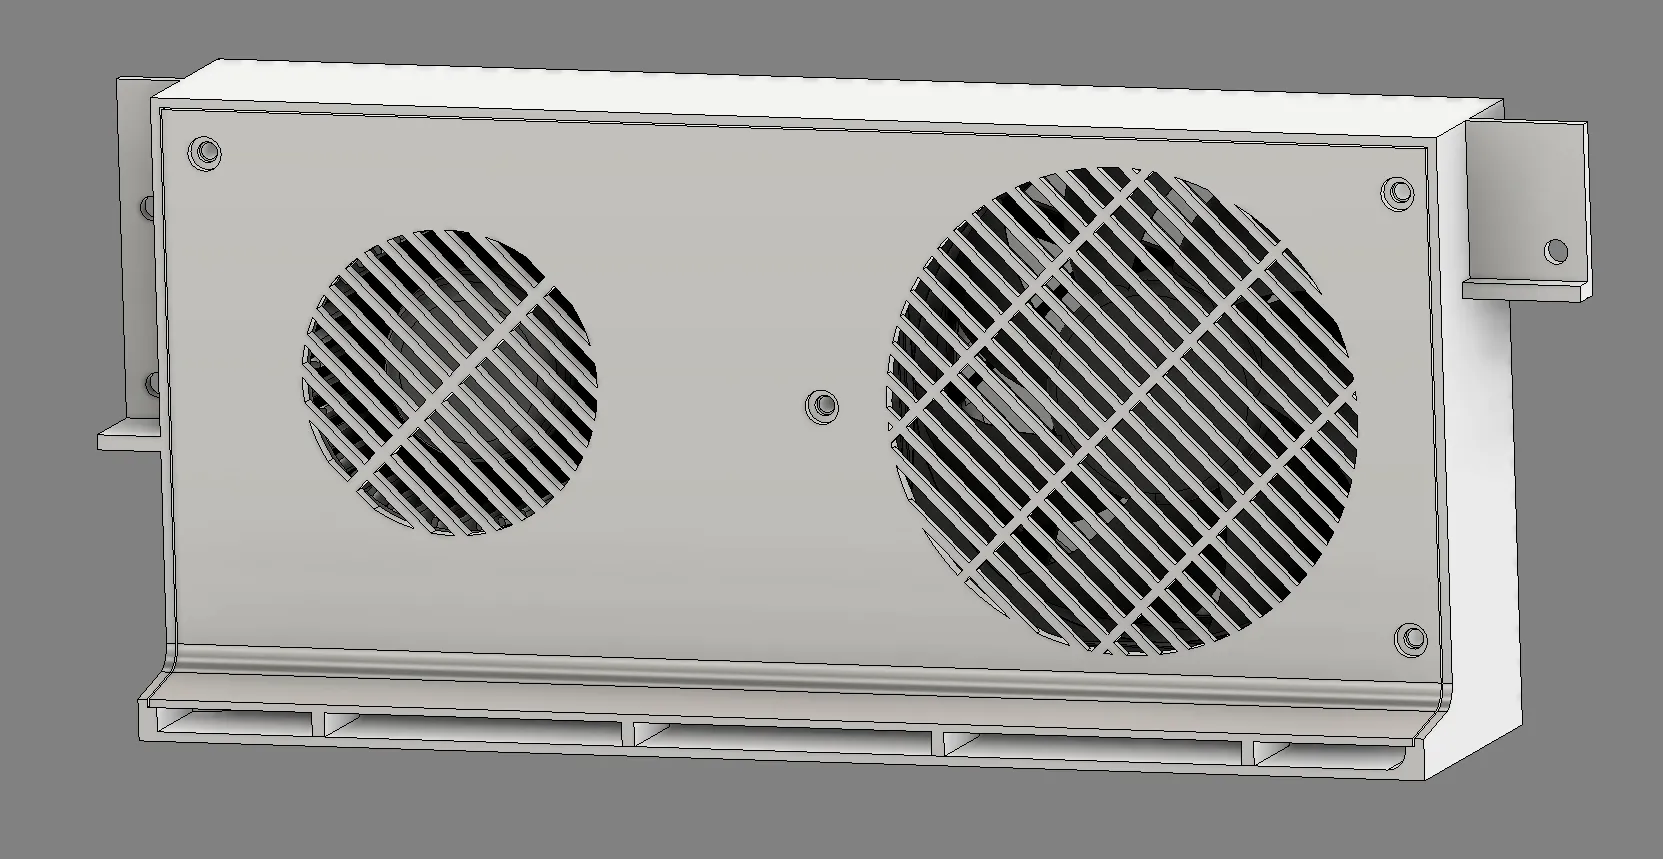
- Changed to straight vents to eliminate contact with toolhead. Also makes printing the cover a lot more easier.
 →
→
- Increased thickness of the cover so that screws sunk in deeper. This does prevent the use of the original filter unfortunately. Use magnetic filter mods that mount in the back of the printer.
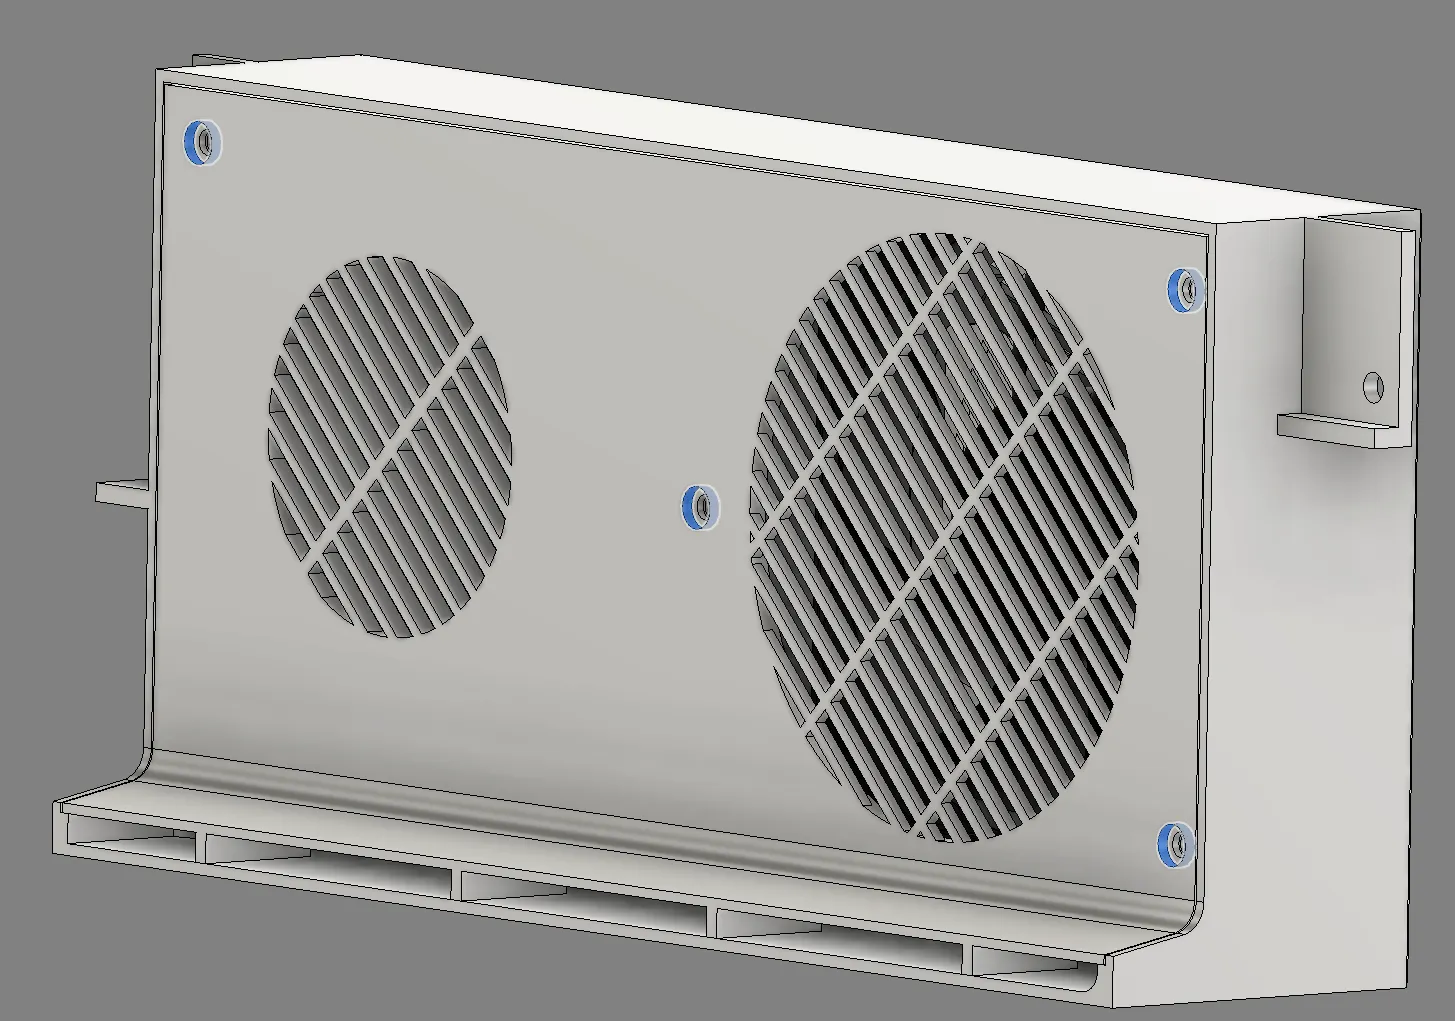
Correction: This does not prevent the use. The fit estimation was incorrect and it does indeed fit. Though it is a bit snug but in my testing it did not interfere with the fan blade when the cover was put on.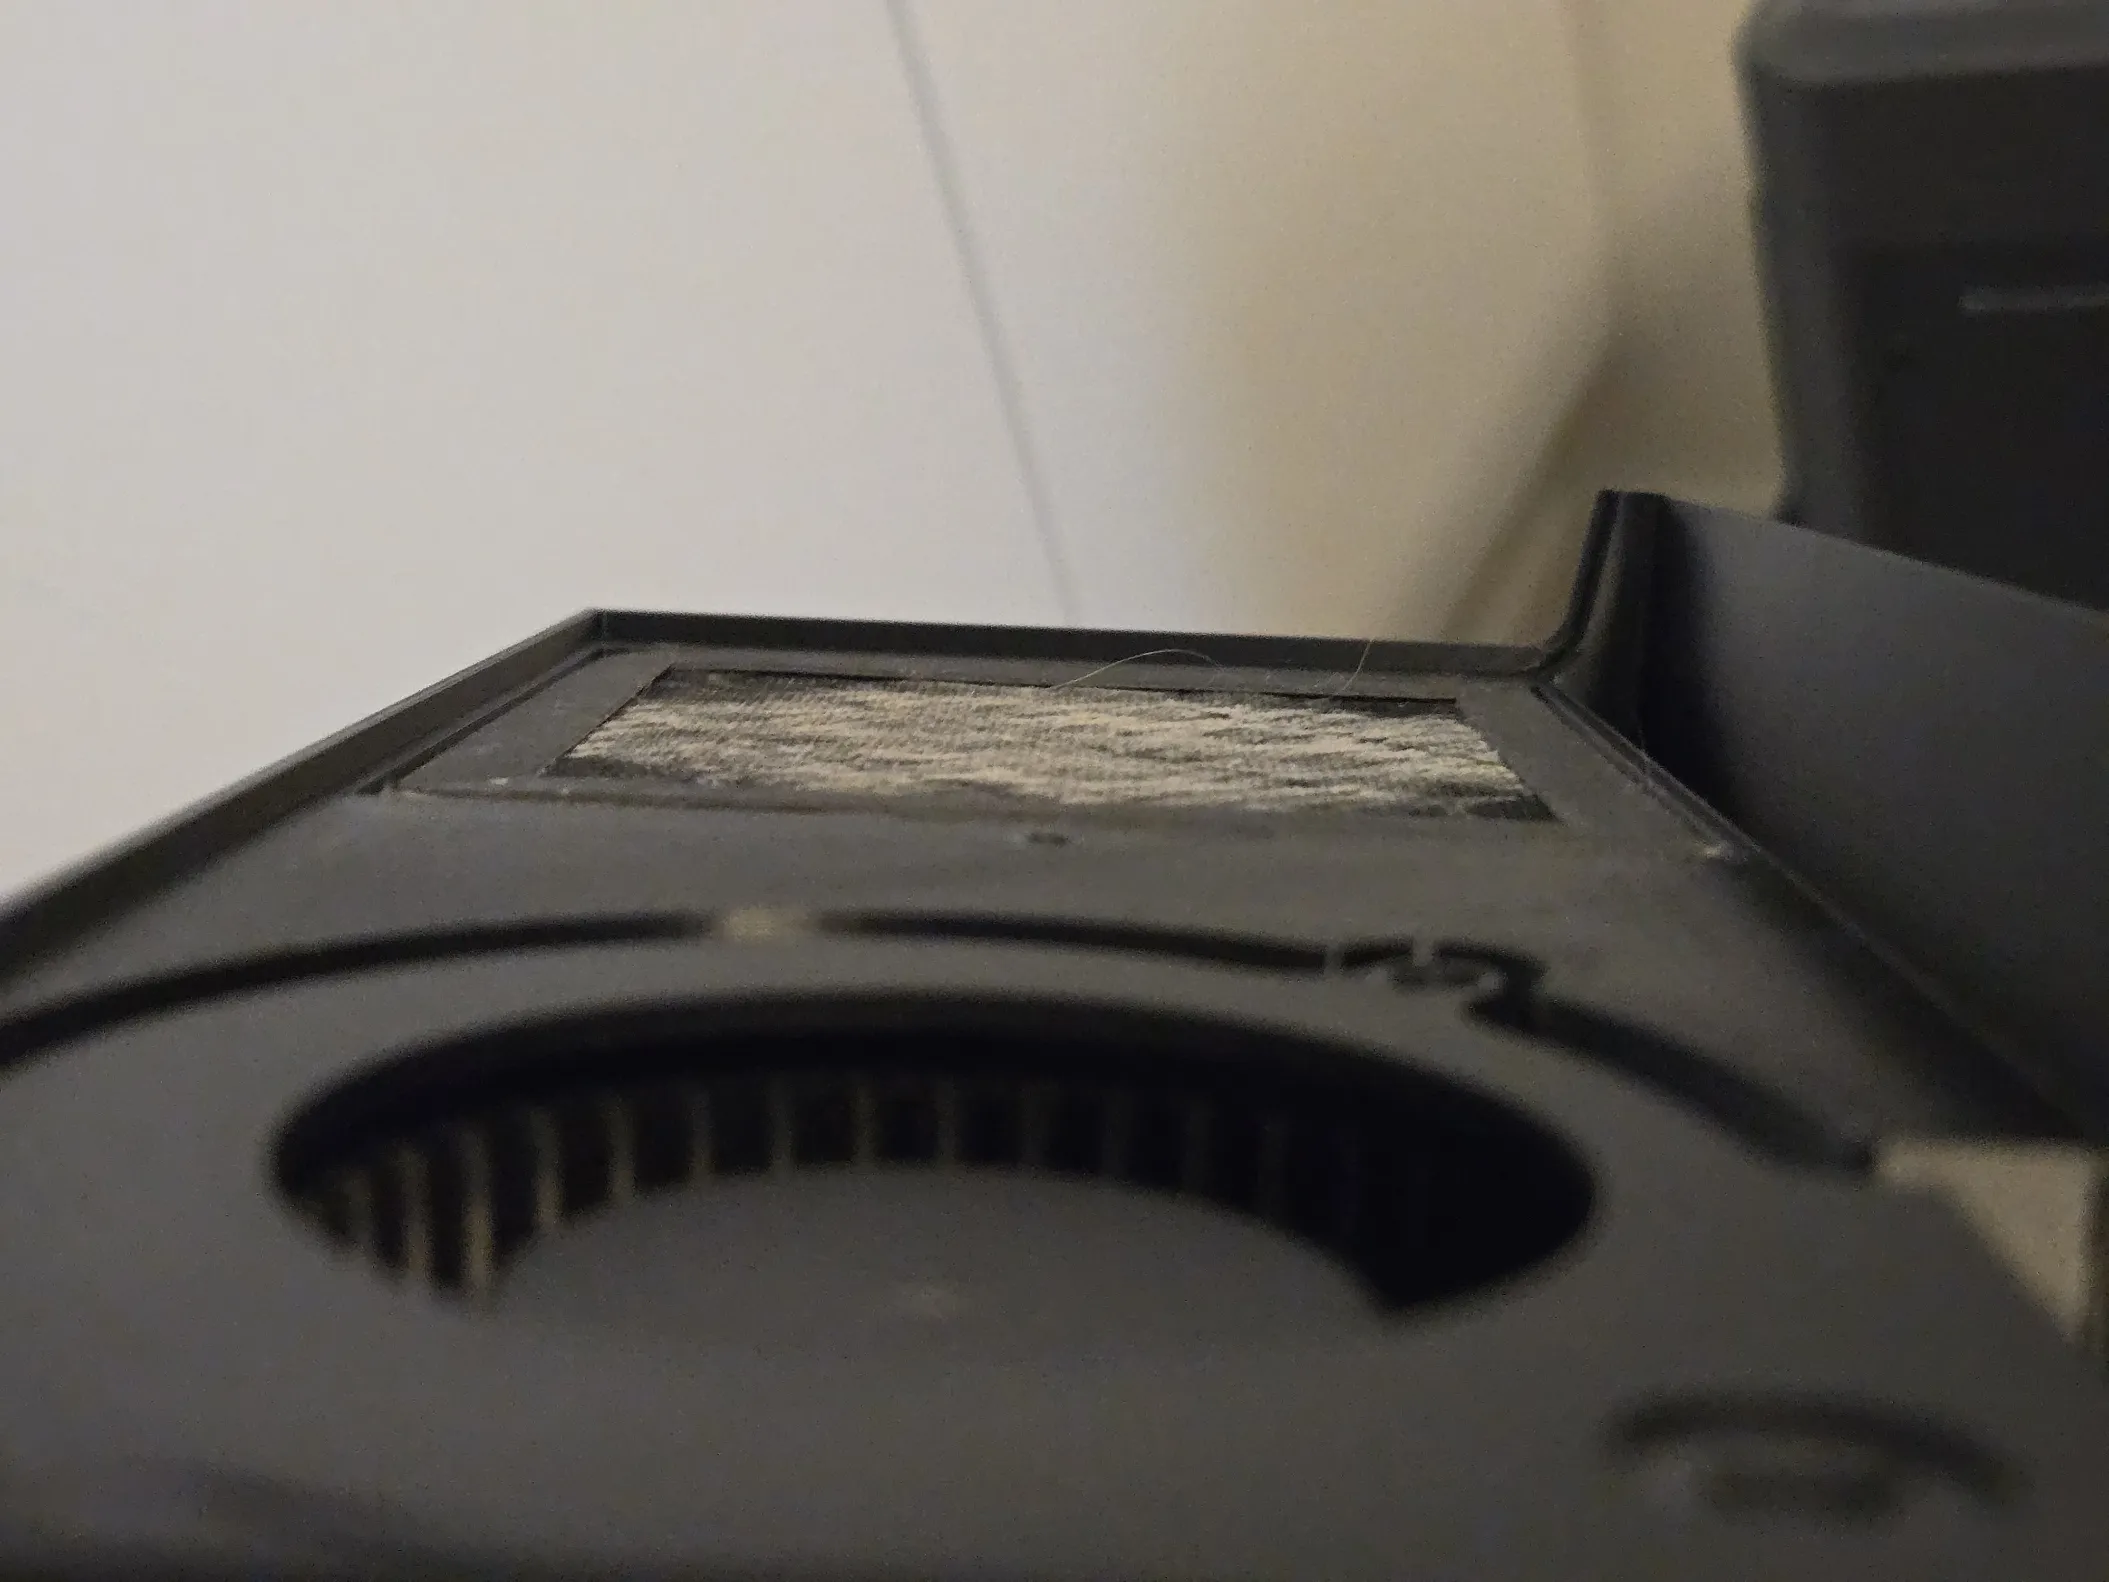
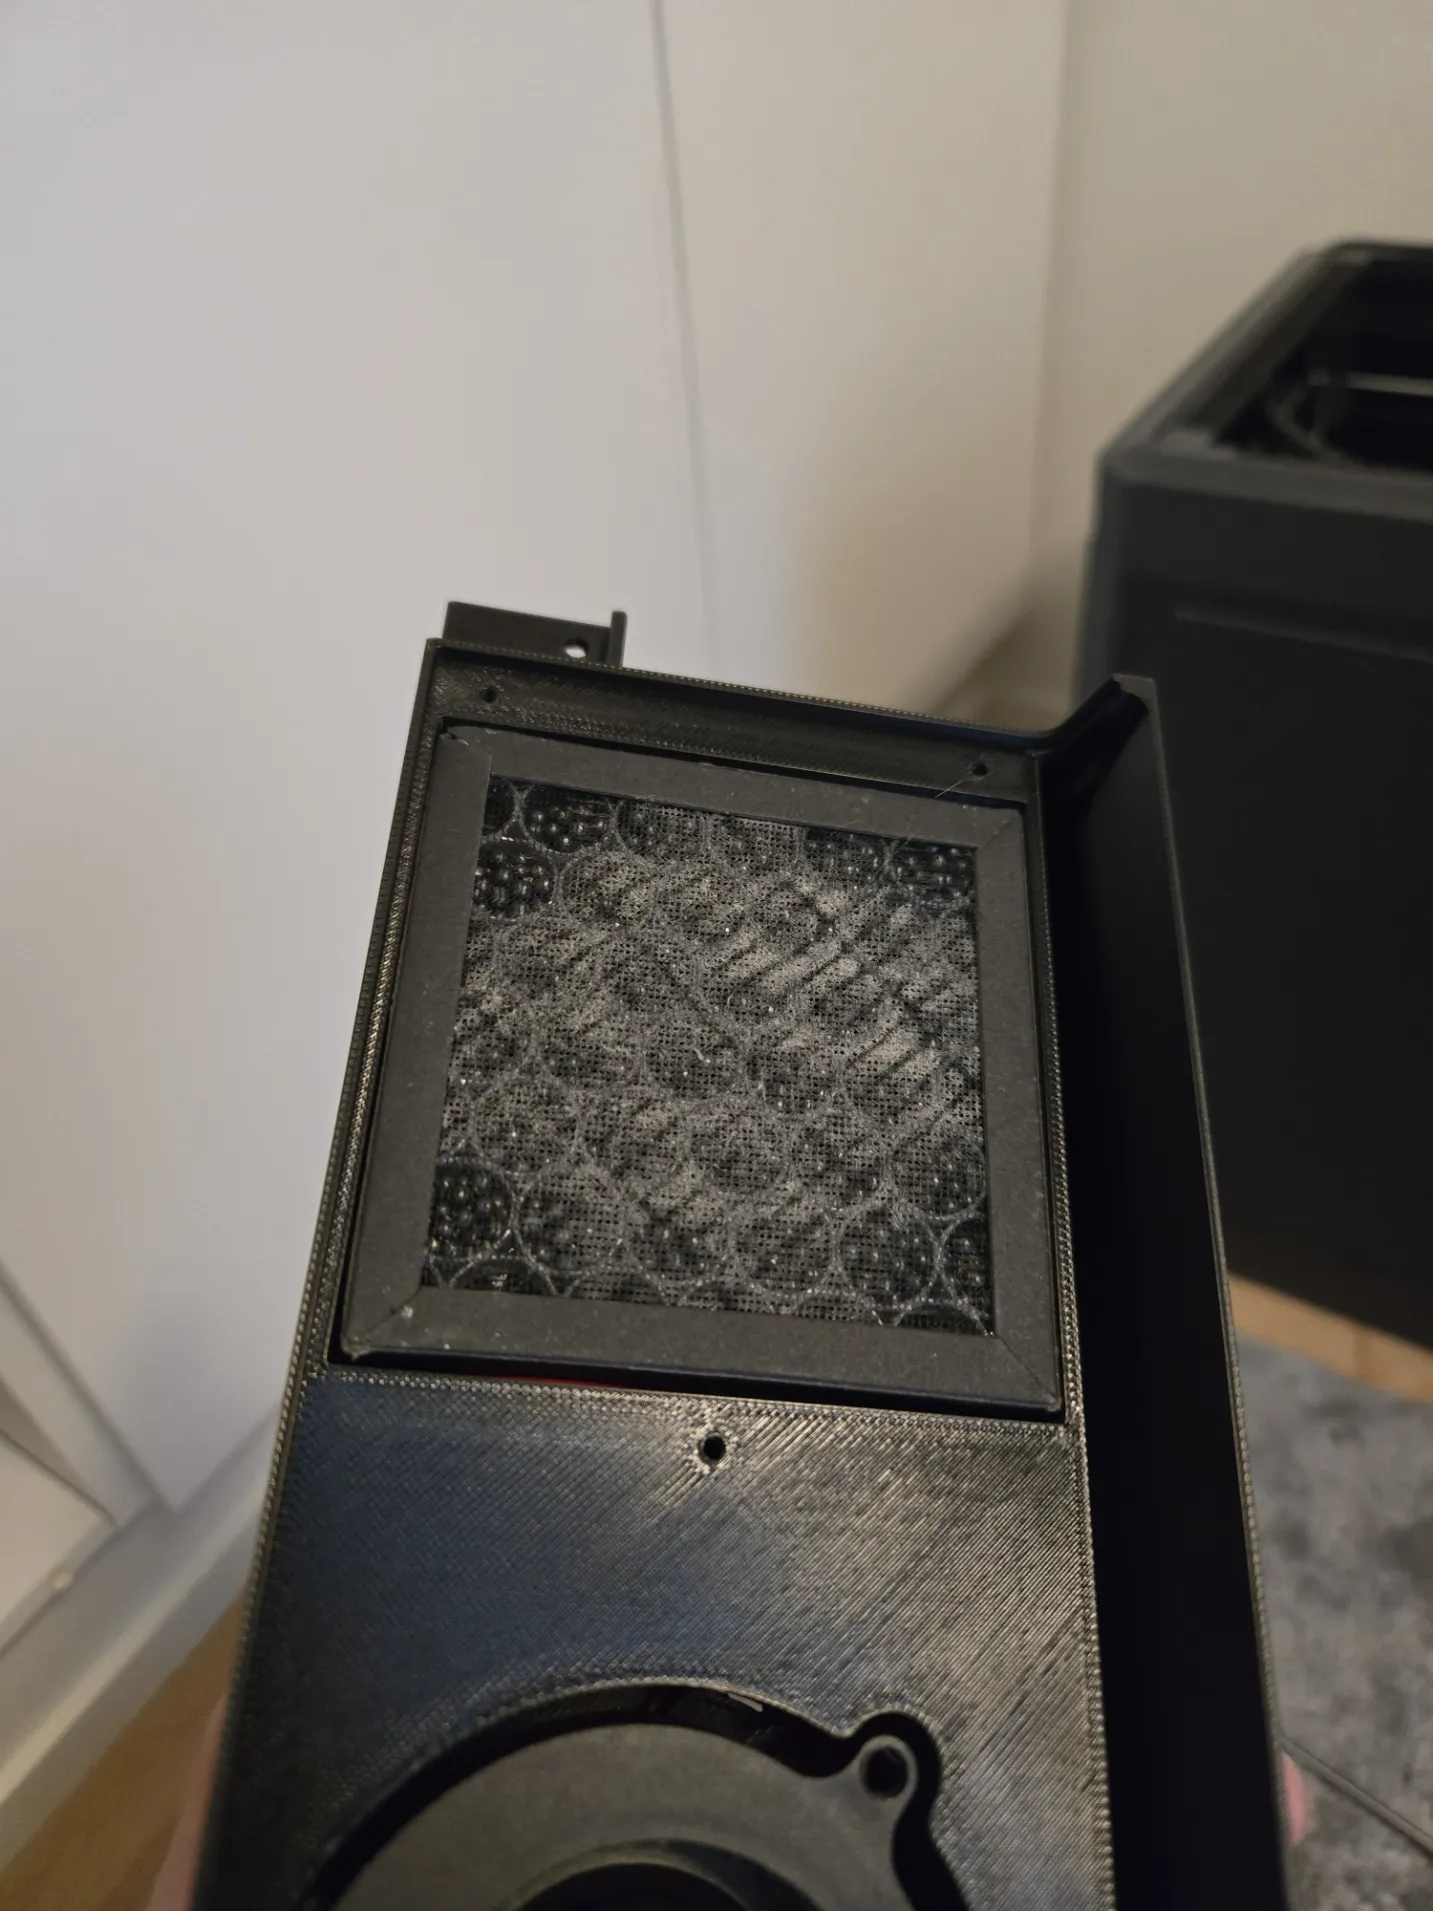
- improved airflow using guides. This is still being improved with revisions to come. Also, removal of the vent improves the flow a lot.
- Removed the gasket as the thicknening of the cover makes contact with the fan
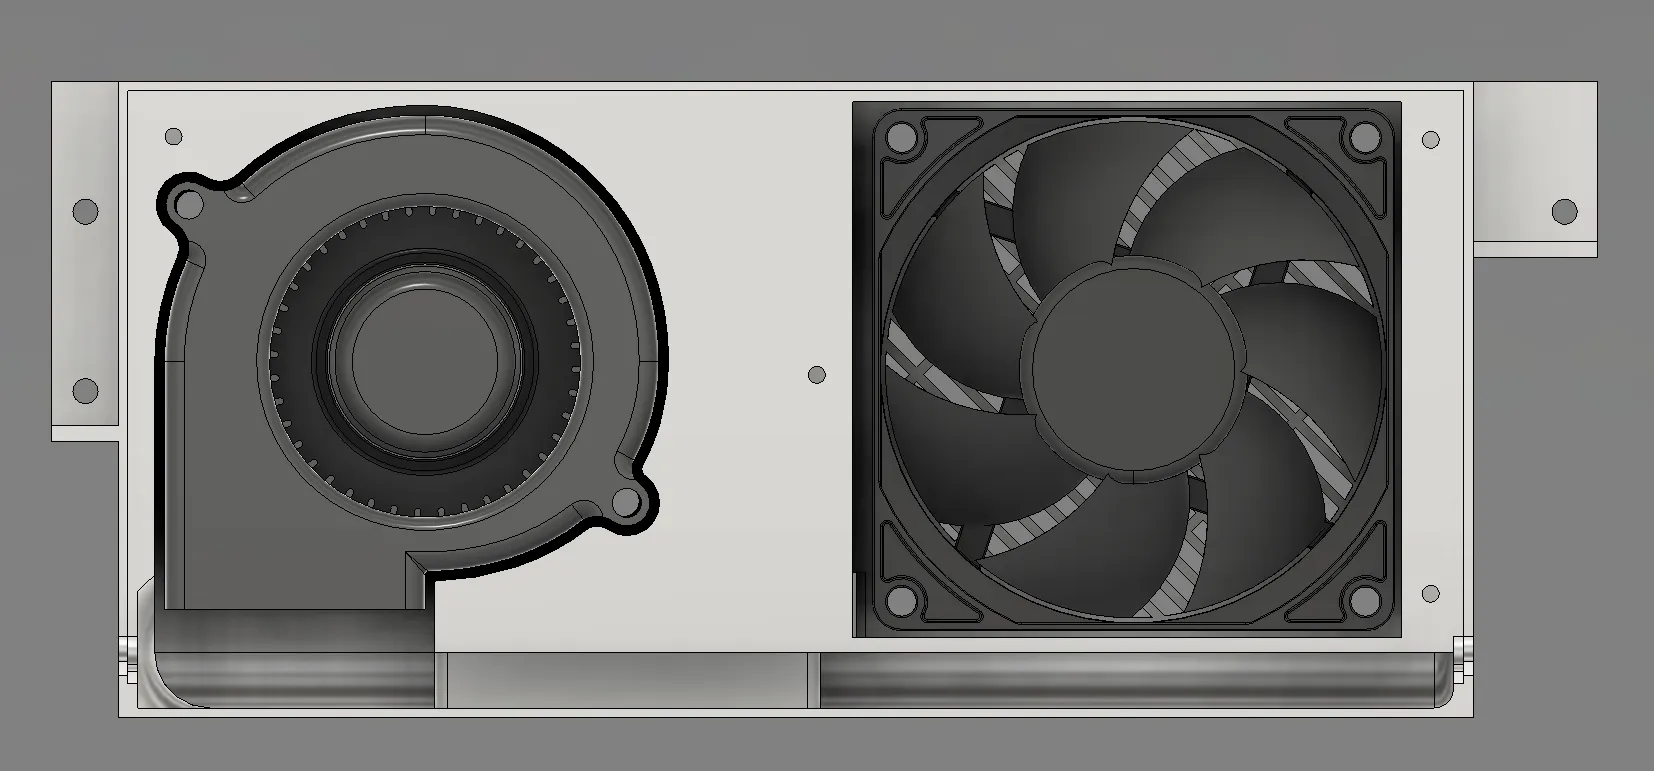 .
.
-V1 (release)
Downsides (solved in V2) are that the current design does not have equal airflow across the build plate. This will be improved in later versions using airflow guides.
Design issues (solved in V2) I have tried to solve are that the air inlet extrudes few millimeters from the original panel plane which causes the toolhead to contact with the panel at the start of a print (marked X in image below).
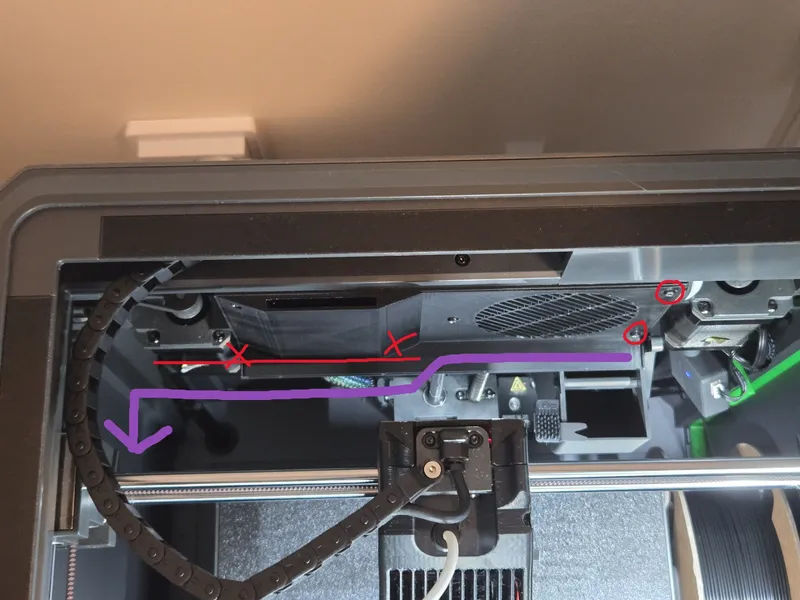
This has no effect on printing as before the toolhead would crash to the stepper motor instead when homing the toolhead at the start of a print.
Also, the original screws are a bit bulky and extrude from the panel causing some mild contact with the toolhead (circled in image above).
I have verified that the extrusion of the inlet air vents do not affect build volume.
Lastly, the cover air inlet vent is bit annoying to clean off of supports and I am aware of that.
Originality of the Model
The author declares that this work is their personally original model
This model is licensed under the following terms:
No Copyright.
Models(4)
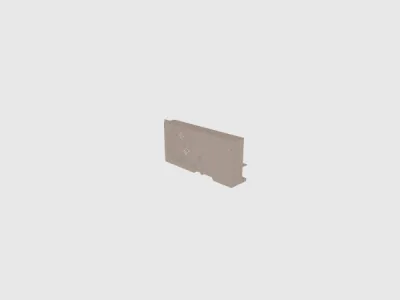 Aux_exh_fan_CirculationMod_V2.2.stlDesigner
586.41 KB

2026-05-22
 aux_exh_fan_circulationmod_v22.3mfDesigner
218.72 KB
2026-05-22
- ECC_CirculationMod.f3dDesigner
1.59 MB
2026-05-22
- Aux_exh_fan_CirculationMod_V2.2.3mfDesigner
218.72 KB
2025-10-22
View all(4)


