




creality
xcarriage
crealityender3
spriteextruder


17

3
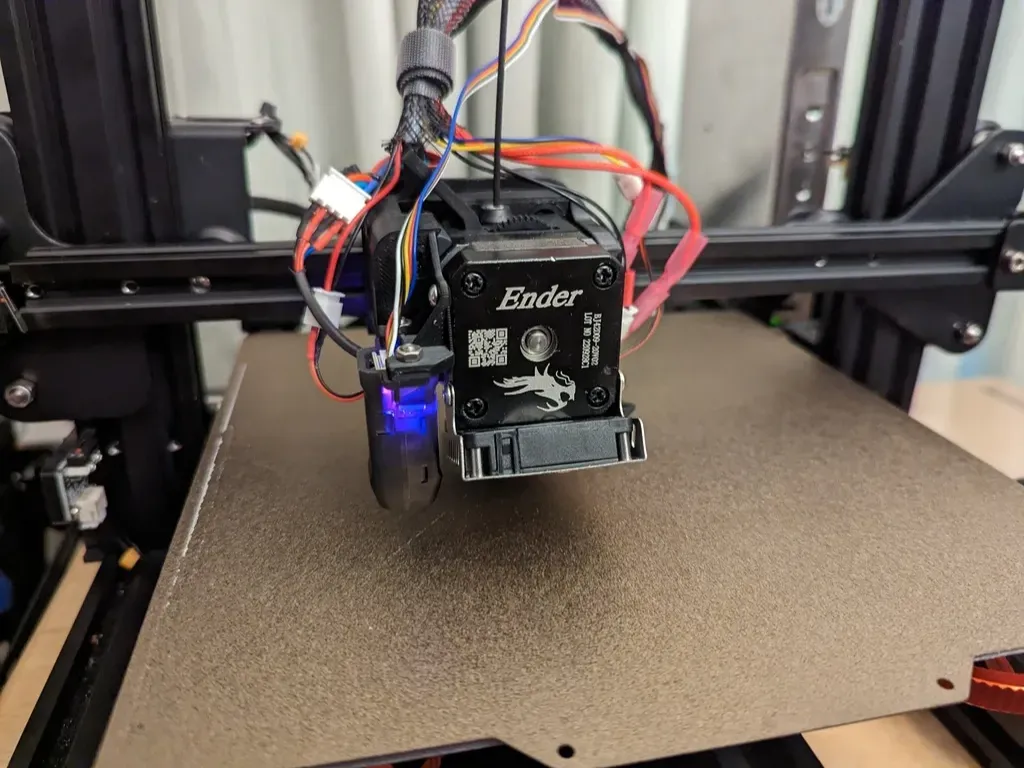
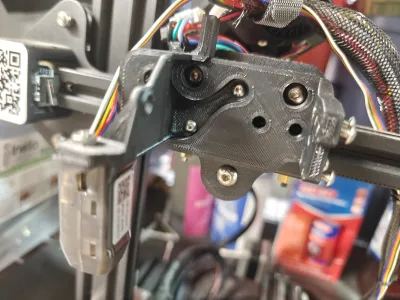
Normally I wouldn't use toolhead like the Sprite because there are much better ones that you can build yourself for cheaper (After/Stealthburner, Hero ME, etc.), but during some of the larger AliExpress sales you can snag a Sprite for around 30 USD (Sprite regular, the plastic body teflon heatbreak one) which is typically cheaper than building one yourself. I figured I'd try it out, but unlike the Sprite Pro (90ish USD, much better prebuilt options out there, look at some of the BIQU DD toolheads), the regular Sprite isn't sold as a kit, meaning you get no PCB, no carriage mount, nothing but the toolhead itself. This here mount is my solution to that, allowing me to try out the sprite without paying 3x what it's actually worth. Note that you will have to cut the breakout PCB connectors off and either crimp or solder new ones on, so if you're not ready for the commitment of possible permanent damage to your hardware or are unfamiliar with hobbyist electrical wiring, I'd recommend looking for an alternative toolhead than the Sprite, or shelling out for the Sprite Pro kit.
You'll need a couple of M3 BHCS to attach the sprite to the mount and the mount to the carriage:
1x M3x6
5x M3x8
2x M3x16
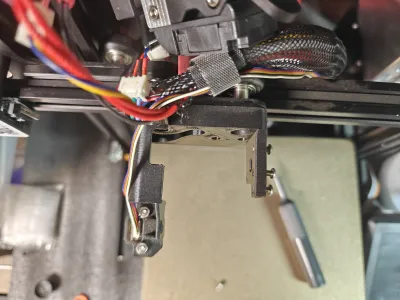
To install, remove the bolts attaching the v-wheels to the x carriage, slip the mount in-between the bolts and the original sheet metal carriage, and then reassemble it as it was before. I have added a hole at the top of the strain relief tower to allow you to insert a run of bowden tubing to add shape to the umbilical cord.
You shouldn't lose any bed area with this mod, but you will either have to modify the bed offsets in a custom firmware build of Marlin, or in your slicer directly. A good starting E-step value would be about E424.9, and I measured the probe offsets to be X-31 Y-41. You can set these values either through firmware, gcode, or your printer's UI.
Ignore the terrible wiring and outdated design in the photo, I haven't gotten around to fully upgrading my printer. I'll upload an updated picture once I'm done.
Print Settings
Printer Brand:
VoronDesign
Printer:
Voron 0
Rafts:
No
Supports:
Yes
Resolution:
0.20mm
Infill:
40% Gyroid
Filament: Hatchbox ABS Black
Notes:
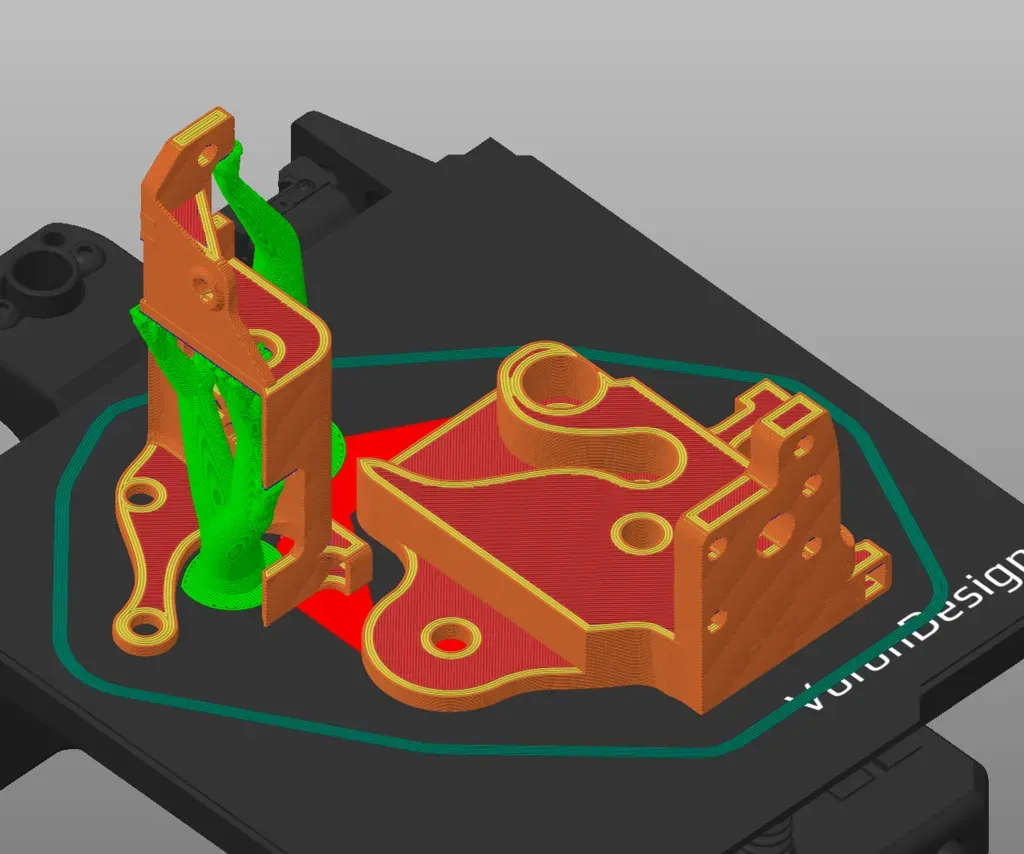
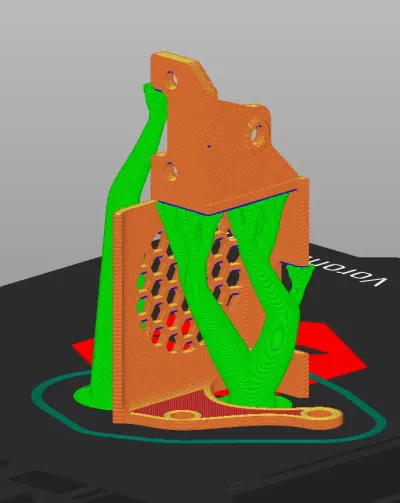
Would highly recommend printing in ABS or something similarly temperature resistant as the part is right next to the heatblock of the hotend. You only need supports for the fan shroud/CR-Touch bracket, as specified in the supplied slicer screenshots.
Bill of materials
- NameQuantityNotes
- 1M3x6 Screw Screw1
- 2M3x8 Screw5
- 3M3x16 Screw2
Originality of the Model
The author declares that this work is their personally remixed model

This model is licensed under the following terms:
Credit must be given to the creator
Models(2)
 ender_3_sprite_mount_plate.stlDesigner
648.81 KB

2025-08-19
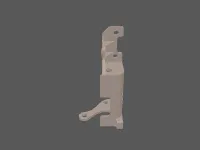 SpriteFanShroud_BLTouch_V4.stlDesigner
410.34 KB
2025-08-19


