




pump
venturi
water


8

0
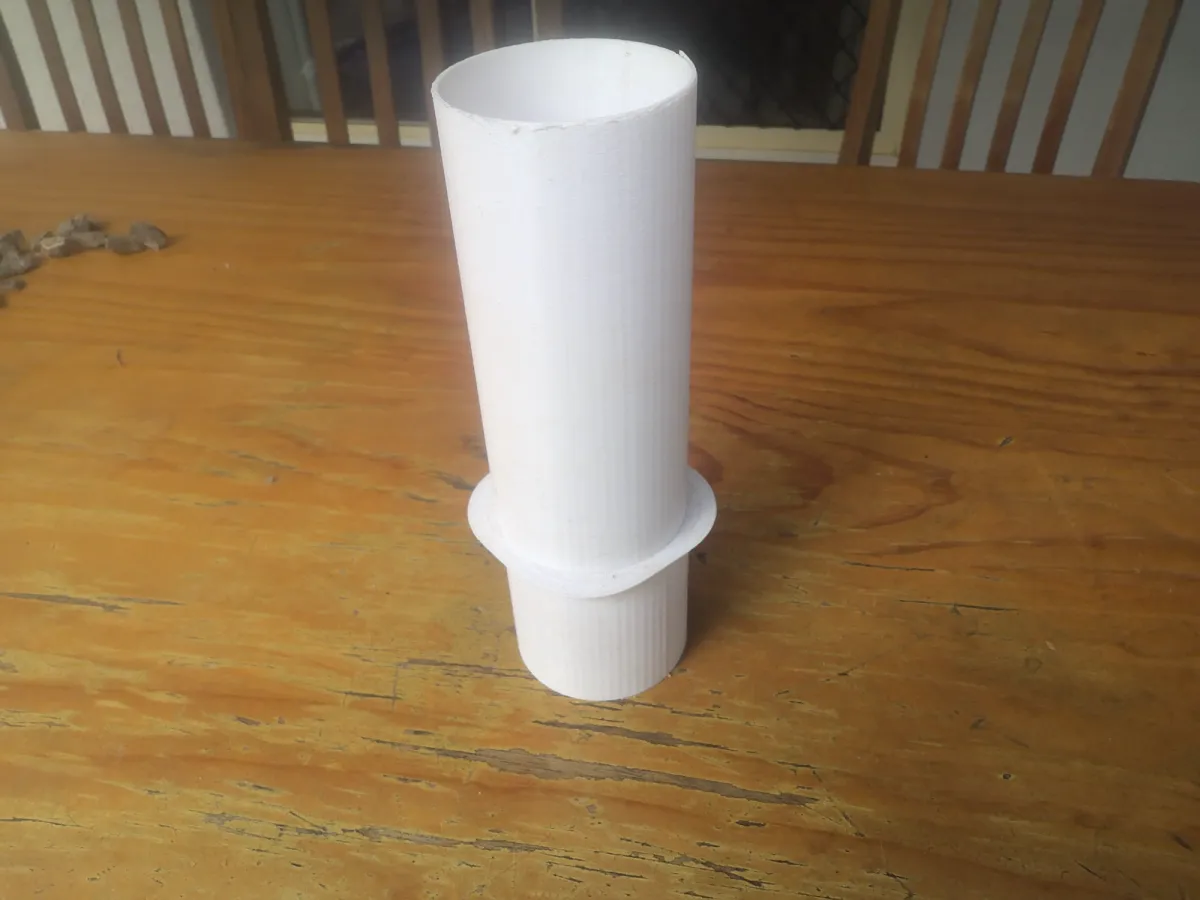
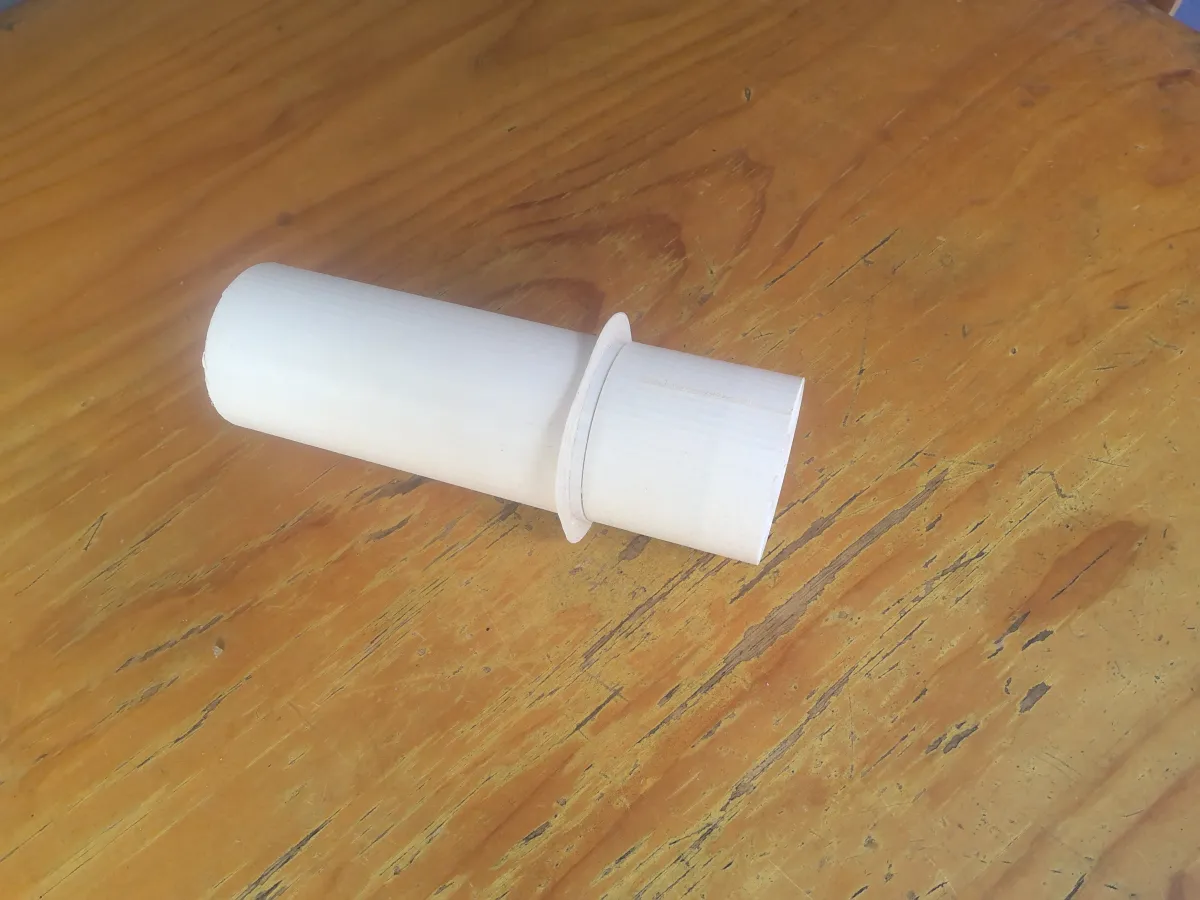
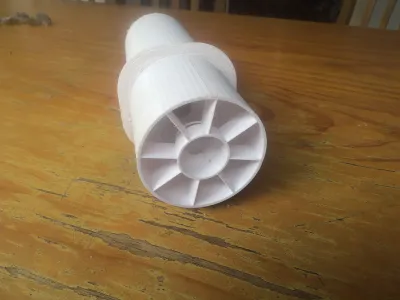
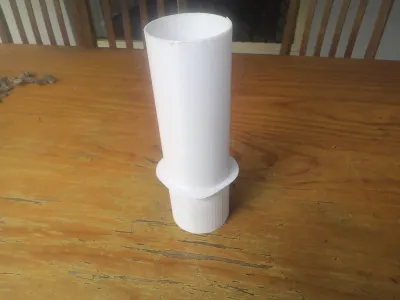
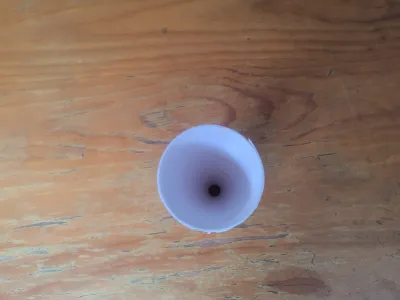
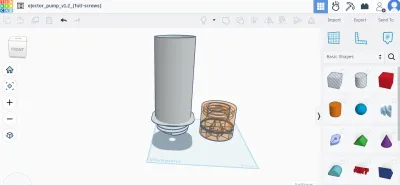
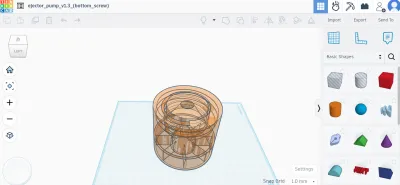
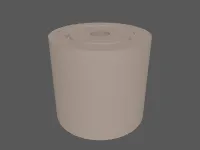
This is an ejector pump I designed a couple of months back to help with my commonly flooded backyard. I had a submersible water pump pumping, but all it did was reduce the rate at which the water level in my yard rose. Then I thought about venturies, and how I could use them to my advantage to stop my yard flooding. I got to work in Tinkercad (yes, I can hear you all groaning, but I'm new to this, and this is my first big design!). In about a weekend's worth of work, I went through a couple of prototypes and ended up with this. According to my calculations with my submersible pump as the motive flow, it could do about ~630 lph, which is quite good for my first attempt. It wasn't quite what I needed to fix my backyard issue, though, and it has since stopped raining, so I'm not quite motivated enough to go and change the design just yet :). However, if anyone else wants to have a crack at it, go ahead, I'd love to see how much you can improve it!
Features:
Aerofoil designs on the bottom section to allow a smoother flow of water
~630 lph flow in water in addition to the pump's flow rate
My first proper CAD attempt (glad it works! :D)
Some tips if you want to modify this:
- If you look at Venturi designs, you actually need to have a bigger intake funnel to a smaller output hole through a pipe that is the same size (not tapering). In my design, I only realised this afterwards, so if you increase the tapering length, that should help, and if you actually add in the tube in the middle, that will help A WHOLE HEAP, so there are some ideas :P
- I made this in 2 halves because my printer isn't big enough to do it all in one (Ender 3 V3 KE, aka a bed size of 220x220x240). I would heartily recommend doing this on a bigger printer to get it in one piece, for multiple reasons, including accuracy.
Printing tips:
- Print the bottom half in a more resistant filament (I used PCTG because that was the best I had lying around, it worked pretty well. You could also just use basically anything other than PLA/PETG, but PETG might work too (it's worth a shot!))
- Print both halves with a higher wall count, otherwise water and rocks will go flying and break it down pretty quickly (a mistake I made…)
- This will use a lot of filament, just be warned.
- Printing in two halves will need support, tree supports with default OrcaSlicer settings worked a treat!
- You might need to cut the threads on the screw-in sections down a bit to make them fit, and be careful when screwing them in.
- I can't remember why I made a V1.3 Bottom and not a V1.3 Top, they should be compatible, but saying it jsyk :P
I also used a rubber hose to connect to the hole in the bottom, not a garden hose. It was a very tight fit, just be patient, and it'll work eventually!
Finally, thanks so much for looking this far down the page. Enjoy the pump!
EDIT
Here's the Tinkercad links for any modders out there :D
Bottoms screw v1.3 link: https://www.tinkercad.com/things/2fPviyJElHF-ejectorpumpv13bottomscrew
Top and bottom screws v1.2 link: https://www.tinkercad.com/things/3LDBnV79pVT-ejectorpumpv12full-screws
Originality of the Model
The author declares that this work is their personally original model
This model is licensed under the following terms:
Credit must be given to the creator
Only noncommercial uses of the work are permitted
Models(4)
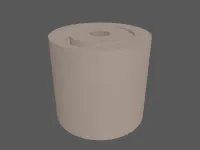 ejector_pump_v1.2_(bottom-screws).stlDesigner
360.82 KB

2025-08-20
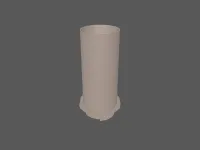 ejector_pump_v1.2_(top-screws).stlDesigner
377.43 KB
2025-08-20
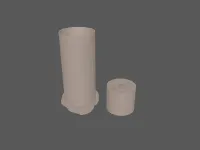 ejector_pump_v1.2_(all-screws).stlDesigner
717.07 KB
2025-08-20
 ejector_pump_v1.3_(bottom_screw).stlDesigner
330.55 KB
2025-08-20
View all(4)


