




digimon TCG
life counter
counter
digimon


14

2
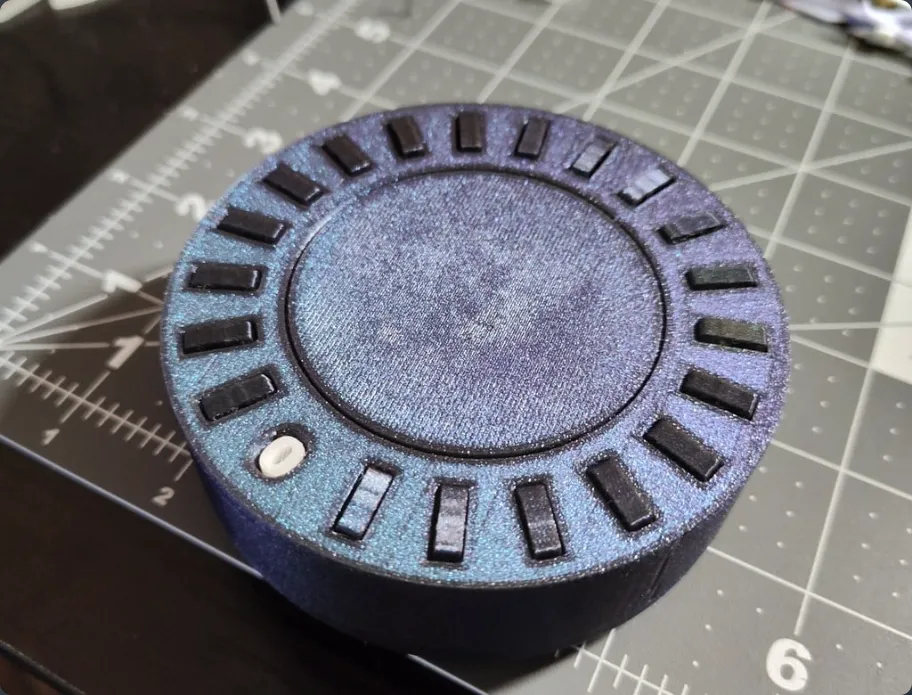
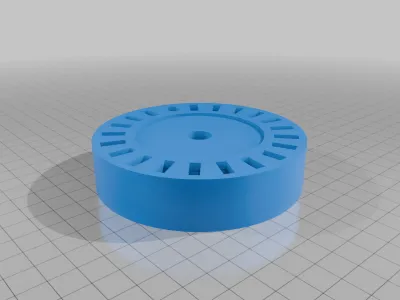
A magnet powered memory counter for Digimon. Inspired by the tragically closed-source memory counter made by The One Vault, although that itself seems to have been (uncredited) inspired by the Lorcana counter made by MonsieurKiwi on Cults. The idea to use magnets to facilitate the "lift" was from this SD Card Storage made by Wonky 3D.
With the credits out of the way, some instructions:
WHAT YOU WILL NEED:
- 3mm Diameter x 2mm tall magnets (these can be easily purchased on Amazon)
WHAT I SUGGEST:
- small rubber feet for the bottom of the counter so that it does not slide around. These are typically for cabinet doors or cutting boards and can also be found on Amazon.
PRINT INSTRUCTIONS:
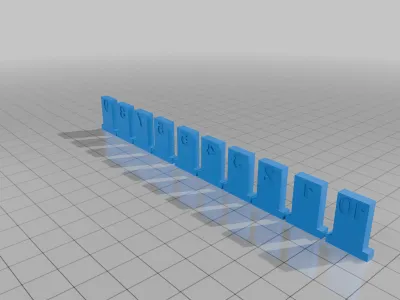
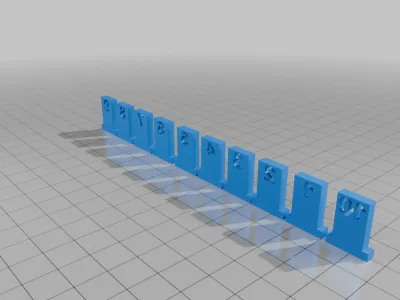
Print two sets of the counters. The STLs contain all counters from 1-10 in one print, and two pairs of that STL should fit happily on most beds. The two different counter sets include a set of "stencil" style counters, as well as a simplistic blocked off version for multi-color printers. Aesthetically, this device looks best with the counters being printed in two different colors.
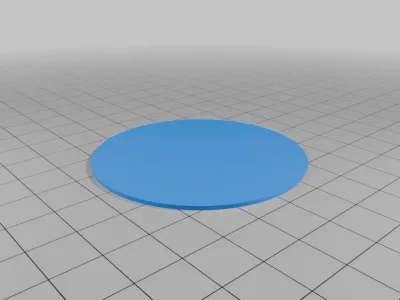
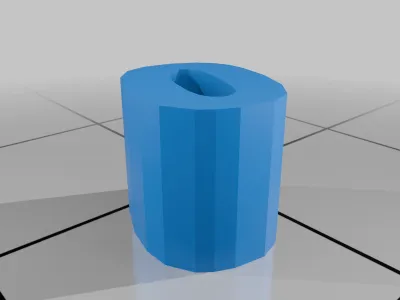
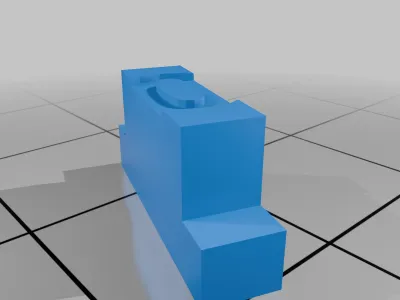
Print one of "counter-zero" as well as one "zero" to go on it. Glue these together with your favorite glue. There is a slight indent for the zero to sit on this counter so that you know how it is supposed to rest on the counter, but the cutout for the zero in the lid is big enough to allow for a little variation.
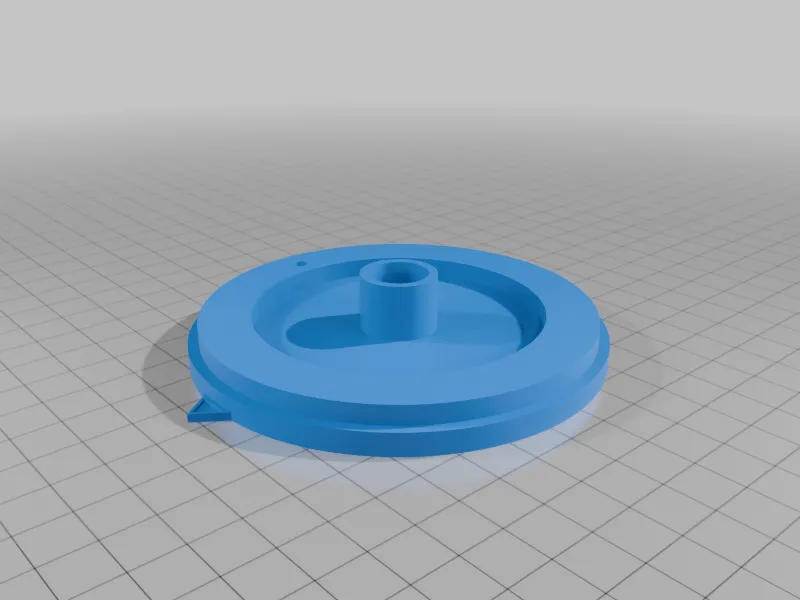
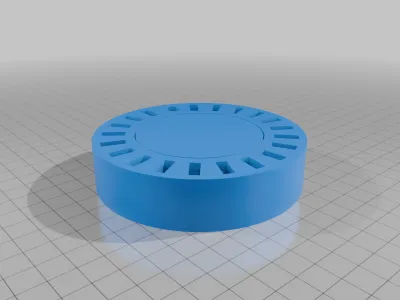
You can choose between the lid with the cap already part of the STL, or print the lid and cap separately if you want to apply a different design to the cap. If you print them separately, the lid will require more supports for the indentation where the cap sits. Regardless of your choice, the lid WILL need supports for the structures under the hole for the zero - these will print successfully without supports, but will most likely droop and cause the zero counter to not sit correctly and thus, not rise correctly.
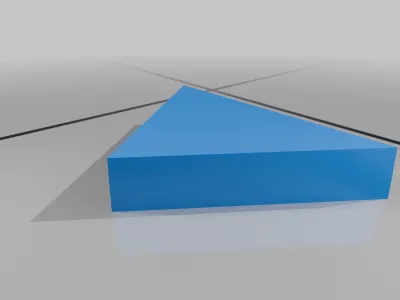
The base will also need supports for the indent that holds the locking pin.
Cura does not show any non-manifold edges, but Orca says there are 3. I'm not sure where these are, but they do not seem to affect the print.
ASSEMBLY INSTRUCTIONS:
The holes that are in the counters, as well as the hole in the base, are exactly sized for the aforementioned ⌀3mm magnets. You may need to sand the hole on the base ever so slightly, or use a hobby knife to cut away a little material, but all magnets should be kept in place by friction (you can of course use glue if you wish). It takes considerable force to squeeze the magnets into place, so I suggest getting them inset just enough and using either a hard piece of wood or flat piece of aluminum or other non-magnetic metal to press them in all the way. The magnets sit entirely flush in the base, and should be almost flush on the counters.
Make sure that you put your counter magnets in with the same face (+ or -) facing the one facing up on the base so that you get levitation (repulsion) and not attraction.
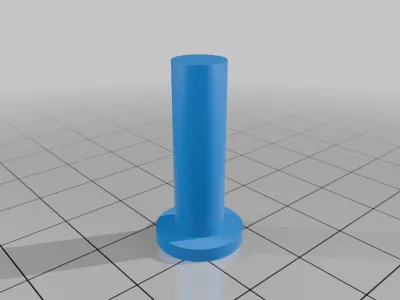
For easiest assembly, hold the lid upside down and drop your counters in, in order from 1 to 10, starting from 0 on either side. Place the base on and insert it into the support column, then flip the partially assembled counter over. Be sure that all of your counters come up properly when dragged over the magnet. They should levitate approximately 6mm above the surface of the counter - the numbers should be entirely visible, with the exception of 0, which should be flush with the top of the counter when it is over the magnet. When you are happy with the performance and orientation of the counters, apply your favorite type of glue to the top of the pin (memorycounter-pin.stl) and insert it into the hole in the bottom of the base (or, alternatively, if you are using the separate cap, apply glue to the hole on the cap and put it on the pin). For best results, set the counter upside down on a table until the glue has dried.
A personal note: The "inspiration" for this counter very obviously uses a type of ramp rather than a magnet to push the counters up to the top - I desperately wanted to create a version like that so that the counter could be entirely 3D printed with no need for additional materials, but gave up on it as I could never get a functional ramp that displayed only one number at once. I sincerely hope (and encourage) someone with the talent for that to come along and add that to this project. I believe that particular feat is entirely outside of my wheelhouse since I do not use engineering CAD software.
Originality of the Model
The author declares that this work is their personally shared model

This model is licensed under the following terms:
No Copyright.
Models(10)
 memorycounter-base-magnet.stl
321.37 KB

2025-06-13
- memorycounter-cap-lid-combo.stl
755.75 KB
2025-06-13
- memorycounter-cap.stl
156.14 KB
2025-06-13
- memorycounter-counter-zero.stl
14.63 KB
2025-06-13
- memorycounter-counter-pin.stl
214.63 KB
2025-06-13
- memorycounter-counters-multicolor.stl
240.90 KB
2025-06-13
- memorycounter-lid.stl
599.69 KB
2025-06-13
- memorycounter-zero.stl
6.92 KB
2025-06-13
- memorycounter-pointer.stl
0.47 KB
2025-06-13
- memorycounter-numbered-counters.stl
239.54 KB
2025-06-13
View all(10)


