

Perfect for gifting
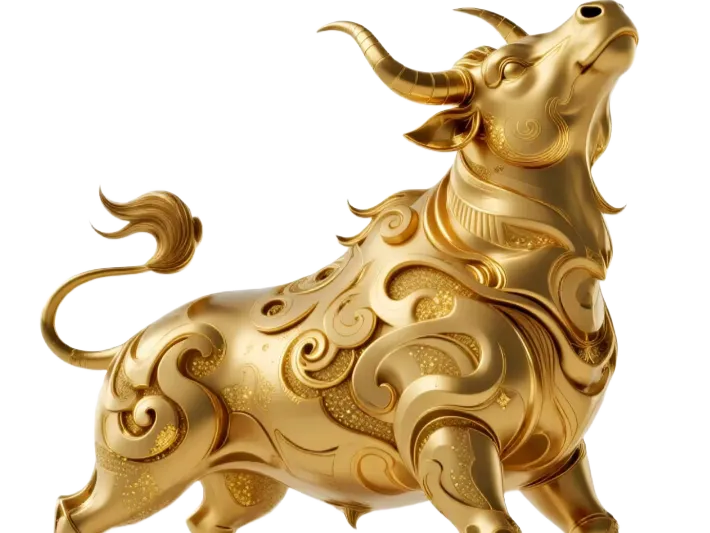
Niu Zhuan Qian Kun motif
Bold golden finish
Quick print time for size
Minimal postprocessing
Lightweight yet durable
Sturdy hooves for support
No warping with good bed prep
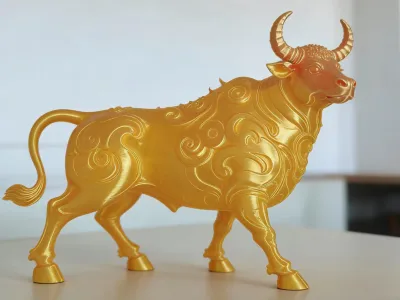
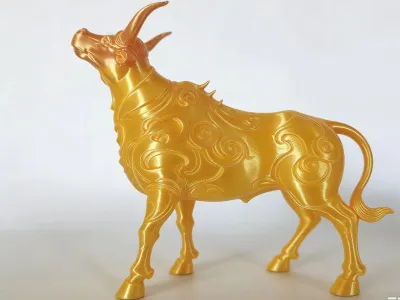
Enjoy your golden ox
Replicate easily with saved settings
Avoid direct sunlight
Sand with 4001200 grit
Use side cutters for supports
Handle with care after print
Precision engraved patterns
No gaps in design

- 0.2 mm layer height, 3‑layer walls, 15% infill density

1-disc
PLA
Designer

77

29
The Ultimate Guide to Printing the Golden Ox Model
1. Printer Configuration Overview
- Filament Selection: We recommend using Golden PLA+ or PETG. PLA+ offers excellent surface gloss and is easy to print, while PETG provides superior toughness—making it ideal for applications that demand greater durability.
- Layer Height: Set the layer height between 0.15–0.2 mm. This balance ensures crisp detail, such as intricate cloud patterns, while keeping print times manageable.
- Infill Density: Opt for 20–30% infill. This strikes the right balance between model strength and material efficiency, avoiding excessive filament consumption without compromising structural integrity.
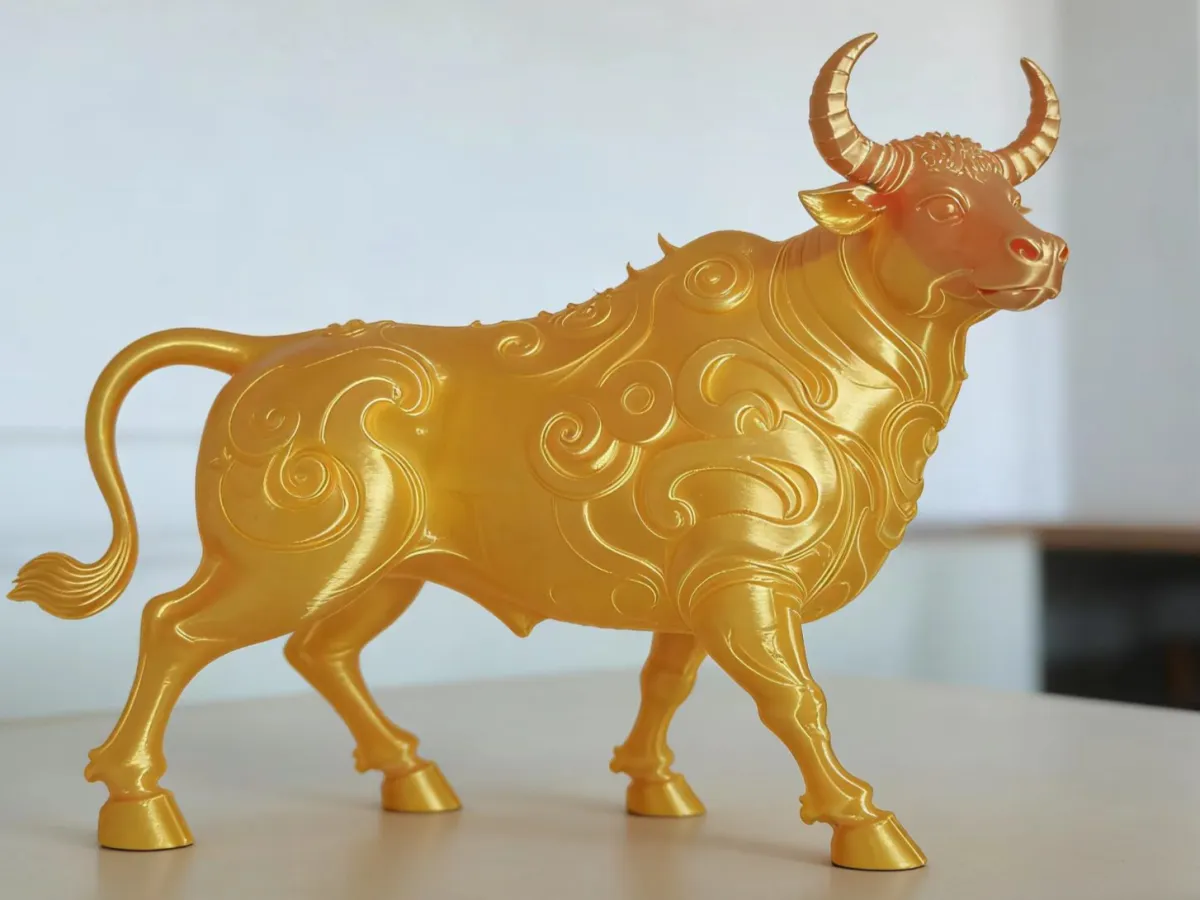
- Print Orientation: Print the model upright with all four hooves facing downward. This stable orientation minimizes overhangs and ensures a solid center of gravity, reducing the risk of warping or shifting during printing.
- Temperature Settings: For PLA+, set the nozzle temperature at 200–220°C and the heated bed at 60°C. When using PETG, increase the nozzle temperature to 230–240°C and raise the bed temperature to 80°C.
2. Sources of Inspiration
- Cultural Symbolism: The golden ox draws inspiration from traditional Chinese culture, where it symbolizes wealth, strength, and good fortune—often associated with auspicious phrases like “the ox turns the tide” or “the golden ox brings blessings.”
- Artistic Style: The design seamlessly blends classic Chinese motifs—such as scrolling foliage and cloud patterns—with modern sculptural aesthetics. The relief patterns adorning the model not only showcase the exquisite craftsmanship of traditional techniques but also align with the structural logic of contemporary 3D printing.
- Design Intent: By emphasizing bold, muscular forms and lavish decorative details, this piece achieves a perfect harmony of power and ornamentation—making it an ideal choice as a New Year’s gift or a sophisticated home decor accent.
3. Printing Requirements
- Support Structures: Always enable support structures, focusing on areas such as the ox horns, tail, under‑suspended legs, and the underside of the cloud patterns on the belly. Tree‑like supports are highly recommended, as they minimize damage to the model’s surface while providing robust support.
- Skirt Thickness: Increase the skirt thickness to 2–3 mm. Given the small contact area of the four hooves, a thicker skirt effectively prevents edge lifting and print displacement.
- Bed Preparation: Apply a thin, even layer of 3D‑printing-specific adhesive or solid glue stick to the print bed to enhance adhesion between the hooves and the build plate, ensuring the model remains securely in place throughout the printing process.
- Post‑Processing Tips: When removing supports, the ox tail and legs are the most delicate areas. Begin by carefully cutting through the main support structure with diagonal pliers, then gently peel away any remaining residue using a small utility knife—avoid applying excessive force or pulling the model apart.
4. Assembly Instructions (One‑Piece Molded Version)
- Seamless Design: This model is printed in a single, integrated piece—no additional assembly required. Once printing is complete, the model is ready to use straight out of the printer.
- Post‑Processing Steps:
1. Remove Supports: Carefully chip away any residual support material from the ox horns, tail, and legs, then smooth the surfaces with fine sandpaper.
2. Sand the Hoof Bases: Smooth the bottom of each hoof to ensure the model sits evenly and stably on its base.
3. Optional Reinforcement: Apply a small amount of 502 super glue into the interior of the legs to reinforce the structure and enhance load-bearing capacity.
4. Surface Finishing: For a more polished, metallic finish, consider spraying a coat of gold metallic paint or clear lacquer over the entire model.
Originality of the Model
The author declares that this work is their personally original model
This model is licensed under the following terms:
Credit must be given to the creator
Models(1)
- 金牛.3mfDesigner

11.19 MB

2026-02-13