







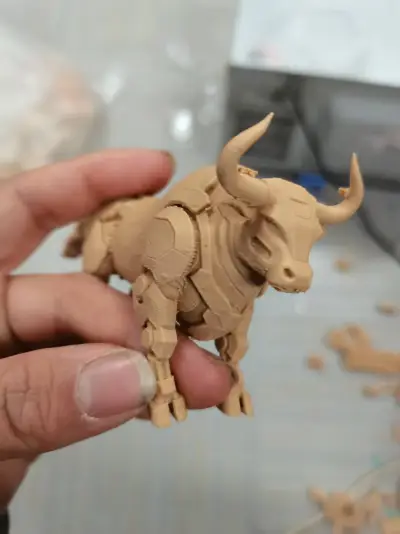
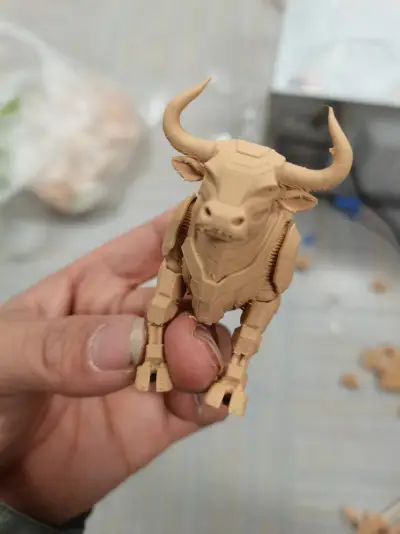
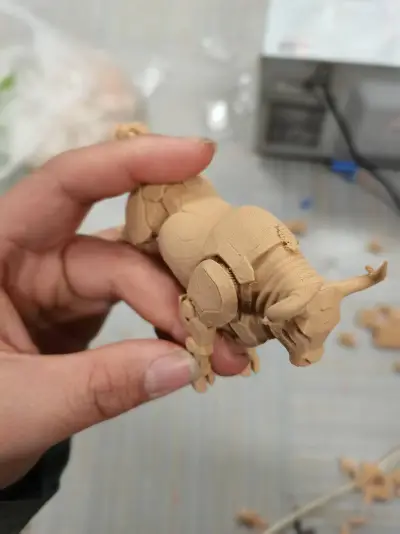
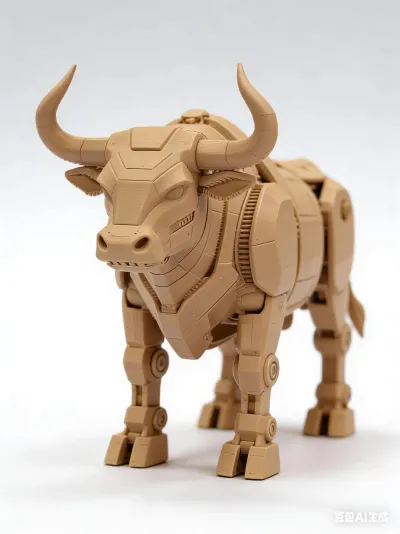
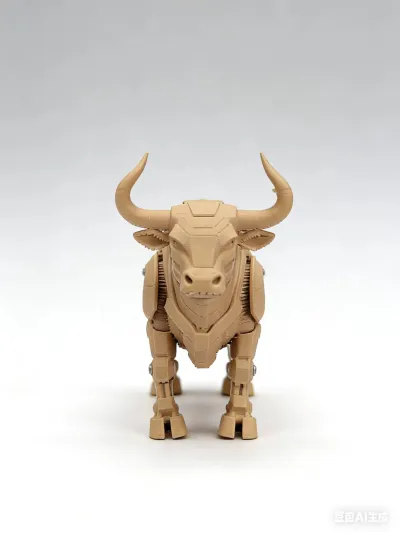

Mechanical Bull
3D Print
FDM Print
No Glue
Hard to Remove Support
Brim Required
Robot Bull
Cyber Bull
Animal Robot
Decor
Figurine
Sculpture
Desk Decor
Home Decor
Chinese Zodiac
Year of the Ox
Strong
Mechanical Design
Print in Place
Detailed Model
Anti Warping
Bed Adhesion
Overhangs
Mechanic

- 0.2 mm layer height, 3‑layer walls, 15% infill density

1-disc
PLA
Designer

14

5
🐂 Mechanical Bull 3D Print Model – Professional Description
1. Inspiration Source
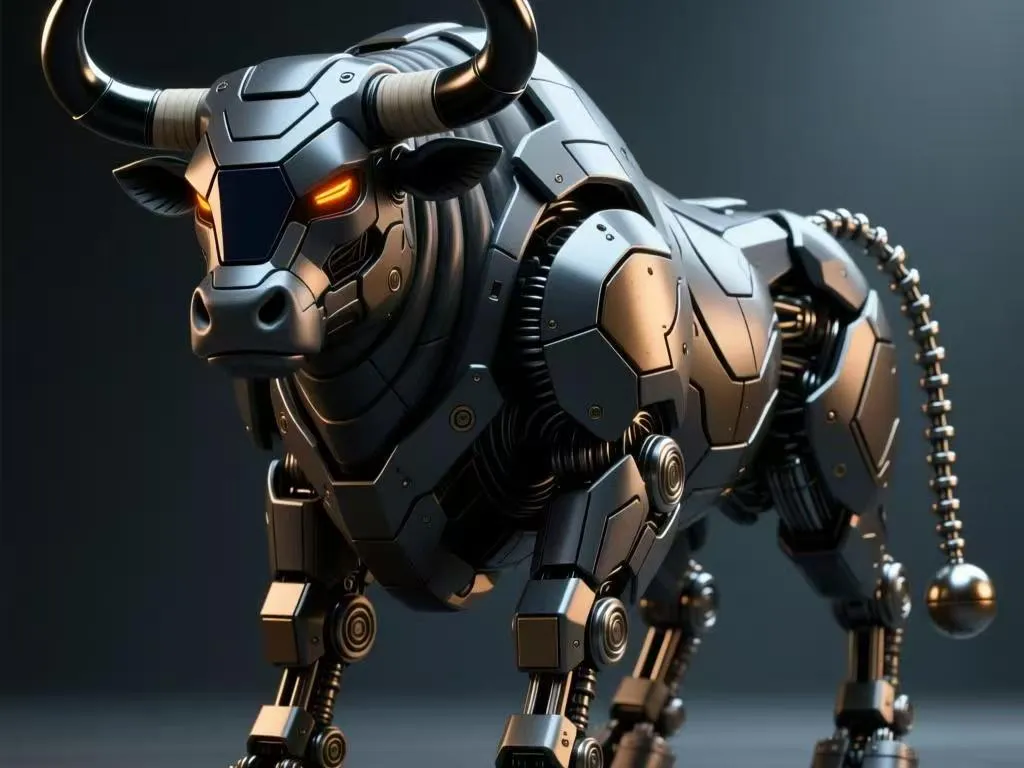
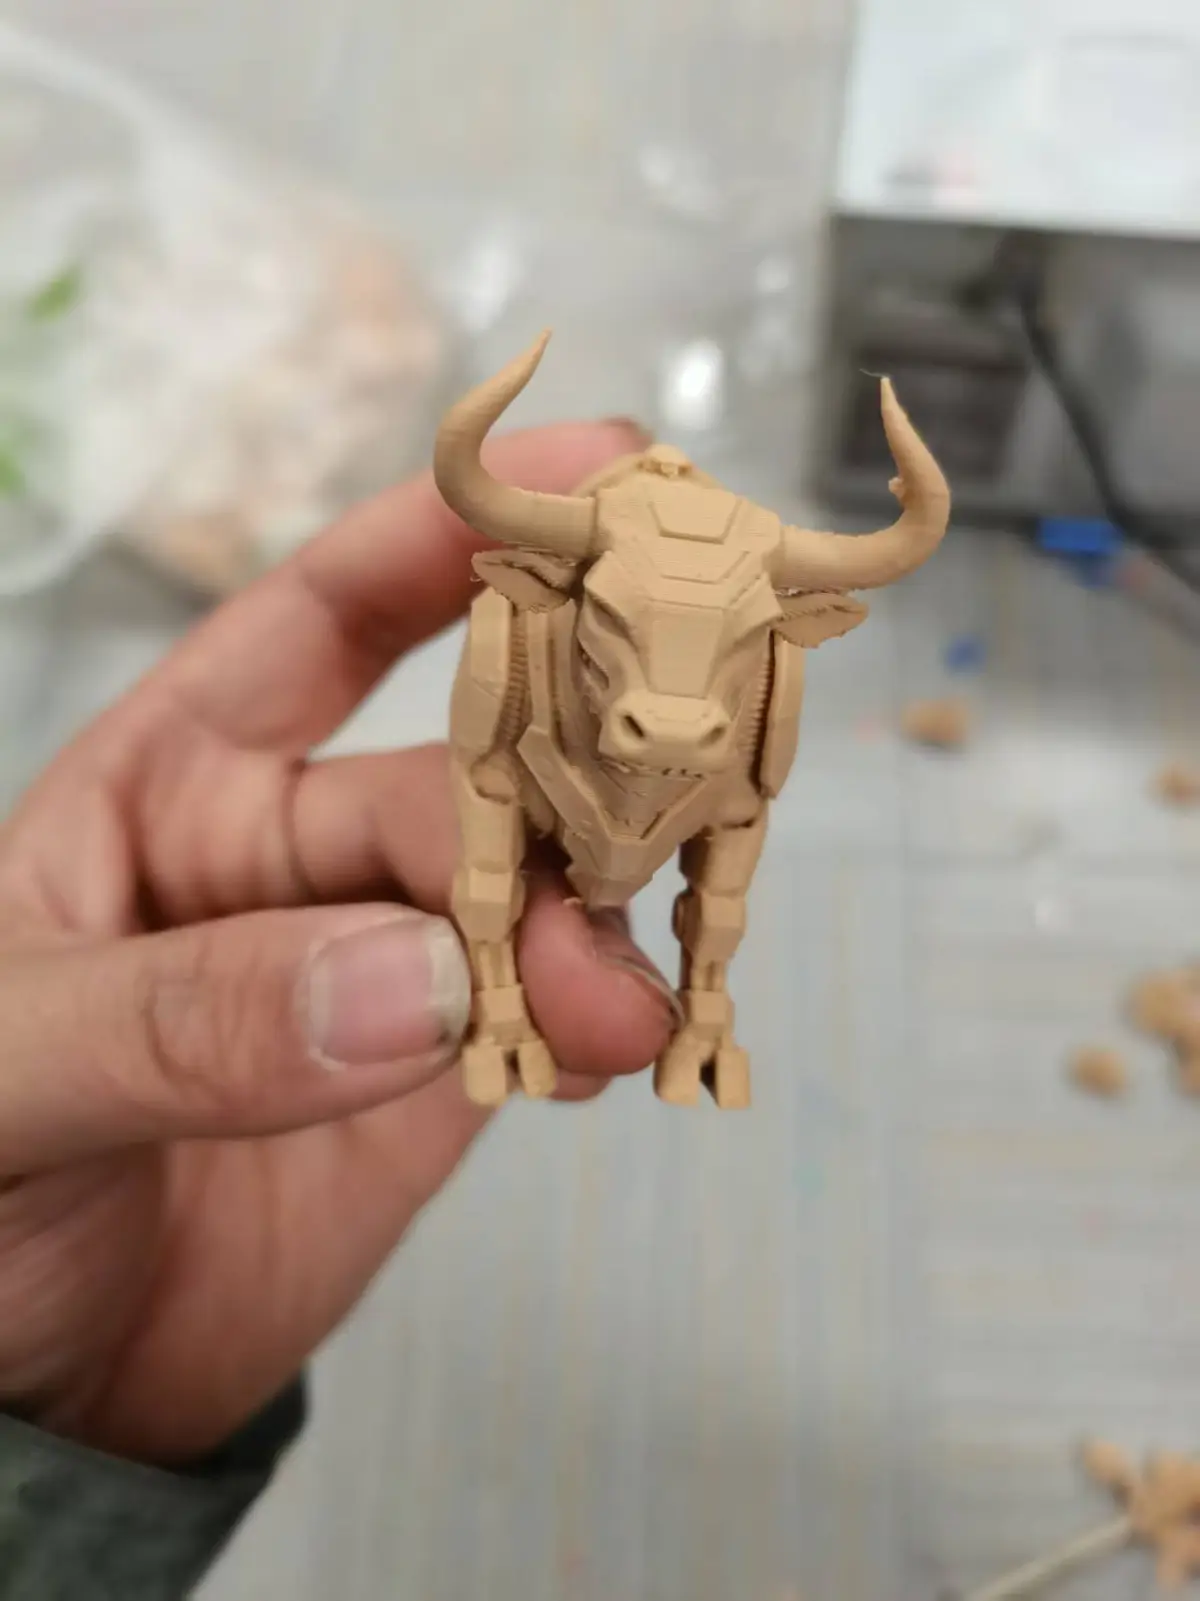
This mechanical bull model draws inspiration from the fusion of industrial machinery aesthetics and the powerful imagery of the bull, a symbol of strength and perseverance in Chinese culture. The design merges organic animal forms with robotic mechanical structures, featuring segmented armor plating, exposed gear joints, and angular horn details. It embodies the spirit of "striving forward" and is a perfect decorative piece for the Year of the Horse, blending traditional symbolism with futuristic mechanical design.
2. Print Requirements
- Technology: Fused Deposition Modeling (FDM)
- Recommended Filament: PLA / PETG (0.2mm layer height for optimal detail)
- Nozzle Size: 0.4mm
- Infill: 15–20% (sufficient for structural integrity)
- Supports: Required (use tree supports for easier removal; focus on legs, tail, and horn overhangs)
- Brim: Required (prevents warping and improves bed adhesion)
- Bed Adhesion: Use a glue stick or hairspray for better first-layer contact
- Special Note: The tail is extremely fragile; print at a slower speed (40–50mm/s) for this section to reduce layer stress.
3. Support Removal Instructions
1. Use flush cutters to snip support structures away from the main body first.
2. For the legs and tail, use a hobby knife to carefully score the support contact points before gently prying them off.
3. The tail has a high risk of fracture during removal; if broken, use cyanoacrylate (super glue) to reattach and sand the joint for a seamless finish.
4. Sand any remaining support marks with 200–400 grit sandpaper to smooth the surface.
4. Assembly Instructions
- No glue required for standard assembly: All parts feature a snap-fit design for easy, tool-free connection.
- Step 1: Align the leg joints with the body sockets and press firmly until they click into place.
- Step 2: Attach the tail to the rear socket, ensuring it is seated securely to prevent wobbling.
- Step 3: If any joint feels loose, apply a tiny amount of glue to the contact area for reinforcement (optional).
- Final Check: Ensure all parts move smoothly without excessive friction; adjust the fit by sanding if necessary.
5. Post-Processing Tips
- Sanding: Use 400–800 grit sandpaper to smooth layer lines and support marks.
- Painting: Prime with a plastic primer, then apply acrylic paints for a metallic or matte finish.
- Weathering: Add dry brushing or washes to enhance the mechanical, industrial look of the model.
Originality of the Model
The author declares that this work is their personally original model
This model is licensed under the following terms:
Credit must be given to the creator
Models(1)
- 机甲牛.3mfDesigner

20.79 MB

2026-02-19


