










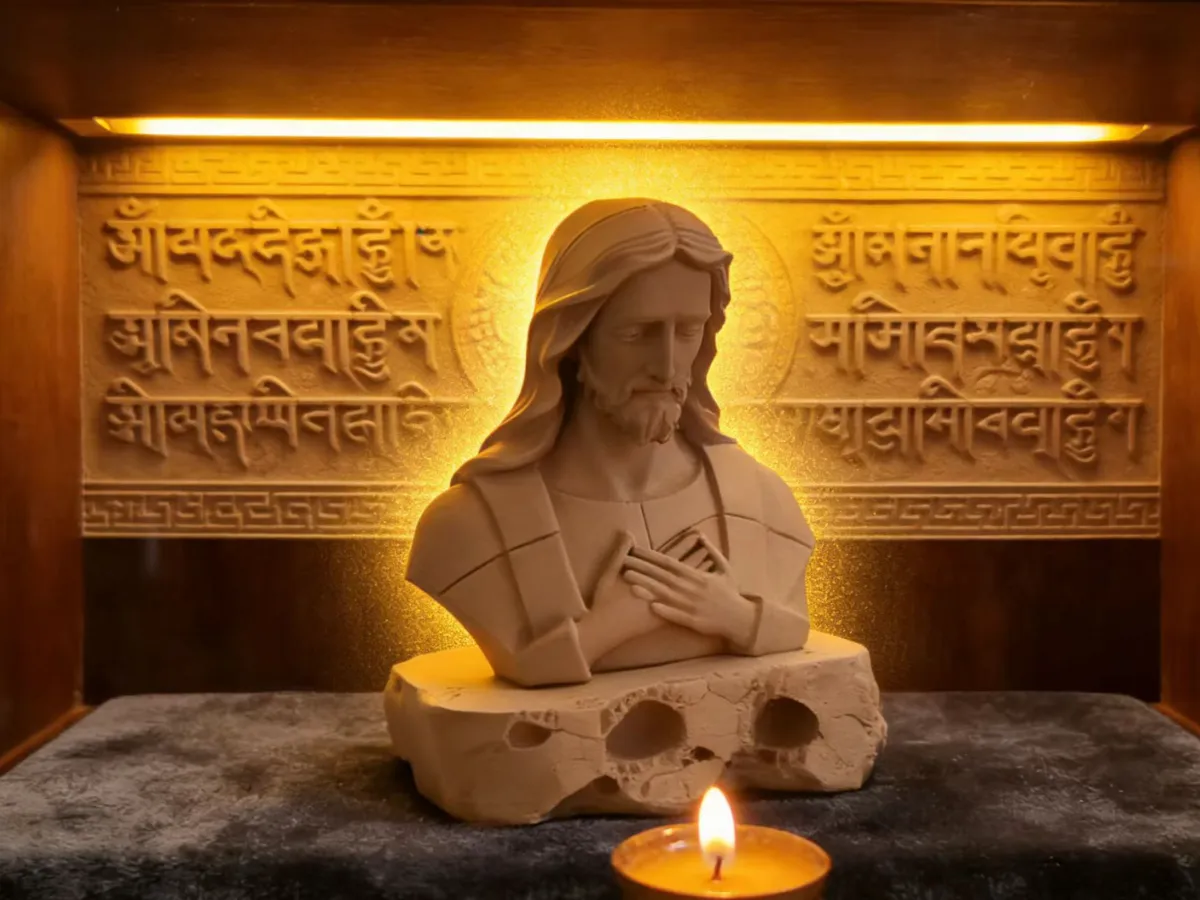
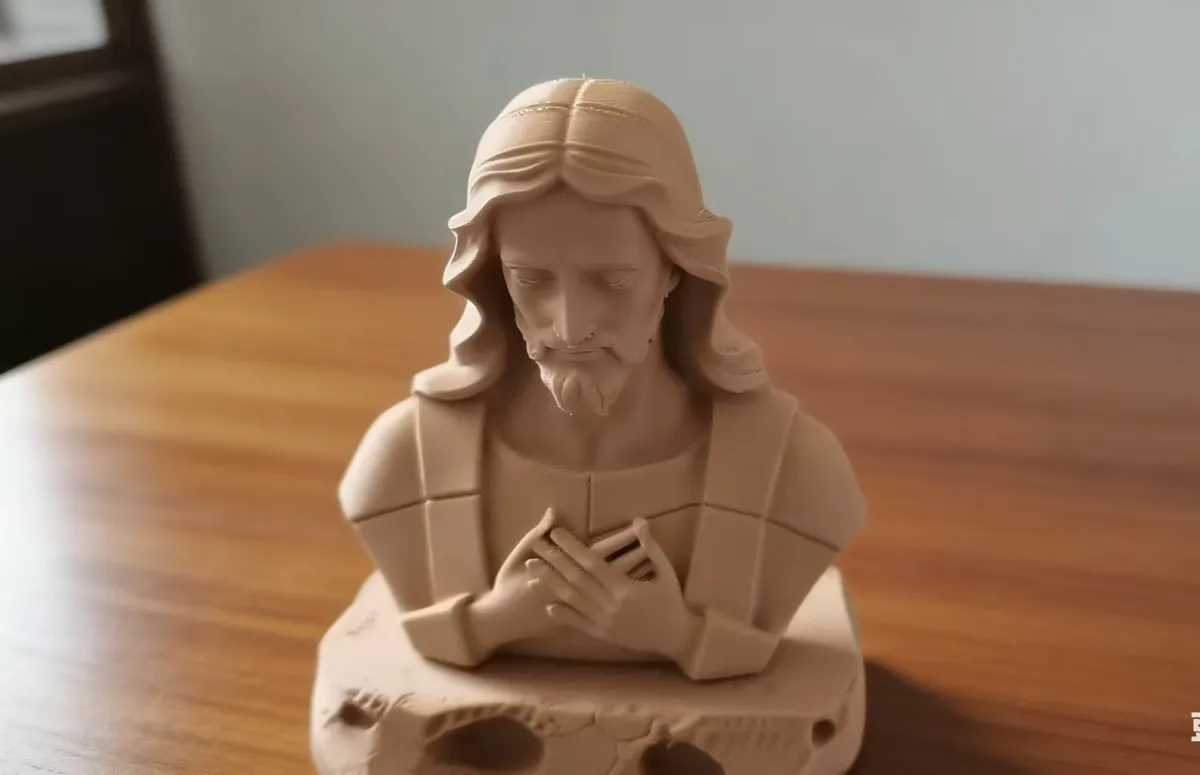

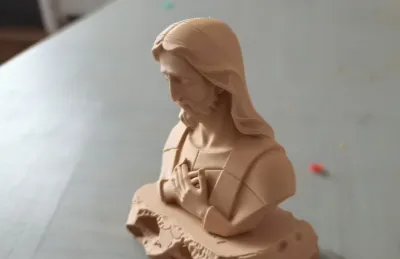
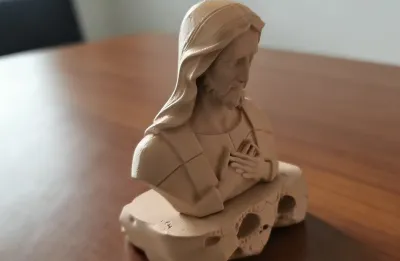

Jesus Statue
Religious Sculptures
3D‑printed Jesus
Jesus Head Model
Religious Ornaments
Jesus figurine
3D Printed Decorative Figurines
Western Religious Art
Jesus Sculpture
3D printed model
European Religious Statues
Religious Collectible Ornaments
3D‑printed finished product: Jesus art sculpture
Christ Sculpture – Church-Style Decorative Piece

- 0.2 mm layer height, 2‑wall walls, 15% infill density

1-disc
PLA
Designer5(1)

91

23
I. Design Origins and Adaptation Rationale
- Core Design Source: Drawing inspiration from the iconic silhouettes and expressive facial features found in classical Western religious art, this design captures the distinctive hair bun textures and refined facial lineages characteristic of religious iconography, aligning with traditional religious aesthetic principles.
- Specific Adaptations & Optimizations: Building upon the classic sculptural forms, we’ve made process‑specific adjustments tailored to 3D printing, simplifying overly intricate details that are prone to breakage while reinforcing the structural integrity of facial contours and hair buns. The design retains the solemn dignity and artistic depth of religious imagery, while also ensuring high print success rates and preserving the overall integrity of the finished piece.
II. Core Printing Requirements (with a Focus on Protecting Delicate Areas)
1. Support Configuration
- Support Types: Employ global tree‑like supports paired with localized point supports for facial areas, hair buns, and any overhanging edges; avoid using large‑area lattice supports to prevent occlusion of delicate facial textures.
- Density & Contact: Maintain an overall support density of 15%–20%, increasing local support density around the hair bun to 25%; use contact points with a diameter of just 0.2 mm and limit contact height to only 2 layers to minimize residual support material.
- Angle Thresholds: Set the global support angle at 40°, while reducing the angle for small‑angle overhangs in the hair bun region to 35°—a balance that prevents collapse while optimizing support usage.
- Support Removal Tips: Gently lift support connections with fine tweezers; avoid forcibly prying at facial or hair bun areas. For areas where support is tightly adhered, lightly score the interface with a rounded craft knife to separate the support without risking damage to delicate features.
2. Skirt and Bed Adhesion
- Skirt Parameters: Apply 1–2 layers (layer height 0.2 mm), with a width of 8–10 mm and a distance of 3 mm from the model base; print at 40 mm/s to enhance adhesion while preventing the model from sticking to the build plate.
- Adhesive & Platform: Apply a thin coat of 3D‑print‑specific solid glue or PVA water‑based adhesive, focusing on the contact area between the model and the build plate. For PLA, maintain a platform temperature of 50–60°C; for PETG, set the temperature at 70–80°C to ensure consistent thermal control and minimize warping or shifting along the edges.
3. Basic Print Settings
- Filament & Temperature: We recommend using PLA in off‑white or light coffee tones, suited to religious aesthetics. Maintain a nozzle temperature of 200–210°C throughout the print to ensure even extrusion and prevent uneven flow.
- Layer Height & Infill: Use a main layer height of 0.2 mm, reducing it to 0.15 mm for fine details on the face and hair bun; set infill density at 30%–35% to ensure robustness without adding unnecessary bulk.
- Cooling & Speed: Run the fan at 100% speed for facial and intricate areas, printing at 30–40 mm/s; for the main body, use a 70% fan setting and print at 50–60 mm/s to accelerate curing and reduce deformation.
4. General Printing Considerations
- Before printing, calibrate the nozzle precision to avoid missing delicate facial textures; during printing, maintain a stable ambient temperature to minimize filament shrinkage and distortion.
- After printing, allow the model to sit at room temperature for 24 hours to fully cure before post‑processing—avoid operating in high‑temperature environments.
III. Assembly & Post‑Processing Instructions
1. Assembly Preparation
This model is designed as a single‑piece, integrated print—no disassembled components, no need for assembly or joining. Once supports are removed and any residual material is carefully sanded down, the model is ready for direct use.
2. Post‑Processing Steps
1. After removing all supports, lightly sand any remaining support marks with 400‑grit fine sandpaper. For facial and hair bun areas, wrap a cotton swab with sandpaper and gently polish—avoid aggressive sanding that could compromise the model’s contours.
2. For finer finishing, use 600‑grit sandpaper for a second round of polishing to smooth the surface further while preserving the model’s textured finish and three‑dimensional depth.
3. If coloring is desired—especially to align with religious aesthetics—apply matte pigments in light coats. Lightly blend colors along the facial contours to accentuate definition; before painting, apply a thin primer coat to enhance pigment adhesion. After coloring, allow the model to air dry at room temperature for 24 hours.
3. Finished Model Placement & Protection
1. When handling, grip the model by its base or the rear of the head—avoid touching fragile areas such as the face or hair bun—to prevent impacts or fractures.
2. Keep the finished model away from high‑temperature or humid environments to prevent filament deformation; for routine cleaning, use a soft, dry cloth to gently wipe the surface—never rinse directly with water.
Originality of the Model
The author declares that this work is their personally original model
This model is licensed under the following terms:
Credit must be given to the creator
Models(1)
- 耶稣.3mfDesigner

2.84 MB

2026-02-21


