




rotary display
arduino

- 0.2mm layer, 2 walls, 15% infill

2-disc
PLA
Designer

21

4
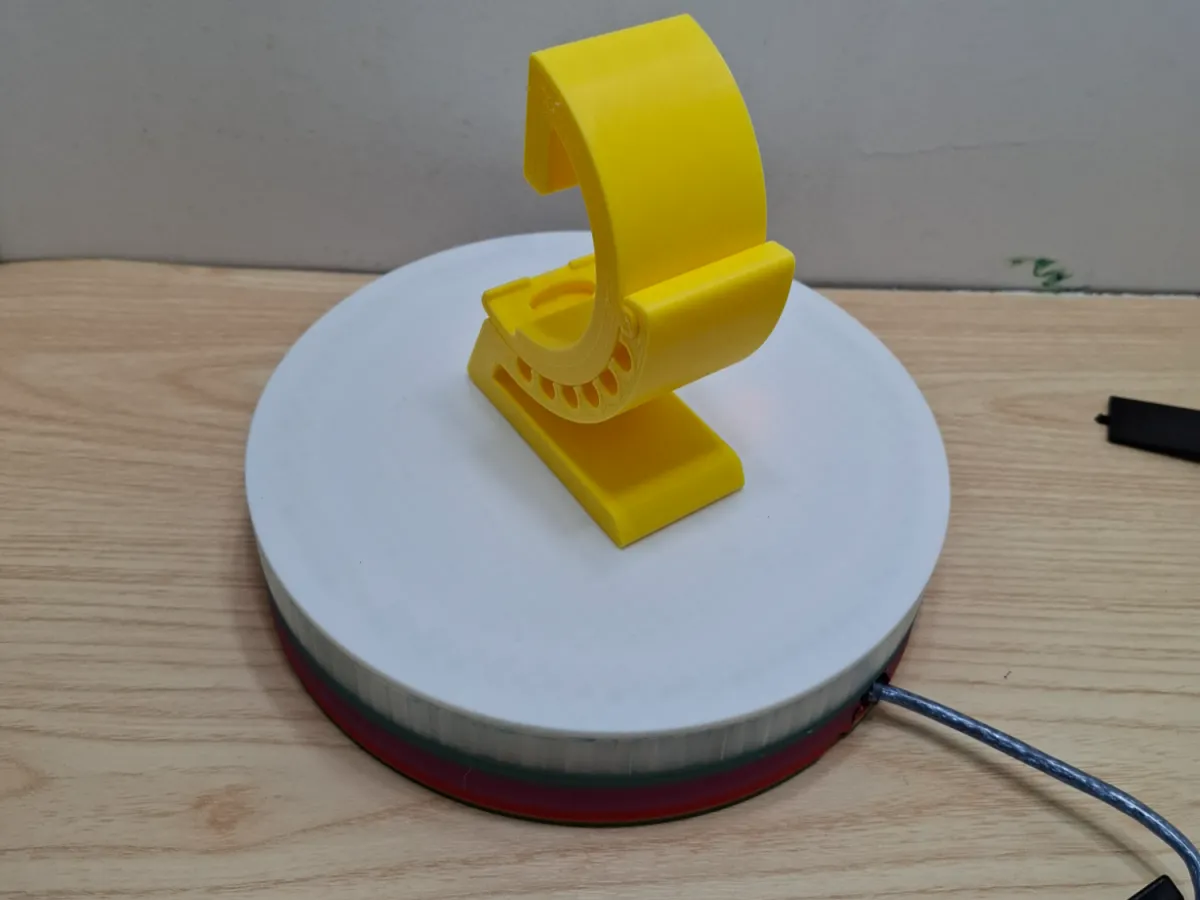
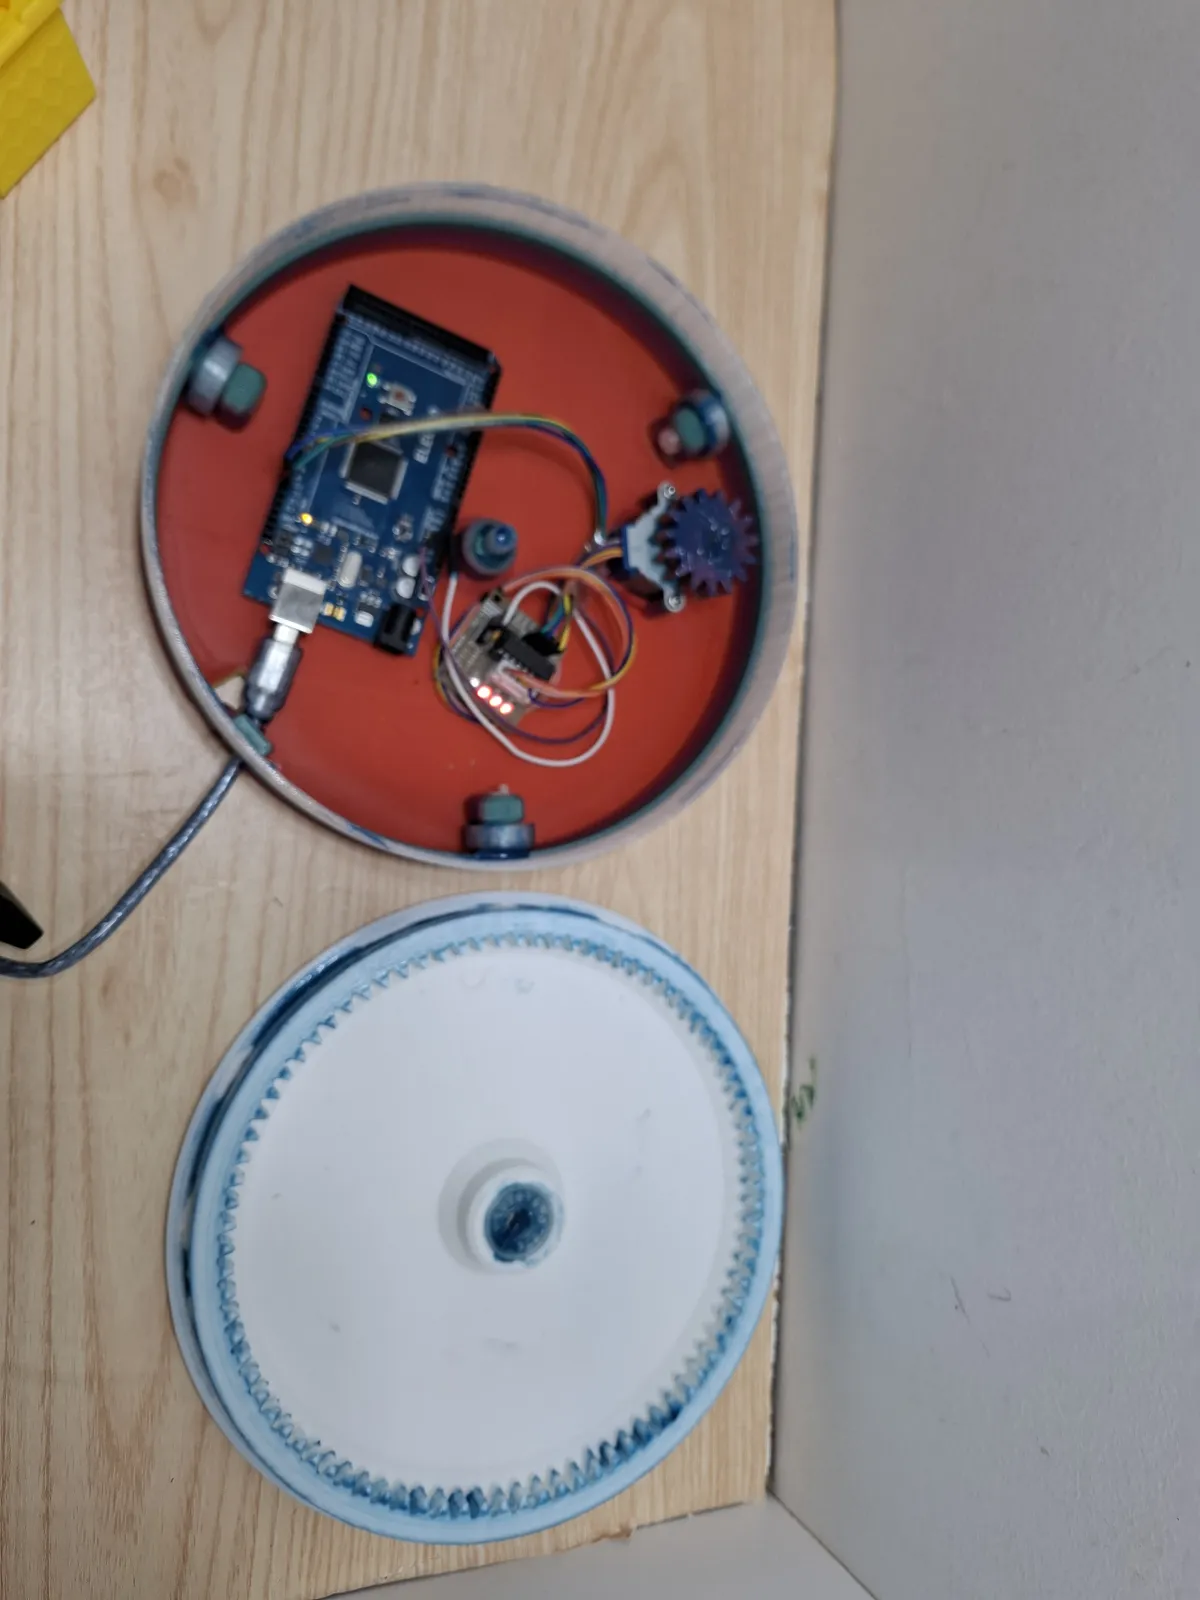
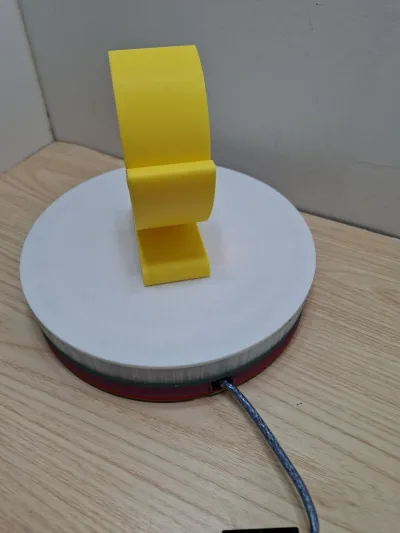
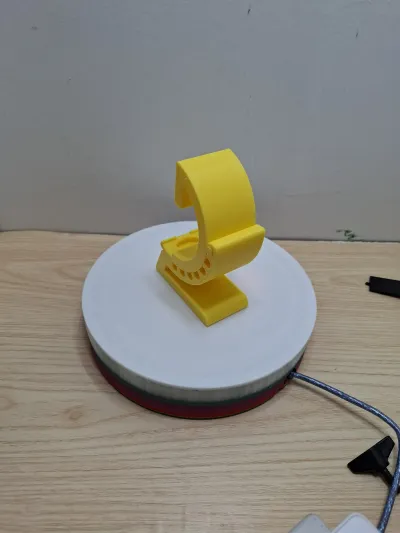
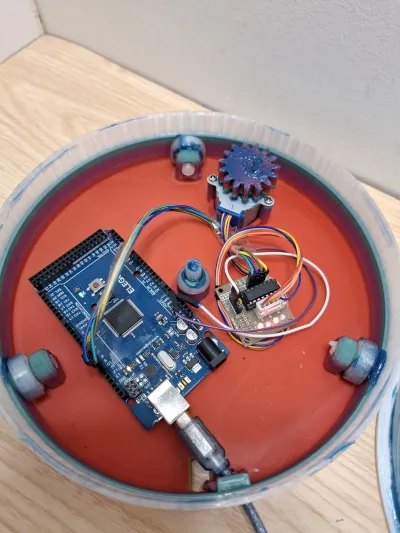
I find this model from Milicjovan and I like how simple it is with just basic stuff. I then run into the problem that the original model have some tolerance issues, is missing the code and I saw a few having the same problem so I remix it fixing all the issues I find and added the code for an arduino board with a 28BYJ-48 stepper motor and a Driver (ULN2003).
It works really good and with the code I been able to get it to spin with around 500g on top. If anyone know about electronic ( I am new to this part of 3D printing) I would like to know how can I upgraded with a better motor to have more speed, as the plate takes around 2 min to do a full spin and I need it to take videos of my prints.
Really good for 3D scanning tho and still work for my purpouse just not really efficiently.
hardware :
-Arduino
-28byj-48 stepper motor with driver
-4x 608 bearing (8x22x7mm)
-2 screws to mount the motor
PD: YES, I used 3D printed bearing and It works pretty good and YES, I put grease (automotive one, only I had at the time) everywhere making a mess hahaha but It did help reducing the friction and noise.
CODE:
// Include the Stepper library.
// This library comes with the Arduino IDE and simplifies controlling stepper motors.
#include <Stepper.h>
// Define the number of steps per revolution for your motor.
// Common values are 200 (for 1.8 degree/step motors) or 48 (for 7.5 degree/step motors).
// Check your stepper motor's datasheet for this value.
const int stepsPerRevolution = 200; // Change this to match your motor's specifications
// Create an instance of the Stepper library, specifying the number of steps
// and the pins connected to the motor driver.
// The order of pins might vary depending on your driver (e.g., ULN2003, A4988).
// For a 4-wire unipolar stepper motor directly connected to Arduino via a driver like ULN2003:
// Pin 1 (IN1) -> Arduino Pin 8
// Pin 2 (IN2) -> Arduino Pin 9
// Pin 3 (IN3) -> Arduino Pin 10
// Pin 4 (IN4) -> Arduino Pin 11
Stepper myStepper(stepsPerRevolution, 8, 9, 10, 11);
void setup() {
// Initialize serial communication for debugging purposes.
// This allows you to see messages in the Serial Monitor.
Serial.begin(9600);
Serial.println("Stepper Motor Control Started");
// Set the speed at which the motor will turn.
// This is in RPM (Revolutions Per Minute). Adjust as needed.
myStepper.setSpeed(30); // Set motor speed to 60 RPM
}
void loop() {
// Step the motor one full revolution in one direction.
Serial.println("Moving clockwise...");
myStepper.step(stepsPerRevolution); // Move motor by 'stepsPerRevolution' steps
}
I am also gonna add a word file with the code just in case but is should be the same.
Bill of materials
- NameQuantityNotes
- 1Arduino1
- 228byj-48 stepper motor with driver1
- 3608 bearing (8x22x7mm)4
- 4screws to mount the motor2
Originality of the Model
The author declares that this work is their personally remixed model
This model is licensed under the following terms:
Credit must be given to the creator
Only noncommercial uses of the work are permitted
Remixes must be shared under the same license
Models(1)
- base creality.3mfDesigner

480.42 KB

2026-01-05


