




kitchen
organizer
holder
wall mount
storage
kitchen roll
dispenser
kitchen tool
plastic wrap
kitchen gadget
kitchen organization
kitchen aid mixer
saran
saran wrap
members mark
sams club
food film

- 0.2mm layer, 2 walls, 15% infill

2-disc
PLA
Designer

29

6
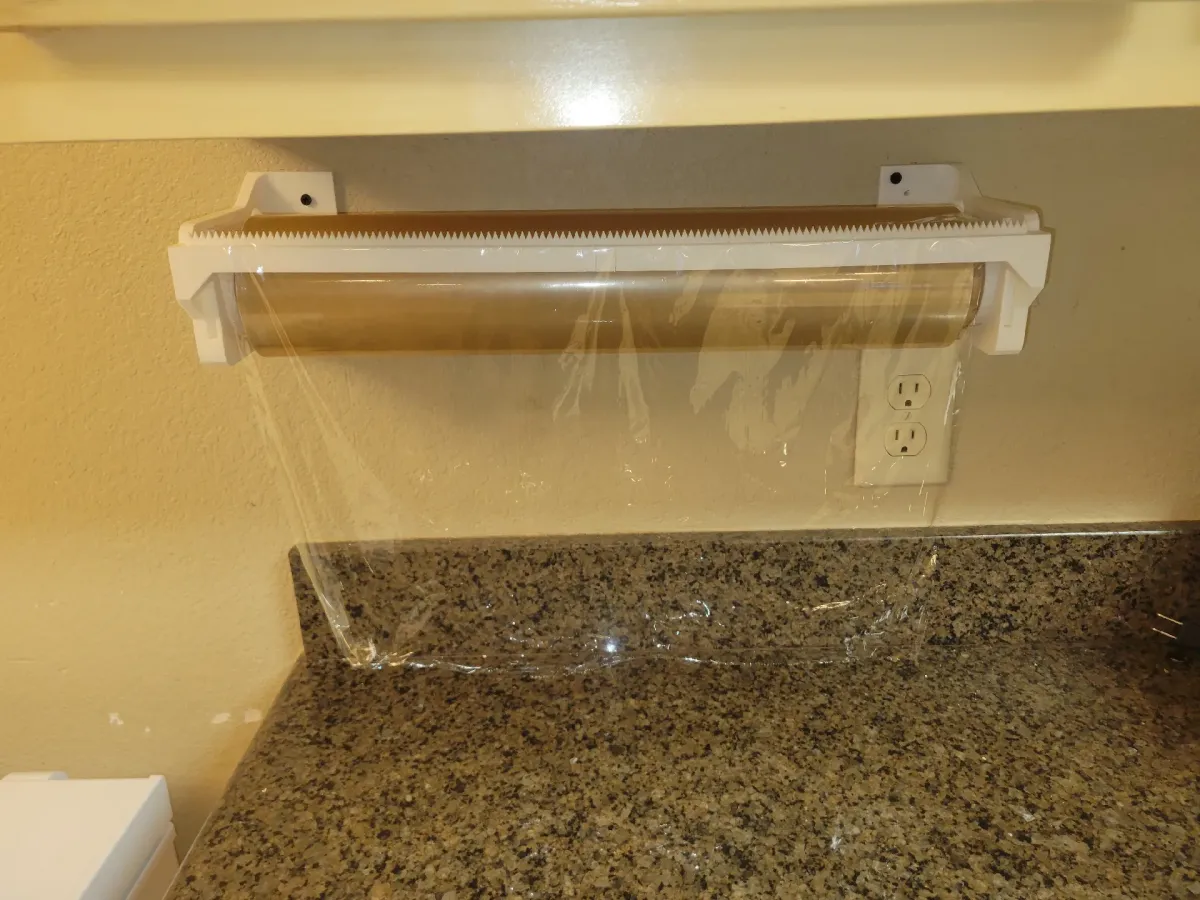
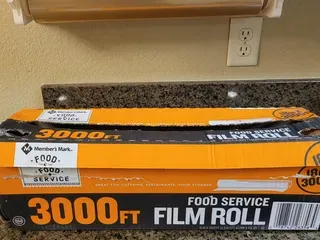
Tired of that massive Member's Mark Food Service Film box taking over your kitchen counter?
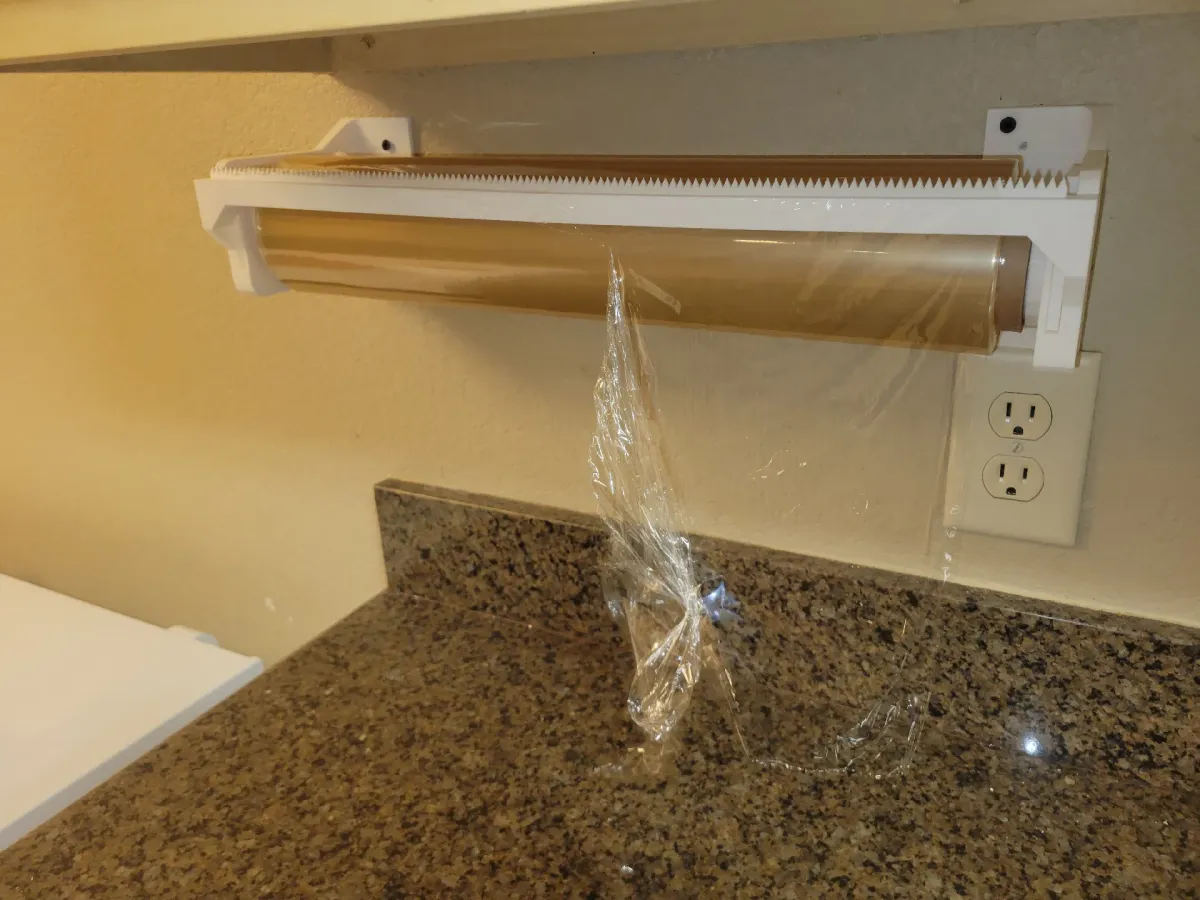
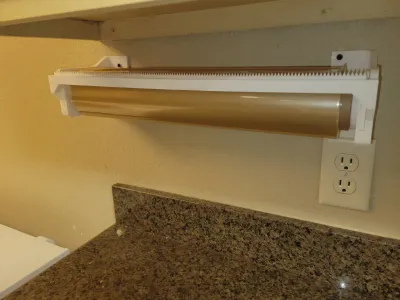
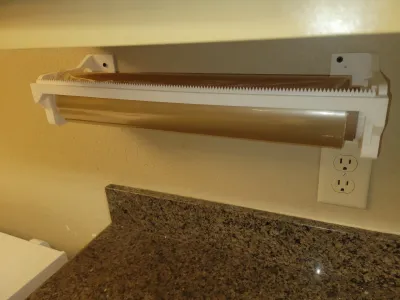
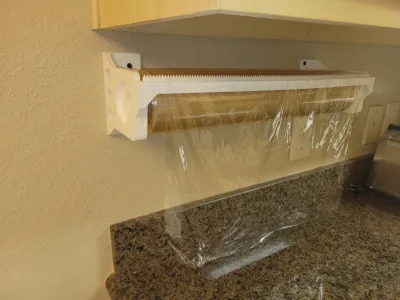
This sleek, low-profile wall mount gets the box off your counter and frees up valuable workspace.
Custom-designed to hold the 18in x 3000ft roll (spool length 470mm) sold at Sam's Club, this mount features an integrated 3-piece cutter and a simple slide-in, slide-out system for quick roll changes. My kitchen feels so much cleaner and more organized now—and I hope yours will too!
✨ Key Features
- Reclaim Your Counter: Gets the bulky box out of your workspace.
- Custom Fit: Designed for Member's Mark 18in x 3000ft Food Service Film roll.
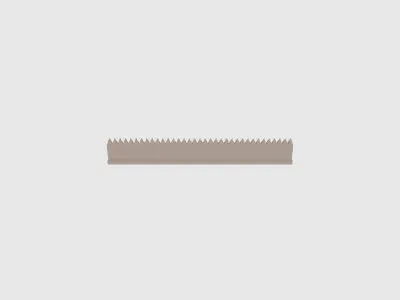
- Integrated Cutter: Three slide-in blades for smooth, easy cuts.
- Quick Roll Changes: Two-piece spool holders let you lift out an empty roll and drop in a new one.
- Sturdy Mounting: Securely attaches to your wall with screws.
🧩 Parts List
Print the following files (filenames included):
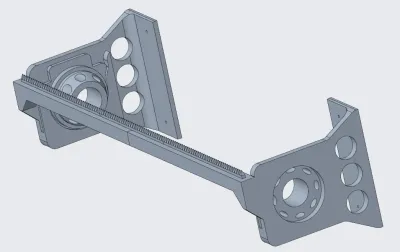
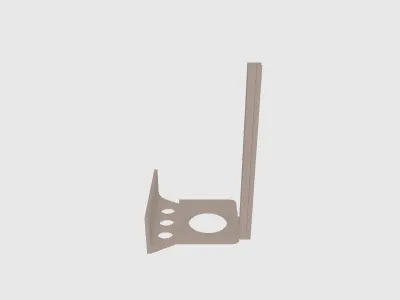
- saran_wall_mount_left → 1x
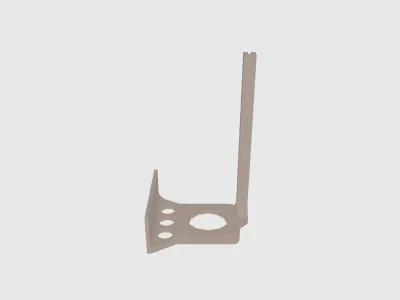
- saran_wall_mount_right → 1x
- saran_spool_holder_x2 → 2x
- saran_cutter_x2 → 2x (outer blades)
- saran_cutter_middle → 1x (center blade)
🔩 Hardware Required
- Screws appropriate for your wall type (e.g., wood screws for studs, drywall anchors + screws for drywall).
🖨️ Printing Instructions
- Material: Standard PLA (PETG recommended for extra strength)
- Layer Height: 0.2mm
- Infill: 15% (25%+ for wall mounts if you want extra durability)
- Supports:
- Required: saran_wall_mount_left & saran_wall_mount_right
- Not Required: All other parts (depending on orientation)
🛠️ Assembly & Installation
- Print & Prep
- Print all parts
- Remove support material and clean up prints
- Install Cutter Blades
- Slide saran_cutter_x2 parts into the left and right slots
- Insert saran_cutter_middle into the center slot
- Mark the Wall
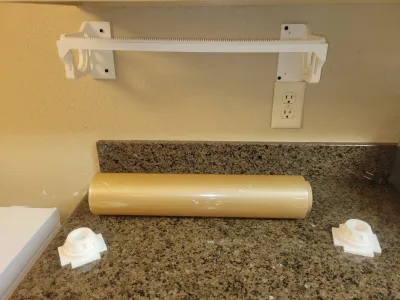
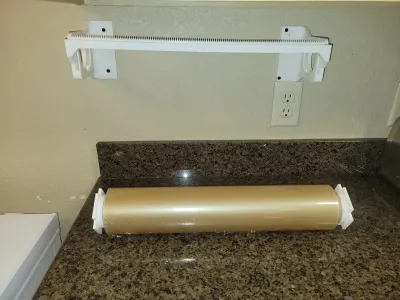
- Insert spool holders into the roll ends
- Hold the roll + mounts against the wall and mark screw hole positions
- Mount to Wall
- Secure left and right mounts with screws
- Use a level to keep them straight
- Install the Roll
- Drop the roll (with spool holders) into the vertical slots
- To replace, just lift the old one out and slide the new roll in
📸 About the Photos
I’ve included:
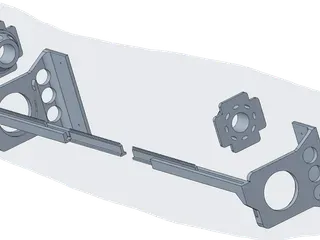
- A 3D exploded view
- Step-by-step assembly pictures
Originality of the Model
The author declares that this work is their personally original model
This model is licensed under the following terms:
Credit must be given to the creator
Remixes must be shared under the same license
Models(6)
 saran_cutter_middle.stlDesigner
21.76 KB

2025-08-23
 saran_cutter_x2.stlDesigner
27.04 KB
2025-08-23
 saran_spool_holder_x2.stlDesigner
77.82 KB
2025-08-23
 saran_wall_mount_left.stlDesigner
28.89 KB
2025-08-23
 saran_wall_mount_right.stlDesigner
26.55 KB
2025-08-23
- saran_wrap_wall_mount.3mfDesigner
169.25 KB
2025-08-23
View all(6)


