





RC
Arrma
Limitless
Active
Aerodynamics
Servo
Arrma 6s
Arrma Limitless
speedrun
12s
6s

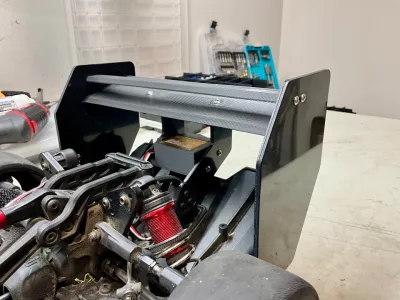 Full Kit/Standard Servo 0.2mm layer, 3 walls, 60% infill
1-disc
PLA
Designer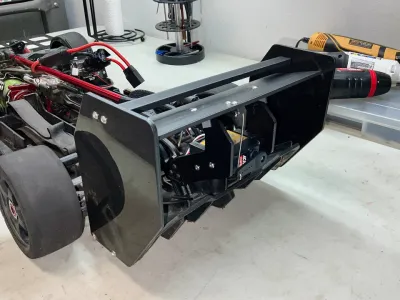 Full Kit/LP Servo 0.2mm layer, 3 walls, 60% infill
1-disc
PLA
Designer

45

9
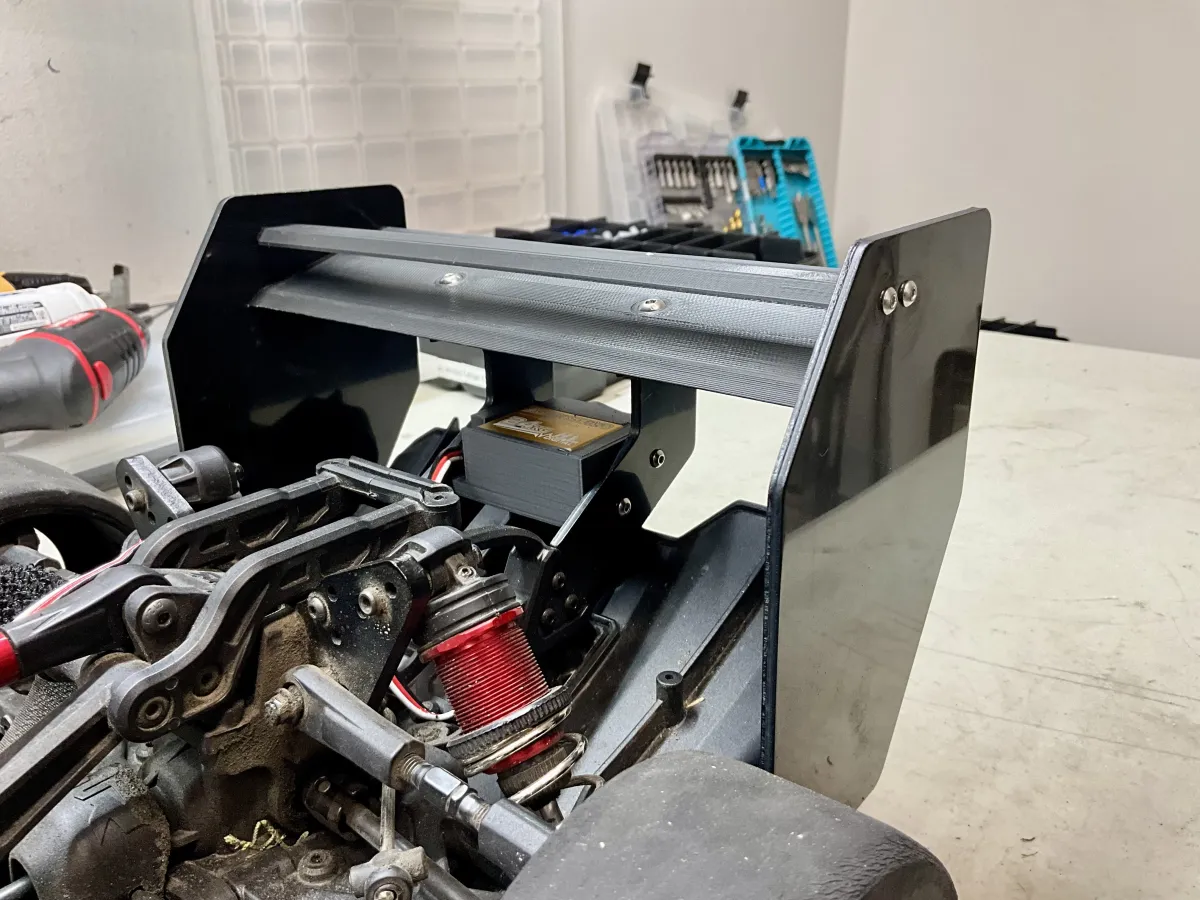
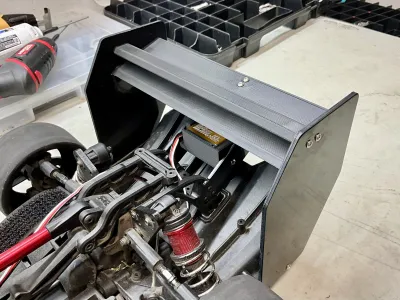
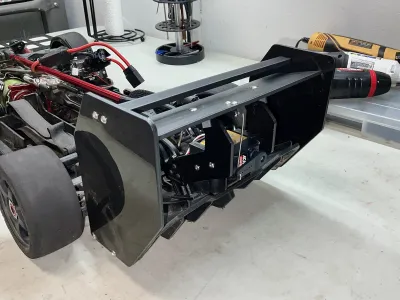
I wanted more control over downforce on my Arrma Limitless as I use it as both a drift car and a speed run car, and the only commercial kit I could find was way too expensive. So I decided to do it myself, and I made this kit which enables active downforce with zero modifications.
I've tried my best to make it as aerodynamic as possible, so the parts that are exposed to airflow have been tapered and curved to allow smooth and undisturbed airflow.
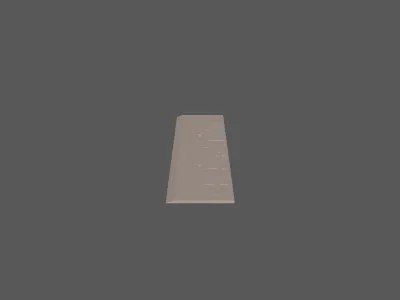
You can either use the standard spoiler, or message me with the speed you want emblazoned on the spoiler. If you decide to do this, you'll likely want to use the LP stabilizer bracket to see the text better.
Alternatively, you can also just add your own text in TinkerCAD with the included SCAD text generator/font, but risk blocking the screw holes. If you decide to do this anyway, make sure you install the 911 font first (it was not me who misspelled it and it makes me crazy lol), or you can use whatever font you'd like (specify in the simple OpenSCAD file)
🛠️ Items Required
High speed standard servo with decent torque
Servo horn at least 30mm long (hole to hole)
Airplane style linkage about 55mm long
Free channel on RX/Radio
Hardware
Update - revised servo mounts so they are more durable and fit a wider array of servos, and I also added an Low Profile servo version that happens to save up to 18g of weight compared to a normal servo/mount combo.
Installation
First, remove the stock wing and vertical stabilizers from the rear assembly. You'll need to remove the 4 screws on each vertical stabilizer (note that two are on the inside) , and the stabilizers should come away from the car. Next, remove the two top screws which hold the stock lexan wing in.
Additionally, you'll need to remove the four screws which hold the two small brackets that attach the wing to the rear assembly.
Now that the rear assembly is mostly free from obstruction, you can now remove the four screws which hold in the lower bracket (this bracket sits below the wing and has a criss-cross shape)
Now, you can begin the easy process of adding the printed active aero components.
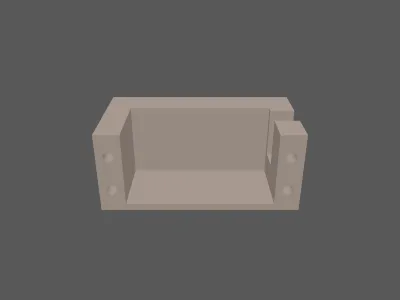
First, install your choice of servo into either the "Servo Mount" if you have a normal large servo or "Servo Mount LP" if you have a low profile servo with 4 M3x12 screws.
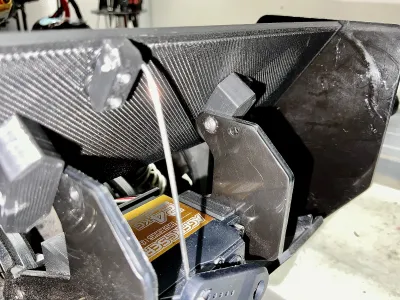
Next, grab the two "Spoiler Pivots" and mount them to the holes closest to the inside of the car with the stock screws that came out of the stock wing mounts.. Don't actually tighten them down, but leave just enough play for them to pivot smoothly back and forth. You can see how this works in the attached photo.
Now, grab the spoiler and attach the "Spoiler Linkage Mount" onto the bottom using the extra two M3 screws from the old wing mounts.. Make sure you install it in the correct direction, otherwise it could impact airflow and rotation.
Now, use 2 M4x8 screws to attach the spoiler assembly to the spoiler pivots.After that, screw the stock vertical stabilizers back into the stock rear diffuser with the lower screws.
We're almost done!
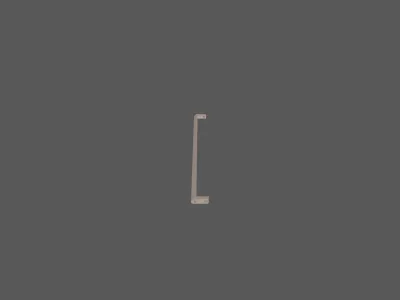
At this point, make sure the wing articulates smoothly on its axis. If it does, you can now attach the "Upper Stabilizer Bracket" to the holes in the top of the vertical stabilizers using M3x16 screws. Make sure the tapered edge of the bracket faces the front of the car for better airflow.
Now, attach your choice of linkage between the spoiler linkage mount and a servo horn at least 30mm long (hole to hole). Depending on your servo, you'll need about 75% of its total travel for the wing. Keep that in mind when you install the servo horn onto the servo.
Now your active aero should be functioning! Enjoy :)

Programming Ideas
Basic Programming
After setting the appropriate endpoints on the wing channel, simply mix it to your throttle so that the wing flattens on acceleration and comes up during braking. This will be best if you have a standard radio or don't need fancy features.
Advanced Programming
On my RadioMaster MT12 (Which, in my opinion, is the best surface radio on the planet) I did multiple different things to make the active downforce super useful.
I first set up some driving modes that set the wing at certain positions for most driving scenarios.
The first mode sets the wing at a moderate angle for general driving, enough downforce to corner but allowing high speed as well.
The second mode positions the wing at a pretty aggressive angle to allow for planted handling at moderate speed.
The third mode sets the wing almost flat to maximize airflow for super high speed runs above 100mph.
In addition to the modes, I also have two overrides - when I brake over 30%, the wing instantly goes almost vertical to act as an airbrake, and another override that levels the wing if the throttle is above 90% for more than 2 seconds.
Bill of materials
- NameQuantityNotes
- 1M4x8 BCS2Main Wing Attachments
- 2M3x12 BCS4Mounting Servo
- 3M3x6/M3x164If you are using the LP bracket, you'll need a short M3 screw, I believe M3x6. If you are using the standard one, you'll need M3x16.
- 430mm Servo Horn1Actuating wing, should be about 30mm hole to hole.
- 555mm Metal Airplane Style Linkage1Actuating wing
- 6High Speed Servo1I've used an AGF 24kg, a Spektrum S662, and a AGF 20kg LP successfully and I recommend a servo faster than 0.08/60°
Originality of the Model
The author declares that this work is their personally original model
This model is licensed under the following terms:
Credit must be given to the creator
Remixes must be shared under the same license
Models(11)
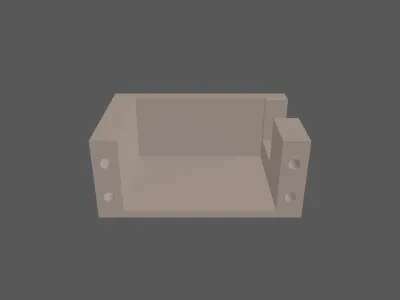 Uni Servo Mount.stlDesigner
118.64 KB

2025-08-23
 LP Servo Mount.stlDesigner
98.91 KB
2025-08-23
 115+ Spoiler.stlDesigner
124.59 KB
2025-08-23
 LP Upper Stabilizer Bracket.stlDesigner
100.96 KB
2025-08-23
 Spoiler Text Gen.scadDesigner
1.30 KB
2025-08-23
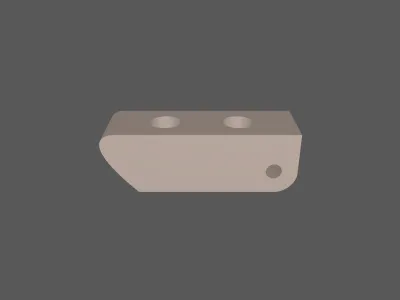 Spoiler Linkage Mount.stlDesigner
56.53 KB
2025-08-23
 Spoiler Pivots.stlDesigner
94.22 KB
2025-08-23
 Upper Stabilizer Bracket.stlDesigner
98.52 KB
2025-08-23
 Blank Spoiler.stlDesigner
102.13 KB
2025-08-23
- Full Kit, Standard Servo.3mfDesigner
128.77 KB
2025-08-19
- Full Kit, LP Servo.3mfDesigner
124.39 KB
2025-08-19
View all(11)
Attachments(1)
zip
Font for OpenSCAD.zip
14.08 KB
2025-08-23


