

Cute Opera Kids
Chuan Opera–Themed Cute Kids
New Year Decorations
Festive Decorations
3D‑Printed Opera
Integrated Molding
Assembly-Free
Desktop Decorations
Office Decorative Items
Home Decor
New Year Gift
Cultural and Creative Products
3D‑printed figurines
Cute Chinese Style
Traditional Opera
Cute Kids with Folding Fans

- 0.2 mm layer height, 3‑layer walls, 15% infill density

1-disc
PLA
Designer

2

0
1. Sources of Inspiration and Design Philosophy
(1) Cultural Roots: A Fusion of Traditional Opera and New Year’s Festivities
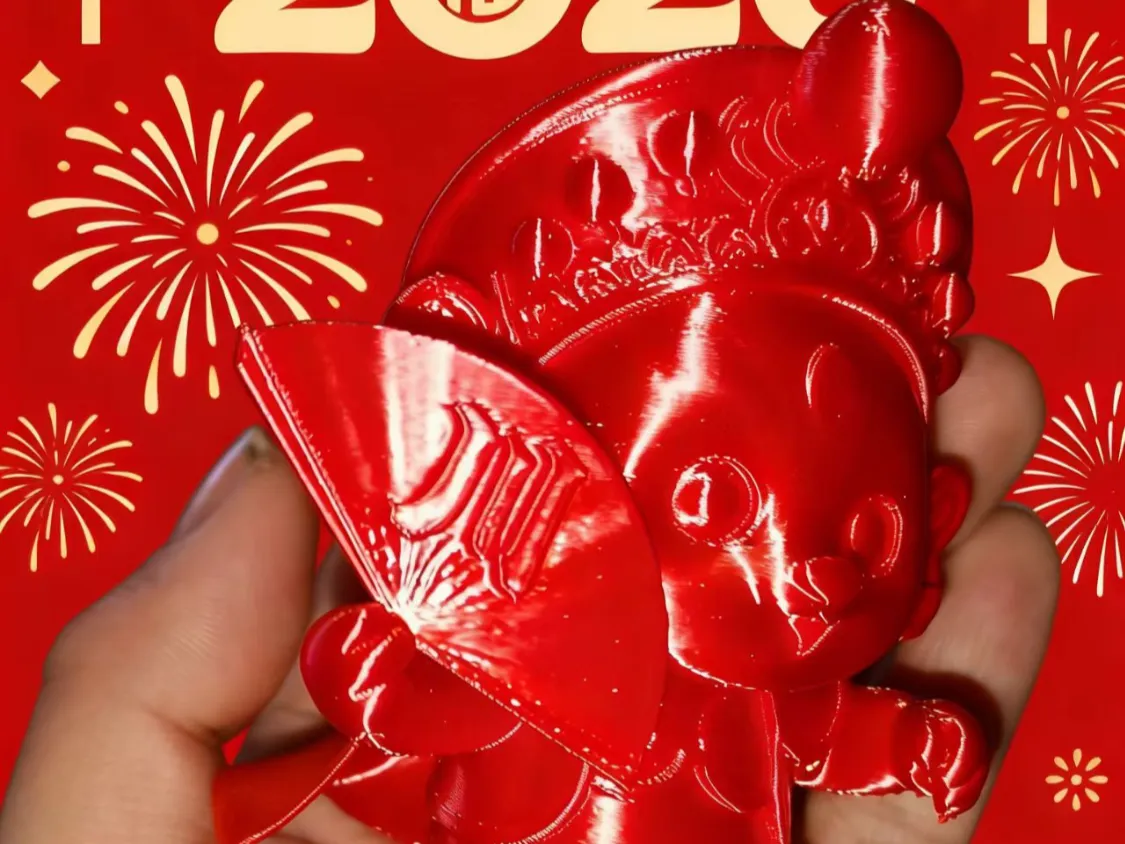
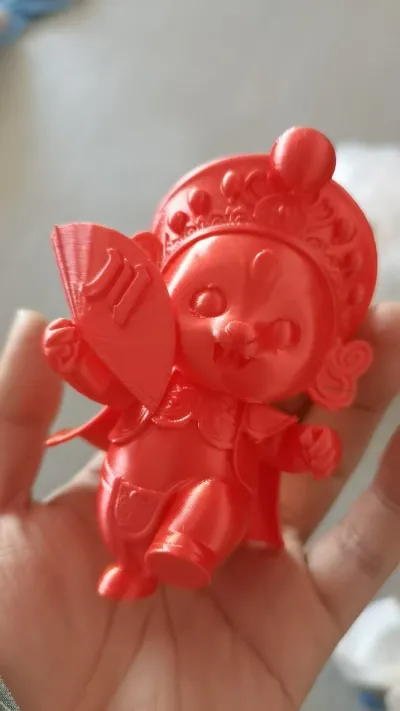
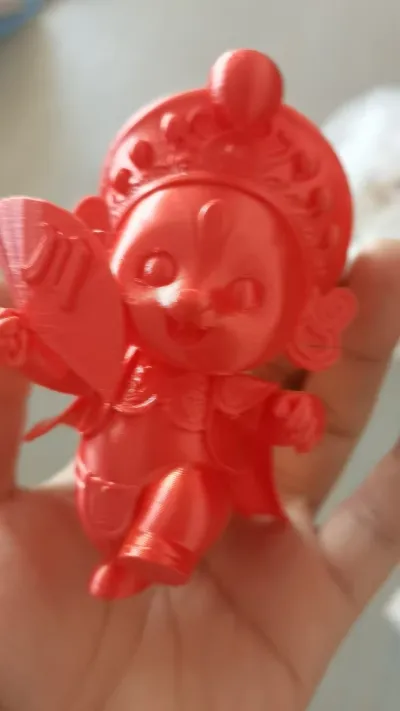
The creative inspiration behind this “Opera-Cute Kids” model stems from the deep integration of China’s time-honored opera culture with the joyous, celebratory spirit of the New Year. As a treasured gem of Chinese traditional culture, opera is renowned for its exquisite headpieces, flowing costumes, and distinctive facial makeup—each element steeped in millennia of artistic heritage. Meanwhile, the New Year is the most ritual‑laden festival in Chinese tradition, where red symbolizes good fortune, jubilation, and prosperity. Together, these two elements not only convey the enduring charm of traditional culture but also perfectly embody the New Year’s heartfelt wish to bid farewell to the old year and welcome the new—with blessings and auspiciousness in tow.
In the design process, we deliberately softened the traditional opera characters, stripping away their solemnity and embracing a rounded, adorable Q‑style aesthetic that brings cultural heritage closer to modern life. The model holds a folding fan adorned with the character “Chuan,” which both pays homage to the unique characteristics of Sichuan Opera and other regional operas while adding a distinctive visual cue. The intricate patterns on the headpiece and the graceful, fluid movement of the ribbons not only capture the delicate elegance of traditional opera costumes but also take into account the practical constraints of 3D printing, allowing this timeless art form to enter everyday spaces in a fresh, youthful, and vibrant way.
(2) Form Design: Striking a Balance Between Artistic Beauty and Printability
In terms of form design, this model adheres to the principle of “cute, traditional style meets print‑friendly design,” seamlessly blending visual appeal with high print success rates:
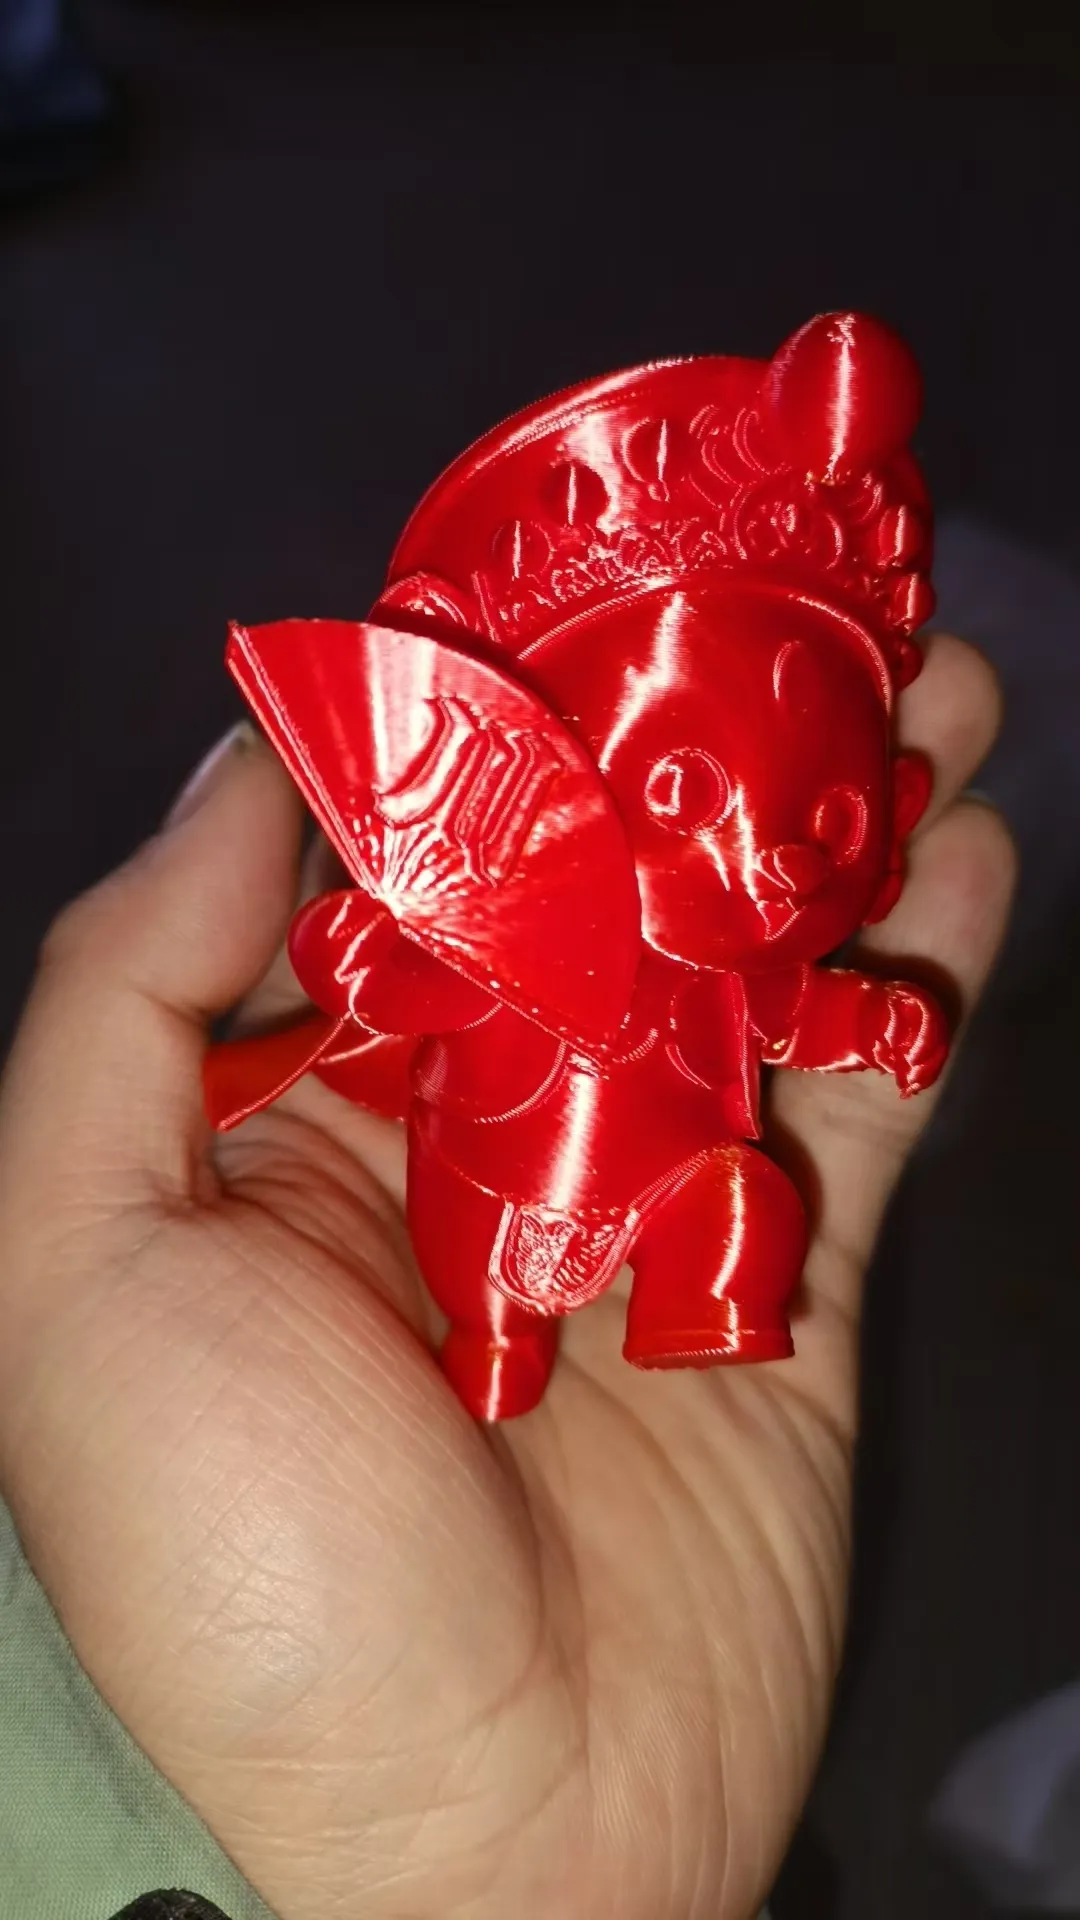
- Overall Posture: The model adopts a lively, forward‑stepping pose, with a lowered center of gravity and optimized contact area between the limbs and base. This not only ensures stable placement but also conveys the bustling energy of the New Year through dynamic movement. The head is tilted slightly, and the hand holding the folding fan moves naturally and gracefully, softening the distance often associated with opera characters while lending the figure an approachable, endearing quality.
- Detail Work: The headpiece features shallow relief patterns, avoiding complex, three‑dimensional structures that could lead to filament breakage during printing. The hollowed edges of the fan and the slender, delicate forms of the ribbons have been meticulously optimized, preserving visual depth while simplifying support removal. The rounded lines of the body are perfectly aligned with the layering characteristics of FDM printing, turning layer lines into an integral part of the texture rather than a perceived flaw.
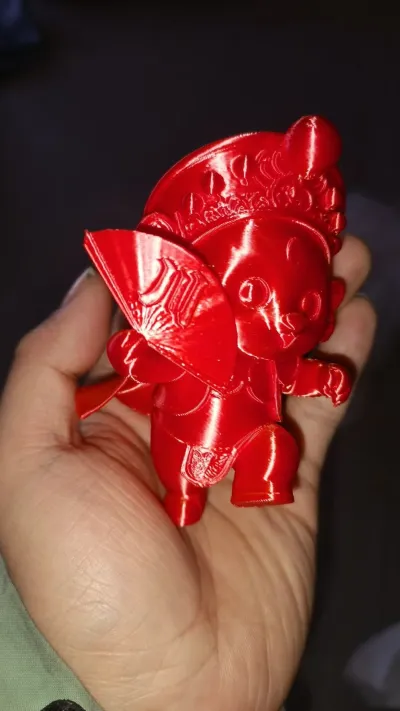
- Structural Optimization: The model employs a one‑piece, seamless design with no separate parts, fundamentally eliminating assembly issues. The base features an “invisible thickening” design, with a thickness 0.5 mm greater than the rest of the body—enhancing first‑layer adhesion while increasing friction during placement and reducing the risk of tipping.
2. Printing Requirements (with a Focus on Support Structures, Skirt Edges, and Adhesives)
(1) Support Setup: Essential and Precisely Optimized
The headpiece, fan, ribbons, and limb extremities of this model feature extensive overhangs and intricate details—making support setup critical to ensuring successful printing:
1. Necessity of Supports: Localized, precision supports must be added. The complex patterns on the headpiece, the hollowed edges of the fan, and the slender ribbons—without proper support—can sag, warp, or even collapse under the weight of the material during printing, leading to issues such as “broken headpieces” or “curled fans.” In contrast, the solid body and back of the model contain no overhanging sections, so no additional supports are needed here, helping to minimize material waste.
2. Support Type Selection: Tree‑like supports are preferred, as they feature minimal contact points, saving 30%–50% of material while leaving few traces after removal. For small overhangs (< 2 mm) at the limb extremities, low‑density lattice supports (15% infill) can be used in combination to enhance stability.
3. Support Parameter Settings (General for Slicing Software):
Parameter Category | Specific Value | Reason for Setting
Support Fill Density | 15%–20% | Balances strength with ease of removal, ideal for small decorative pieces
Contact Point Diameter | 0.8–1.0 mm | Prevents large contact points that leave marks or small contact points that may fracture
Z‑Axis Gap | 0.10–0.12 mm | Matches layer height (0.15–0.2 mm), facilitating easy detachment
Contact Surface Layers | 3–4 layers | Creates easily detachable layers, reducing surface residue
Overhang Angle Threshold | 40°–45° | Generates supports only for highly overhanging areas, avoiding excessive support
4. Placement Optimization: It is recommended to place the model with the back facing down and the head slightly tilted upward, allowing supports to extend from the build plate toward the overhanging sections—minimizing damage to the model’s surface. At the same time, ensure that the model’s center of gravity aligns with the center of the build plate to prevent vibrations that could affect print accuracy.
(2) Skirt Edge Setup: Strongly Recommended—Prevent First‑Layer Warping
The skirt edge is a crucial safeguard for enhancing first‑layer adhesion. The skirt edge setup for this model follows the principle of “essential protection within a moderate range”:
1. Necessity of Skirt Edges: We strongly recommend enabling skirt edges—they are a key factor in ensuring print success. Although the model’s base features an “invisible thickening” design, red PLA/PETG material is prone to warping in low‑temperature environments. By continuously extruding filaments along the skirt edge, the nozzle’s state remains stable, locally raising the temperature around the base and effectively preventing first‑layer warping or delamination.
2. Skirt Edge Parameter Settings (General for Slicing Software):
Parameter Category | Specific Value | Reason for Setting
Number of Lines | 3–5 lines | 3 lines meet basic needs; 5 lines are ideal for low‑temperature environments (< 20°C)
Distance from Base | 2.0–3.0 mm | Avoids adhesion while still providing localized temperature control
Line Width | Match the print line width (0.4 mm) | Ensures smooth filament extrusion and consistent print parameters
Print Speed | 40 mm/s | Matches first‑layer speed to guarantee uniform filament deposition
3. Special Adjustments: For enclosed printers (around 25°C), you can reduce the number to 3 lines; in open, low‑temperature environments (< 18°C), increase to 5 lines, paired with platform heating (PLA: 50–60°C). PETG, due to its higher shrinkage rate, is best fixed at 5 lines.
(3) Adhesive Use: No Assembly Required—Optional Fixing Methods Available
This model is designed as a single, seamless piece with no separate parts or snap‑together joints—therefore:
- Model Assembly Adhesive: Completely unnecessary. Once printing is complete, simply remove the supports and skirt edges, then the model is ready to use, completely eliminating gaps and excess adhesive that can result from glue‑based assembly.
- Desktop Fixing Adhesive: Optional—but useful if you want to secure the model long‑term. For temporary fixation on a desktop, apply a small amount of model‑specific slow‑drying glue or Blu‑Tack to the base; Blu‑Tack is ideal for short‑term attachment (easily removed without leaving residue), while slow‑drying glue is better suited for permanent fixing (be mindful of dosage to avoid overflow).
(4) Additional Print Parameters (Compatible with Common Materials)
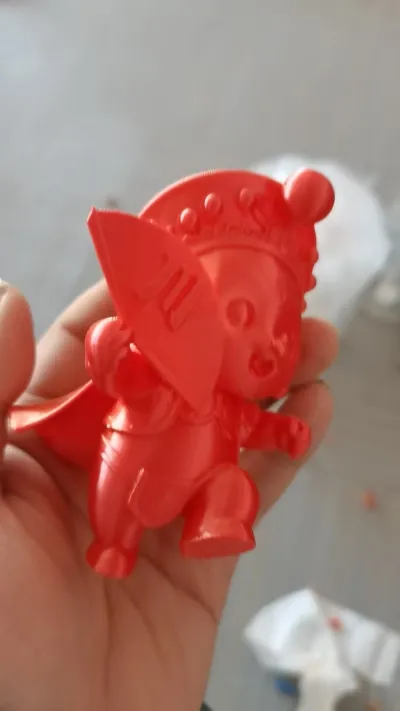
- Recommended Materials: Red PLA (perfectly captures the festive atmosphere and is beginner‑friendly), PETG (offers superior toughness and impact resistance).
- Core Parameters: Layer height 0.15–0.2 mm (0.15 mm provides better detail retention), fill density 20%–30% (balancing strength with lightweight construction), nozzle temperature 200–210°C (PLA) / 230–240°C (PETG), heated bed temperature 50–60°C (PLA) / 70–80°C (PETG).
- Environmental Control: Maintain a print environment temperature ≥18°C (PLA) / ≥25°C (PETG), avoiding direct airflow onto the first layer to ensure optimal adhesion.
3. Assembly and Post‑Processing Instructions
This model features a monolithic structure with a remarkably simple assembly process—focusing primarily on “post‑processing optimization” and “desktop fixation”:
(1) Assembly Process: Zero Assembly—Ready to Use Right Out of the Printer
1. After printing, allow the model to cool to room temperature (10–15 minutes for PLA, 20–30 minutes for PETG), then gently remove it using a spatula to avoid deformation caused by high‑temperature demolding.
2. Remove Supports and Skirt Edges: Use needle‑nose pliers to carefully dismantle coarse supports, tweezers to handle fine residual supports, and a 45°‑angled craft knife to gently scrape away stubborn residues—avoiding vertical scraping that could damage the model. Skirt edges can be cut off or scraped away cleanly, leaving no residue.
3. Basic Sanding: Use 800‑grit sandpaper to smooth the base, ensuring stable placement; follow up with 1200‑grit sandpaper to refine support marks, then finish with 2000‑grit sandpaper to polish the surface to a smooth finish.
4. Direct Placement: No assembly required—simply place the model on your desktop as a decorative piece; if you need to secure it, proceed to the desktop fixation process.
(2) Desktop Fixation Options (Tailored to Different Scenarios)
1. Temporary Fixation (Removable): Roll Blu‑Tack into small balls, evenly distribute them across the underside of the base, press firmly onto the desired location on the desktop—and when it’s time to remove the model, simply pry it loose with gentle force, leaving no marks or damage.
2. Permanent Fixation (Sturdy and Secure): Apply 4–6 dots of model‑specific slow‑drying glue to the corners of the base, precisely positioning each dot before using tape to assist in curing for 6–12 hours. When removing the model, soften the glue with warm air, then wipe away any remaining residue with alcohol.
(3) Post‑Processing Optimization (Optional—Enhance Texture and Finish)
- Coloring: Start by applying a primer coat to enhance adhesion, then use acrylic paints or model‑specific spray paints to add color—choose red as the primary hue, and accentuate details like headpiece patterns and fan surfaces with gold accents to amplify the festive atmosphere.
- Texture Enhancement: Use polishing paste combined with cotton cloth to achieve a matte or mirror‑like finish; applying a matte clear coat can reduce glare and elevate the overall sense of sophistication.
Originality of the Model
The author declares that this work is their personally original model
This model is licensed under the following terms:
Credit must be given to the creator
Models(1)
- 戏子.3mfDesigner

4.69 MB

2026-02-26