






8

2
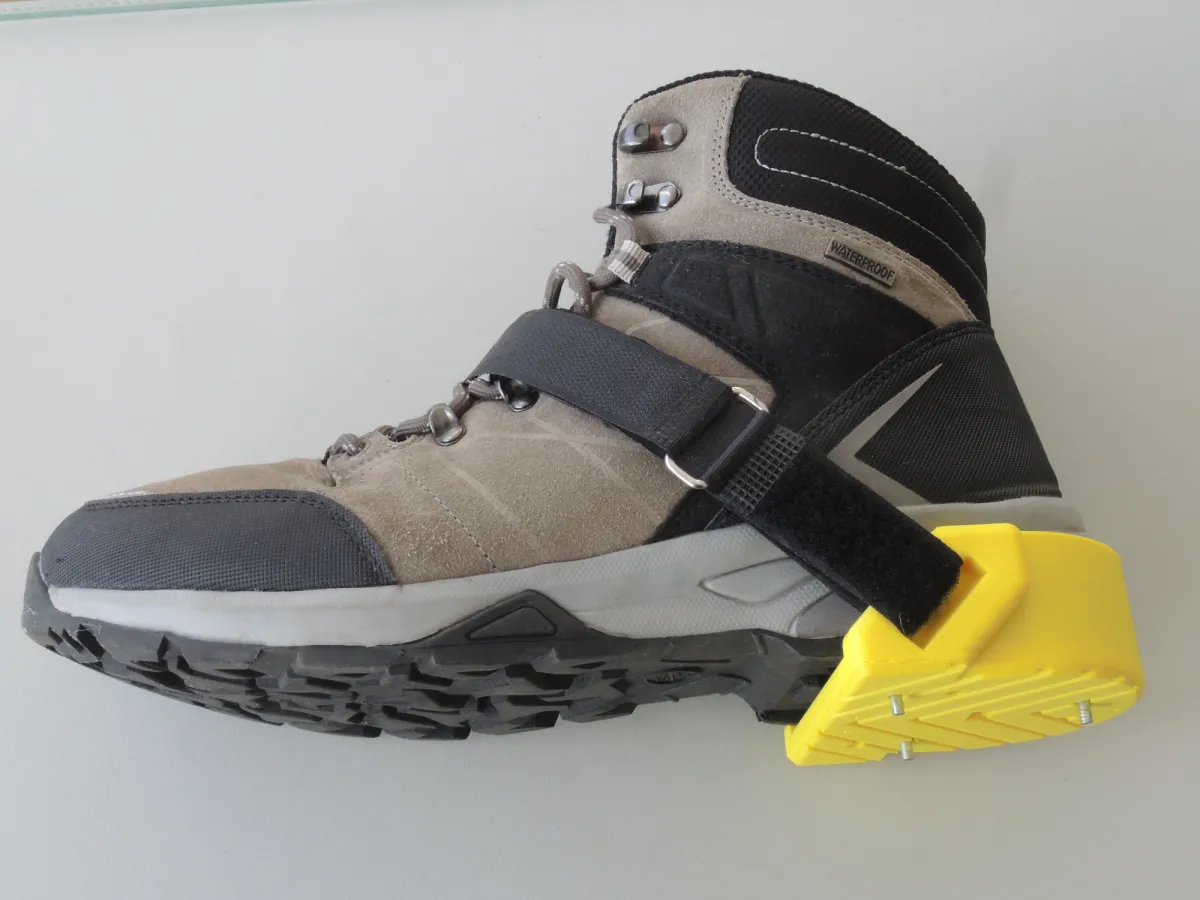
This is a redesign of my hiking shoe spikes version 1 at https://www.thingiverse.com/thing:5273784 .
=======================================
Update 31 January 2025:
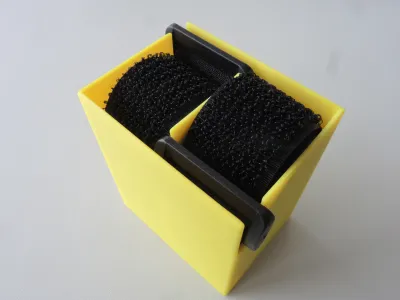
I added a transport box for 25 mm (1 inch) Velcro straps.
=======================================
The basic design of version 1 did prove sound in practice:
- The mechanical stress to the shell is significant, particularly when walking on crushed stone. I printed version 1 with the brittle PLA but it never broke during use.
- Three spikes proved good enough on ice and hard snow as well as having the benefit of allowing me to walk on flat surfaces (concrete or tar) without wiggling (because three points are geometrically defining a plain).
- A spike protrusion of 3 to 4 mm proved fully sufficient on ice and hard snow while preventing nail bending und limiting heel elevation on hard surfaces (e.g. concrete or tar).
However, after two winter seasons it was time for an update with focus on
- Ease of putting on by keeping the Velcro (or alternatively belt with tightening buckle) from being caught between shoe and shell. A wall is now separating the Velcro from the shoe.
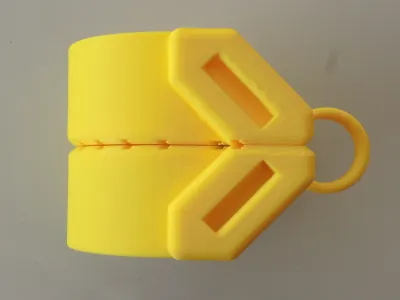
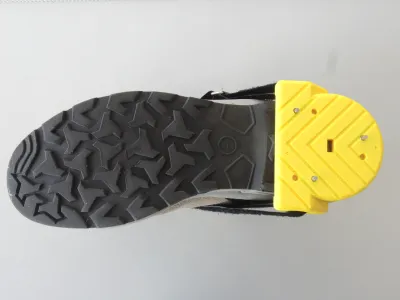
- Keeping the spikes from damaging my backpack during transport. The two shells can now be arranged back-to-back for transport, hiding each other's spikes inside transport holes and held together by a new transport clip. The spikes' protrusion length must not exceed 5 mm (3 to 4 mm recommended).
I am providing .stl files for 70 to 90 mm heel width in steps of 5 mm, each with a 1 mm gap between heel and shell (so 72, 77, ... 92 mm). Please note that the size of the transport clip is dependent on the heel width. I printed the shells and the transport clip with 1.5 mm solid bottom, 20% infill, 5 peripherals and 1 mm solid top on my Bambu X1C.
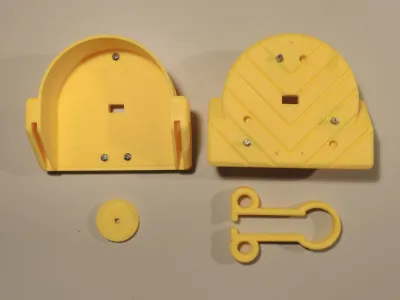
In addition to the printed parts (2x shell, 2x cover, 1x transport clip, 1x gauge) you will need
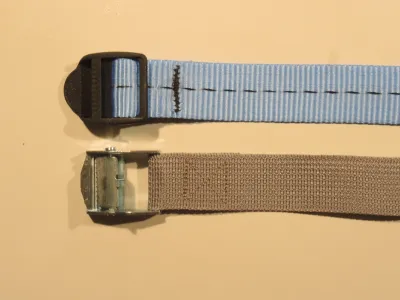
- Two 2 cm to 2.5 cm (max. 1 inch) wide and (depending on shoe size) some 60 to 90 cm long double-sided Velcro straps (loops and hooks on the same strip), preferably with a buckle. This Velcro type is also available by the metre e.g. on Aliexpress or Ebay. Alternatively a 25 mm / 1 inch belt with fastening buckle (see picture) may work as well. In an emergency even a shoe string may do.
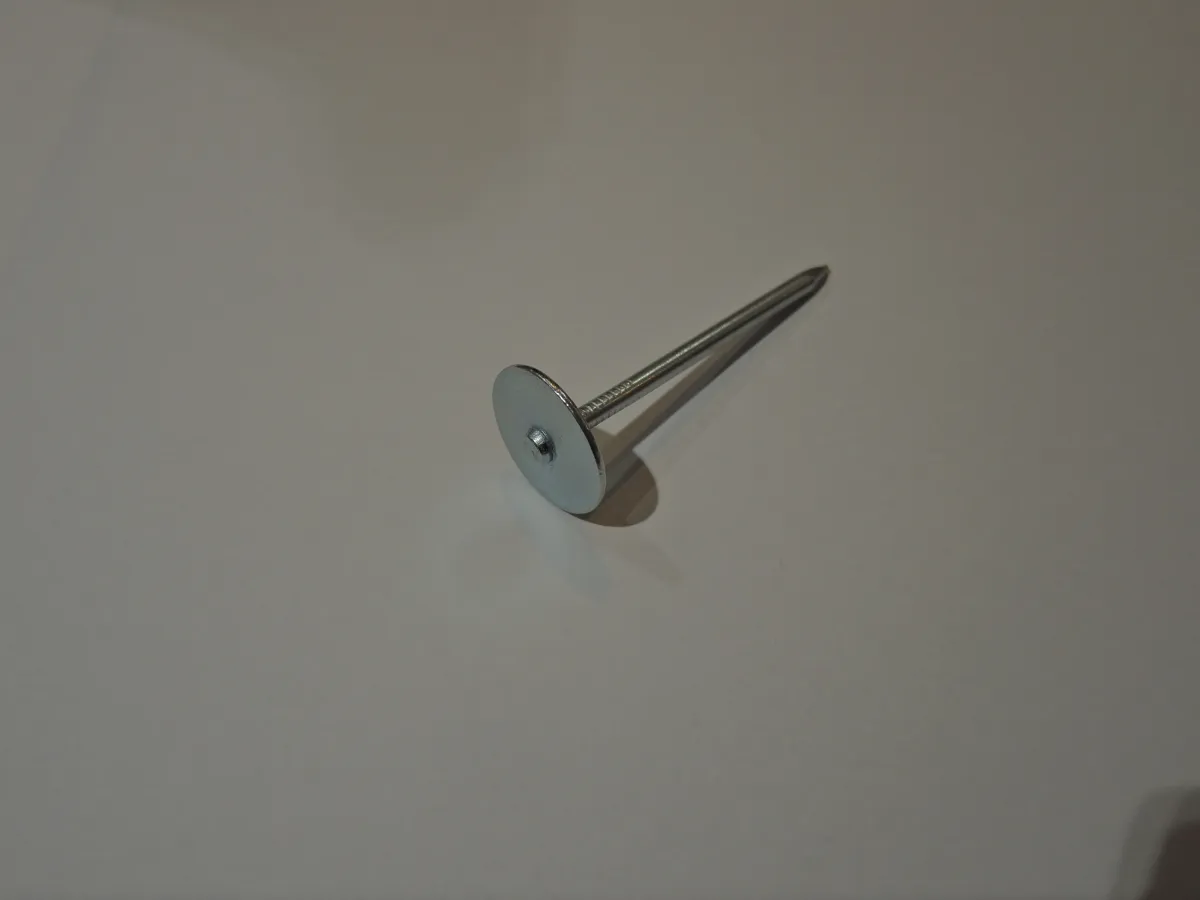
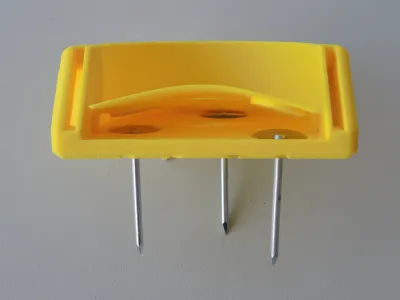
- Six steel nails with oversize heads as e.g. used to mount soft insulating slabs to a wall. I am using (and my design is taylored to) nails with a 3.1 mm shaft and a 20 mm diameter head of 1.8 mm thickness obtained from a local DIY shop.
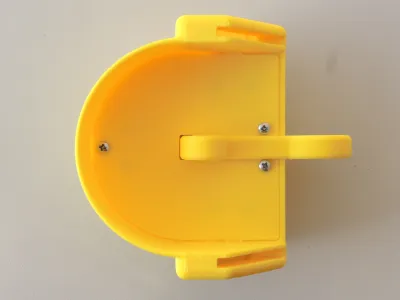
- Optionally: Six short self-tapping raised head screws of 3 mm thread diameter and cut to 5 mm thread length. These screws will stabilize the transport clip laterally and help to keep dirt from entering between shell and cover.
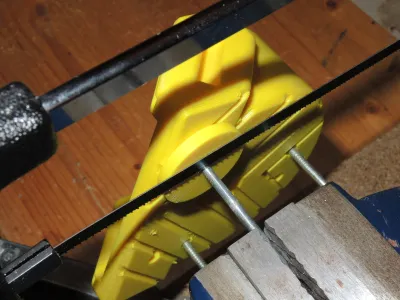
- A hacksaw to cut the nail shafts to a suitable length. The nails should protrude about 3 to (maximum) 4 mm into the ice. I am providing a 3D printable 4 mm gauge to be used after final assembly, see picture above and assembly instructions below.
How to assemble:
- Insert the (uncut) nails into the shell.
- Cautiously bend the cover (see picture) and insert the cover's rear tab into the recess.
- Cautiously bend the cover a little bit more, insert the cover's lateral tabs into the respective recesses and flatten the cover.
- Insert the three self-tapping screws through the cover into the shell.
- Slide the gauge over one of the nails, insert the tip of the nail into your vise and cut the nail with a hacksaw (see picture). Do the same to the other two nails.
- File off the brews at the end of the nails.
- Done.
How to put on:
- First put the pure shell (i.e. without Velcro) under the heel, then insert and tighten the Velcro.
- Do not overtighten because static tightening stress and dynamic hiking stress add up.
As always I include the OpenSCAD source file for you to adapt and/or improve:
- Download and install OpenSCAD from https://www.openscad.org
- Launch OpenSCAD and open the enclosed OpenSCAD source file (/File/Open).
- Amend the parameters at the top of the file or even amend the code.
- Save your changes (/File/Save).
- Render the design (/Design/Render).
- Export the rendered design e.g. as a .stl file (/File/Export/Export as STL).
- Slice and print.
See my other designs at
https://www.thingiverse.com/thinger13/designs
Originality of the Model
The author declares that this work is their personally original model
This model is licensed under the following terms:
Credit must be given to the creator
Models(18)
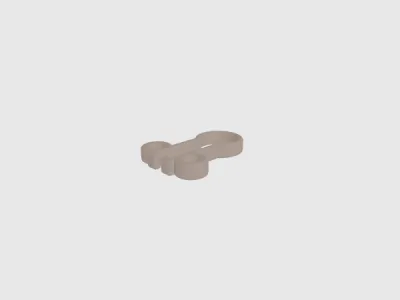 250115_Spikes_Clip_72mm.stlDesigner
583.09 KB

2026-03-13
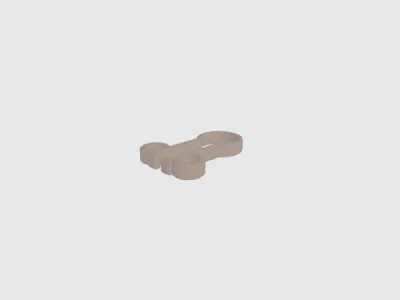 250115_Spikes_Clip_77mm.stlDesigner
583.09 KB
2026-03-13
 250115_Spikes_Clip_82mm.stlDesigner
583.09 KB
2026-03-13
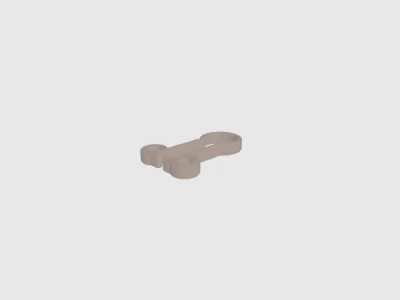 250115_Spikes_Clip_87mm.stlDesigner
583.87 KB
2026-03-13
- 250115_Spikes_Clip_92mm.stlDesigner
586.21 KB
2026-03-13
- 250115_Spikes_Cover_72mm.stlDesigner
233.09 KB
2026-03-13
- 250115_Spikes_Cover_77mm.stlDesigner
232.70 KB
2026-03-13
- 250115_Spikes_Cover_82mm.stlDesigner
235.63 KB
2026-03-13
- 250115_Spikes_Cover_87mm.stlDesigner
232.11 KB
2026-03-13
- 250115_Spikes_Cover_92mm.stlDesigner
232.50 KB
2026-03-13
- 250115_Spikes_Gauge_4mm.stlDesigner
35.24 KB
2026-03-13
- 250115_Spikes_Shell_72mm.stlDesigner
1.70 MB
2026-03-13
- 250115_Spikes_Shell_77mm.stlDesigner
1.68 MB
2026-03-13
- 250115_Spikes_Shell_82mm.stlDesigner
1.66 MB
2026-03-13
- 250115_Spikes_Shell_87mm.stlDesigner
1.63 MB
2026-03-13
- 250115_Spikes_Shell_92mm.stlDesigner
1.63 MB
2026-03-13
- 250131_Spikes.scadDesigner
10.24 KB
2026-03-13
- 250131_Spikes_Box.stlDesigner
46.76 KB
2026-03-13
View all(18)


