






21

4
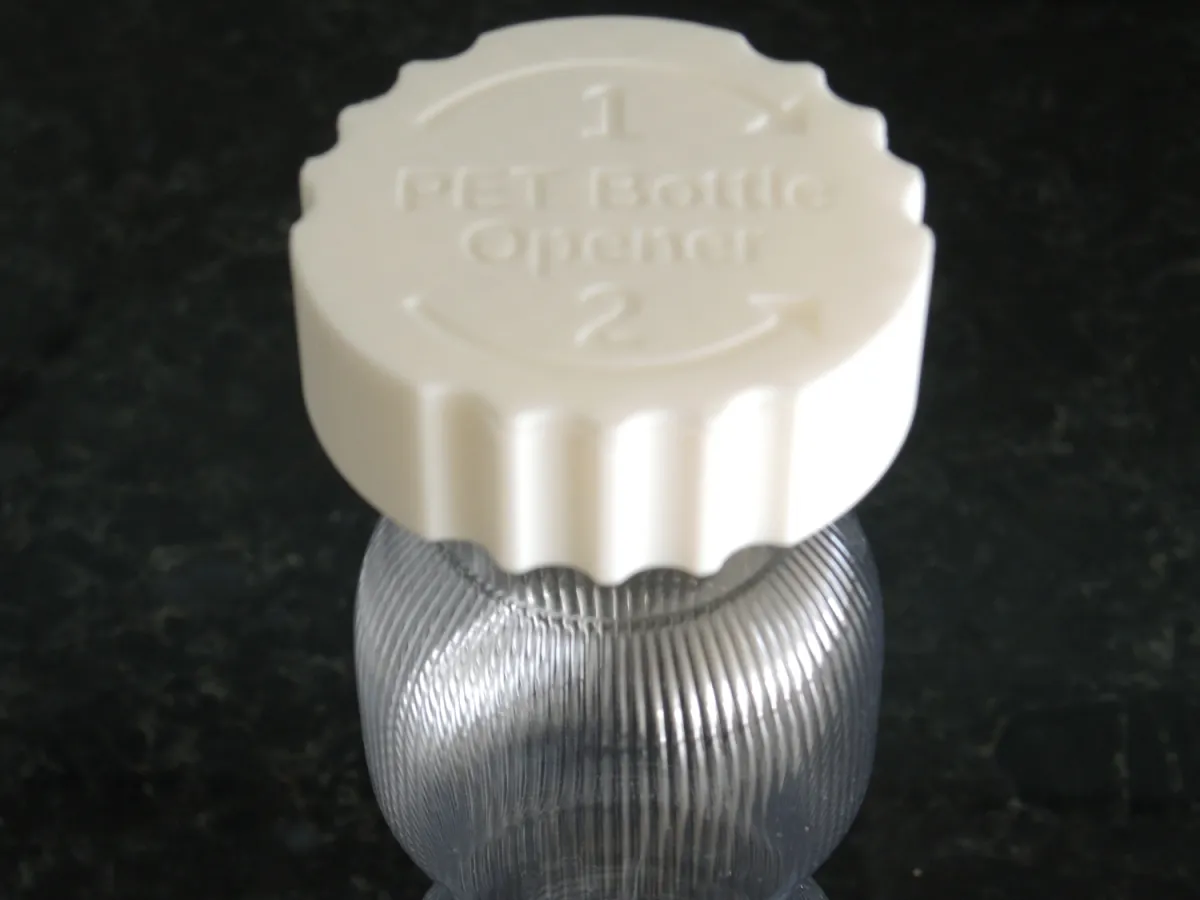
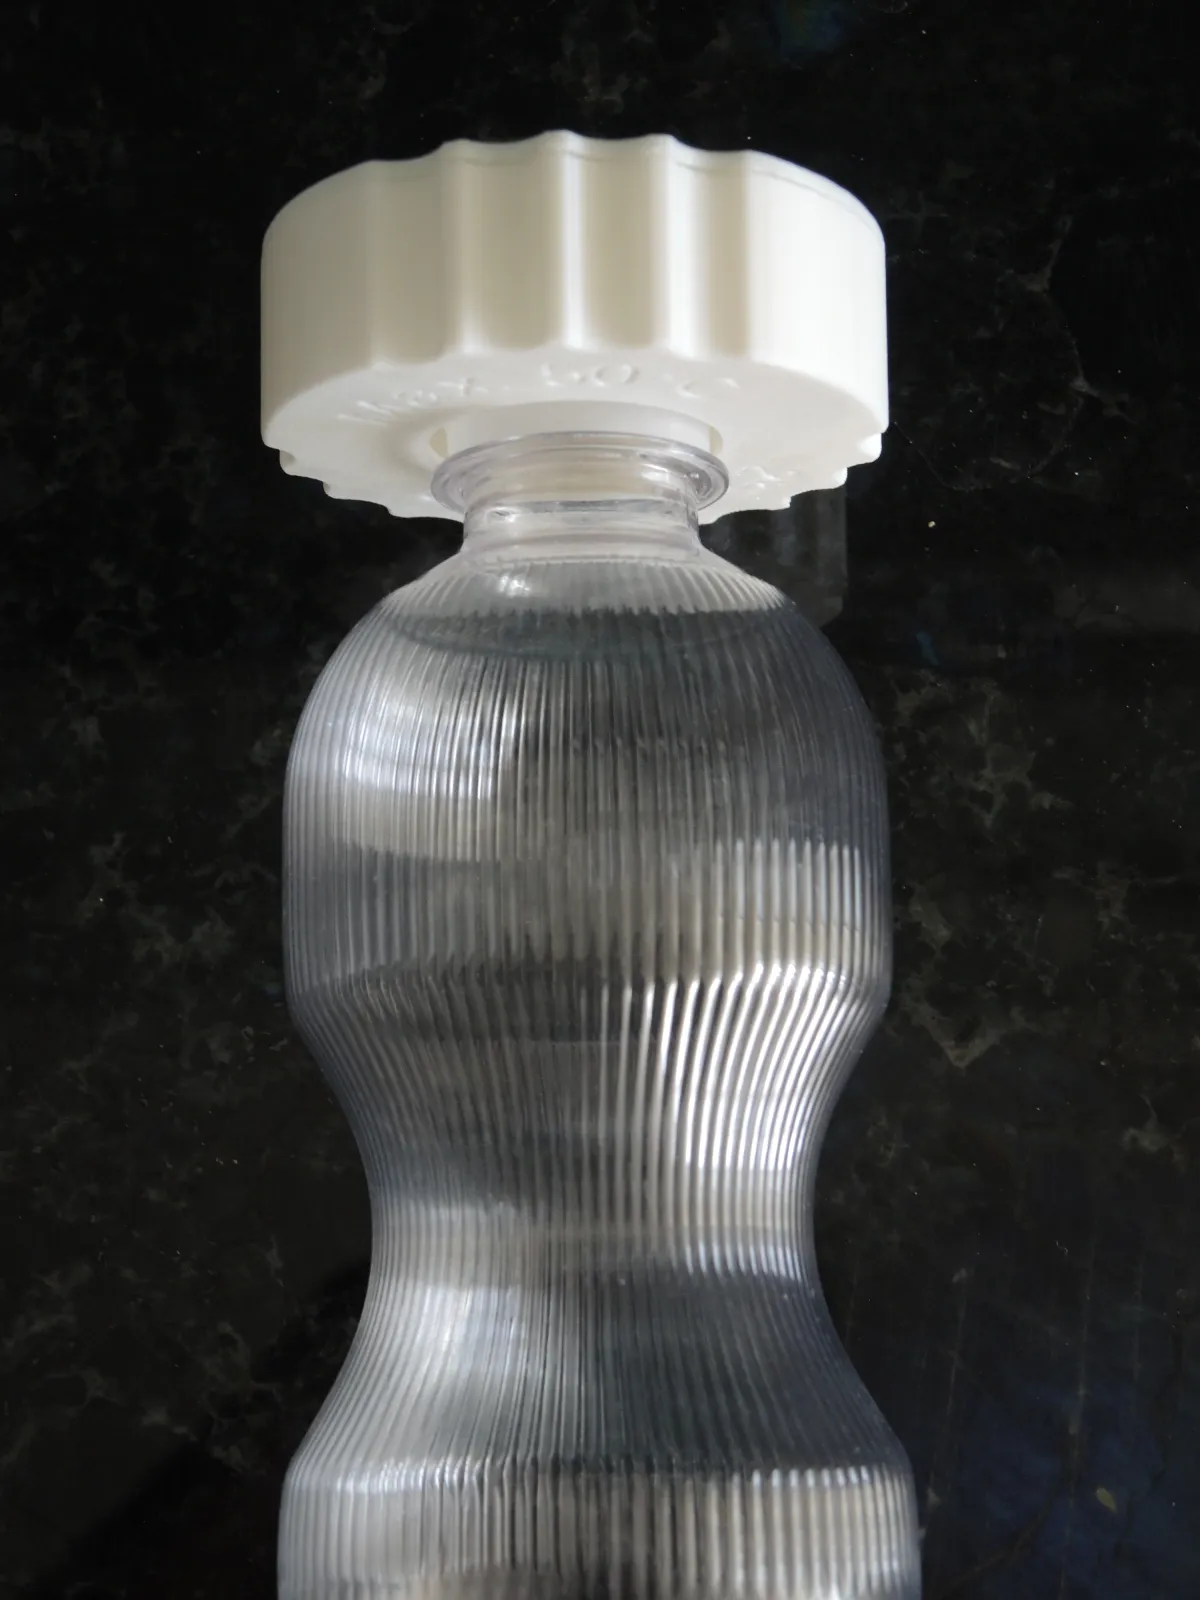
Effortlessly open bottles with 30 mm plastic caps. No clamping force required - the opener clamps the cap while turning.
Most PET bottle caps are either 30 mm or 40 mm in diameter. Because the diameter of the caps do not always correspond exactly to the nominal size, an opener must be able to adjust itself. This is the adaptive 25 to 32 mm version of my adaptive 38 to 42 mm PET bottle opener at https://www.thingiverse.com/thing:7281693 .
How to use:
- Lower the opener over the cap with a clockwise turn.
- Turn the opener anti-clockwise to clamp and untighten the cap.
- Remove the opener, then unscrew the cap.
While lowering the opener over the cap with a clockwise turn you may hear a creaky noise. That's ok. With caps of more than 30 mm, tilting the opener while turning clockwise may help. Do not fully lower the opener over the cap if (a) the cap is very short and the bottle has a flange immediately below the cap or if (b) the cap itself has a flange at its lower end with a diameter greater than or equal to the ridges; otherwise the rollers may extend around the flange and refuse their intended function.
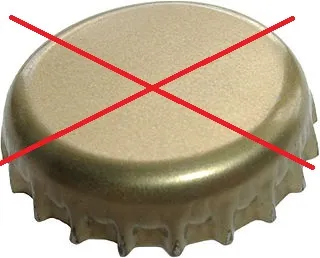
It untightens almost any plastic cap (preferably having fine ridges around its circumference), but may fail on metal caps. Do not use it on crown caps (e.g. beer bottles) as these may damage the opener. And do not leave the opener hanging on the cap, because the opener's spiral - acting as a spring - may permanently lose tension if you do so.
The cage element comes in two versions:
- With "Max. 50 °C" text for low glass transition temperature materials as e.g. PLA or PETG. This will remind users that they must not clean the opener in the dishwasher. My design has PLA or PETG in mind.
- Without "Max. 50 °C" text if printed with higher glass transition temperature materials as e.g. Polycarbonate, ABS or ASA. But I haven't tested these materials for suitability.
The cover element comes in two versions:
- Screw-on for three 2.2 x 9.5 mm or (preferably) 2.2 x 6.5 mm or 0.1 in sheet metal screws
- Glue-on with positioning stubs. I use Revell Contacta Professional glue.
Both PLA and PETG work fine. I prefer PETG due to its lower friction coefficient, facilitating the lowering of the opener over the cap. I printed the opener on my Bambu X1C with the following settings:
- 0.4 mm nozzle, 0.28 mm layer height, structured build plate (although build plate adhesion is not a problem).
- No supports required.
- Cage: 2 bottom layers, 2 peripherals (print-sequence: first inner, then outer), 2 top layers, 15% infill.
- Cover: 2 bottom layers, 2 peripherals (print-sequence: first inner, then outer), 2 top layers, 15% infill.
- Rollers: 2 bottom layers, 2 peripherals (print-sequence: first outer, then inner), 2 top layers, 15% infill.
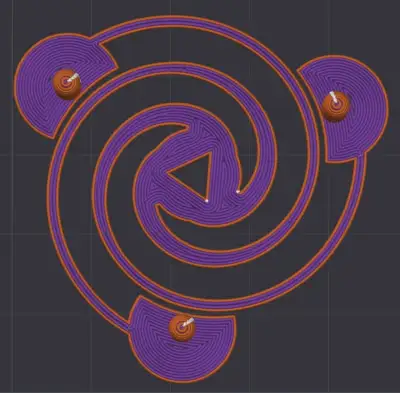
- Spiral: zero bottom layers, one peripheral, zero top layers, 100% infill concentric. In Bambu Studio the layers of the spiral should look like to enclosed picture (all layers' nozzle paths steering smoothely around corners and along spiral arms). This seems a bit odd, but gives maximum strength.
IMPORTANT:
- Do not remove the spiral from a hot bildplate, but wait until the buildplate has cooled down. Otherwise the spiral arms may become permanently deformed. The spiral and its axles seem to be fragile. However the working load will act from the cap's perimeter via the rollers to the cage's inner flank.
- To ensure that the opener will work properly, the three rollers must rotate smoothly on the axles. For this purpose, there is a deliberate gap between the rollers' bores and the axles. Make sure (e.g. with a suitable drill if necessary) that the rollers' bores are smooth and that the spiral's axles are free of stringing and blobs (e.g. cutting them off with a knife). Print the spiral and the rollers individually. Print the parts individually. If you choose to print the parts in one go then print them object-by-object, not layer-by-layer.
Assembly:
- Press the triangular bore of the spiral over the cover's triangular axle. You may glue the triangle (not the arms!), but press-fit should be enough, as there will be no losening forces during use, and if you don't glue it you may replace the spiral without reprinting the cover. The triangle guarantees the correct angular position of the spiral relative to the cage.
- Push the rollers over the axles of the spiral. They should turn on the axles without perceptible friction.
- Put the cage over the cover/spiral/rollers-combo.
- Screw-on cover version: Secure the cover to the cage with three 2.2 x 9.5 mm or (preferably) 2.2 x 6.5 mm or 0.1 inch sheet metal screws. This will maintain repairability (although my openers have never broken so far after using above print parameters).
- Glue-on cover version: As an alternative you may glue the cover to the cage. The three stubs aid in maintaining position during drying.
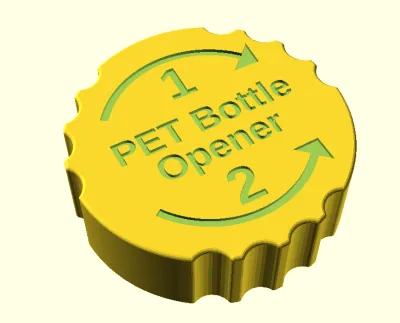
I am providing a .stl file and OpenSCAD source code to print test caps for testing and demonstration of the opener's function and diameter range.
The source file may be engineered to almost any cap diameter range. However, the outer diameter of the opener will grow with (a) maximum cap diameter and (b) diameter range. An opener with a range of say 28 to 42 mm using my design will have an outer diameter of roughly (42+1)+2*(42-28+7)+some mm for walls = ca. 90 to 100 mm, which may be more difficult to handle with small hands. Further, the height of the tapered section of the rollers will have to be enlarged, enlarging the height of the whole opener. It will become a monster (I actually designed one). That's why I am offering two separate openers for 30 mm and 40 mm caps.
As always I include the OpenSCAD source file for you to adapt and/or improve:
- Download and install OpenSCAD from https://www.openscad.org
- Launch OpenSCAD and open the enclosed OpenSCAD source file (/File/Open).
- Amend the parameters at the top of the file or even amend the code.
- Save your changes (/File/Save).
- Render the design (/Design/Render).
- Export the rendered design e.g. as a .stl file (/File/Export/Export as STL).
- Slice and print.
See my other designs at
https://www.thingiverse.com/thinger13/designs
History (TL;DR):
- During Corona lockdown in winter 2020 I discovered asimomagic's ingenious bottle opener at https://www.thingiverse.com/thing:3971787 . With retrospect, it seems to be an implementation of the expired patent https://worldwide.espacenet.com/patent/search/family/029390693/publication/JP2003300597A?q=pn%3DJP2003300597 .
- At that time I designed (but did not publish) a double-diameter remix for 30 and 40 mm caps. It worked very well for caps of exactly these two diameteres but failed on even slightly deviating caps.
- I then started designing about 10 variations of adaptive openers printed in PLA. These designs either failed to work (e.g. due to insufficient adaptive range, insufficient or too much friction) or worked well but were unintuitive to use. A collegue praised one of my most complex designs (implementing a planetary gear) as "for Nobel Price winners only". Traumatized by encouraging feedback of this kind I put the project at rest for several years.
- A few weeks ago I suffered another frustration when I offered one of my initial, simple to use asimomagic-remix openers to an occupational therapist for his patients. It failed on her bottle because its cap had a slightly narrower diameter than 30 mm.
- Ashamed I silently swore to make a new start and to nail down a working solution. It took me another week of work, but I now have the satisfaction that it is actually working, even when printed in materials as hard as PLA. It uses the mechanical principle of a freewheel. Any friction problems are solved by toothed rollers and cage.
- With hindsight, my current implementation seems to be a variation of the expired patent https://worldwide.espacenet.com/patent/search/family/017962367/publication/JPH10147398A?q=pn%3DJPH10147398 and possibly the not yet expired patent https://worldwide.espacenet.com/patent/search/family/051577454/publication/JP2014156278A?q=pn%3DJP2014156278 , but I did not research further.
Originality of the Model
The author declares that this work is their personally original model
This model is licensed under the following terms:
Credit must be given to the creator
Models(8)
 250415_Adaptive_PET_Bottle_Opener_Cage_no_temp_text.stlDesigner
879.18 KB

2026-03-13
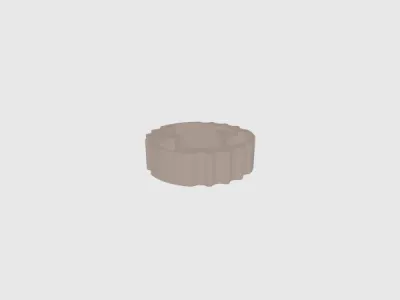 250415_Adaptive_PET_Bottle_Opener_Cage_PLA_max_temp_text.stlDesigner
1.28 MB
2026-03-13
 250415_Adaptive_PET_Bottle_Opener_Cover_glue-on.stlDesigner
962.39 KB
2026-03-13
 250415_Adaptive_PET_Bottle_Opener_Cover_screw-on.stlDesigner
967.66 KB
2026-03-13
 250415_Adaptive_PET_Bottle_Opener_Rollers.stlDesigner
662.19 KB
2026-03-13
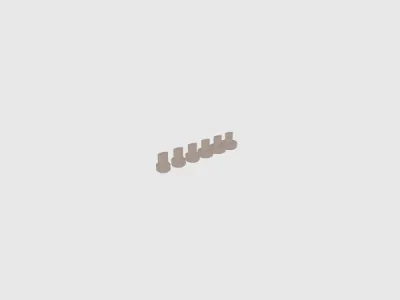 250415_Adaptive_PET_Bottle_Opener_Test_Caps.stlDesigner
1.66 MB
2026-03-13
 250707_Adaptive_PET_Bottle_Opener.scadDesigner
16.72 KB
2026-03-13
 250707_Adaptive_PET_Bottle_Opener_Spiral_improved_anti-clockwise.stlDesigner
1014.93 KB
2026-03-13
View all(8)


