


Old Wang
A certain basket

- 0.2 mm layer height, 2‑wall walls, 15% infill density

6-disc
PETG/PLA
Designer

3

0
Features
- The design closely resembles the original model, with a sleek, authentic appearance.
- The device features a seamless, screwless exterior, ensuring a high degree of structural integrity and aesthetic cohesion.
- It boasts a compact form factor, making it highly portable and easy to handle.
- Compared to other designs, this model offers an exceptionally comfortable grip.
Description
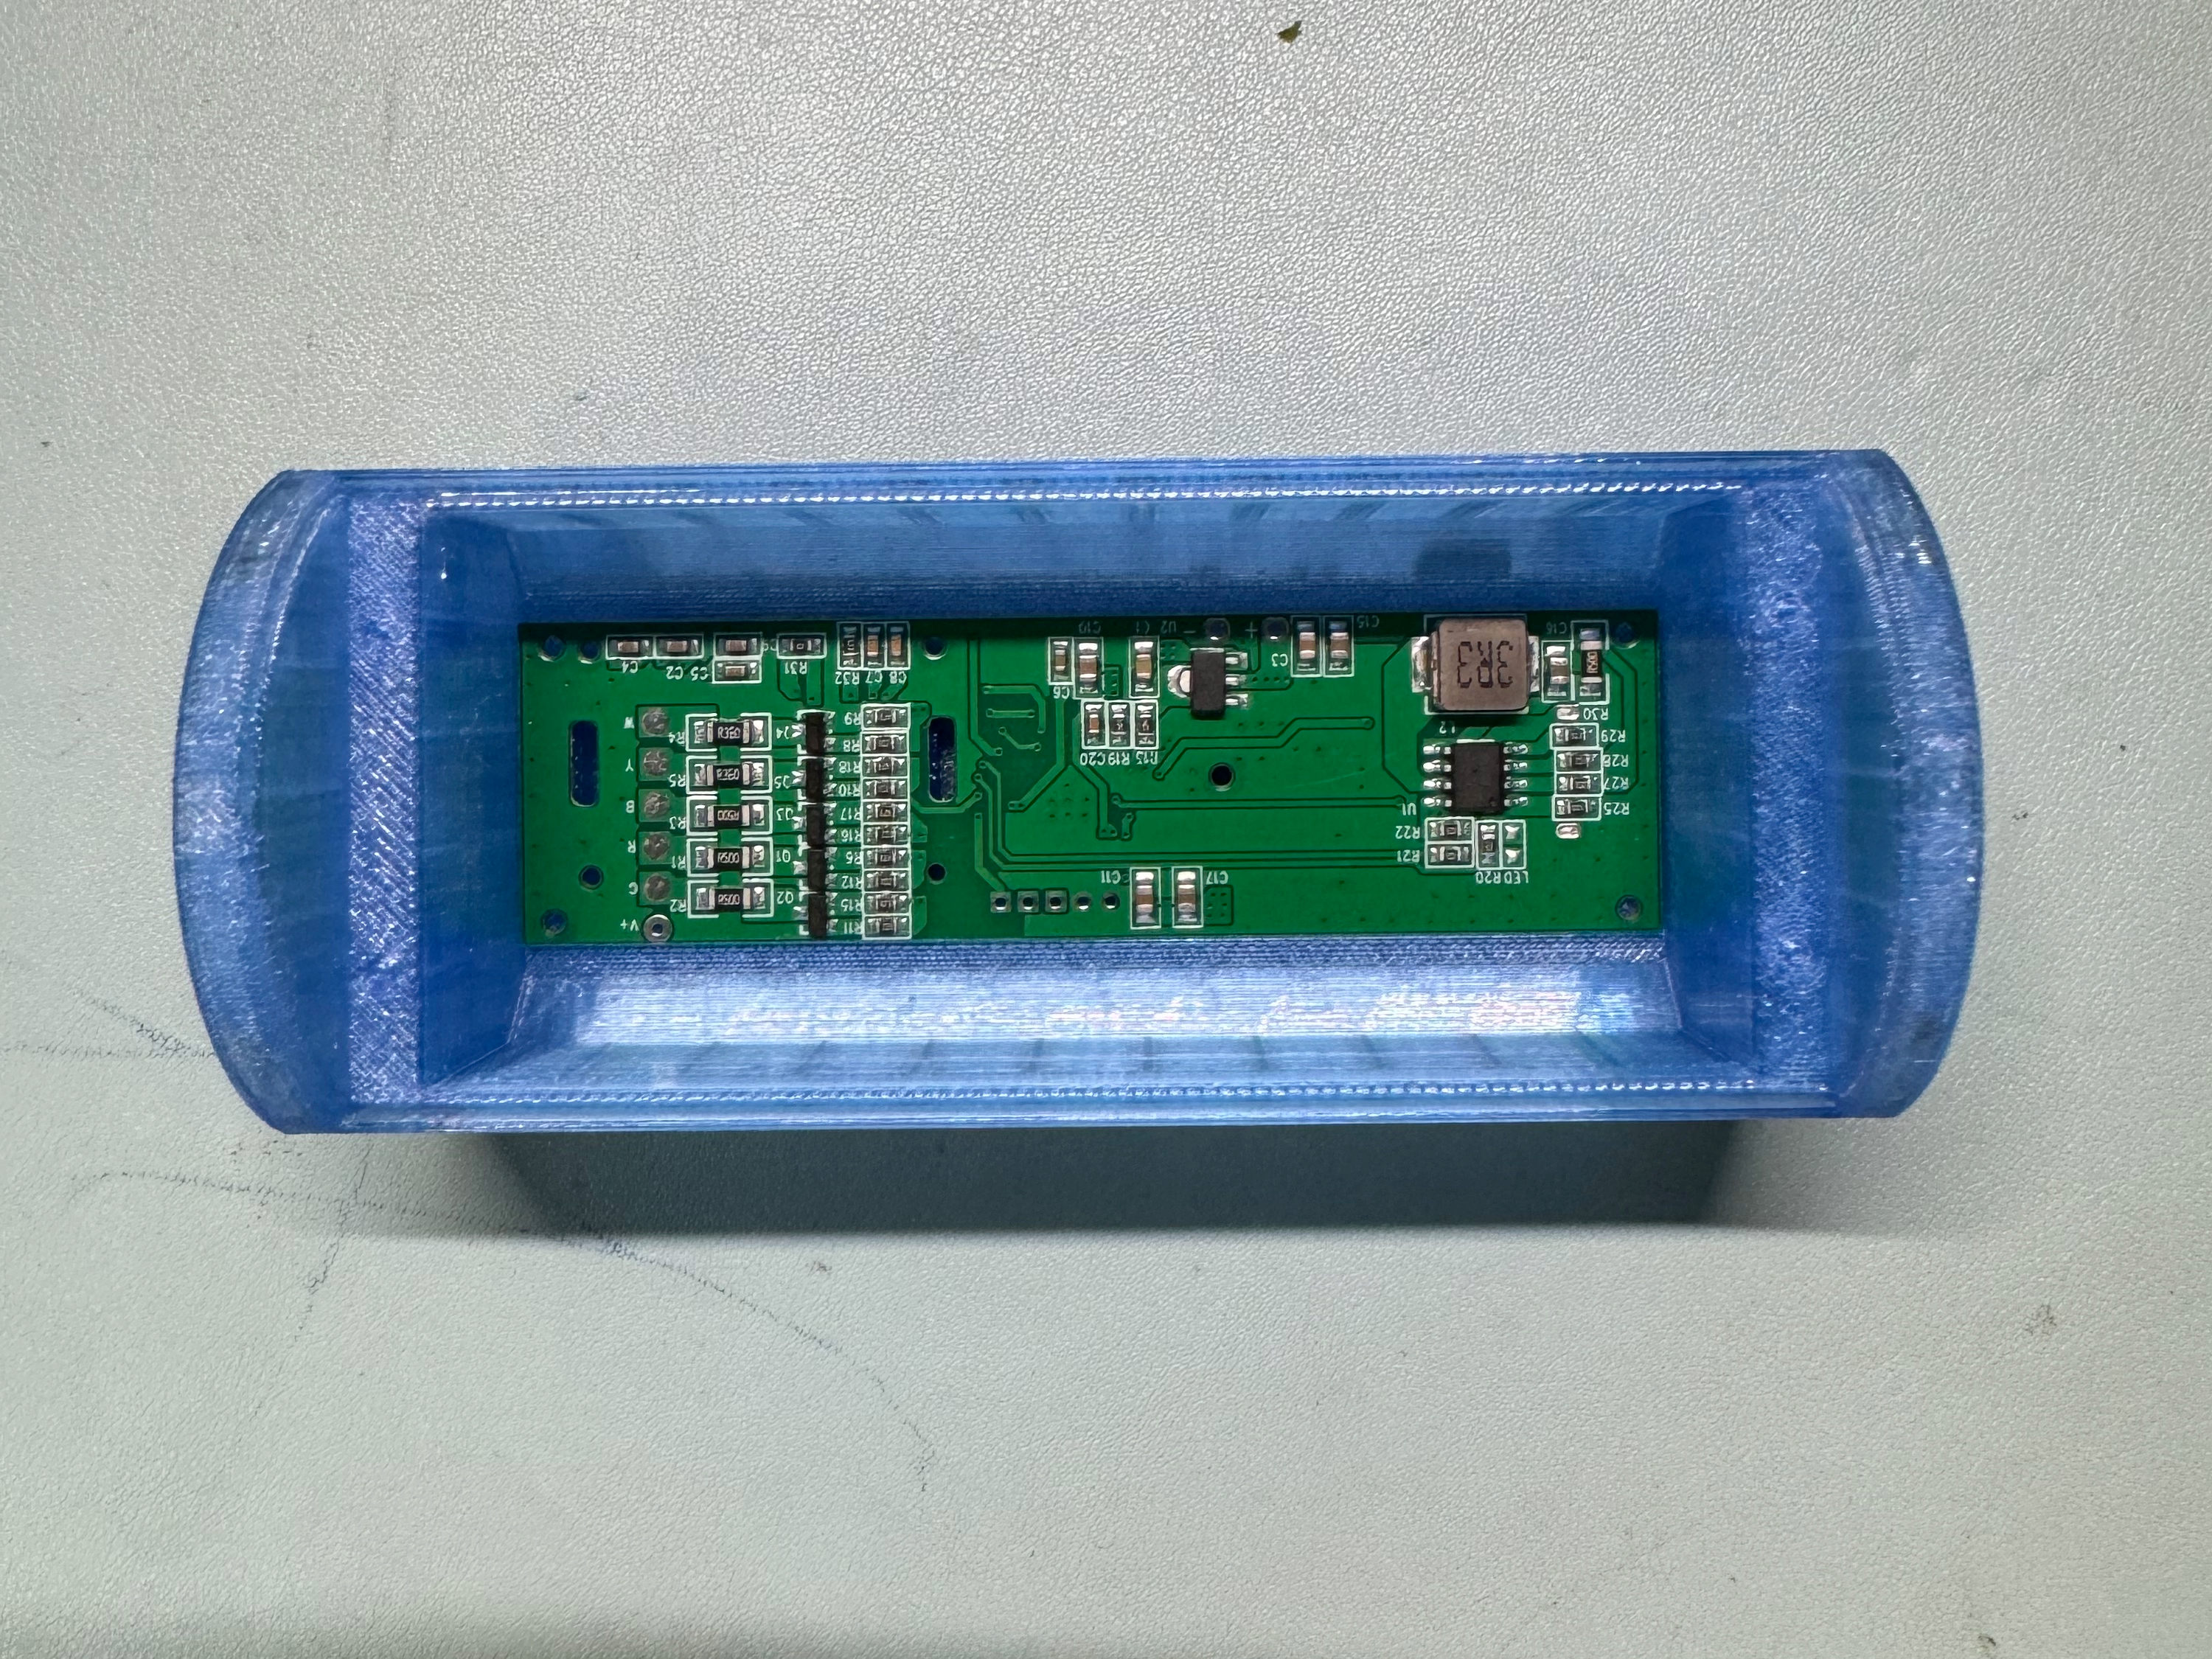
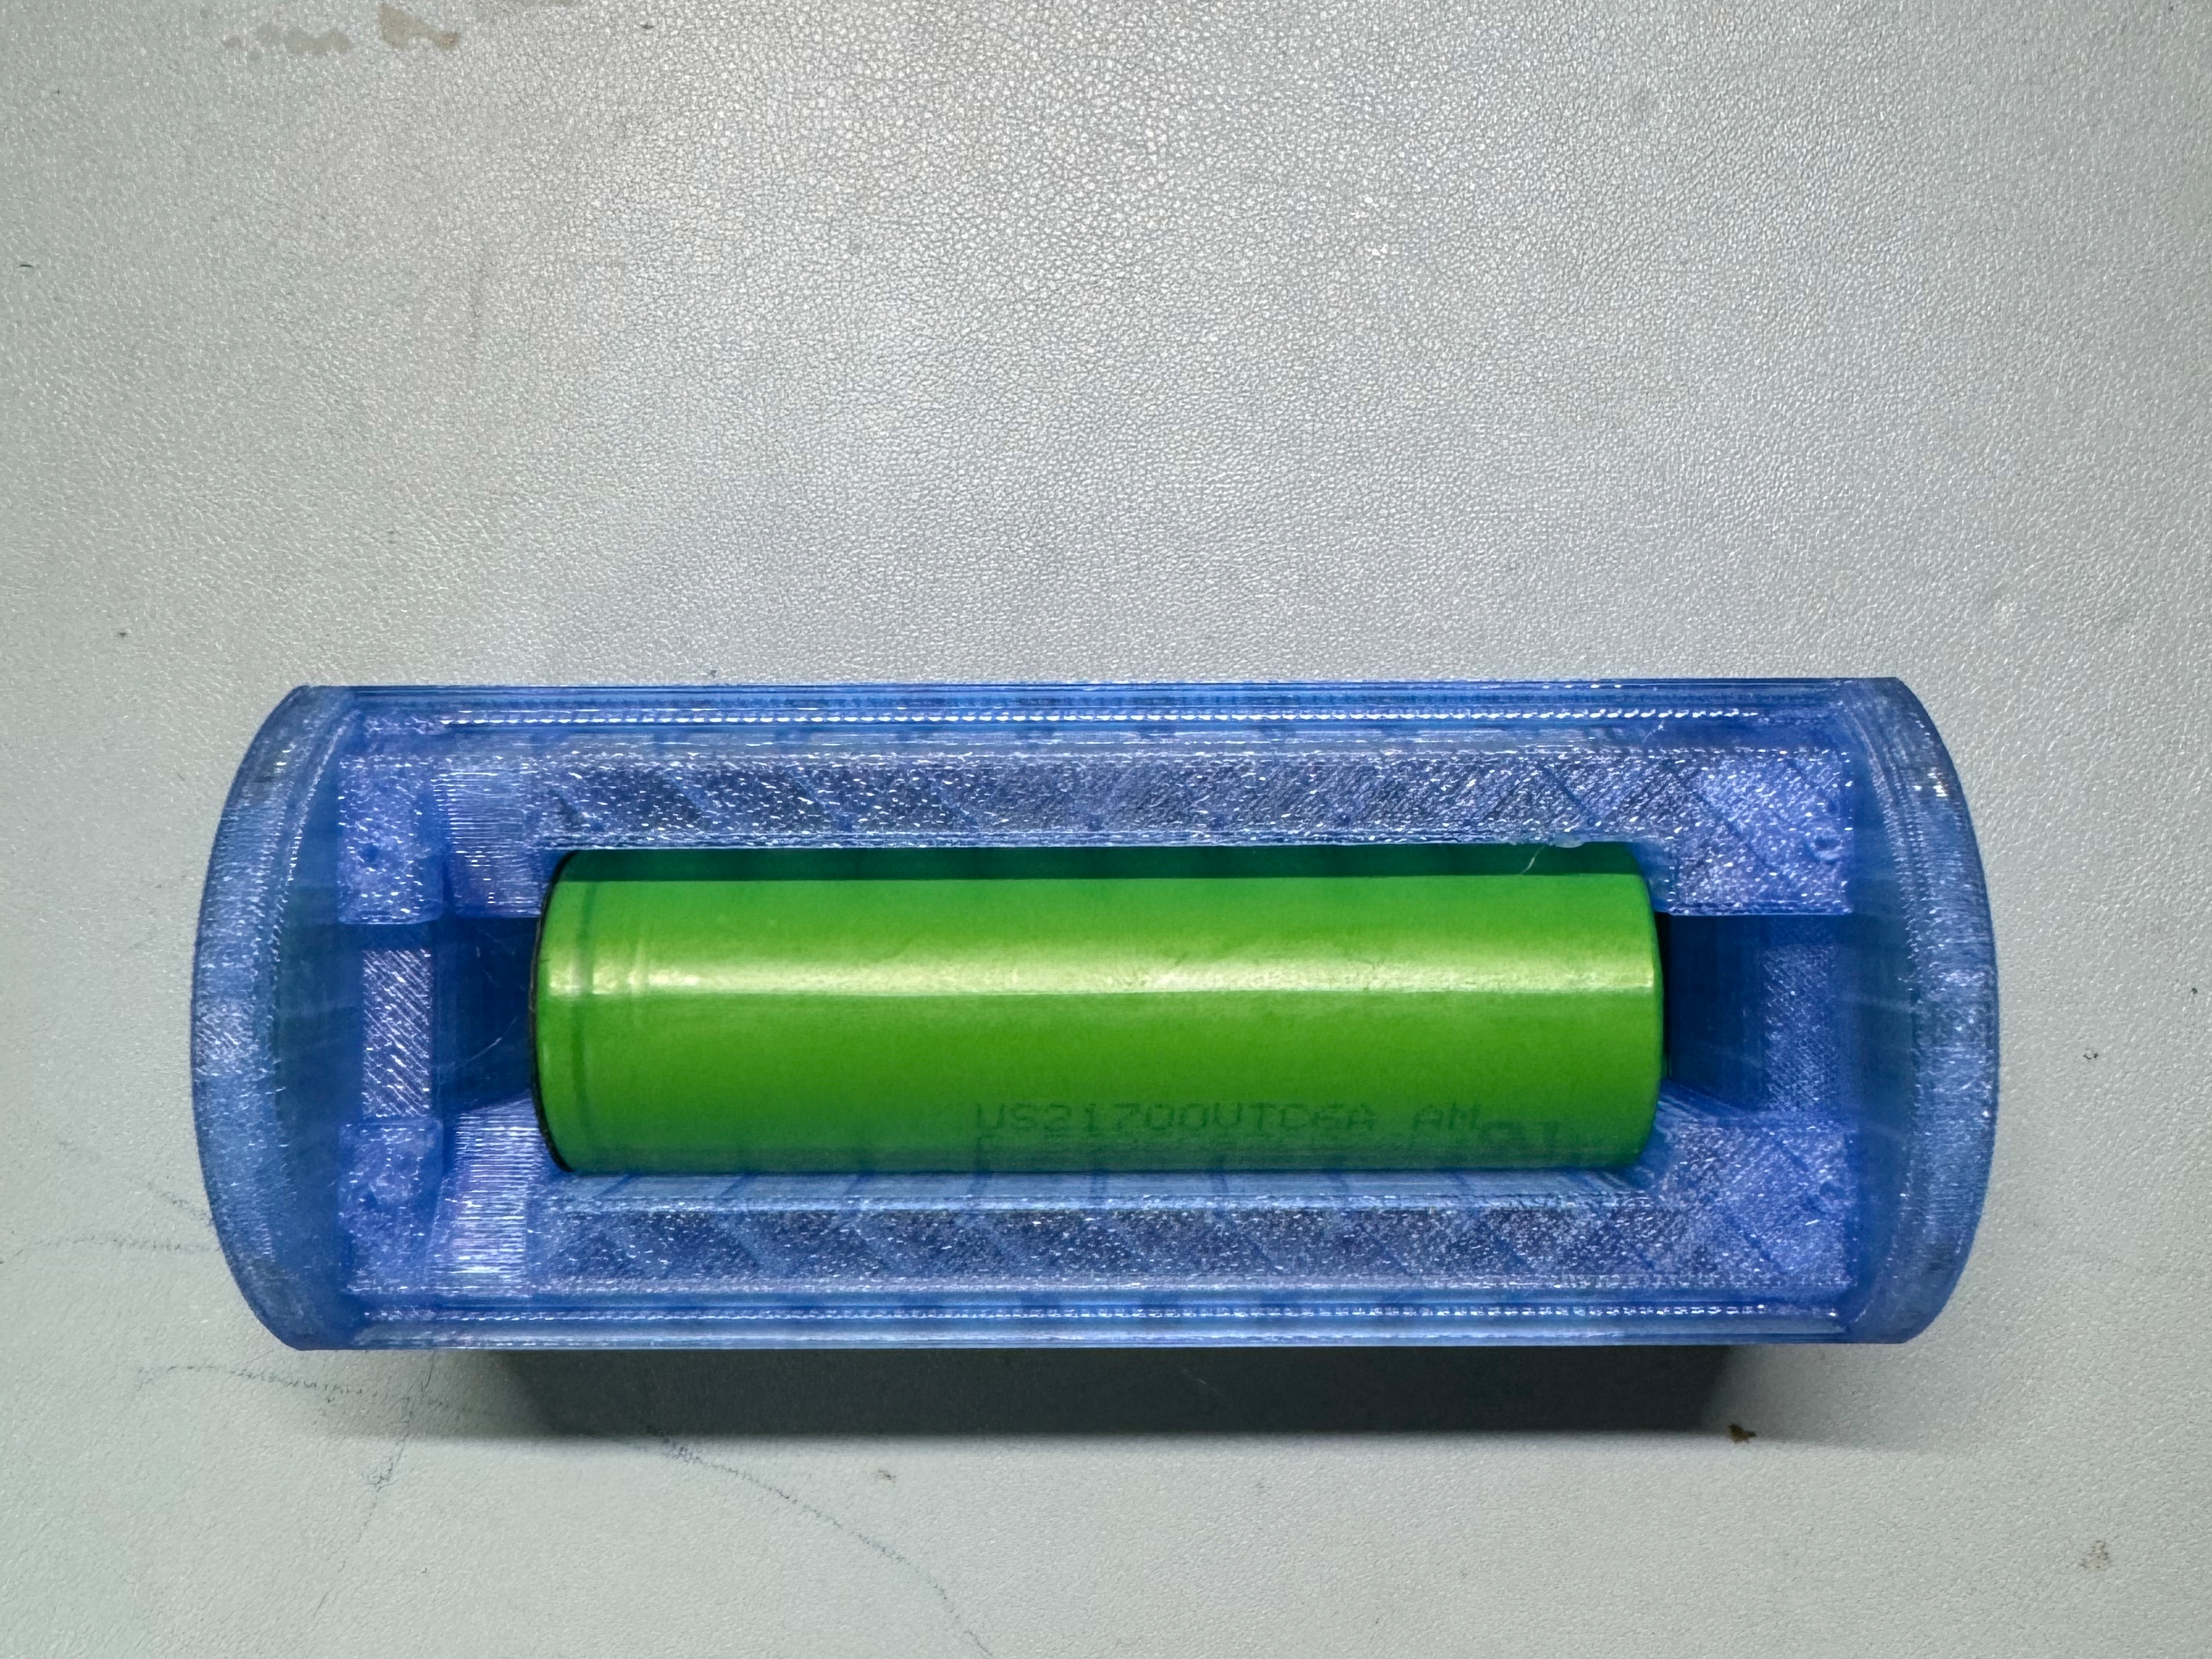
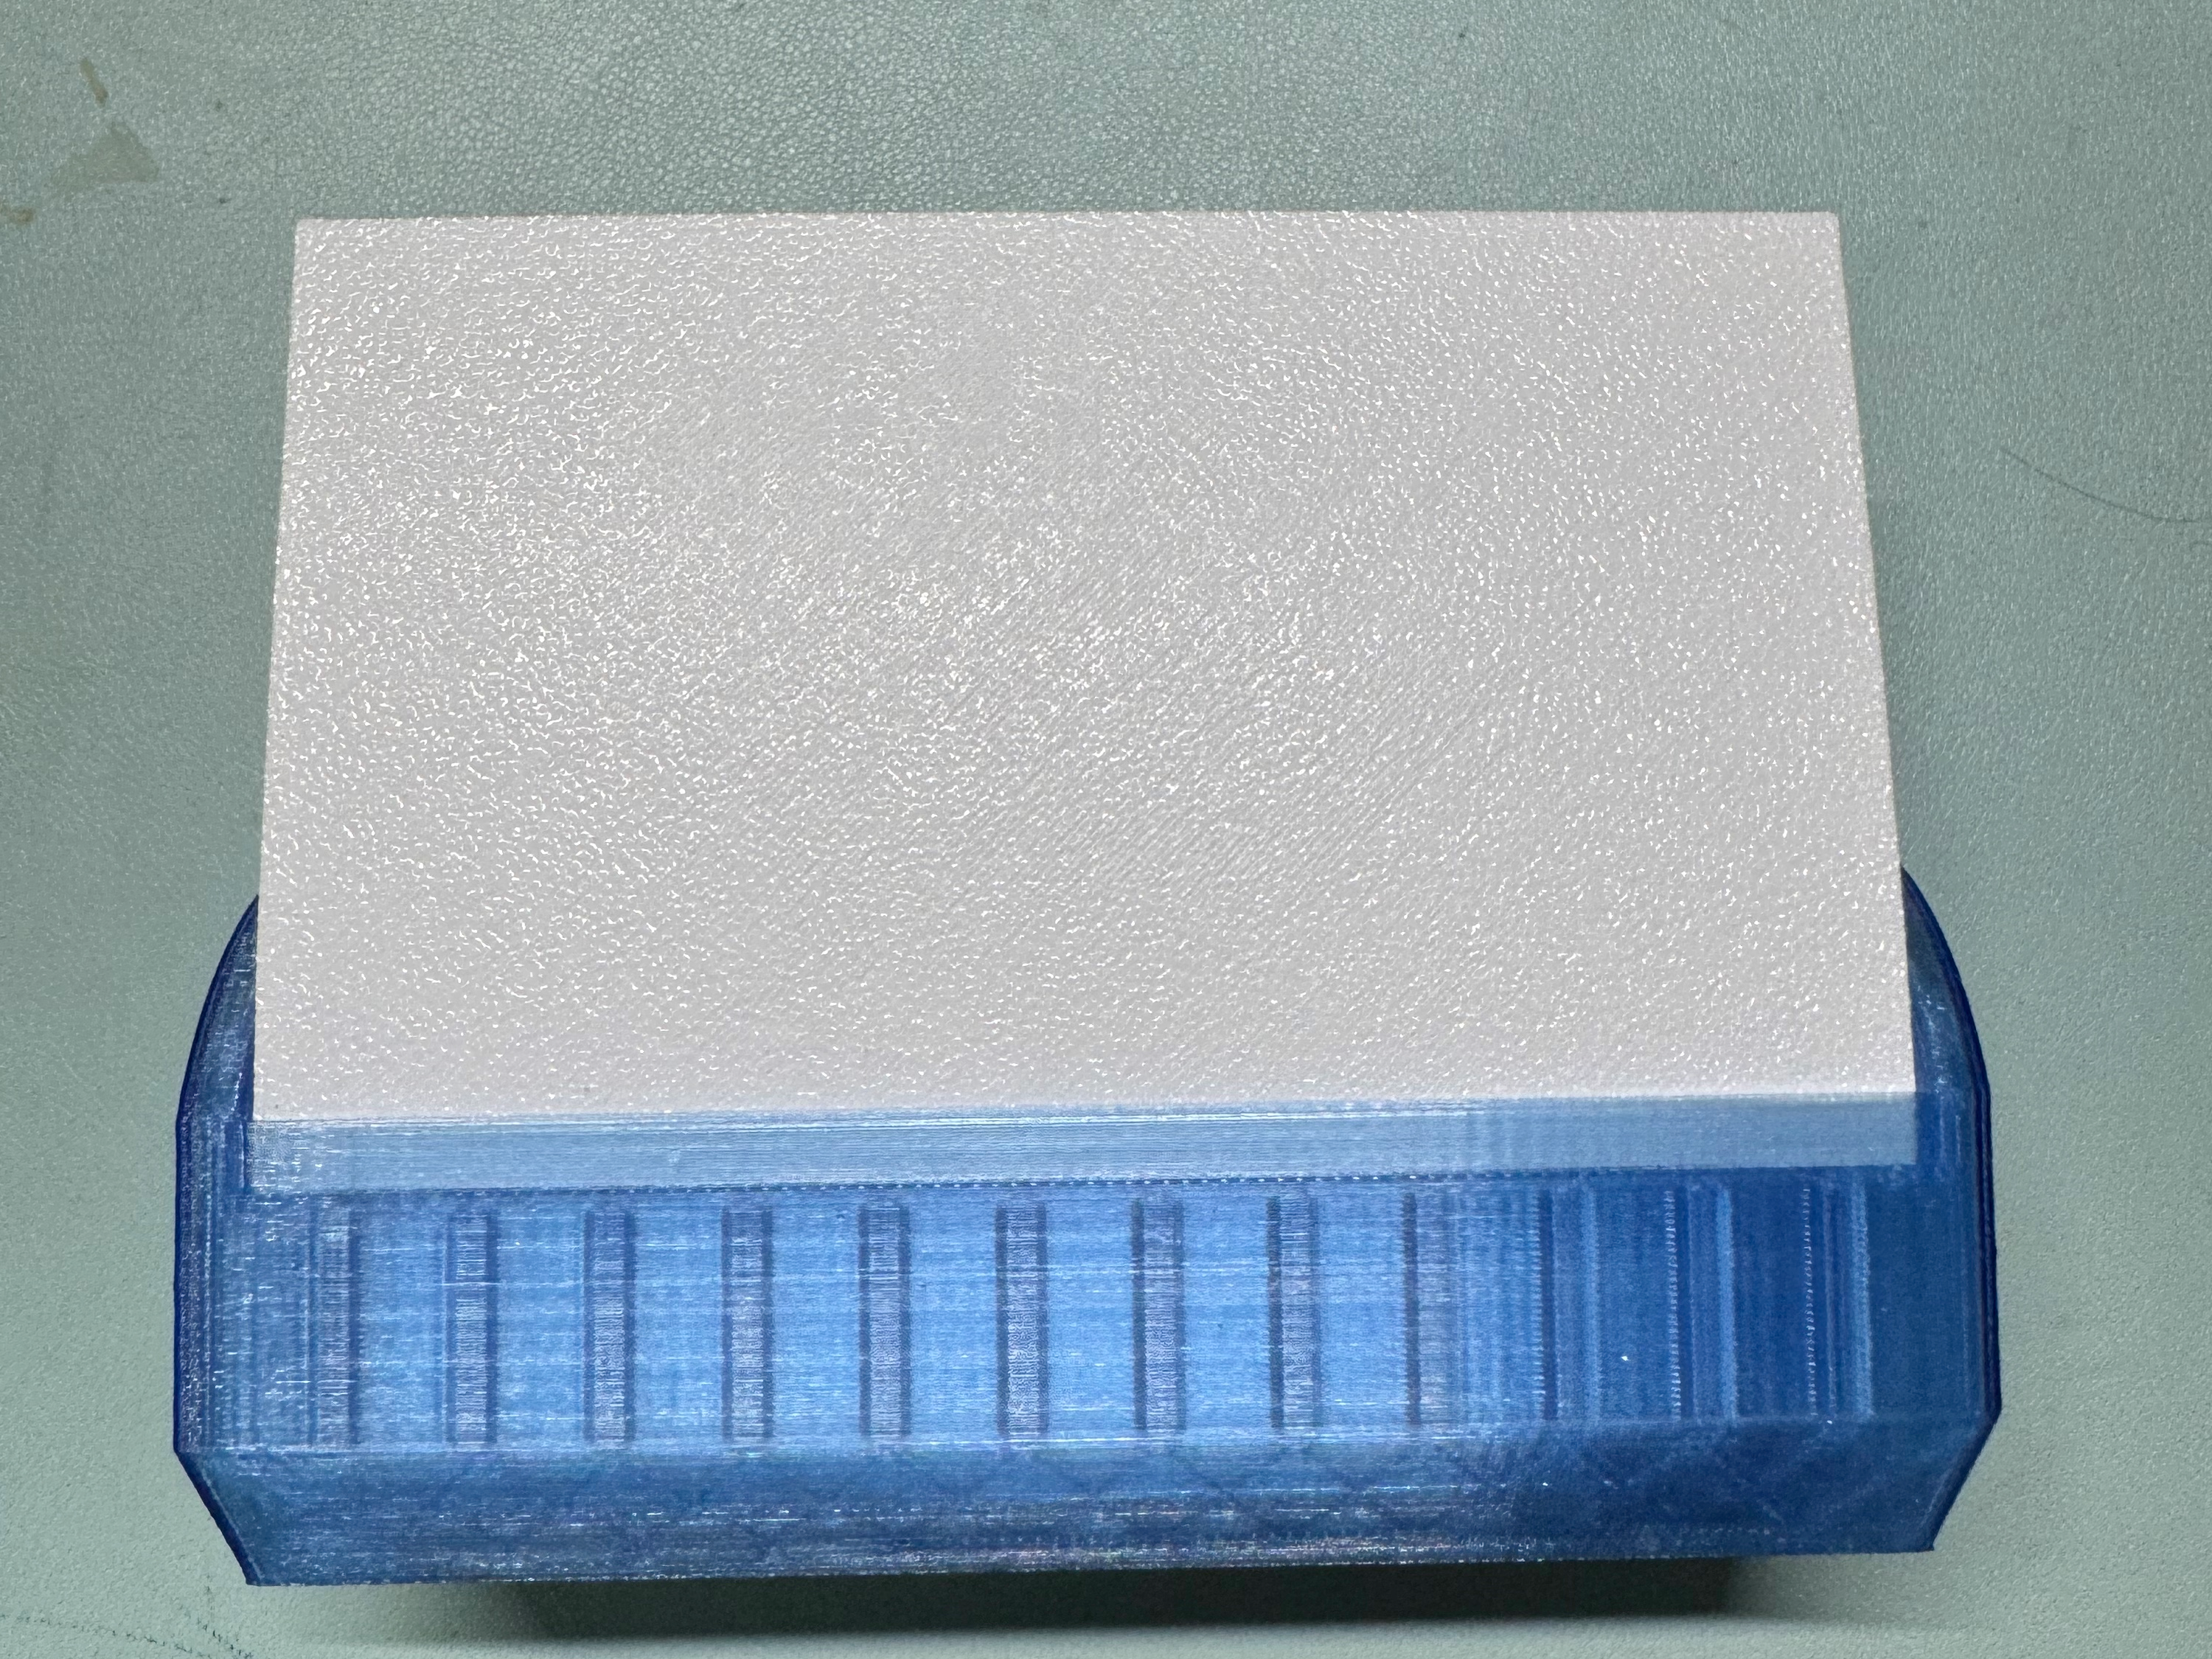
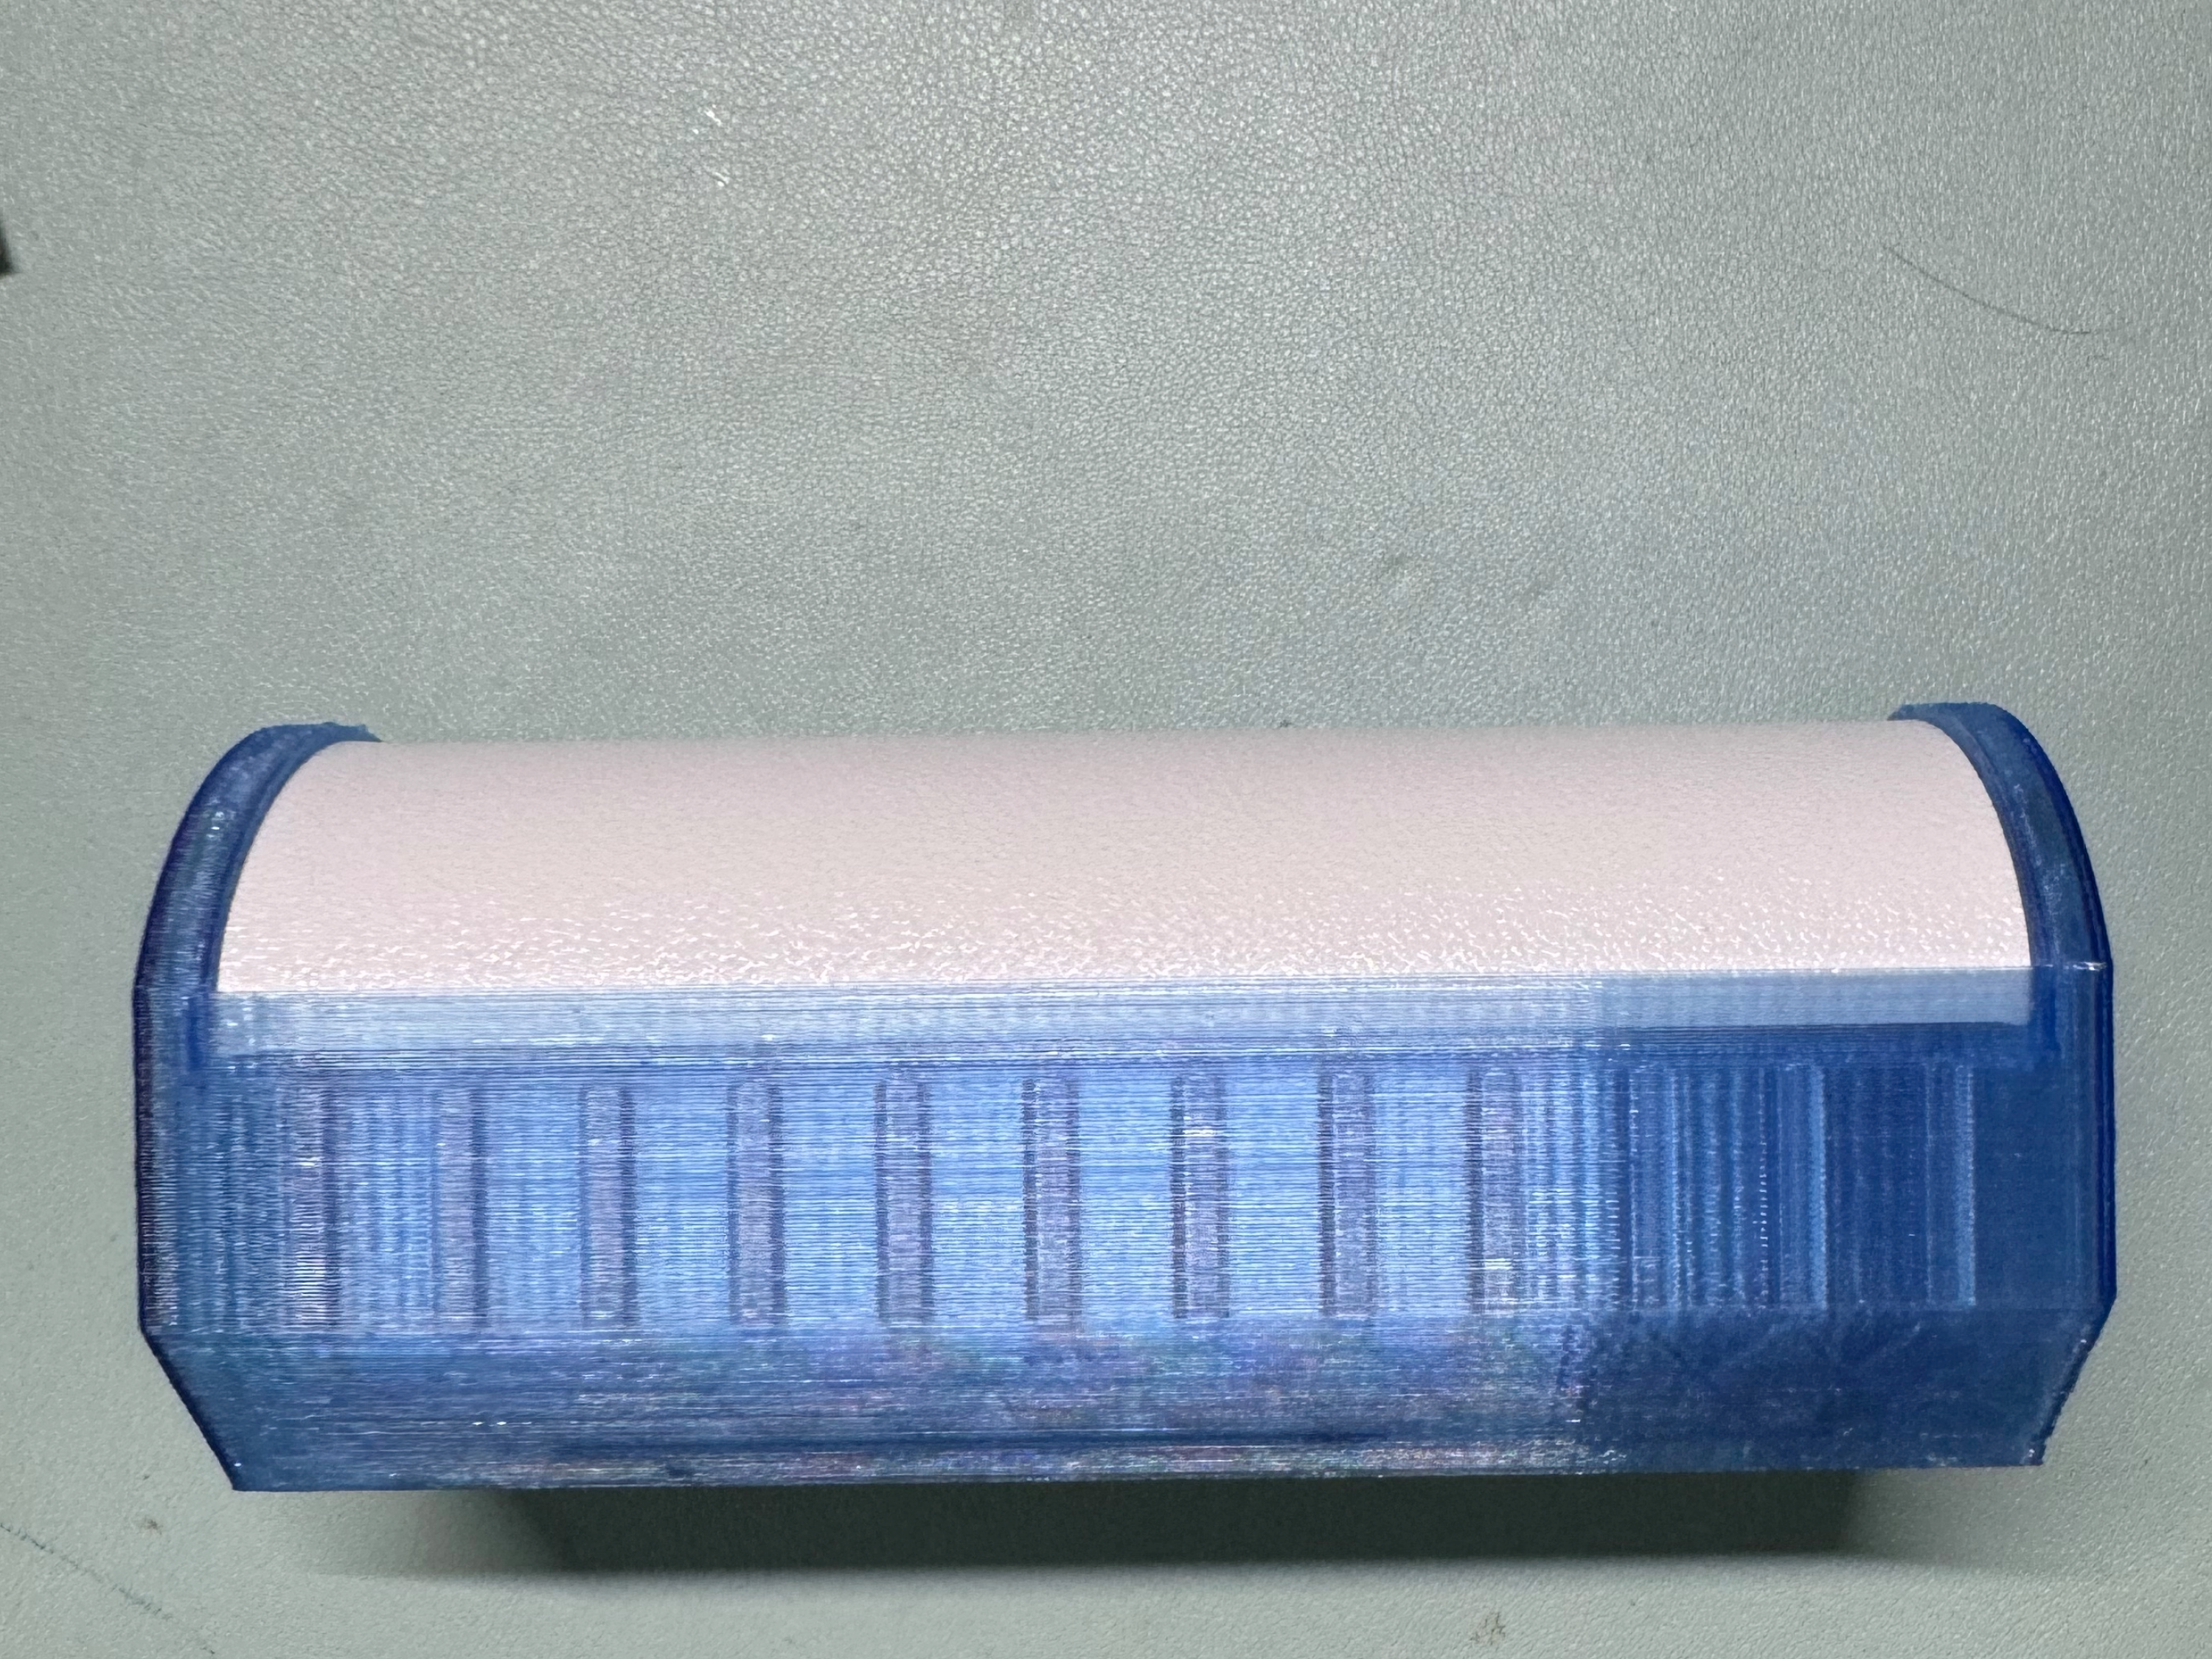
A leaked light board and mainboard enclosure from an older “Five Families” product has surfaced. The overall appearance is strikingly similar to the original, though the device is slightly smaller in volume. The bottom features a circular magnet and a 1/4-inch threaded hole (6 mm deep), while the side control interface incorporates magnetic attachment points at both ends. Currently, the battery is limited to 21700‑size cells—and due to space constraints, wiring must be soldered rather than using standard connectors.
Complete Components
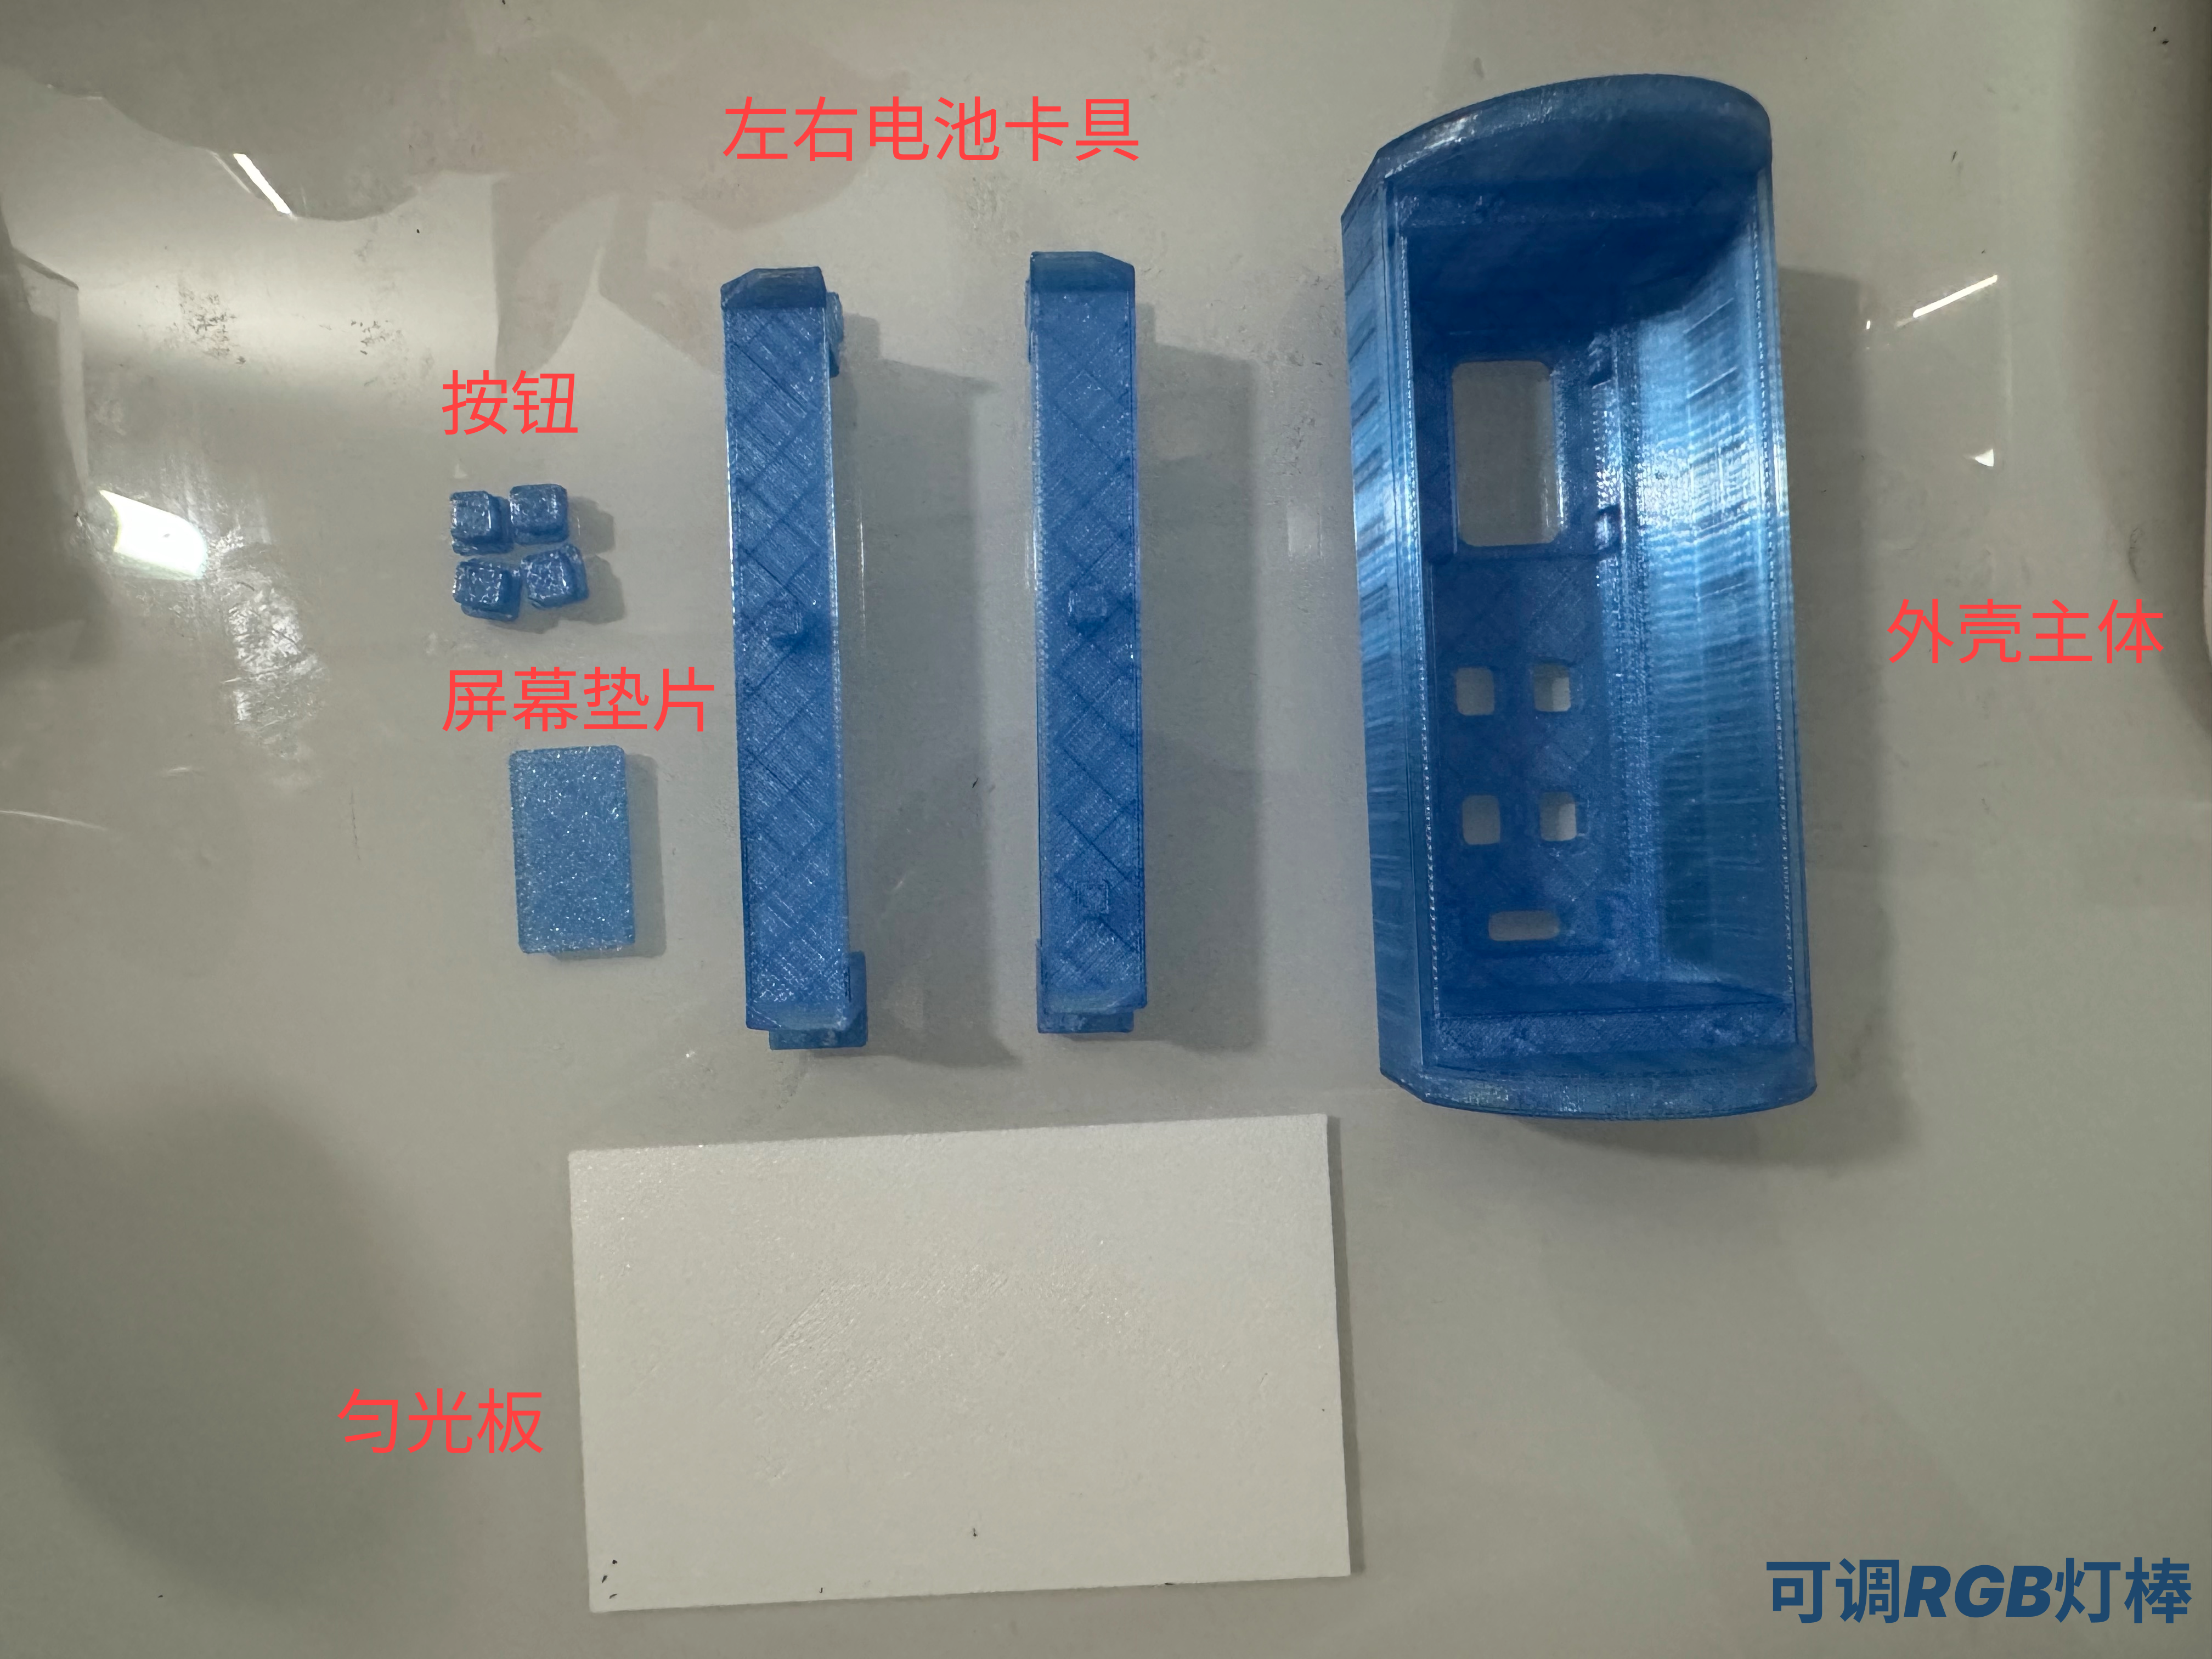
Additional Accessories
- 4 x Round Head Self-Tapping Screws (M1.4 × 10 mm)
- 1 x Annular Neodymium Magnet (Outer Diameter 20 mm × Inner Diameter 10 mm × Thickness 2 mm)
- 2 x Square Washers (15 mm × 5 mm × 2 mm)
- 1 x Knurled Nut (¼ × 6 × 8)
- 1 x Sponge Tape (1 cm × 2 mm)
- 1 x 26 AWG Soft Silicone Wire
- Double-Sided Adhesive Tape
Printing Recommendations
- For the light diffusion plate, we recommend printing with white PLA at a layer thickness of 0.4 mm; alternatively, PETG transparent filament can be used, though it may result in some light leakage around the LED beads.
- All other components are best printed using PETG.
Assembly Guide
- Prepare the wiring: Keep the wires connecting to the light board relatively short—about 5 cm is ideal. The wires connecting to the battery should be approximately 10 cm long.
- Connect the wires according to the markings on the board (details omitted here).
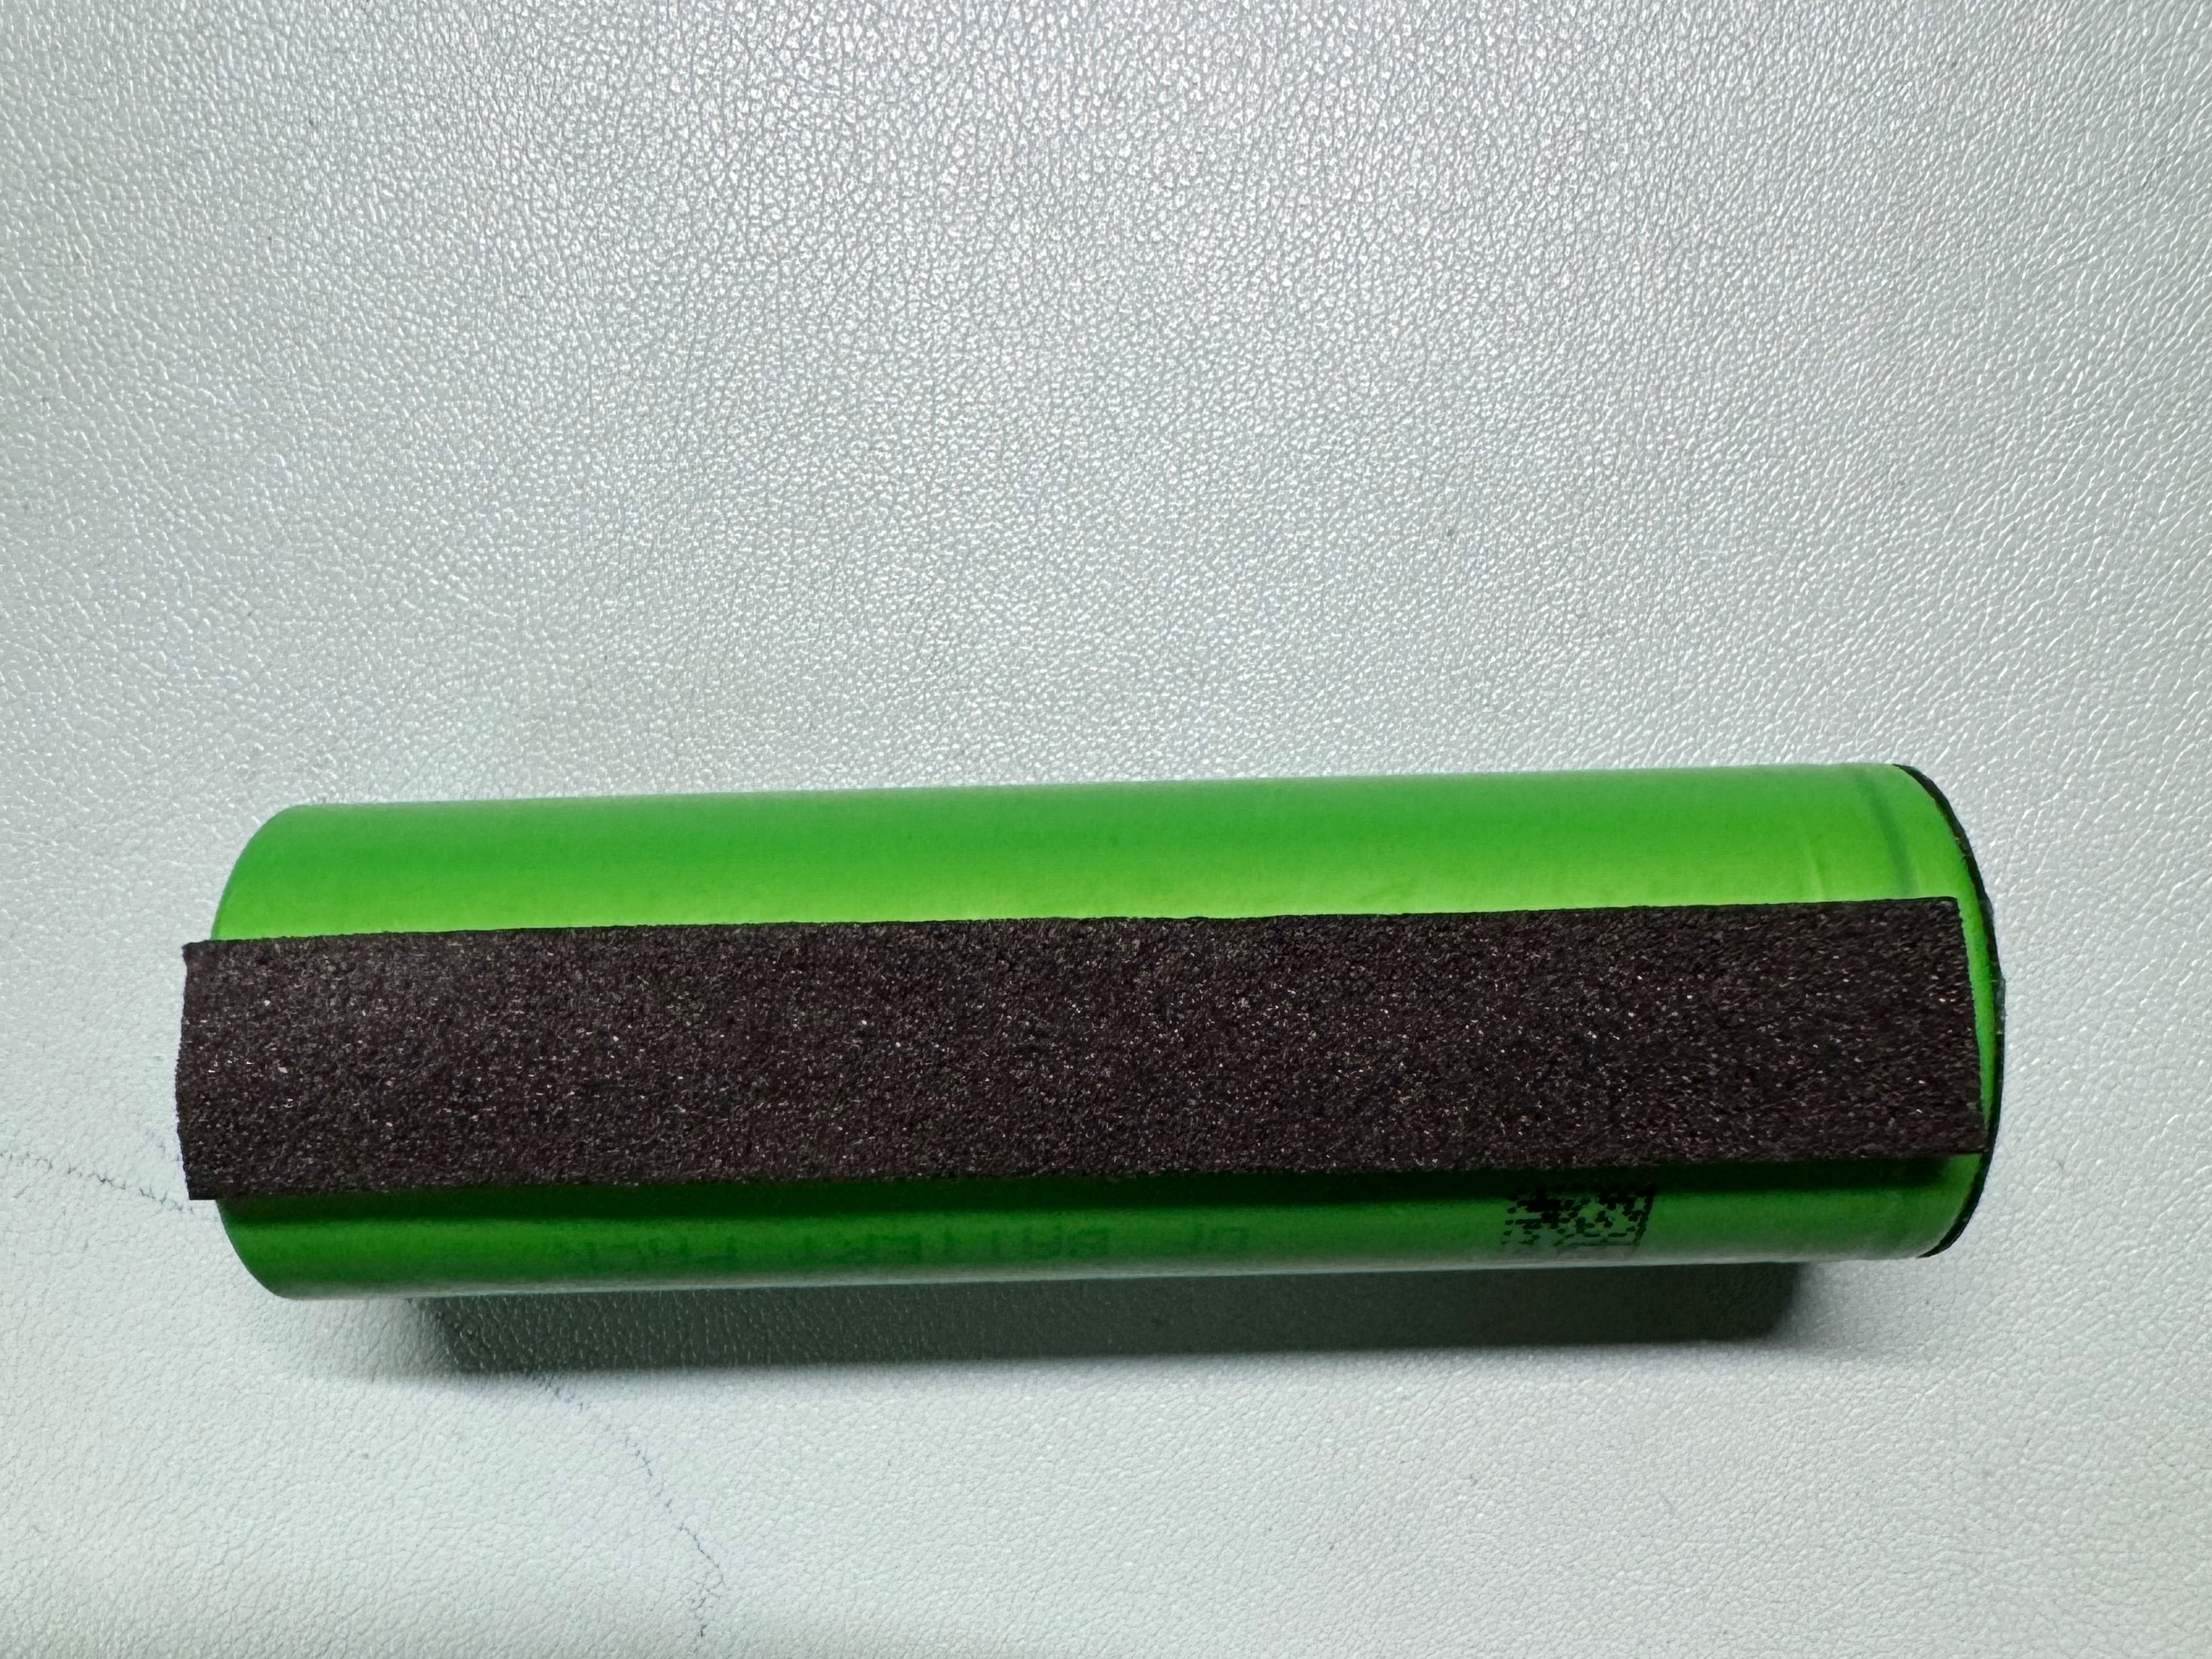
- Apply a strip of sponge tape to the underside of the battery compartment.
- Attach the screen spacer to the back of the display.
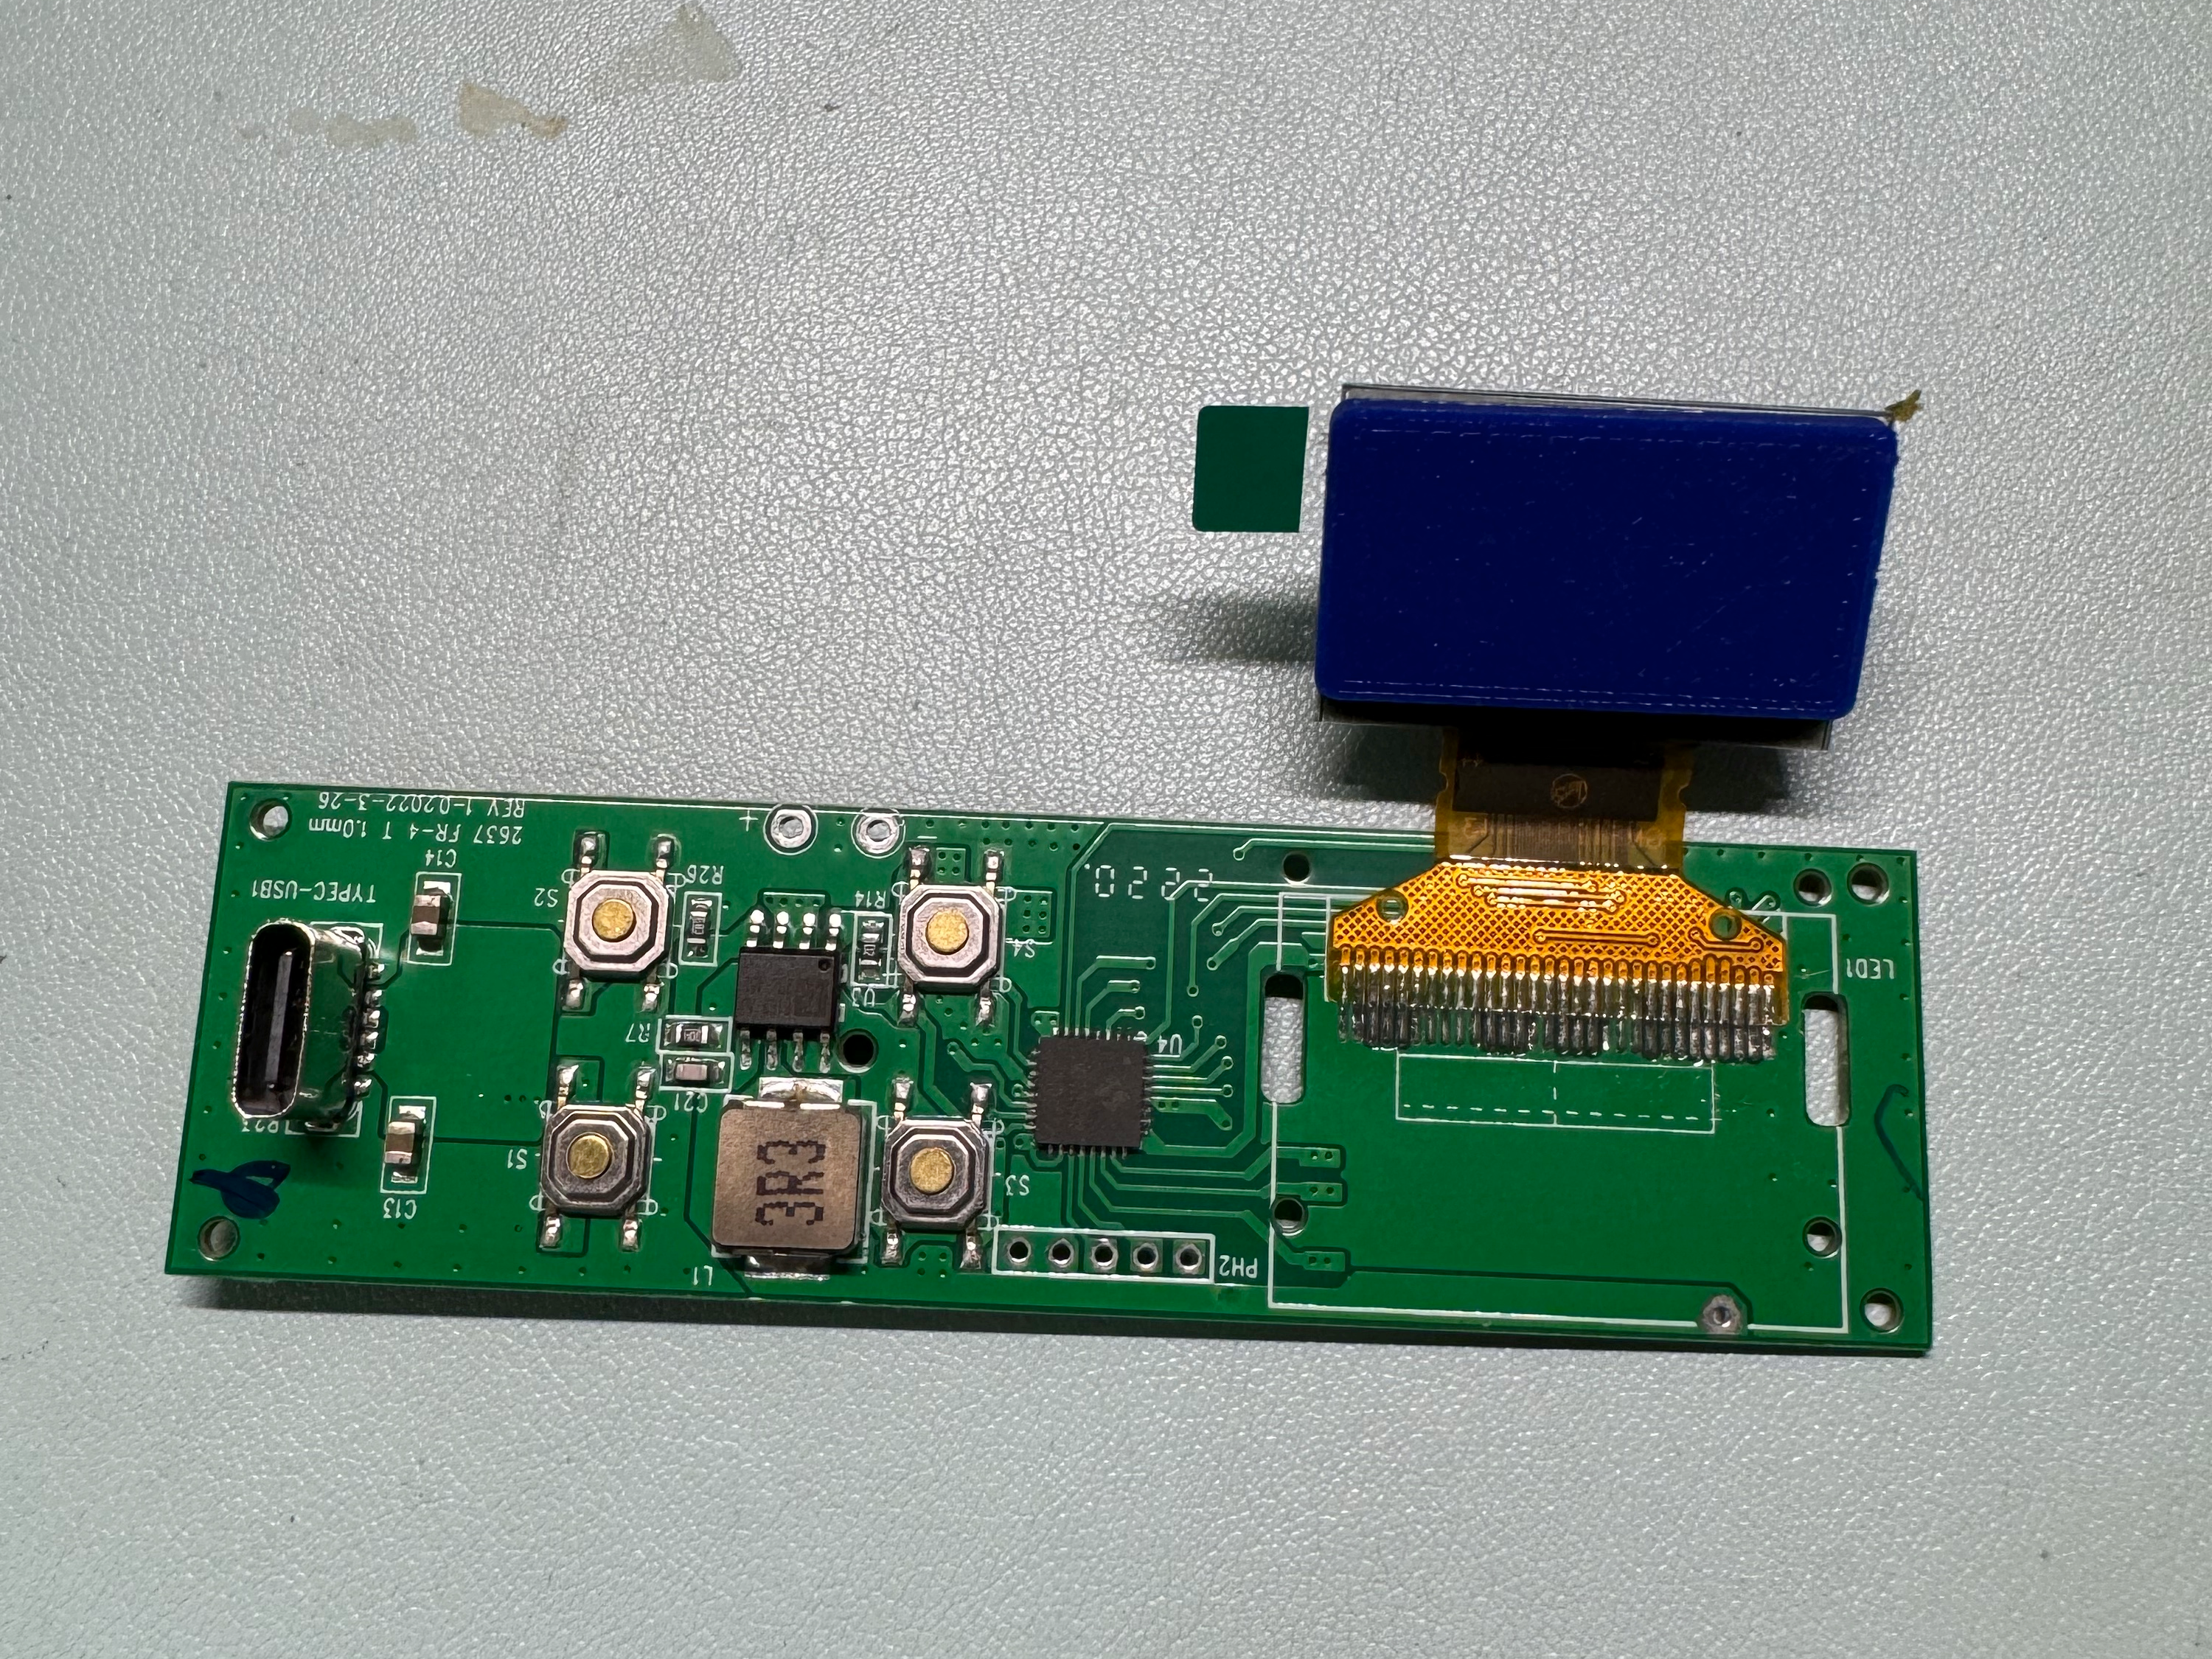
- Install the buttons—note that the buttons are not symmetrical and have a distinct orientation.
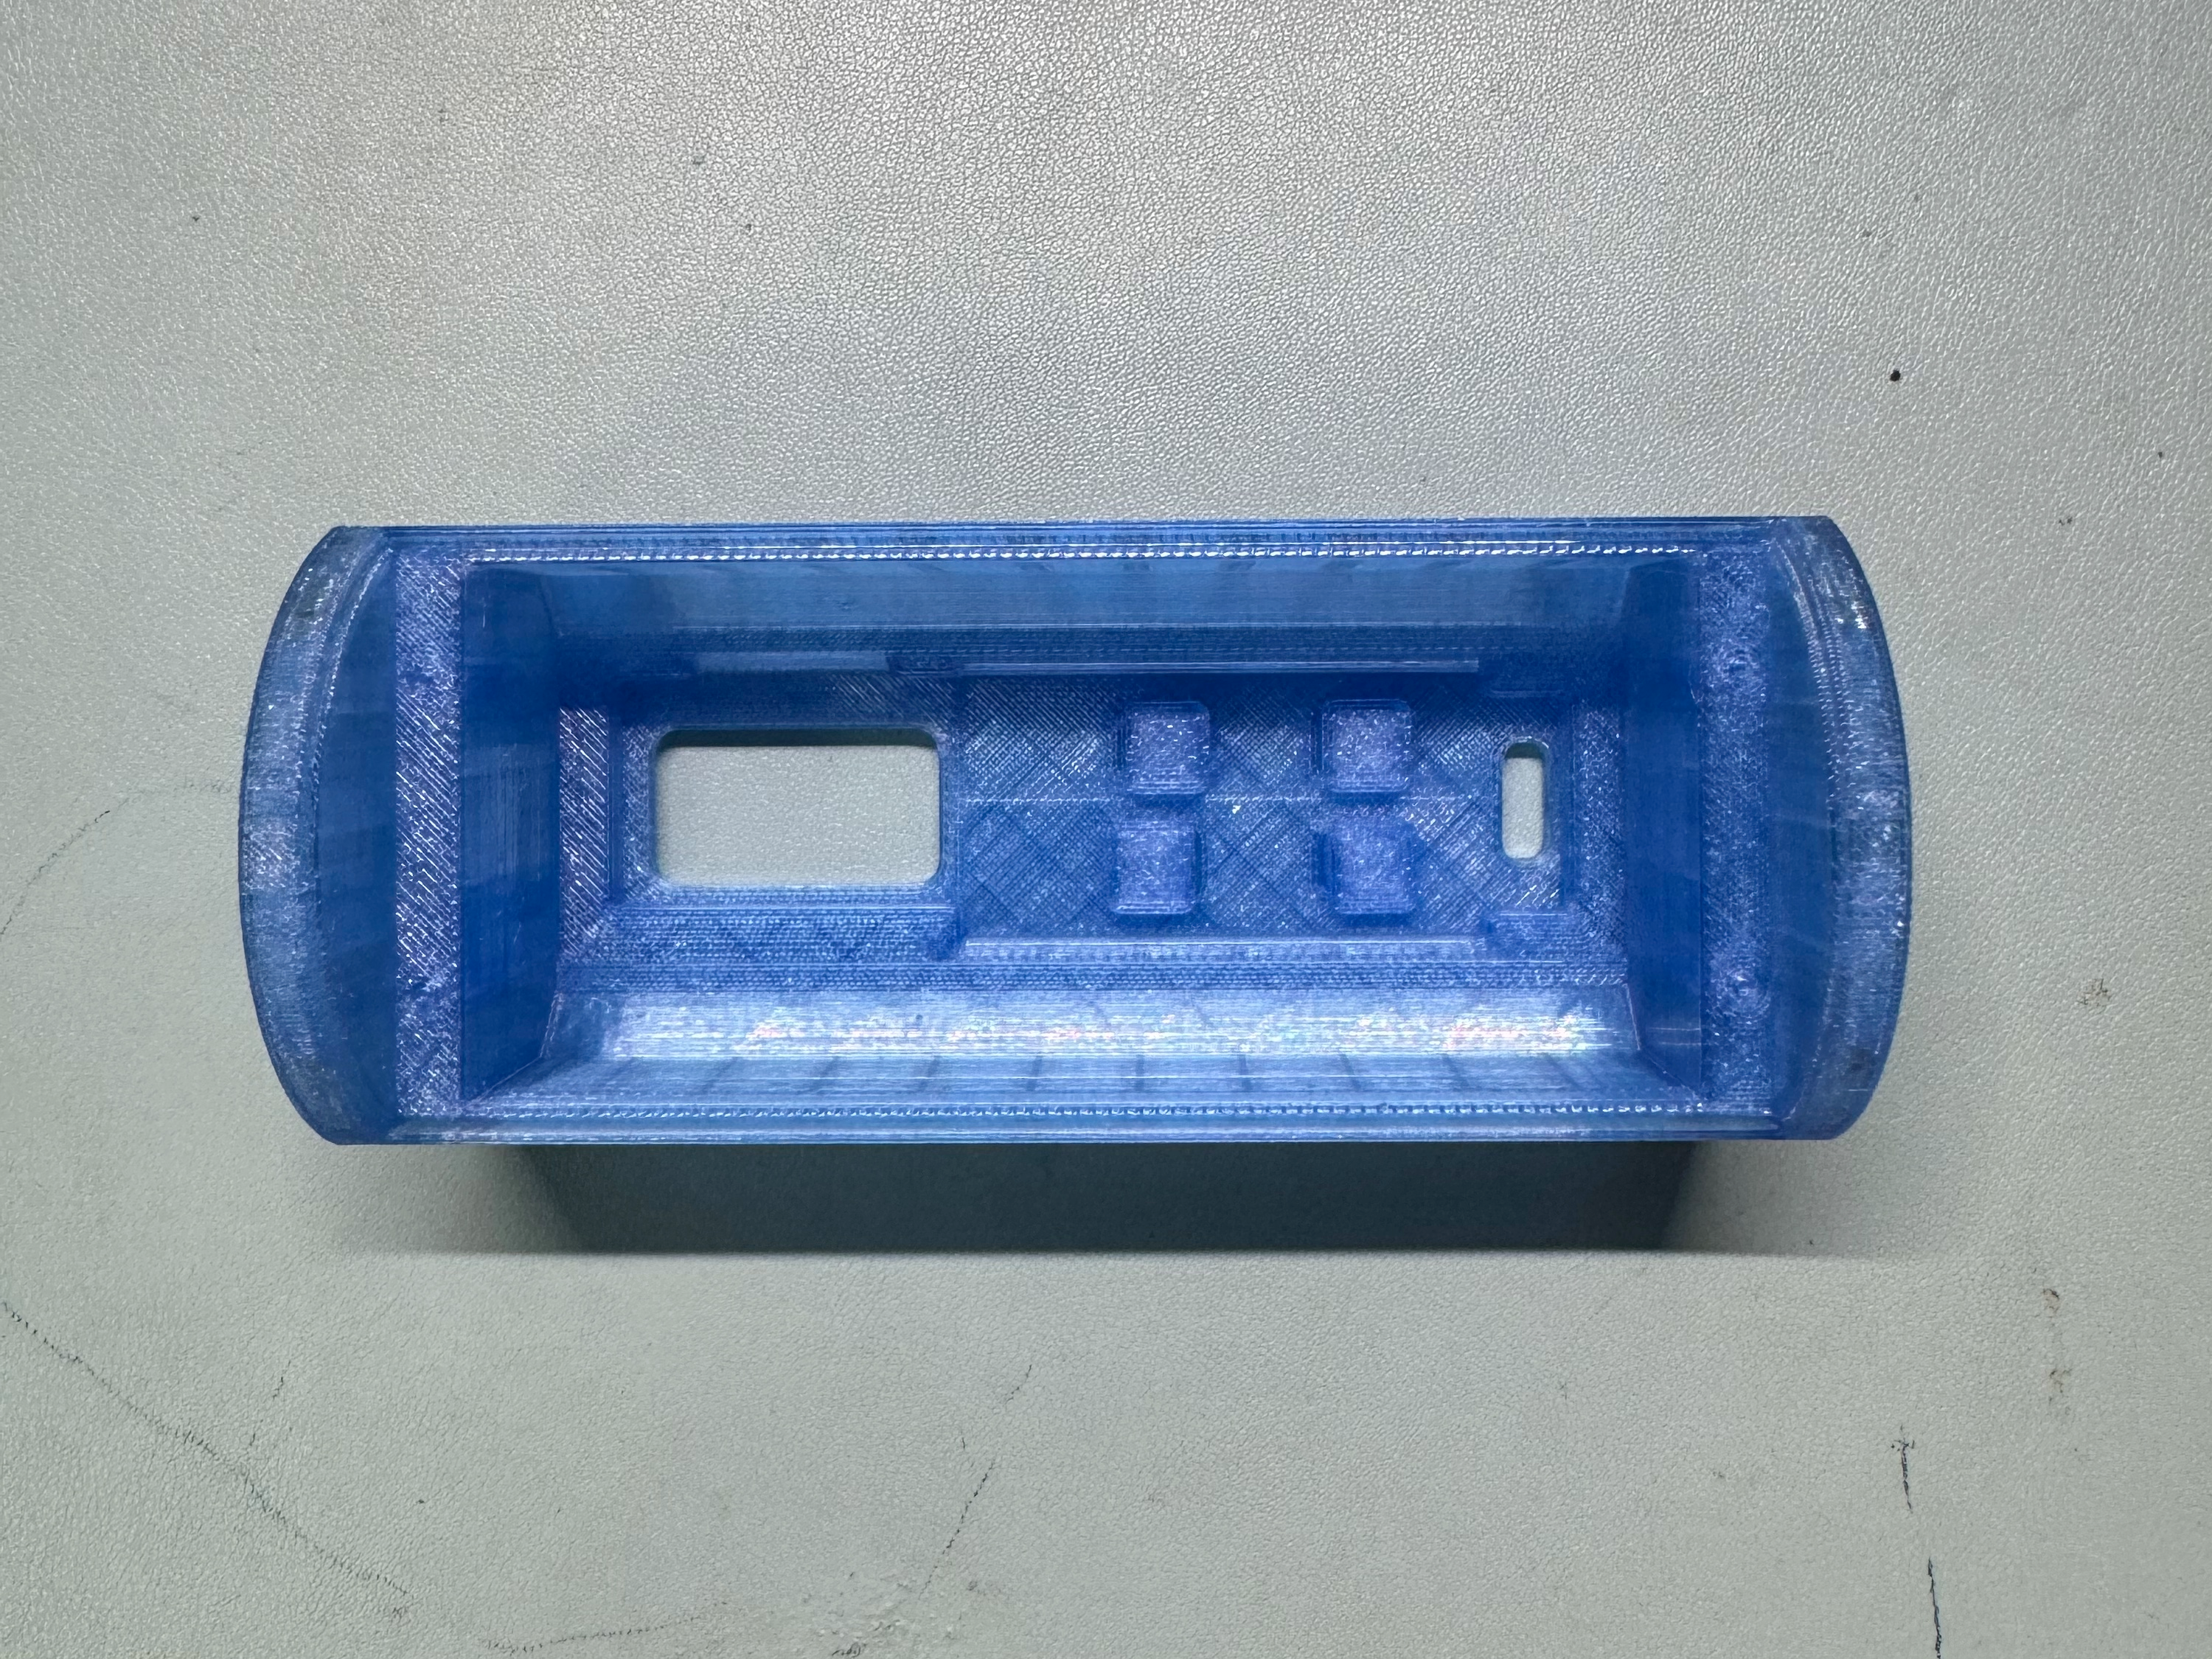
Install the mainboard
Position the battery holder left and right, paying attention to the correct orientation (with the notch facing the wiring end).
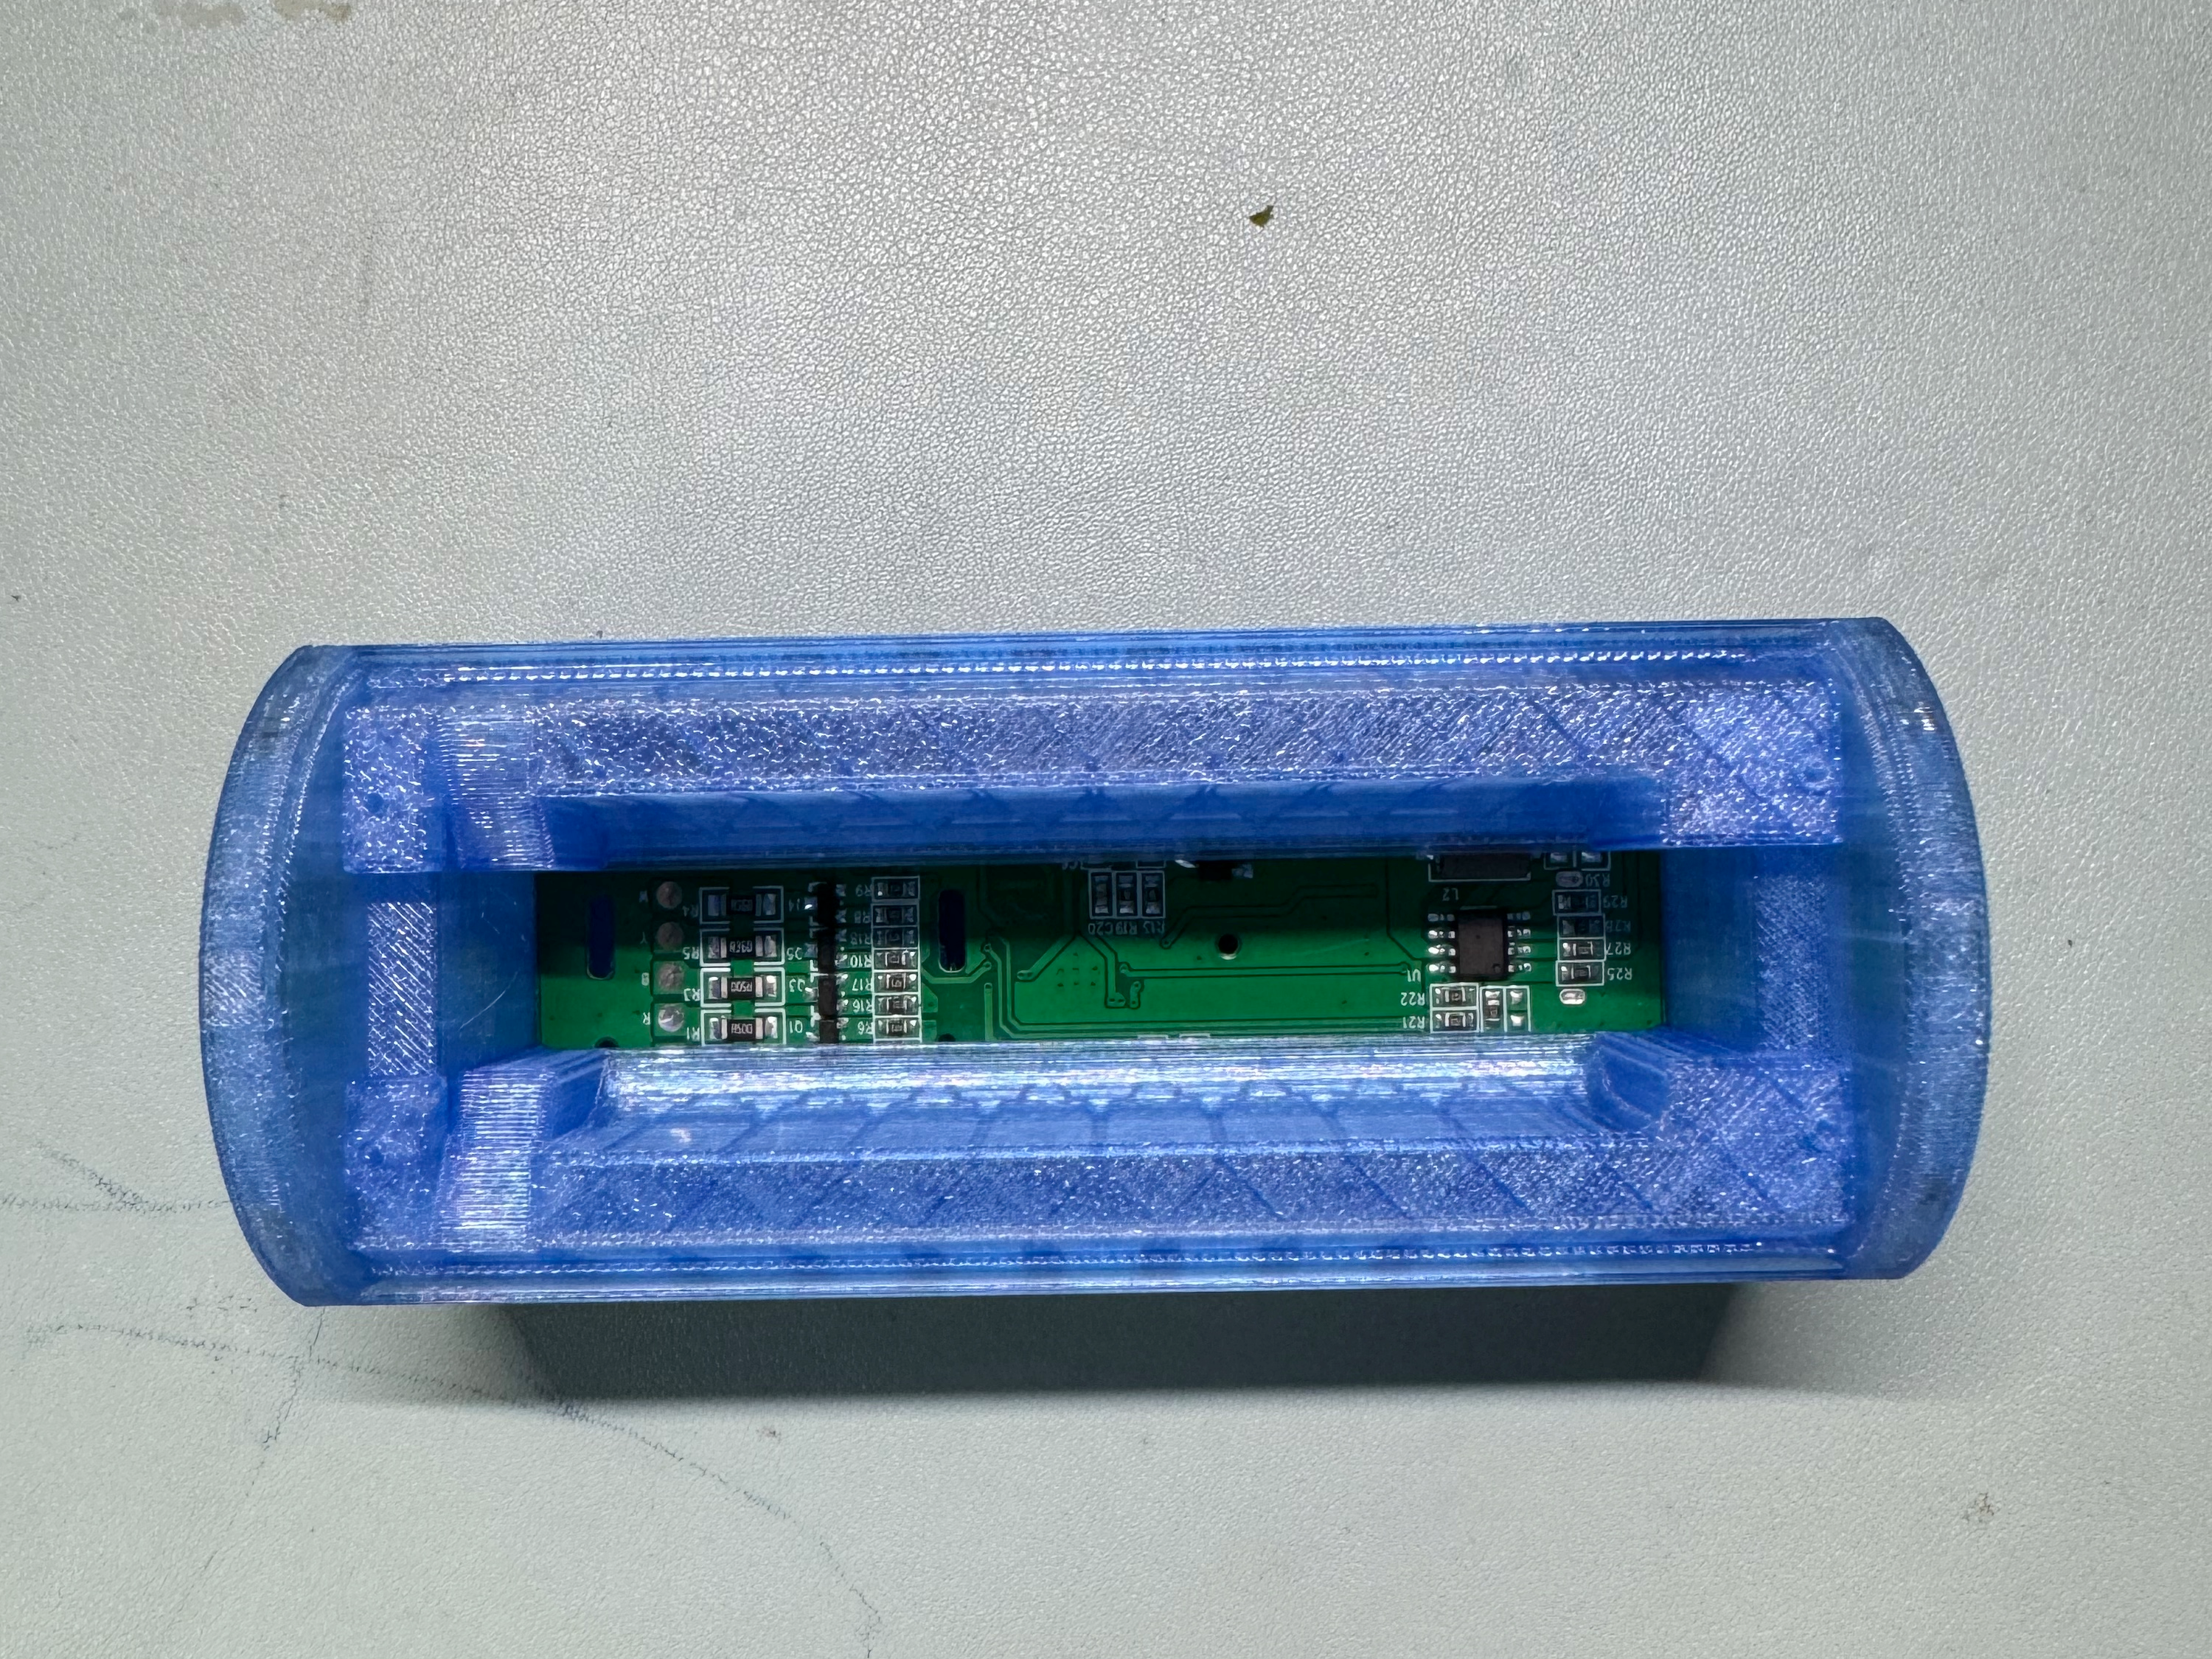
Insert the battery, with the sponge tape facing downward.
Place the light board into position.
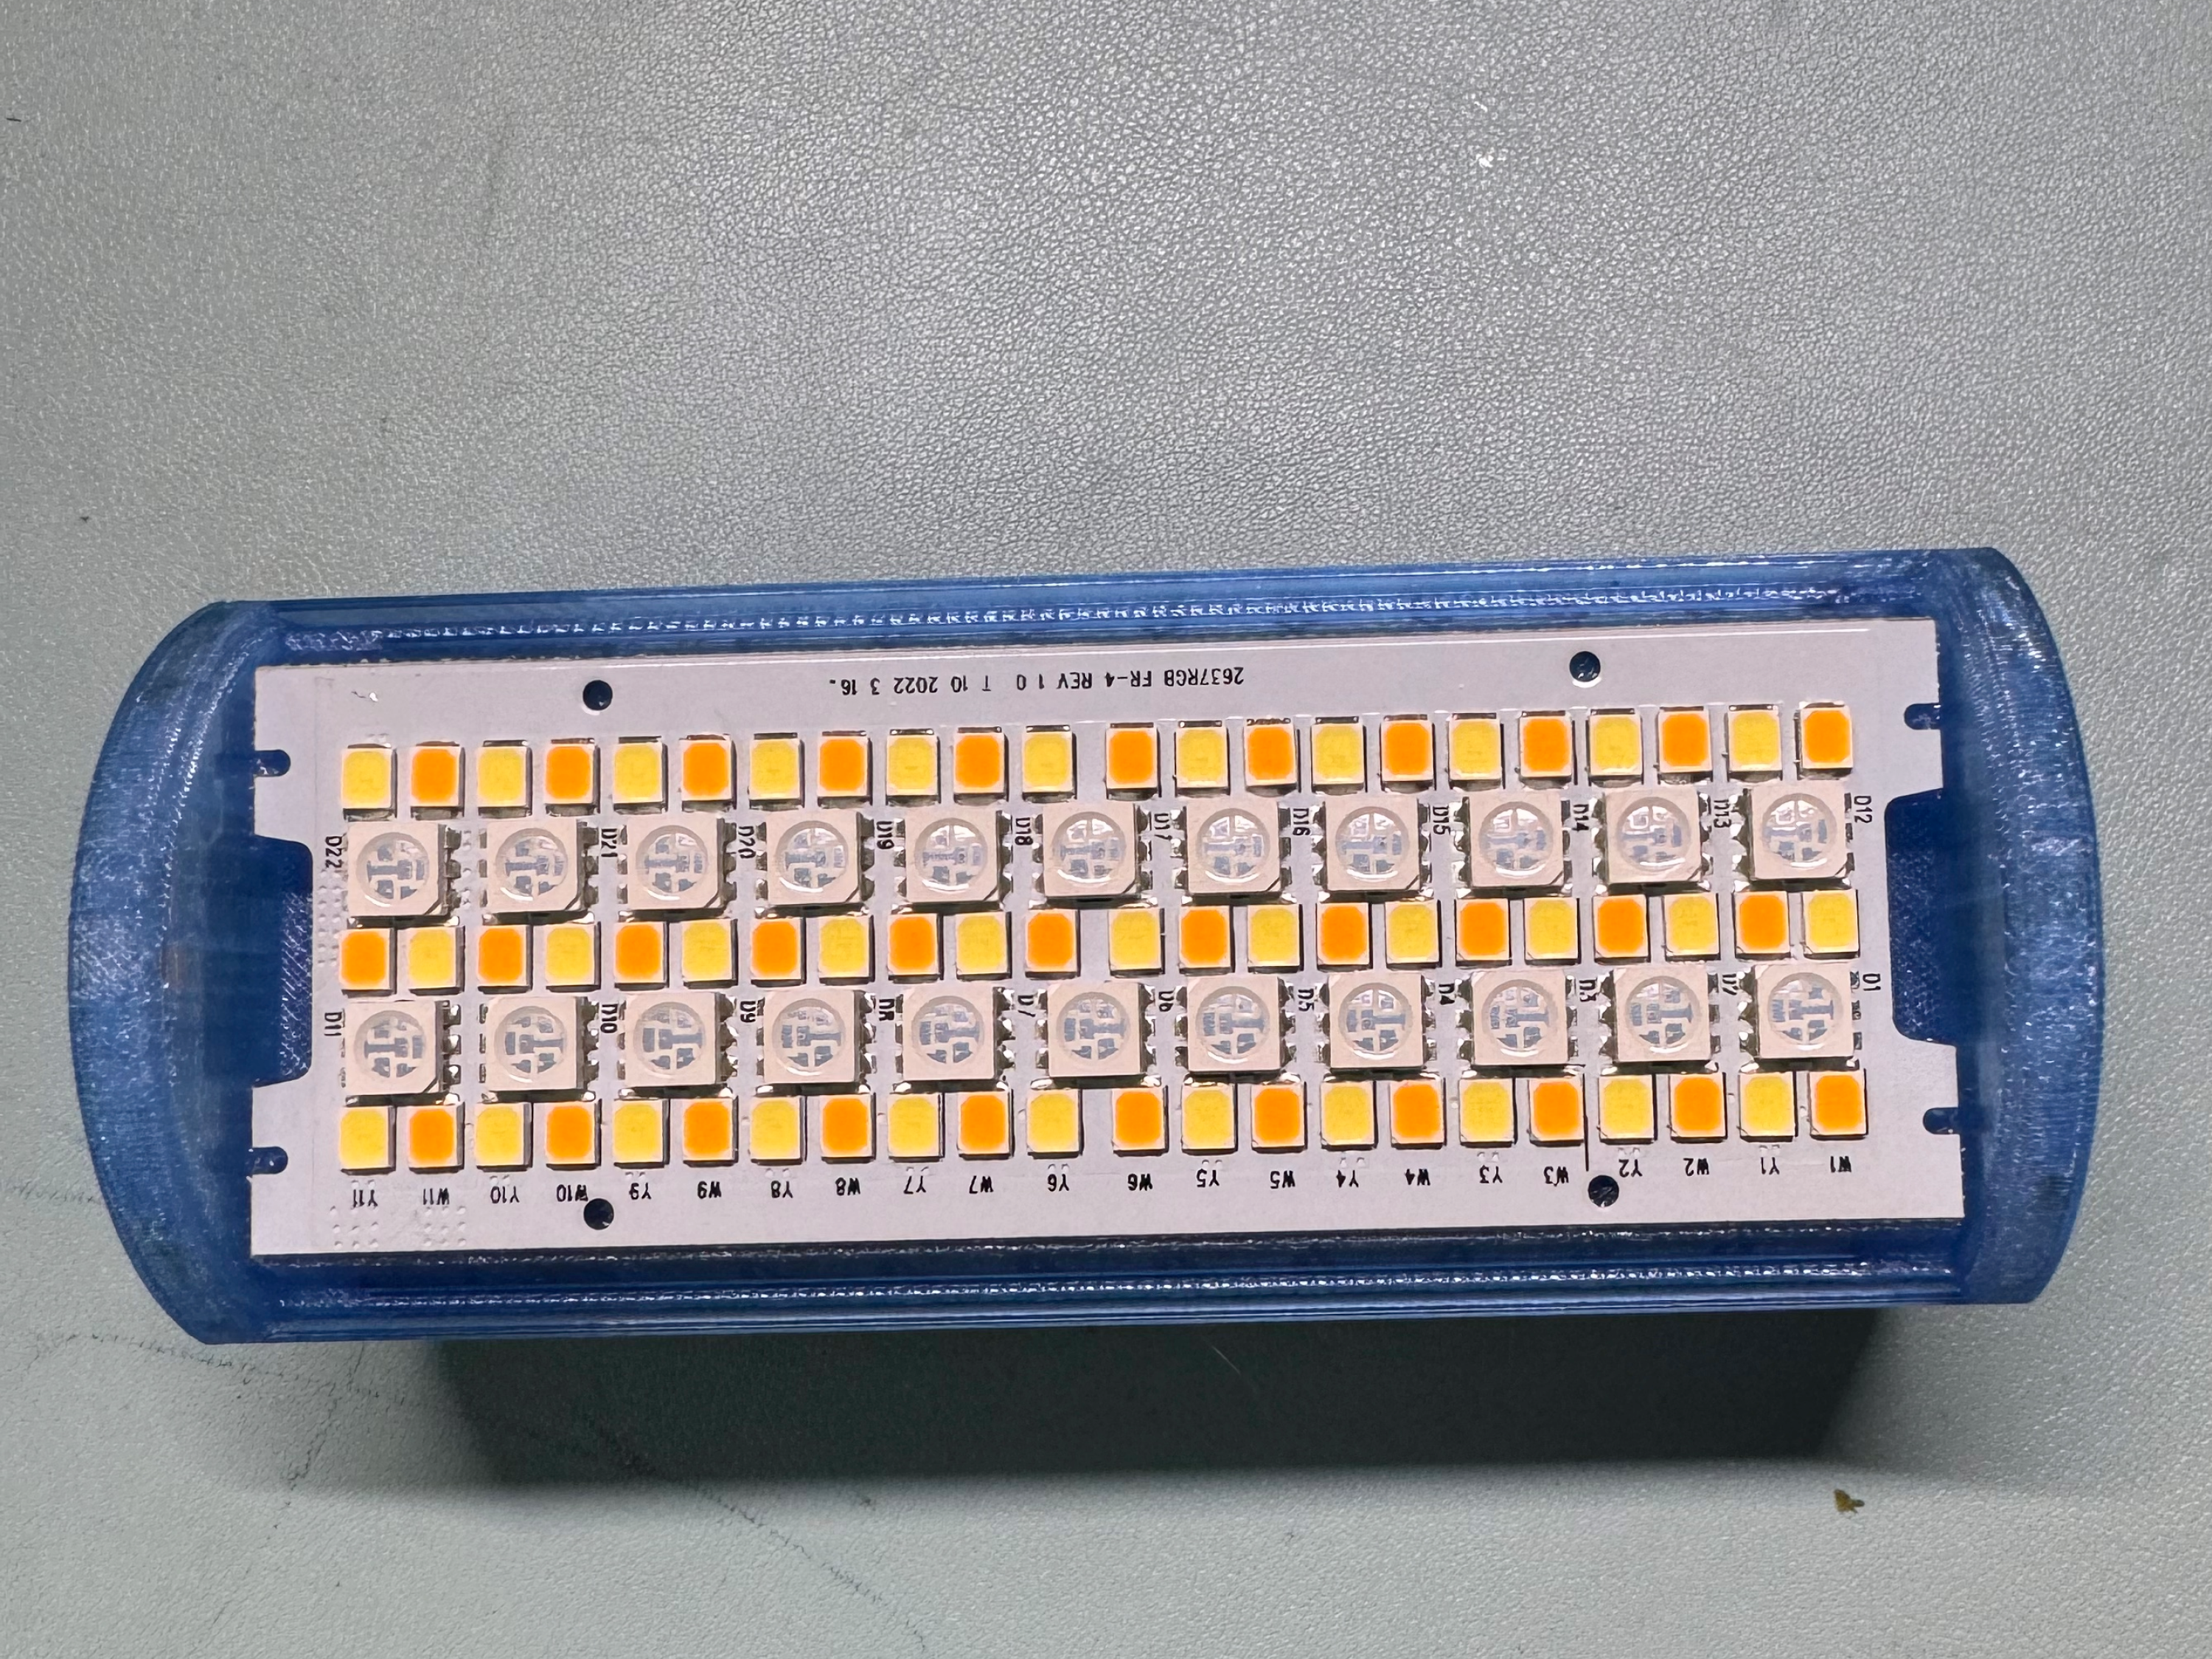
- Secure the light board using self-tapping screws.
Install the light diffusion plate.
Note: You’ll need a utility knife for this step—insert one end of the plate into the housing first, then use the knife to gently push the other end into place.
- After confirming proper function, secure the light diffusion plate, annular magnet, and square magnets with adhesive.
- Solder in the knurled nut.
Bill of materials
- NameQuantityNotes
- 121700电池1
- 2灯板&控制器1
Originality of the Model
The author declares that this work is their personally original model
This model is licensed under the following terms:
Credit must be given to the creator
Only noncommercial uses of the work are permitted
Remixes must be shared under the same license
Models(1)
- RGB灯最最最最终版.3mfDesigner

1.79 MB

2025-08-14