


v-slot
Creality
Ender3
ender3pro
V-Slot covers


15

3
Summary
Why
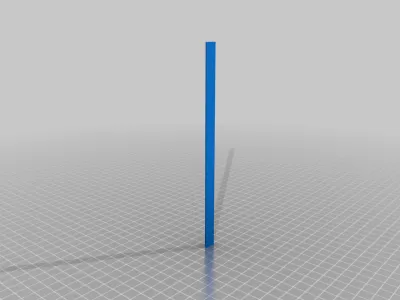
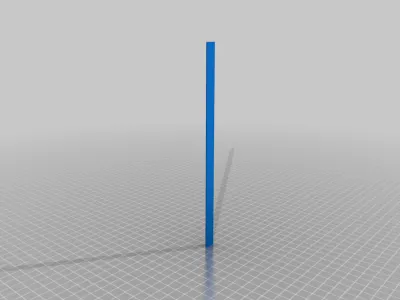
I needed some way to prevent dust from depositing within the v-slots. The original profile fits the slots perfectly! However, I needed more sizes.
The following combination should be enough to cover most of the top-facing and front-facing slots of a Ender 3 Pro.
How it works
Measure twice! Those measures fit an Ender 3 Pro.
Add supports for the top_screws part. The rest doesn't require any.
Print flat with the widest part at the bottom.
Insert in the extrusion with the widest part at the bottom.
Files included:
please see attached pdf for which parts and positions.
Should you need more sizes, you can take one and stretch it in one dimension in your slicer.
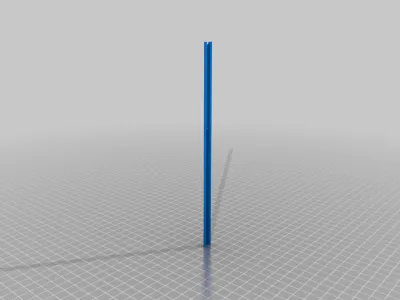
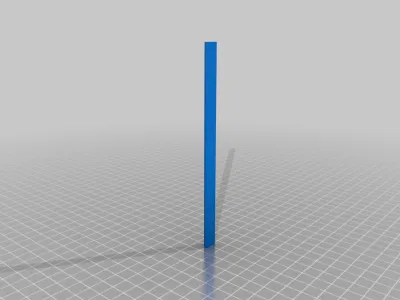
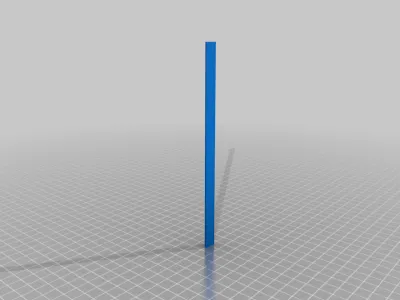
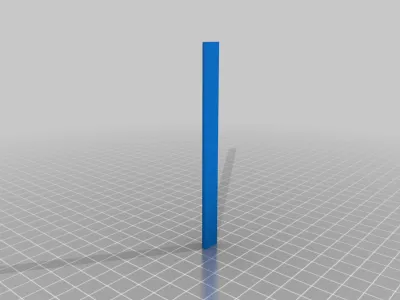
- slot_cover_200mm
- slot_cover_175mm
- slot_cover_165mm_top_holes
- slot_cover_165mm
- slot_cover_143mm (the original version)
- slot_cover_105mm (fitting those parts might require unscrewing of the original assembly, so take this into consideration)
- 400mm for led (two versions, possibly used if you want to mount some led behind it)
For instance, that's what I used:
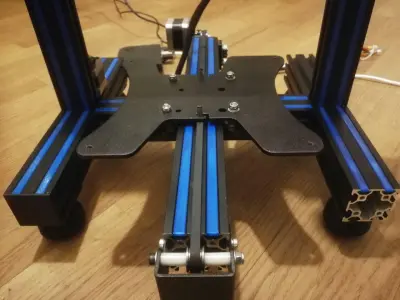
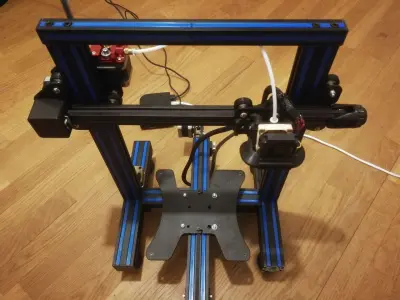
Top frame:
- 2x 165mm, top holes (top)
- 4x 165mm (front+back)
Vertical frames:
- 8x 200mm (front only). Please note that I don't have the psu mounted on the frame, so you'll need new versions with holes for mounting the psu on a stock Ender3.
Y support frame:
- 4x 175mm (top, or 2x if you have a not-pro version)
Center frame (internal):
- 4x 105mm (top)
Frame wings:
- 8x 143mm (top)
Furthermore, as pointed out by Handy in comments, if you flip the covers around and slide them just behind the track, you can even fill all the channels that the wheels roll on.
Ender Pro V2 and other versions
Sizes seem to be slightly off for the latest version of the Ender 3 Pro / V2. Please double check before printing.
Make sure you are fitting the covers with the wider side towards the inside of the aluminium extrusion.
In case a different size is needed, you can stretch a single dimension on any of the pieces without holes, directly in your Slicer.
e.g. for Ender Pro V2, you can scale one of the pieces to 133mm-135mm directly in your Slicer. The 175mm parts should be scaled 170.5mm.
Print settings
Make sure you enabled printing of thin features (e.g. Print Thin Walls, in Cura), when printing the ones with holes on top.
Add supports for the top_screws part. The rest doesn't require any.
Print flat with the widest part at the bottom.
Print Settings
Printer Brand:
Creality
Printer:
Ender 3
Resolution:
0.2
Infill:
5
Filament brand:
Flashforge
Filament color:
Blue
Filament material:
PLA
Notes:
Enable printing of thin features (e.g. Print Thin Walls, in Cura)
Originality of the Model
The author declares that this work is their personally shared model

This model is licensed under the following terms:
Credit must be given to the creator
Models(9)
 slot_cover_165mm.stl
14.73 KB

2025-03-18
- slot_cover_143mm_original.stl
603.79 KB
2025-03-18
- slot_cover_positions.pdf
152.96 KB
2025-03-18
- 400mm_for_led_v2.stl
20.00 KB
2025-03-18
- 400mm_for_led_v1.stl
16.29 KB
2025-03-18
- slot_cover_165mm_top_holes.stl
66.68 KB
2025-03-18
- slot_cover_175mm.stl
14.73 KB
2025-03-18
- slot_cover_105mm.stl
14.73 KB
2025-03-18
- slot_cover_200mm.stl
14.73 KB
2025-03-18
View all(9)