


case
fanttik
t1 max


7

3
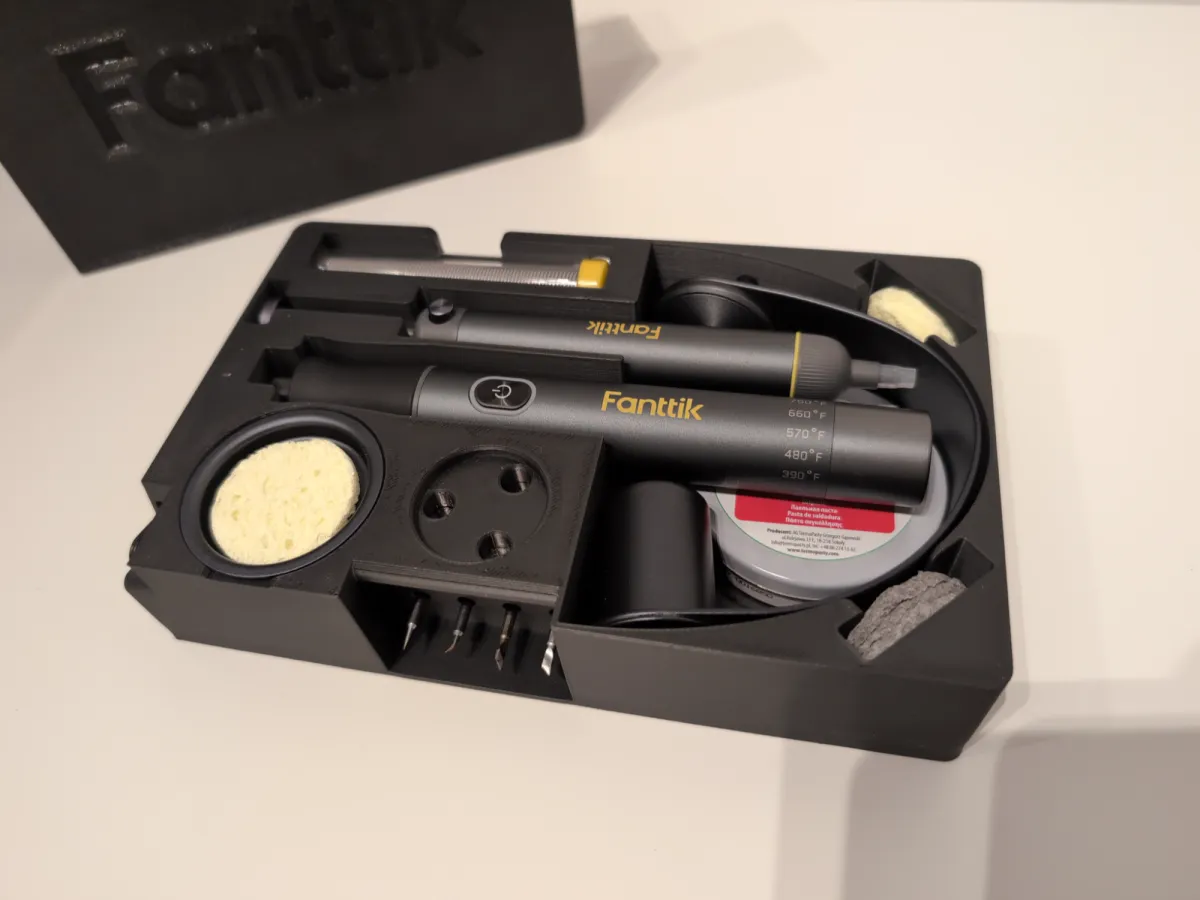
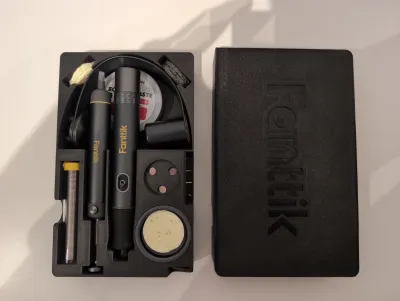
An all-in-one, compact travel case and soldering base designed specifically for the Fanttik NEX T1 Max soldering iron.
This model replaces the bulky original charging base with a highly portable alternative. It holds everything that comes in the original box, plus your essential soldering consumables, making it the ultimate field kit!
Features & Storage
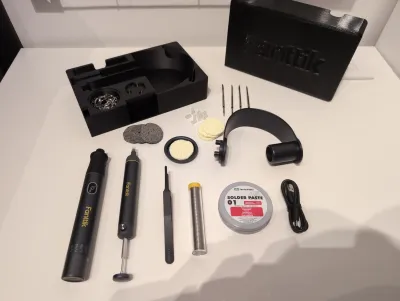
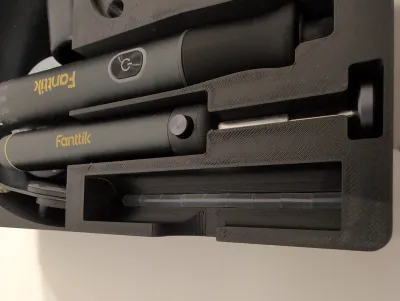
- Full Stock Fit: Holds the Fanttik NEX T1 Max iron, power cable, and stock accessories.
- Solder Wire Spool Slot: Dedicated space for your soldering wire.
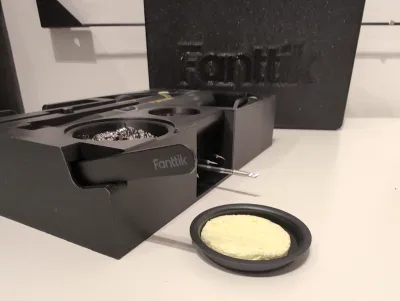
- Tip Cleaner Compartment: Fits brass wire mesh (brass sponge) for cleaning the soldering tip.
- Soldering Flux/Paste: Slot to keep your soldering paste secure.
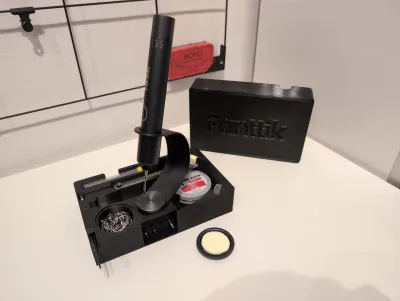
Dual Purpose: Functions as a compact, heavy-duty storage box and a functional soldering station.
Magnet Requirements & Assembly Instructions
- To complete this model, you will need a total of 13 round magnets (8x2mm).
I used the official Bambu Lab 8x2mm magnets available here: Bambu Store Magnet Link.
IMPORTANT: Print Pauses & Polarity Check
- You must set print pauses in your slicer to embed the magnets inside the prints. Always double-check magnet polarity before resuming the print!
Main Box Print (3 Pauses - 10 Magnets Total)
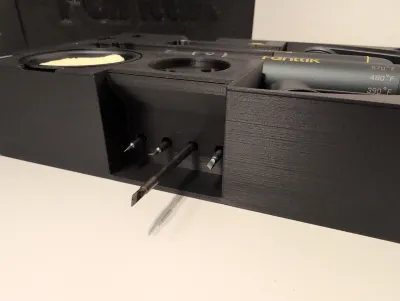
- Pause 1: Insert 4 magnets into the slots meant for holding the soldering tips.
- Pause 2: Insert 3 magnets for the iron stand.
- CRITICAL: Check the polarity against your actual metal/magnetic iron stand so it attracts properly.
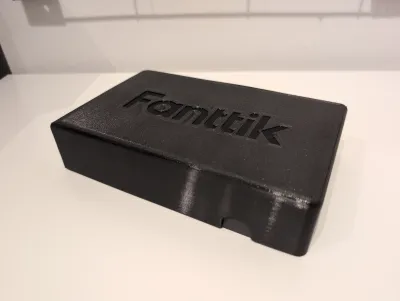
- Pause 3: Insert 3 magnets near the top rim for the lid closure.
Lid Print (1 Pause - 3 Magnets Total)
- Pause 1: Insert 3 magnets into the lid slots.
- CRITICAL: Double-check the polarity against the magnets already embedded in your printed Main Box so the lid snaps shut perfectly.
Modder's Welcome (STEP Files Included)
- Custom Magnets: I have included the STEP files for the entire assembly. If you use different magnet sizes (e.g., 6x2mm or 10x2mm), you can easily modify the holes in your CAD software.
- Multi-Material / AMS Logo: I do not own a multi-material printer, so I couldn't test an AMS version. However, I have included the Fanttik Logo as separate STEP and STL files. If you have an AMS/MMU, you can easily import the logo and merge it into the lid face using your slicer (Bambu Studio / OrcaSlicer).
Recommended Print Settings
- Material: PETG or ABS/ASA (Recommended due to proximity to hot soldering tools, though PLA works for storage).
- Infill: 15-20% Gyroid.
- Supports: Not required.
Bill of materials
- NameQuantityNotes
- 1Round Magnet D8x213https://us.store.bambulab.com/products/round-magnet?id=42424856477832
Originality of the Model
The author declares that this work is their personally original model
This model is licensed under the following terms:
Credit must be given to the creator
Remixes must be shared under the same license
Models(6)
 Fanttik nex t1 max - box.stepDesigner
377.98 KB

2026-05-30
 Fanttik nex t1 max - box.stlDesigner
623.62 KB
2026-05-30
 Fanttik nex t1 max - lid.stlDesigner
151.74 KB
2026-05-30
 Fanttik logo.stlDesigner
51.45 KB
2026-05-30
 Fanttik nex t1 max - lid.stepDesigner
177.46 KB
2026-05-30
 Fanttik logo.stepDesigner
121.15 KB
2026-05-30
View all(6)