


AI Xiaozhi
Enclosure


3

0
Open‑Source Hardware and Software Solutions:
AI Xiaozhi – A Minimalist Design Powered by the Lichuang Open‑Source Hardware Platform
Assembly Process (Using an Aluminum Profile Enclosure of the Same Dimensions as an Example)
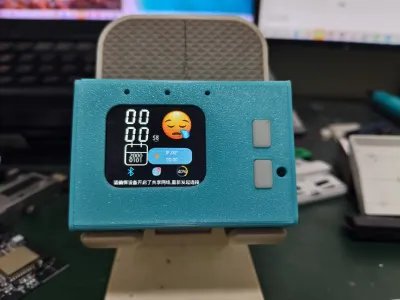
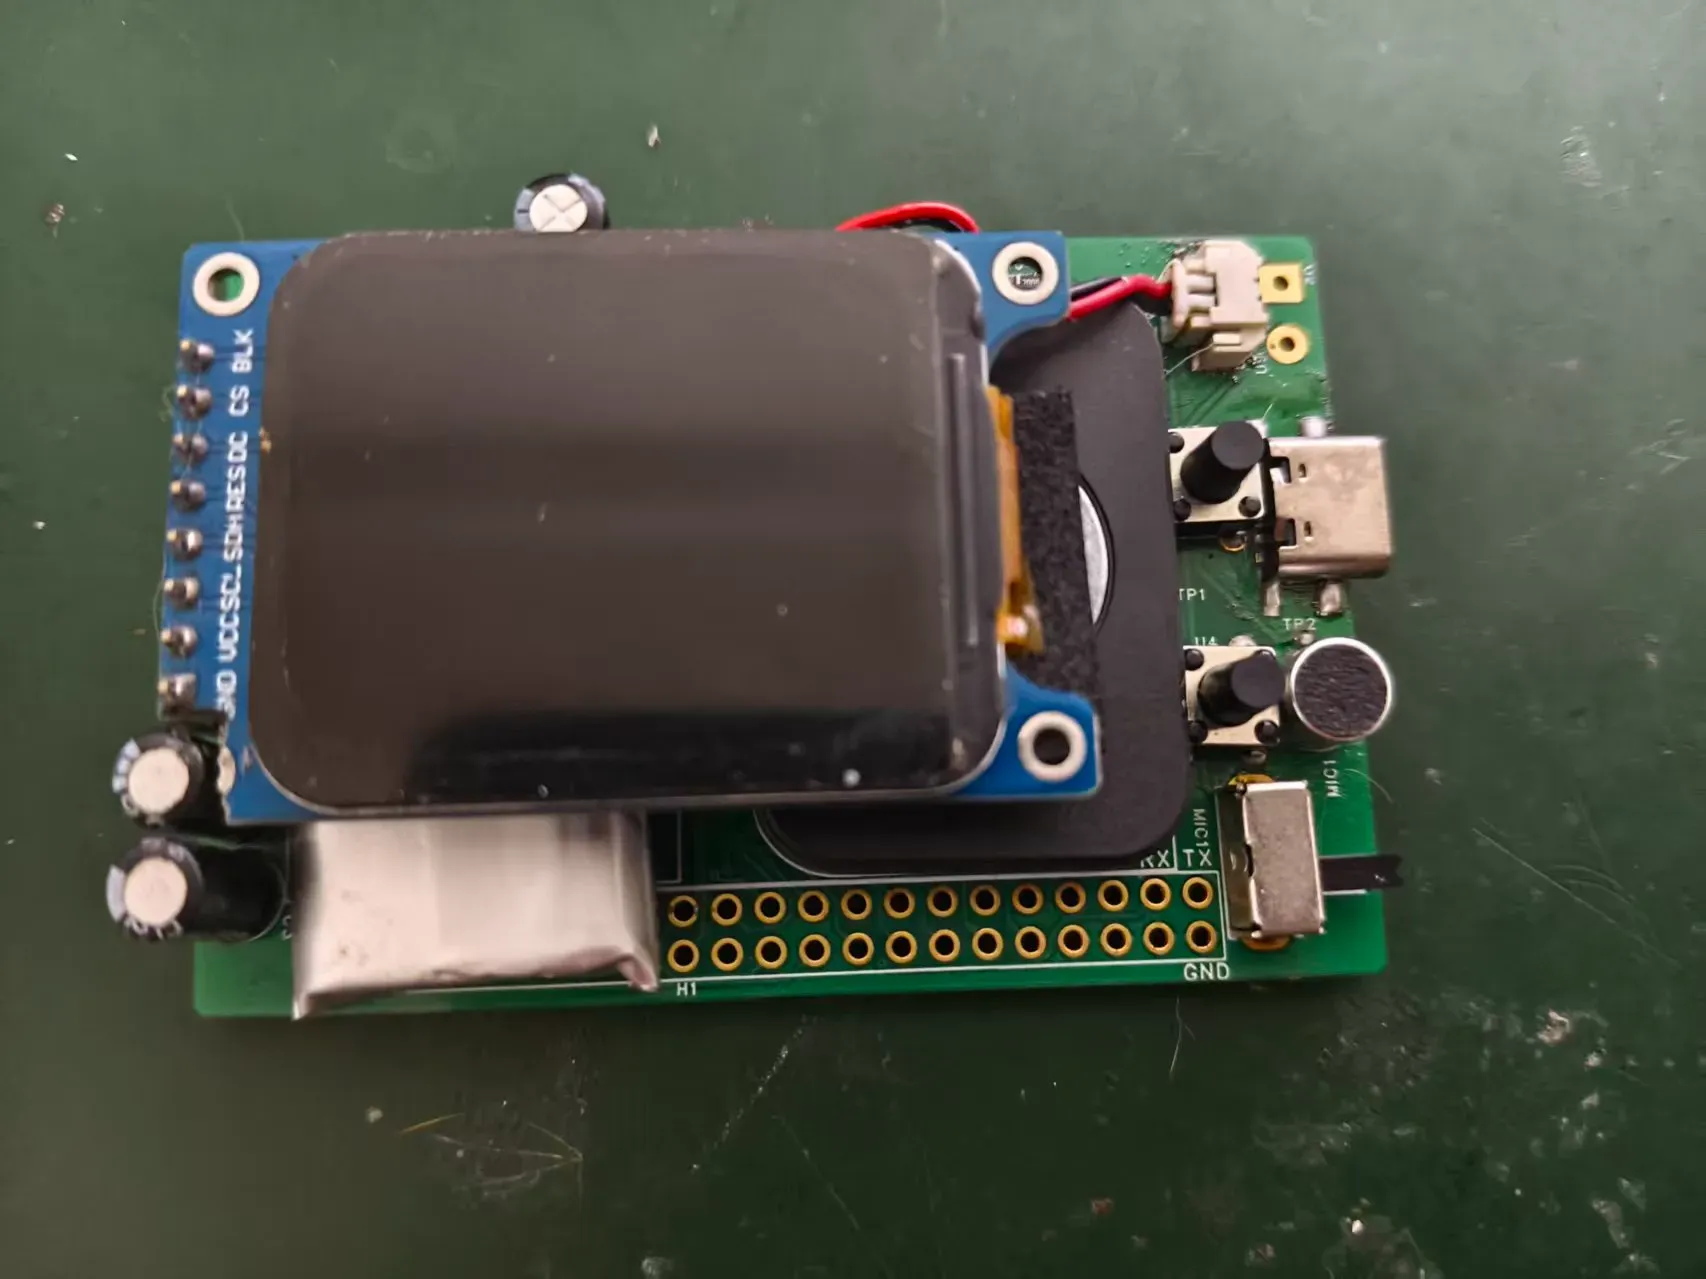
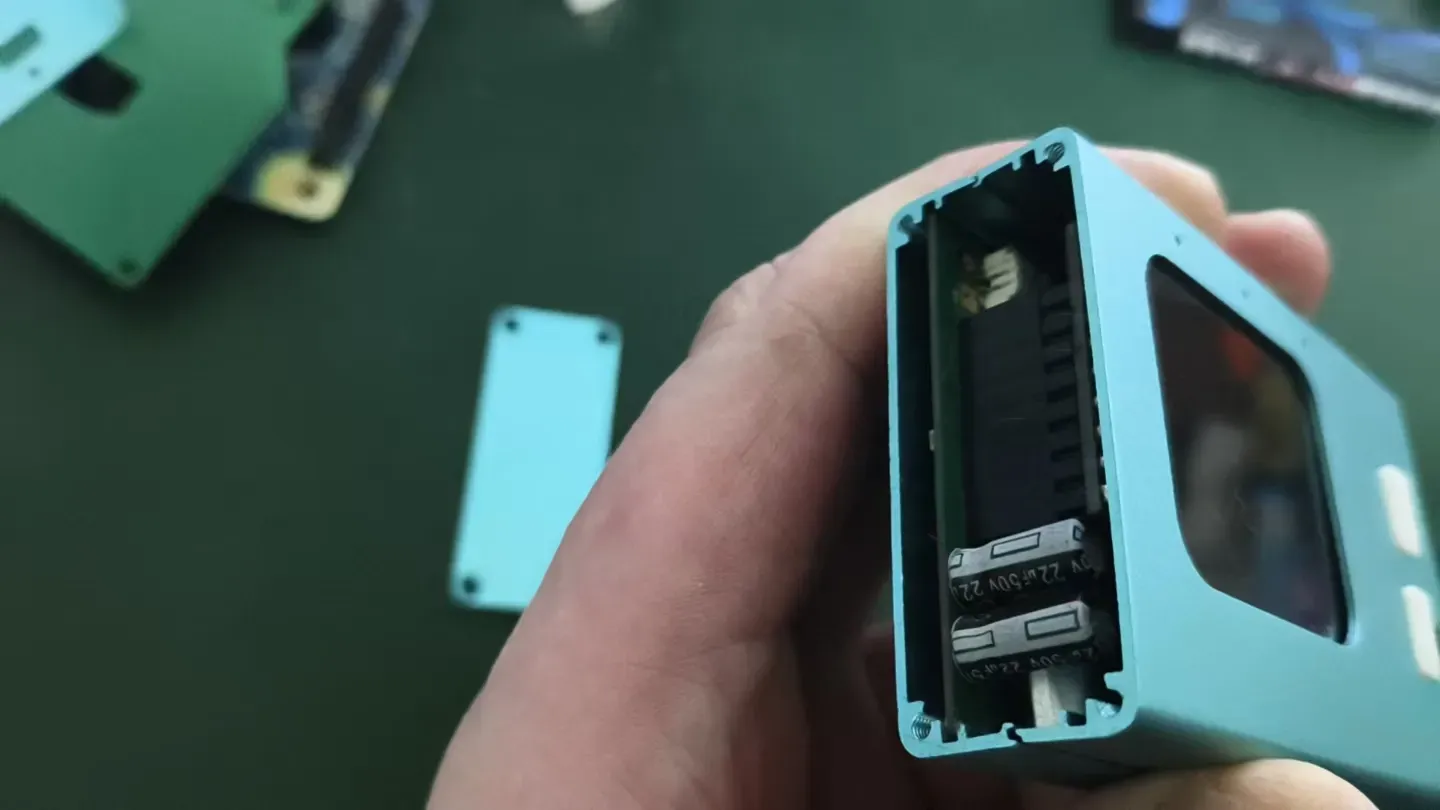
1. Weld the PCB and securely mount the battery, speaker, and display.
At this stage, you can proceed with firmware flashing—refer to the previous section for detailed instructions on firmware programming.
Note that you can use EVA foam adhesive pads to fill the gap beneath the display.
2. Prepare the remaining components:
8 M2.5 × 8 countersunk Phillips screws (included as a complimentary accessory with the aluminum profile enclosure sample), the aluminum enclosure, and 3D‑printed buttons and toggle switches.
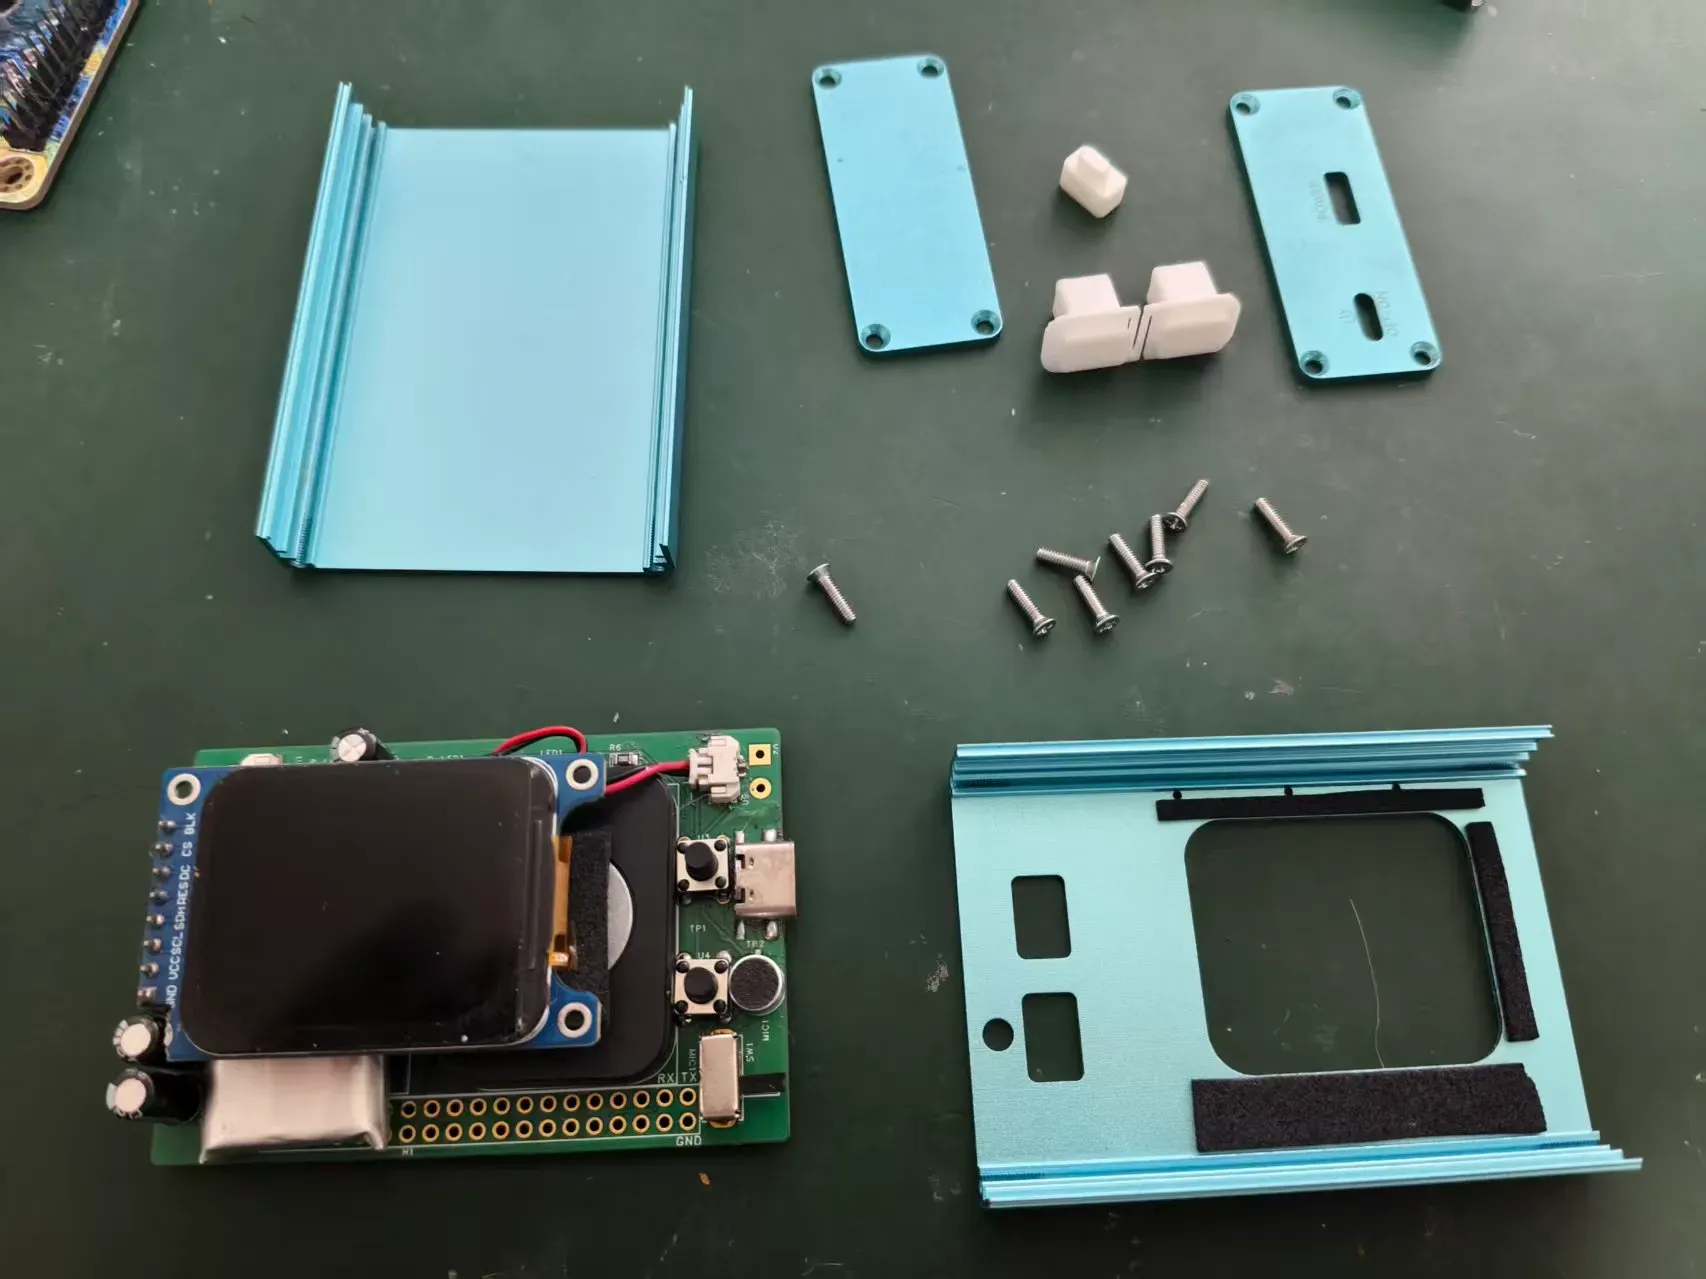
3. Install the PCB into the groove of the bottom enclosure.
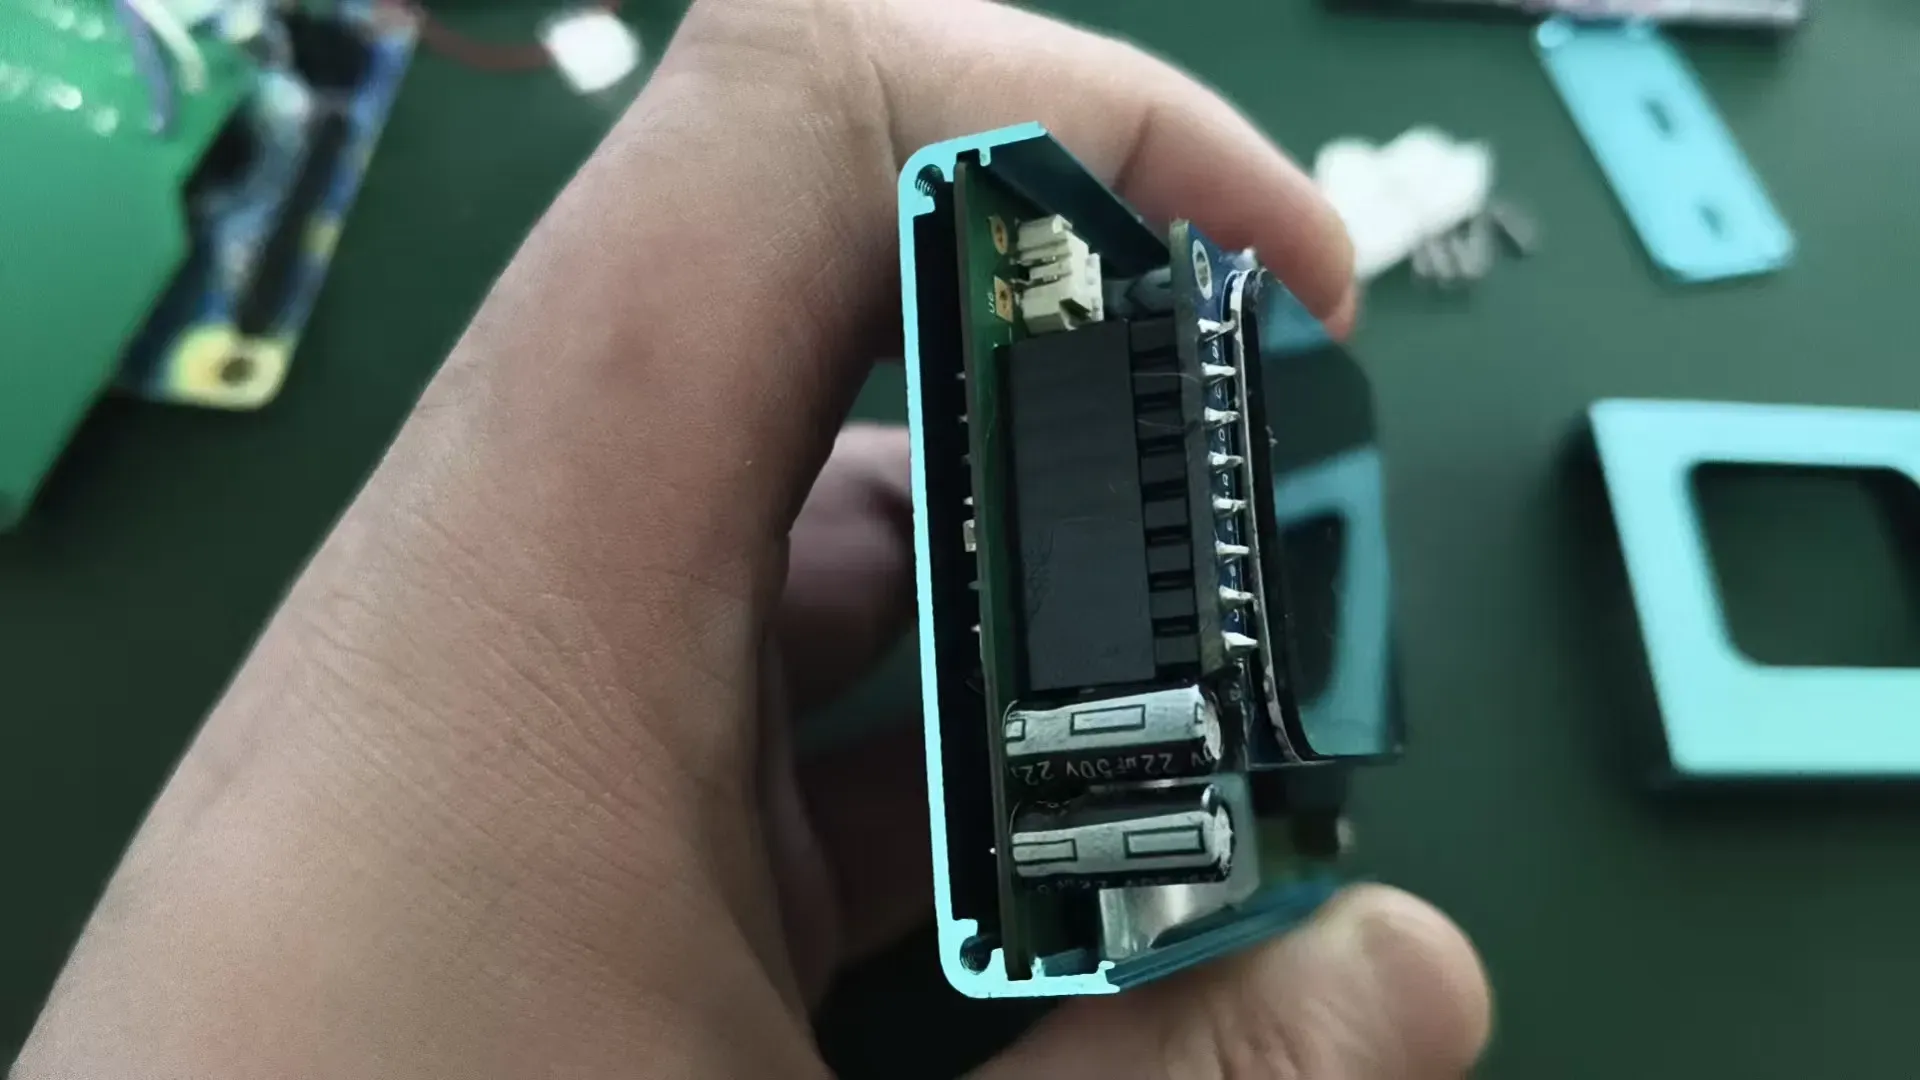
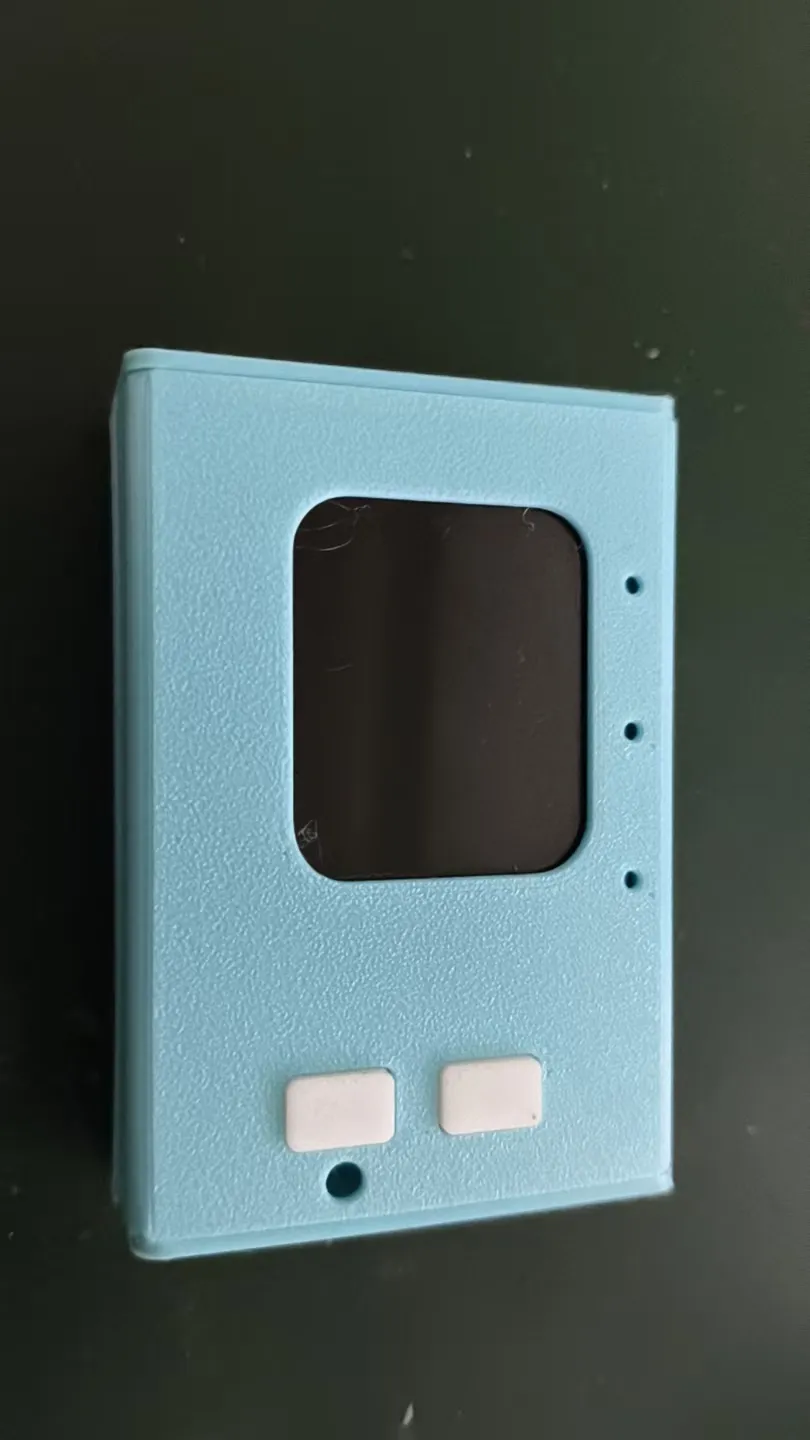
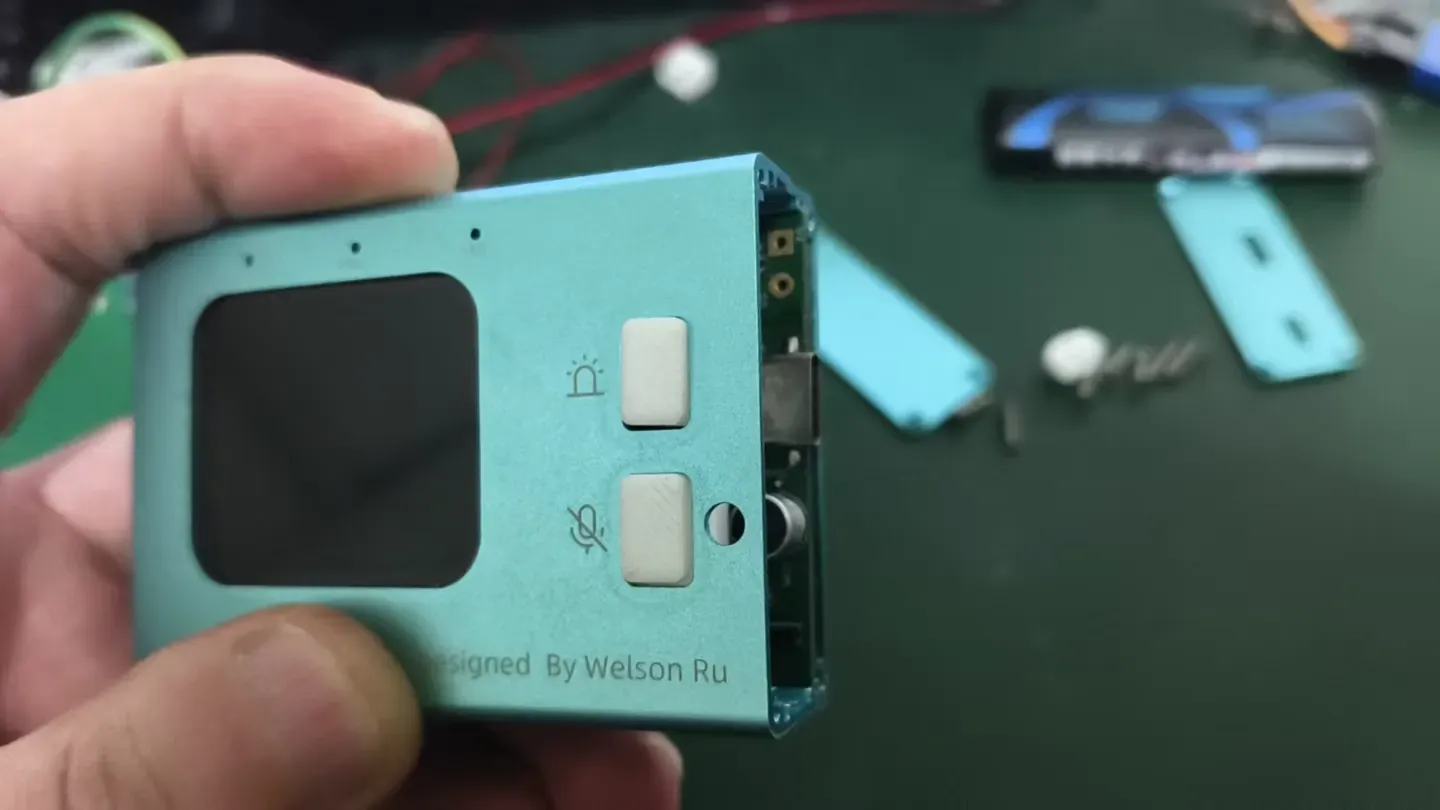
4. Install the buttons and top cover.
On the inside of the top cover, apply EVA foam tape around the display cutout to prevent light leakage;
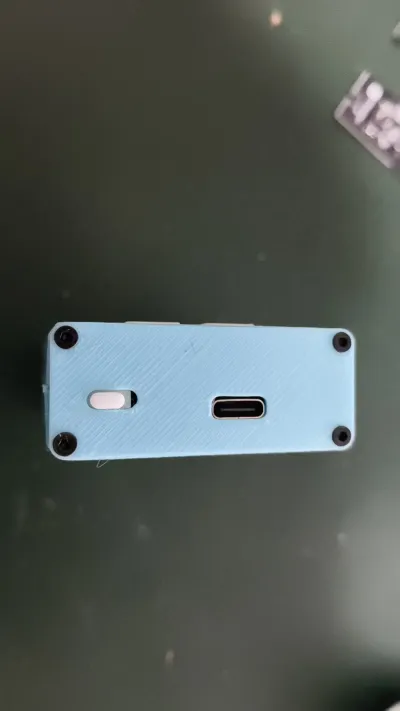
5. Install the right-side cover and toggle switch.
Pay attention to the orientation of the toggle switch; secure the right-side cover with four screws using a 2.5 mm Phillips screwdriver.
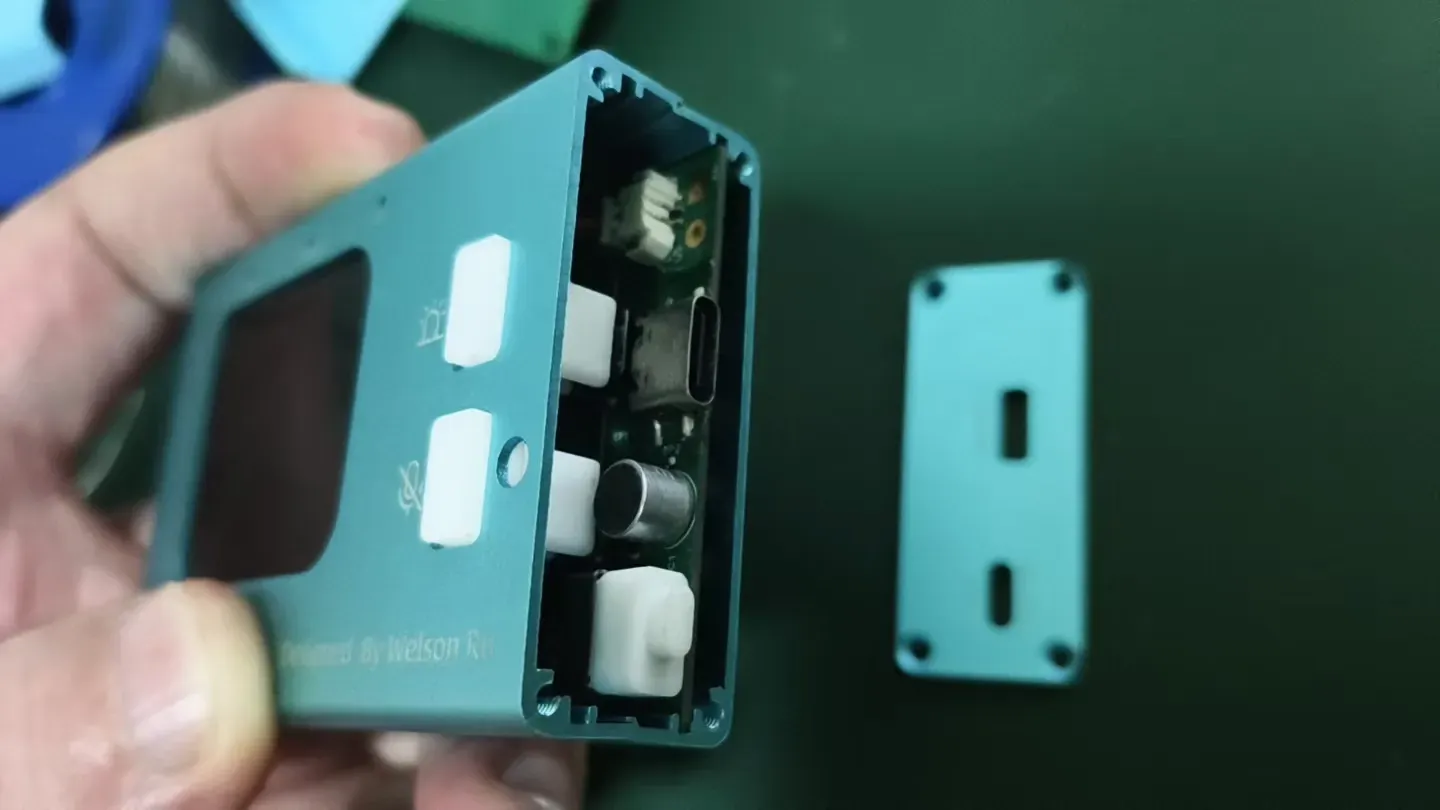
6. Install the left-side cover.
7. Complete the assembly—and enjoy your AI Xiaozhi!
Originality of the Model
The author declares that this work is their personally original model
This model is licensed under the following terms:
Credit must be given to the creator
Only noncommercial uses of the work are permitted
Models(6)
 底盖.stlDesigner
60.82 KB

2026-02-01
 顶盖.stlDesigner
162.58 KB
2026-02-01
 右侧盖.stlDesigner
217.66 KB
2026-02-01
 左侧盖.stlDesigner
191.00 KB
2026-02-01
 按键.STEPDesigner
165.01 KB
2026-02-01
 开关键拨钮.STEPDesigner
44.66 KB
2026-02-01
View all(6)