


Misty Rain over Jiangnan
Poetic Decorative Pieces
Chinese-style aesthetic vibe
Miniature Worlds
Study Decorative Items
Traditional Chinese-style Trinkets
Traditional Chinese Handcrafts
Model Control
Tech Enthusiast’s Daily Routine
Maker’s Daily Routine
Handmade Craft Sharing
Artisan’s Daily Routine
Healing Handcrafts

- 0.2 mm layer height, 3‑layer walls, 15% infill density

1-disc
PLA
Designer

16

4
✨ Source of Inspiration
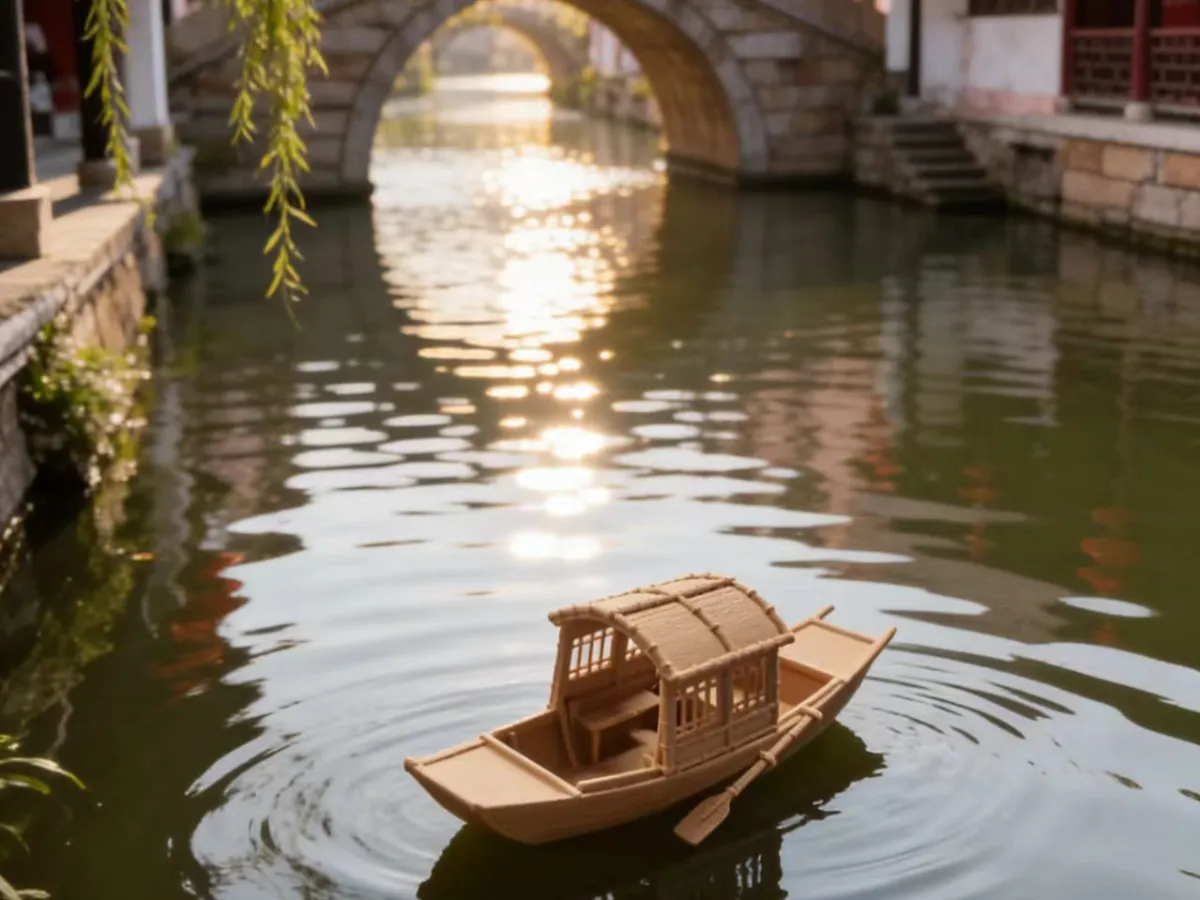
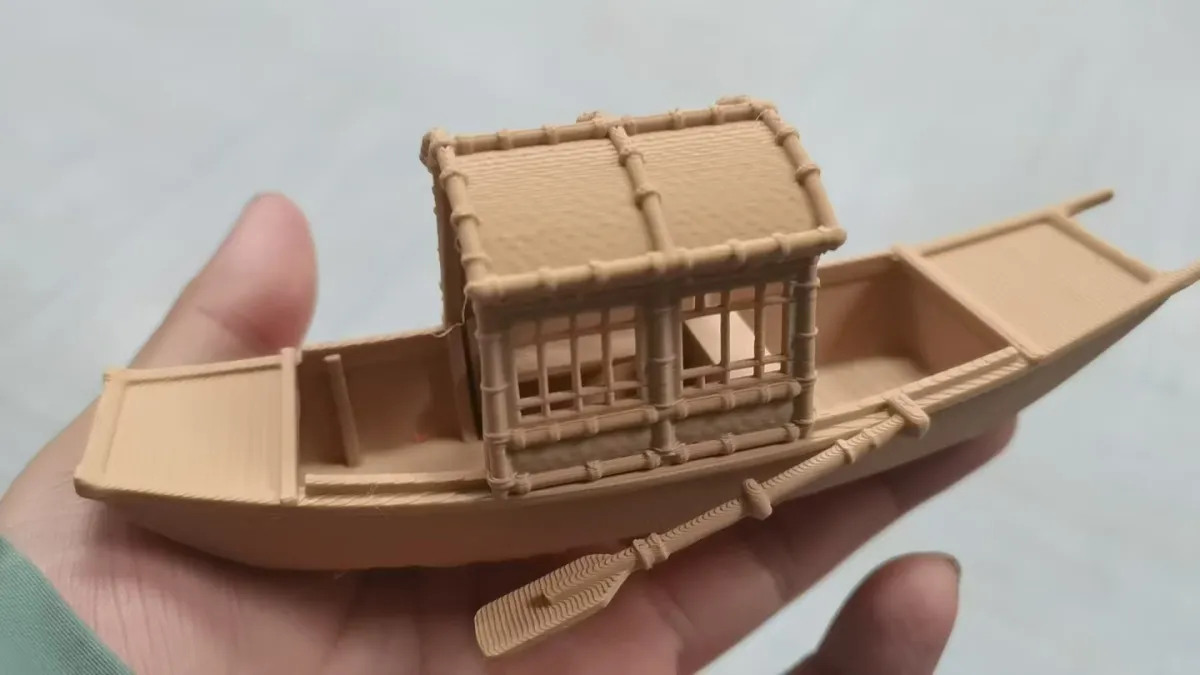
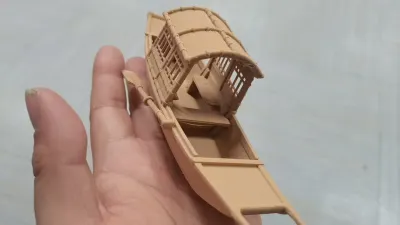
This small boat draws its design inspiration from the traditional wupeng boats found in the water towns of Jiangnan. It faithfully captures the textured bamboo weave of the boat canopy, the intricate lattice patterns, and the slender oars.
I envisioned using 3D printing technology to transform this poetic depiction of Chinese water-town scenery into a delicate, hand-held decorative piece—perfect for showcasing at home or as a thoughtful gift.
🛠️ Printing Setup
- Printer: FDM desktop 3D printer (such as the Ender-3 S1 Pro)
- Filament: PLA in a wood‑grain color (mimics the natural texture of real wood, offering excellent printability and easy post‑processing)
- Layer Height: 0.2 mm—balancing fine detail with efficient print speed
- Infill Density: 15%—maximizing structural integrity while keeping weight to a minimum
- Print Speed: 60 mm/s for the main hull, 40 mm/s for the boat canopy lattice, oars, and other intricate details
- Bed Temperature: Nozzle at 200°C, heated bed at 60°C
🧩 Supports & Auxiliary Structures
1. Supports
The arched base of the boat canopy, the overhanging sections of the oars, and the cantilevered structure at the stern all require support. I opted for tree‑like supports, which minimize contact area with the model, are easier to remove, and cause less damage to delicate features.
2. Skirt Edges
I added a 5 mm wide skirt around the base of the model—this not only helps prevent warping during early printing but also ensures a smoother, more even surface on the bottom of the boat.
3. Adhesive
To further reduce the risk of warping, I applied a thin layer of solid adhesive to the heated bed surface, ensuring that the first layer of filament adheres firmly to the build plate.
⚙️ Removing Supports & Finishing Details
🔧 General Steps for Removing Supports
1. Begin by taking a comprehensive look at the support layout, identifying the areas where the supports are loosely attached to the model—and carefully peel them away starting from the edges.
2. Use diagonal pliers to trim off large chunks of support, then employ tweezers or gate cutters to delicately remove any remaining small remnants.
3. For supports embedded within the lattice gaps, gently use a needle or toothpick to carefully lift them out.
⚠️ Special Care When Removing Supports from Oars
1. Work Slowly and With Precision: The oars are the most slender components of the entire boat—handle them with extreme care and avoid applying excessive force when removing supports. Start by gently prying at the connection points between the support and the oar using your fingernail or tweezers, allowing the support to detach naturally.
2. Leverage Gentle Force: If the support is particularly stubborn, use diagonal pliers to snip the support at its base rather than pulling directly on the oar.
3. Repair Options: Should the oars develop minor cracks, simply apply a small amount of PLA-specific adhesive or UV glue to the affected areas, then lightly sand the surface smooth once the adhesive has fully cured.
Originality of the Model
The author declares that this work is their personally original model
This model is licensed under the following terms:
Credit must be given to the creator
Models(1)
- 船.3mfDesigner

14.66 MB

2026-01-31