


Chinese Aesthetic Style
Traditional Manufacturing Processes
3D‑Printed Furniture
Directly printable
Filler and Sanding
Joining and Assembly
No glue required
PETG Printing
Traditional Chinese Design
Entranceway Decorations
Functional Prototype
Modular Printing
Large‑scale printing
Floral and Avian Relief Sculpture
Relief Foot Pedal
Continuous Printing


2

0
1. Project Overview
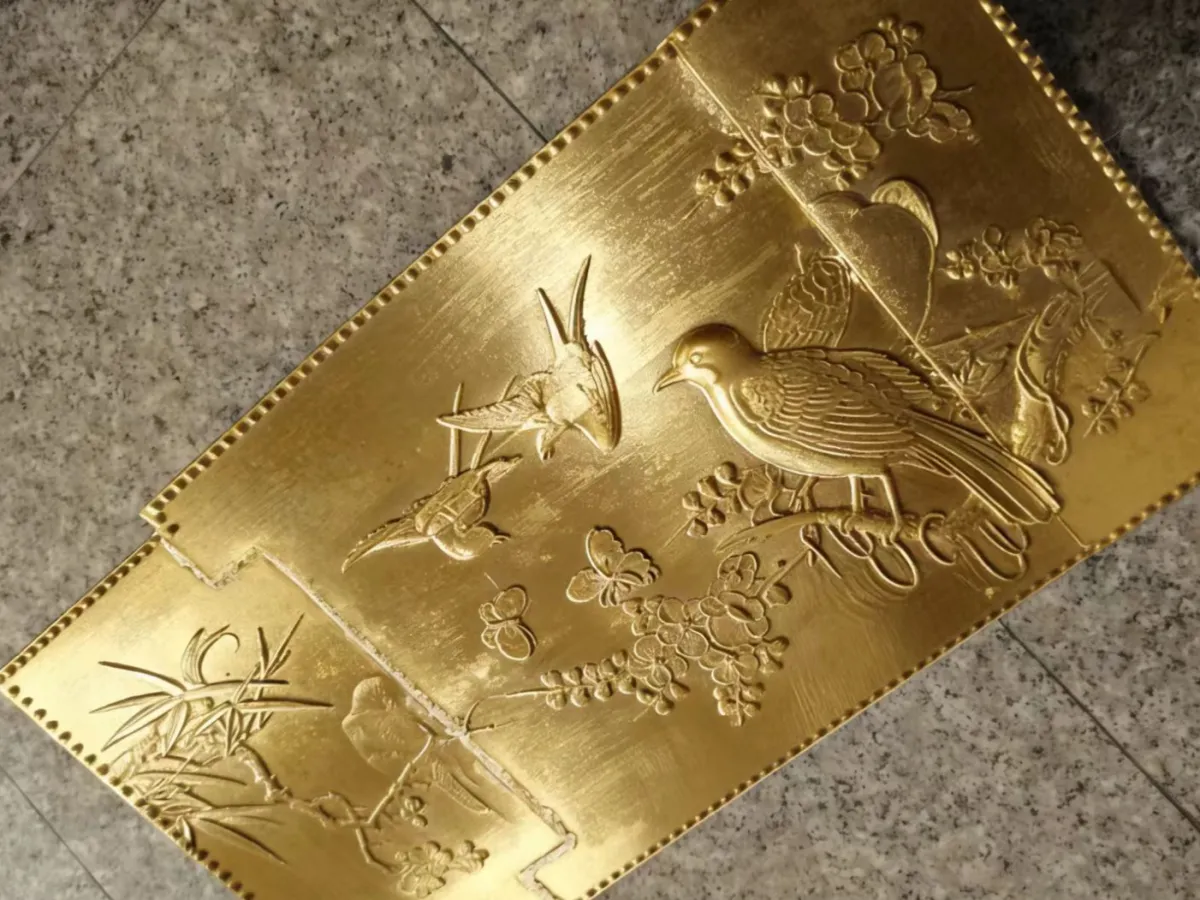
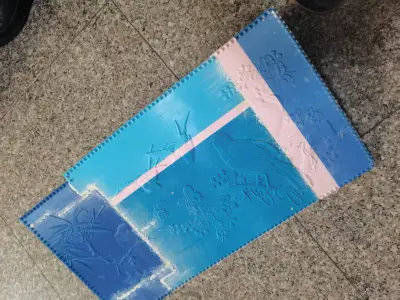
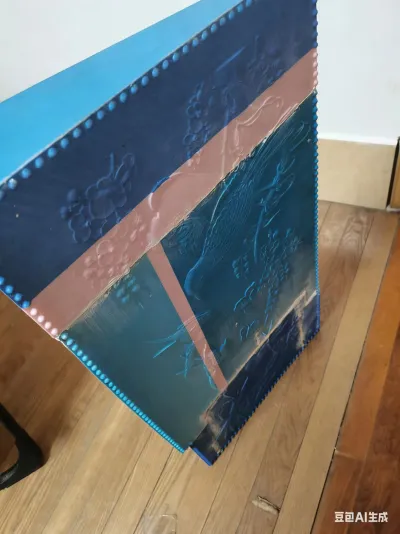
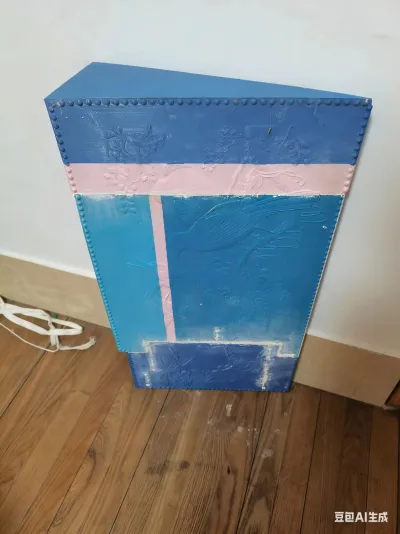
This floral and avian relief footstool is a 3D-printed piece that seamlessly blends practical functionality with artistic value. Drawing on traditional Chinese floral and avian relief motifs as its core design elements, the stool integrates auspicious imagery such as plum blossoms, orchids, bamboo, flying birds, and butterflies into its structural design—serving both everyday functional needs and enhancing home decor while elevating the overall aesthetic of living spaces. The stool adopts a modular assembly approach, balancing printability with ease of transportation, making it a quintessential example of how traditional aesthetics can be harmoniously blended with modern 3D printing technology.
2. Sources of Inspiration
(1) Tracing the Cultural Roots
The design draws inspiration from traditional Chinese domestic aesthetics and the rich cultural heritage of auspicious symbolism. As a common piece of furniture in ancient scholars’ studies and reception halls, the footstool was not only a practical seat but also a vessel for profound symbolic meaning—evoking notions of “every step leading to lotus blossoms” and “treading through spring in search of fragrant blooms.” This project reinterprets classic patterns such as plum blossoms, orchids, bamboo, and flying birds in relief form, continuing the noble imagery associated with the “Four Gentlemen”—plum blossom, orchid, bamboo, and chrysanthemum—while using flying birds and butterflies to convey heartfelt wishes for “a vibrant spring and boundless vitality,” breathing new life into traditional home culture within the context of modern living.
(2) Design Insights and Practical Considerations
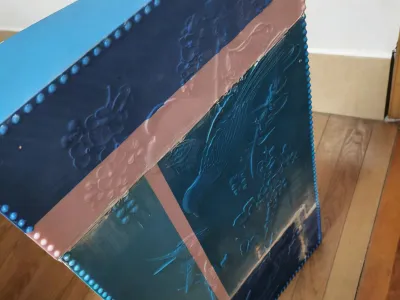
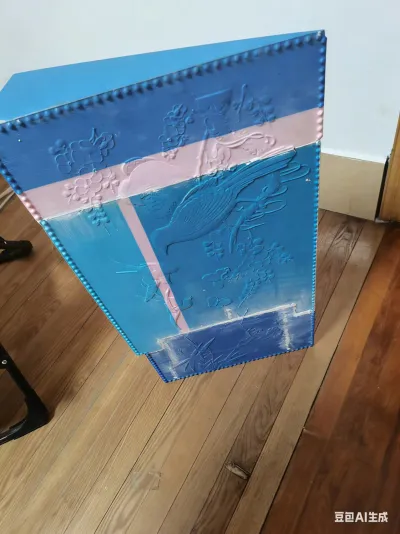
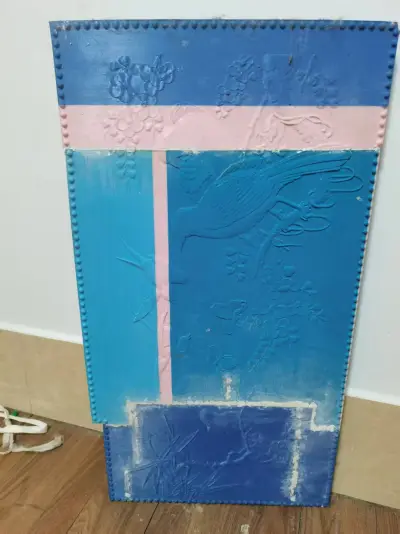
In the design process, creative optimizations were made by fully leveraging the unique characteristics of 3D printing. Early on, we experimented with a solid, one-piece footstool design—but after printing, we found that it consumed excessive material, resulted in an unwieldy weight, and proved difficult to transport. Through iterative modeling and slicing tests, we ultimately settled on a modular assembly approach: dividing the footstool into three core components. This not only reduced the size constraints of individual prints but also simplified transportation and assembly. At the same time, we drew inspiration from traditional woodcarving and stone carving techniques, meticulously sculpting delicate floral and avian motifs onto the surface. By capitalizing on FDM printing’s layered deposition capabilities, we faithfully reproduced the intricate textures and nuanced details, achieving a perfect fusion of traditional craftsmanship and cutting‑edge digital technology.
3. Printing Requirements
(1) Equipment Specifications
1. We recommend using a large-format FDM printer with a build plate measuring at least 300×300 mm, equipped with continuous printing capabilities and automatic filament detection to prevent filament interruptions mid‑print. If using a smaller printer, further subdivide the parts to ensure each component fits comfortably within the printer’s build area.
2. The printer should feature a stable filament feed system and precise bed leveling functionality. Bed leveling accuracy directly impacts the first-layer adhesion of large‑scale parts, helping to prevent warping or shifting along the edges.
3. For slicing software, we suggest using Cura or Bambu Studio, which allow for precise control over infill density and support settings, perfectly tailored to the printing needs of large‑format parts.
(2) Material Requirements
- Preferred material: PETG (high strength, excellent toughness, resistant to heavy foot traffic without cracking—ideal for the footstool structure).
- Alternative material: high‑strength PLA (offers a smooth surface finish, well suited for intricate relief details—but be mindful of potential deformation due to prolonged exposure to sunlight).
- Filament preparation: Estimate filament usage based on model dimensions, and weigh out materials in advance. When printing larger components, closely monitor the print to ensure sufficient filament supply and avoid interruptions that could lead to print failures.
(3) Key Parameter Settings
Parameter | Recommended Value | Notes
Nozzle Diameter | 0.4 mm | Ideal for fine detail printing in relief, ensuring crisp, well‑defined textures.
Layer Height | 0.2–0.25 mm | Balances print speed with surface precision, enhancing the smoothness of relief edges.
Infill Density | 30%–40% | Provides structural integrity while meeting load‑bearing requirements; avoid underfilling, which can lead to collapse.
Wall Thickness | 2.0–2.5 mm | Multi‑layer contour stacking increases overall footstool stability, preventing damage under stress.
Print Speed | Outer Contours: 50 mm/s; Inner Contours: 80 mm/s | Slow outer contours ensure accurate reproduction of relief details; faster inner contours reduce total print time.
Temperature Settings | PETG: Nozzle 220–230°C, Bed 65–70°C; PLA: Nozzle 200–215°C, Bed 60°C | Adjust temperatures according to material properties to avoid warping or poor melt adhesion caused by improper heating.
Support Settings | Add local supports only where relief features are cantilevered—minimizing support coverage to simplify post‑processing and preserve the integrity of relief textures.
Skirt | Must be enabled, with a width of 8 mm | Increases bottom adhesion, preventing warping or shifting in large‑scale parts.
Print Orientation | Print with the relief facing upward—ensuring clear relief details while minimizing support interference with textured surfaces.
(4) Key Considerations
1. When printing larger intermediate components, weigh out materials in advance and set up a monitoring schedule to avoid filament depletion and print interruptions.
2. Do not print with low infill densities (below 25%); otherwise, the footstool structure will lack sufficient strength and may fracture under foot pressure.
3. Maintain a stable printing environment throughout the process, avoiding air currents that could cause warping in large‑scale parts.
4. Assembly Instructions
(1) Pre‑Print Preparation
1. After printing, allow all parts to cool naturally to room temperature (around 20–25°C) to prevent deformation from high‑temperature removal.
2. Gather your tools: craft knife, filler (or a mixture of plaster powder and adhesive), sandpaper (200‑grit and 800‑grit), and a lint‑free cloth.
3. Inspect the parts: Ensure that mating surfaces are smooth and free of visible layer lines or cracks; if there are minor burrs, gently scrape them away with a craft knife.
(2) Assembly Steps
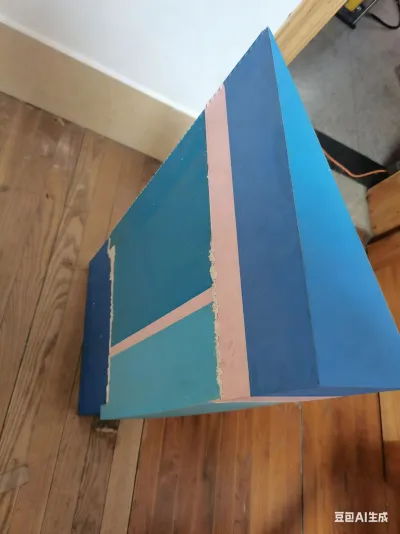
1. Align the parts: Match the mating surfaces of the two central core components, ensuring seamless alignment at the joints. Apply light pressure to adjust positioning and secure the overall structure.
2. Apply filler to smooth the seams: Spread filler along the joint gaps, then use a scraper or your fingers to gently level the surface, ensuring the joint area is flush with the surrounding surface and eliminating any uneven or bumpy imperfections.
3. Sand and polish: Once the filler has dried, begin by sanding the joint areas with 200‑grit sandpaper, followed by fine polishing with 800‑grit sandpaper to match the texture of the relief surface and restore the piece’s overall aesthetic appeal.
(3) Assembly Tips
1. Apply even pressure during assembly—avoid forcing the parts together, which could lead to breakage; instead, make small, incremental adjustments to achieve proper alignment.
2. Avoid applying too much filler—excess filler is prone to cracking once dry. Instead, apply thin layers in 2–3 passes, allowing each layer to dry completely before applying the next.
3. When sanding, avoid excessive friction on relief details; focus only on the joint areas to protect the integrity of the floral and avian motifs.
5. Application Scenarios and Value
(1) Applicable Scenarios
1. Everyday Utility: As a footstool for studies or living rooms, this piece complements both traditional Chinese and contemporary Chinese interior styles, enhancing seating comfort while adding a touch of elegance to daily life.
2. Decorative Accent: Place it in entryways or beside tea tables as an artistic decorative element that conveys the timeless beauty of traditional Chinese aesthetics.
3. Creative Gift: Blending traditional craftsmanship with modern technology, this footstool carries unique cultural significance and makes an ideal gift for friends, family, or fellow enthusiasts who appreciate the intersection of art and innovation.
(2) Core Values
1. Cultural Value: By preserving the auspicious traditions of Chinese floral and avian relief, this footstool brings traditional home aesthetics into modern living, offering a fresh, innovative expression of cultural heritage.
2. Craftsmanship Value: It showcases the technical advantages of large‑format 3D printing with precision—from material preparation and parameter optimization to assembly and finishing—demonstrating rigorous craftsmanship and hands‑on expertise at every stage.
3. Practical Value: Combining aesthetic appeal with durability, this footstool boasts a sturdy structure and comfortable footing, meeting both functional and decorative needs in everyday use.
6. Common Printing Issues and Solutions
(1) Filament Interruption During Print
1. Causes: Insufficient filament estimation, clogged feed mechanisms, or tangled filament.
2. Solutions: Weigh out materials in advance to ensure adequate filament supply; check the feed system before printing and clear any blockages; neatly organize filament spools to prevent tangling.
(2) Uneven Joints After Assembly
1. Causes: Misaligned mating surfaces, uneven filler application, or inadequate sanding.
2. Solutions: Carefully align interfaces before assembly; apply filler in thin, multiple layers, allowing each layer to dry before sanding; start with coarse sandpaper to level the surface, then finish with fine sandpaper for a polished finish.
(3) Blurry Relief Details
1. Causes: Excessive layer height, overly fast print speeds, or excessive support coverage.
2. Solutions: Reduce layer height to below 0.2 mm; slow down outer contour printing to 40–50 mm/s; add local supports only where relief features are cantilevered, minimizing disruption to the textured surface.
(4) Insufficient Structural Strength
1. Causes: Low infill density or insufficient wall thickness.
2. Solutions: Maintain an infill density of at least 30% and a wall thickness of at least 2.0 mm to ensure the footstool can withstand daily foot traffic without compromising structural integrity.
7. Conclusion
This floral and avian relief footstool is rooted in deep traditional aesthetics and powered by precise 3D printing technology. From initial inspiration to parameter optimization and final assembly, every stage of the process thoughtfully balances cultural significance, practical feasibility, and real‑world utility. More than just a functional household item, it serves as a vivid embodiment of the fusion between tradition and modernity—and offers fresh creative ideas and practical directions for the burgeoning field of 3D‑printed cultural products.
Originality of the Model
The author declares that this work is their personally original model
This model is licensed under the following terms:
Credit must be given to the creator
Models(1)
 墩子.3mfDesigner
44.57 MB

2026-02-23