




hueforge
led
led frame
backlight
light led lamp
decor
lamp
gift
wall art
display
frame

- 0.2mm layer, 4 walls, 15% infill

1-disc
PLA
Designer

22

2
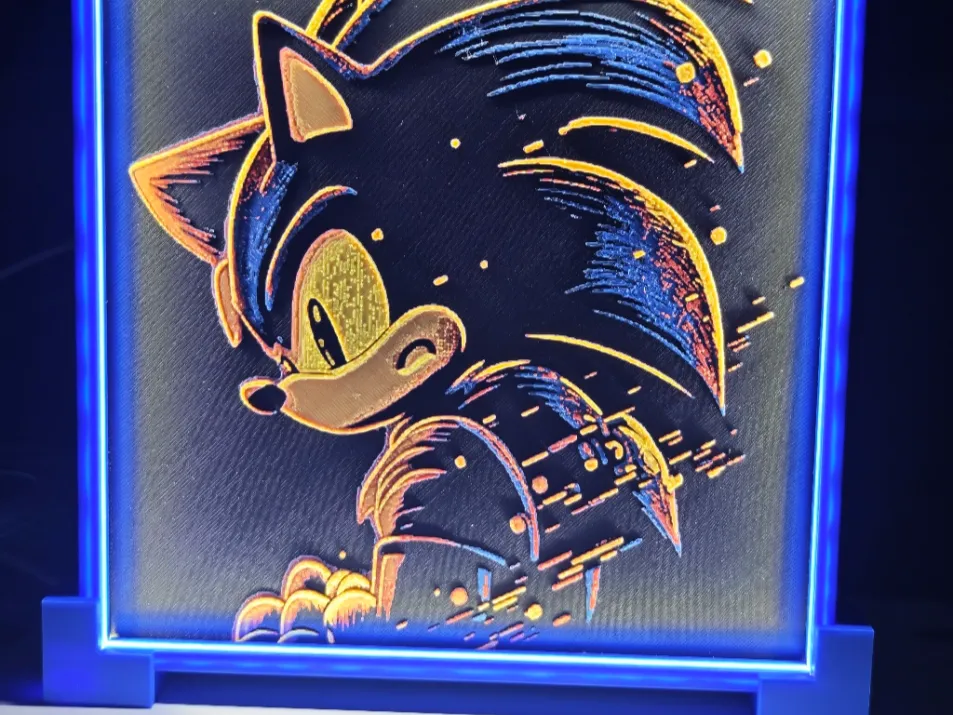
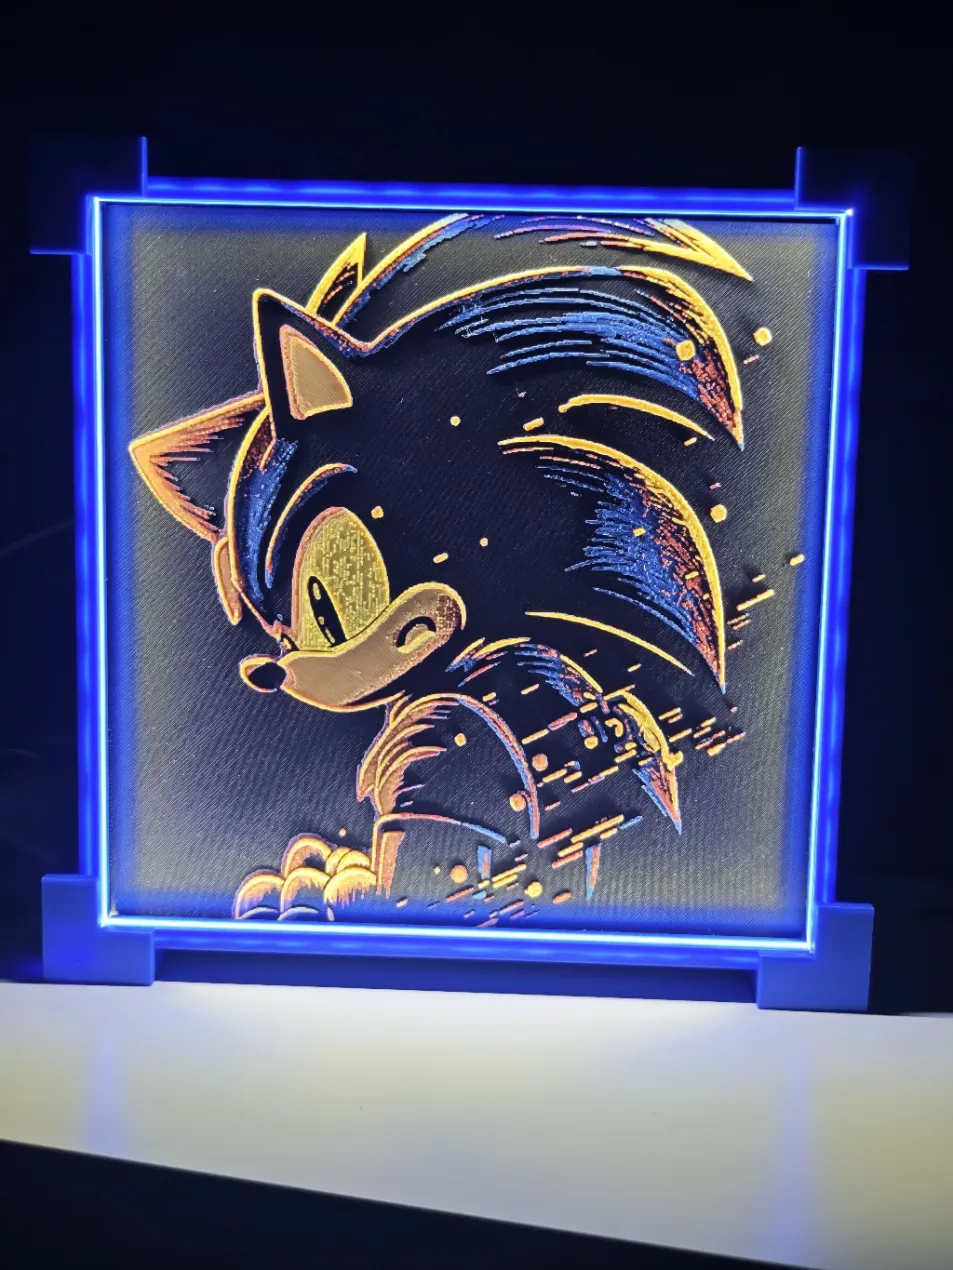
This LED light frame for HueForge is designed for 200×200 mm HueForge prints and integrates a 5V COB LED strip directly inside the frame, providing uniform backlighting and a strong visual impact.
The frame is composed of numbered bars and corners, specifically designed to guide the assembly step by step, ensuring precision and avoiding mistakes.
Additional sizes and variants will be released in the future.
🔧 Required Materials
5V COB LED strip
Version with ON/OFF button 5v 8mm 1meter
Or version without button 5v 8mm 1meter and a simple connector
Cyanoacrylate glue (super glue)
Soldering iron (only required for the version without button)
🛠️ Step-by-Step Assembly (with photos)
1️⃣ LED insertion into corner #4, Locate corner number 4.
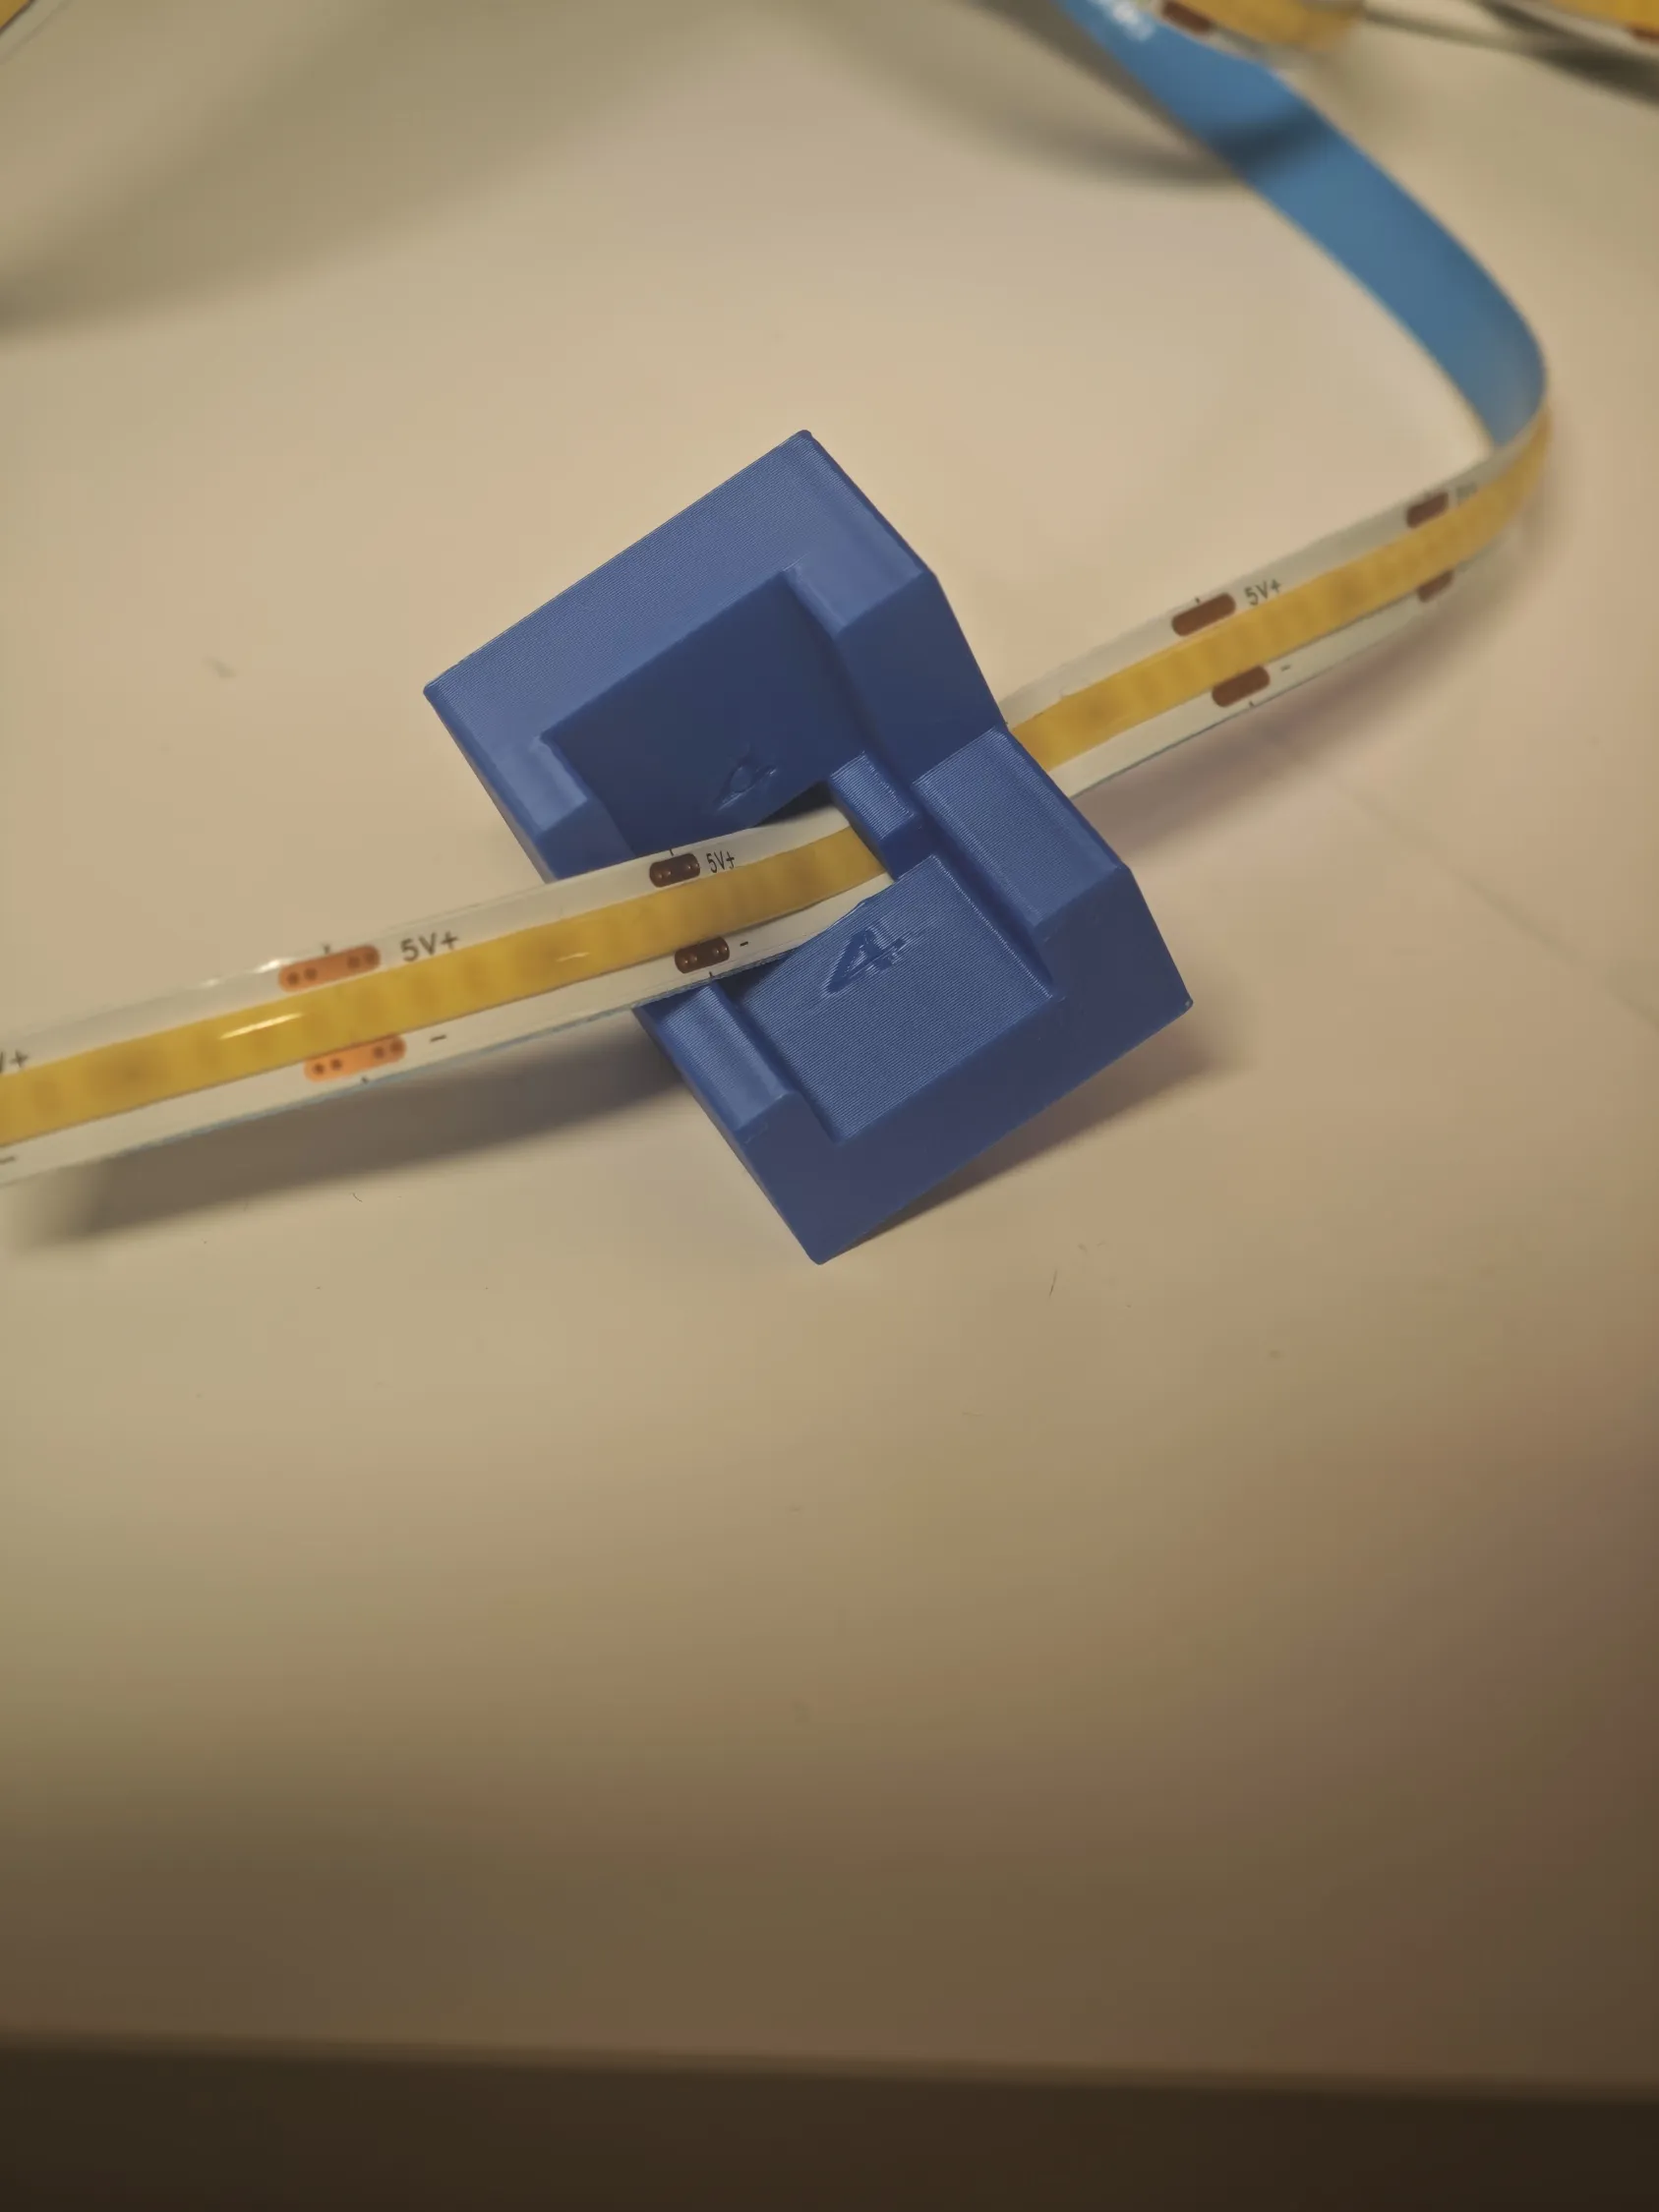
Locate corner number 4.LED with button: insert the LED head from the inside toward the outside, leaving the button accessible.LED without button: insert the LED in the opposite direction (from inside to outside), cut the wires to length, solder them, then pull the LED back inside.In both cases, gently pull the LED back and snap the connector into its dedicated slot.⚠️ The corners are not mirrored. Follow the orientation shown in the photos exactly.
2️⃣ Insert bar,Take bar number 4
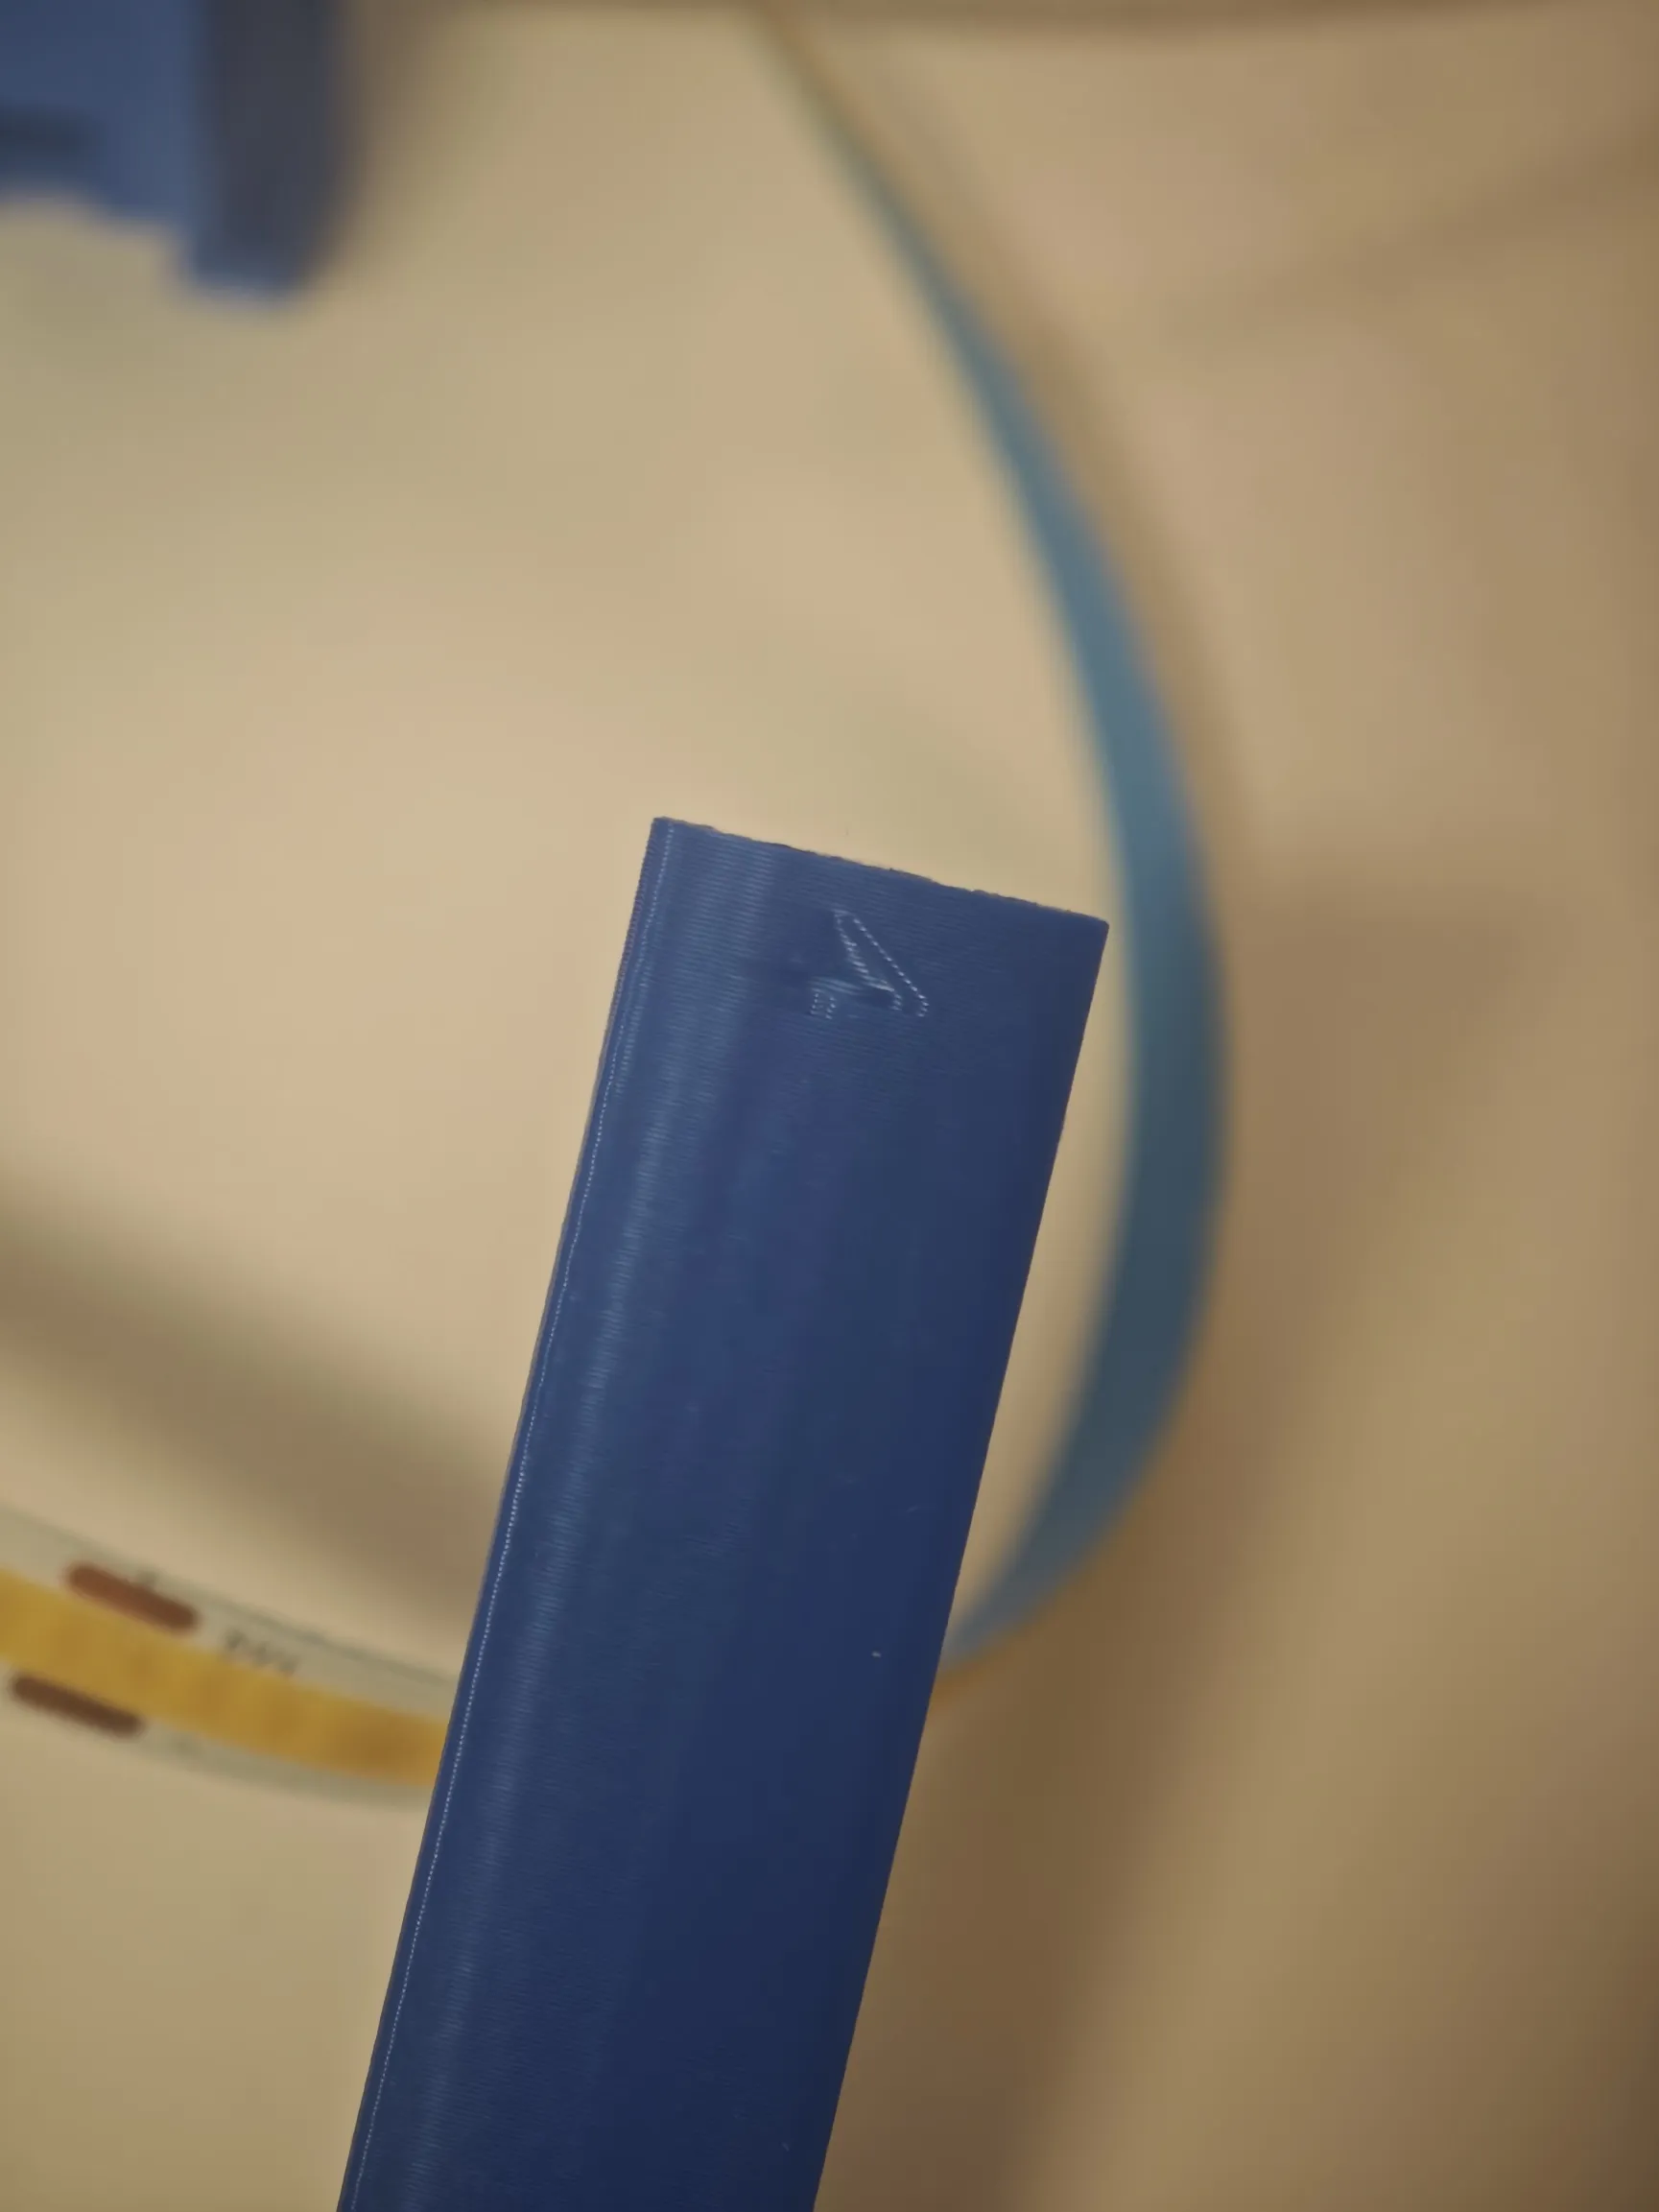
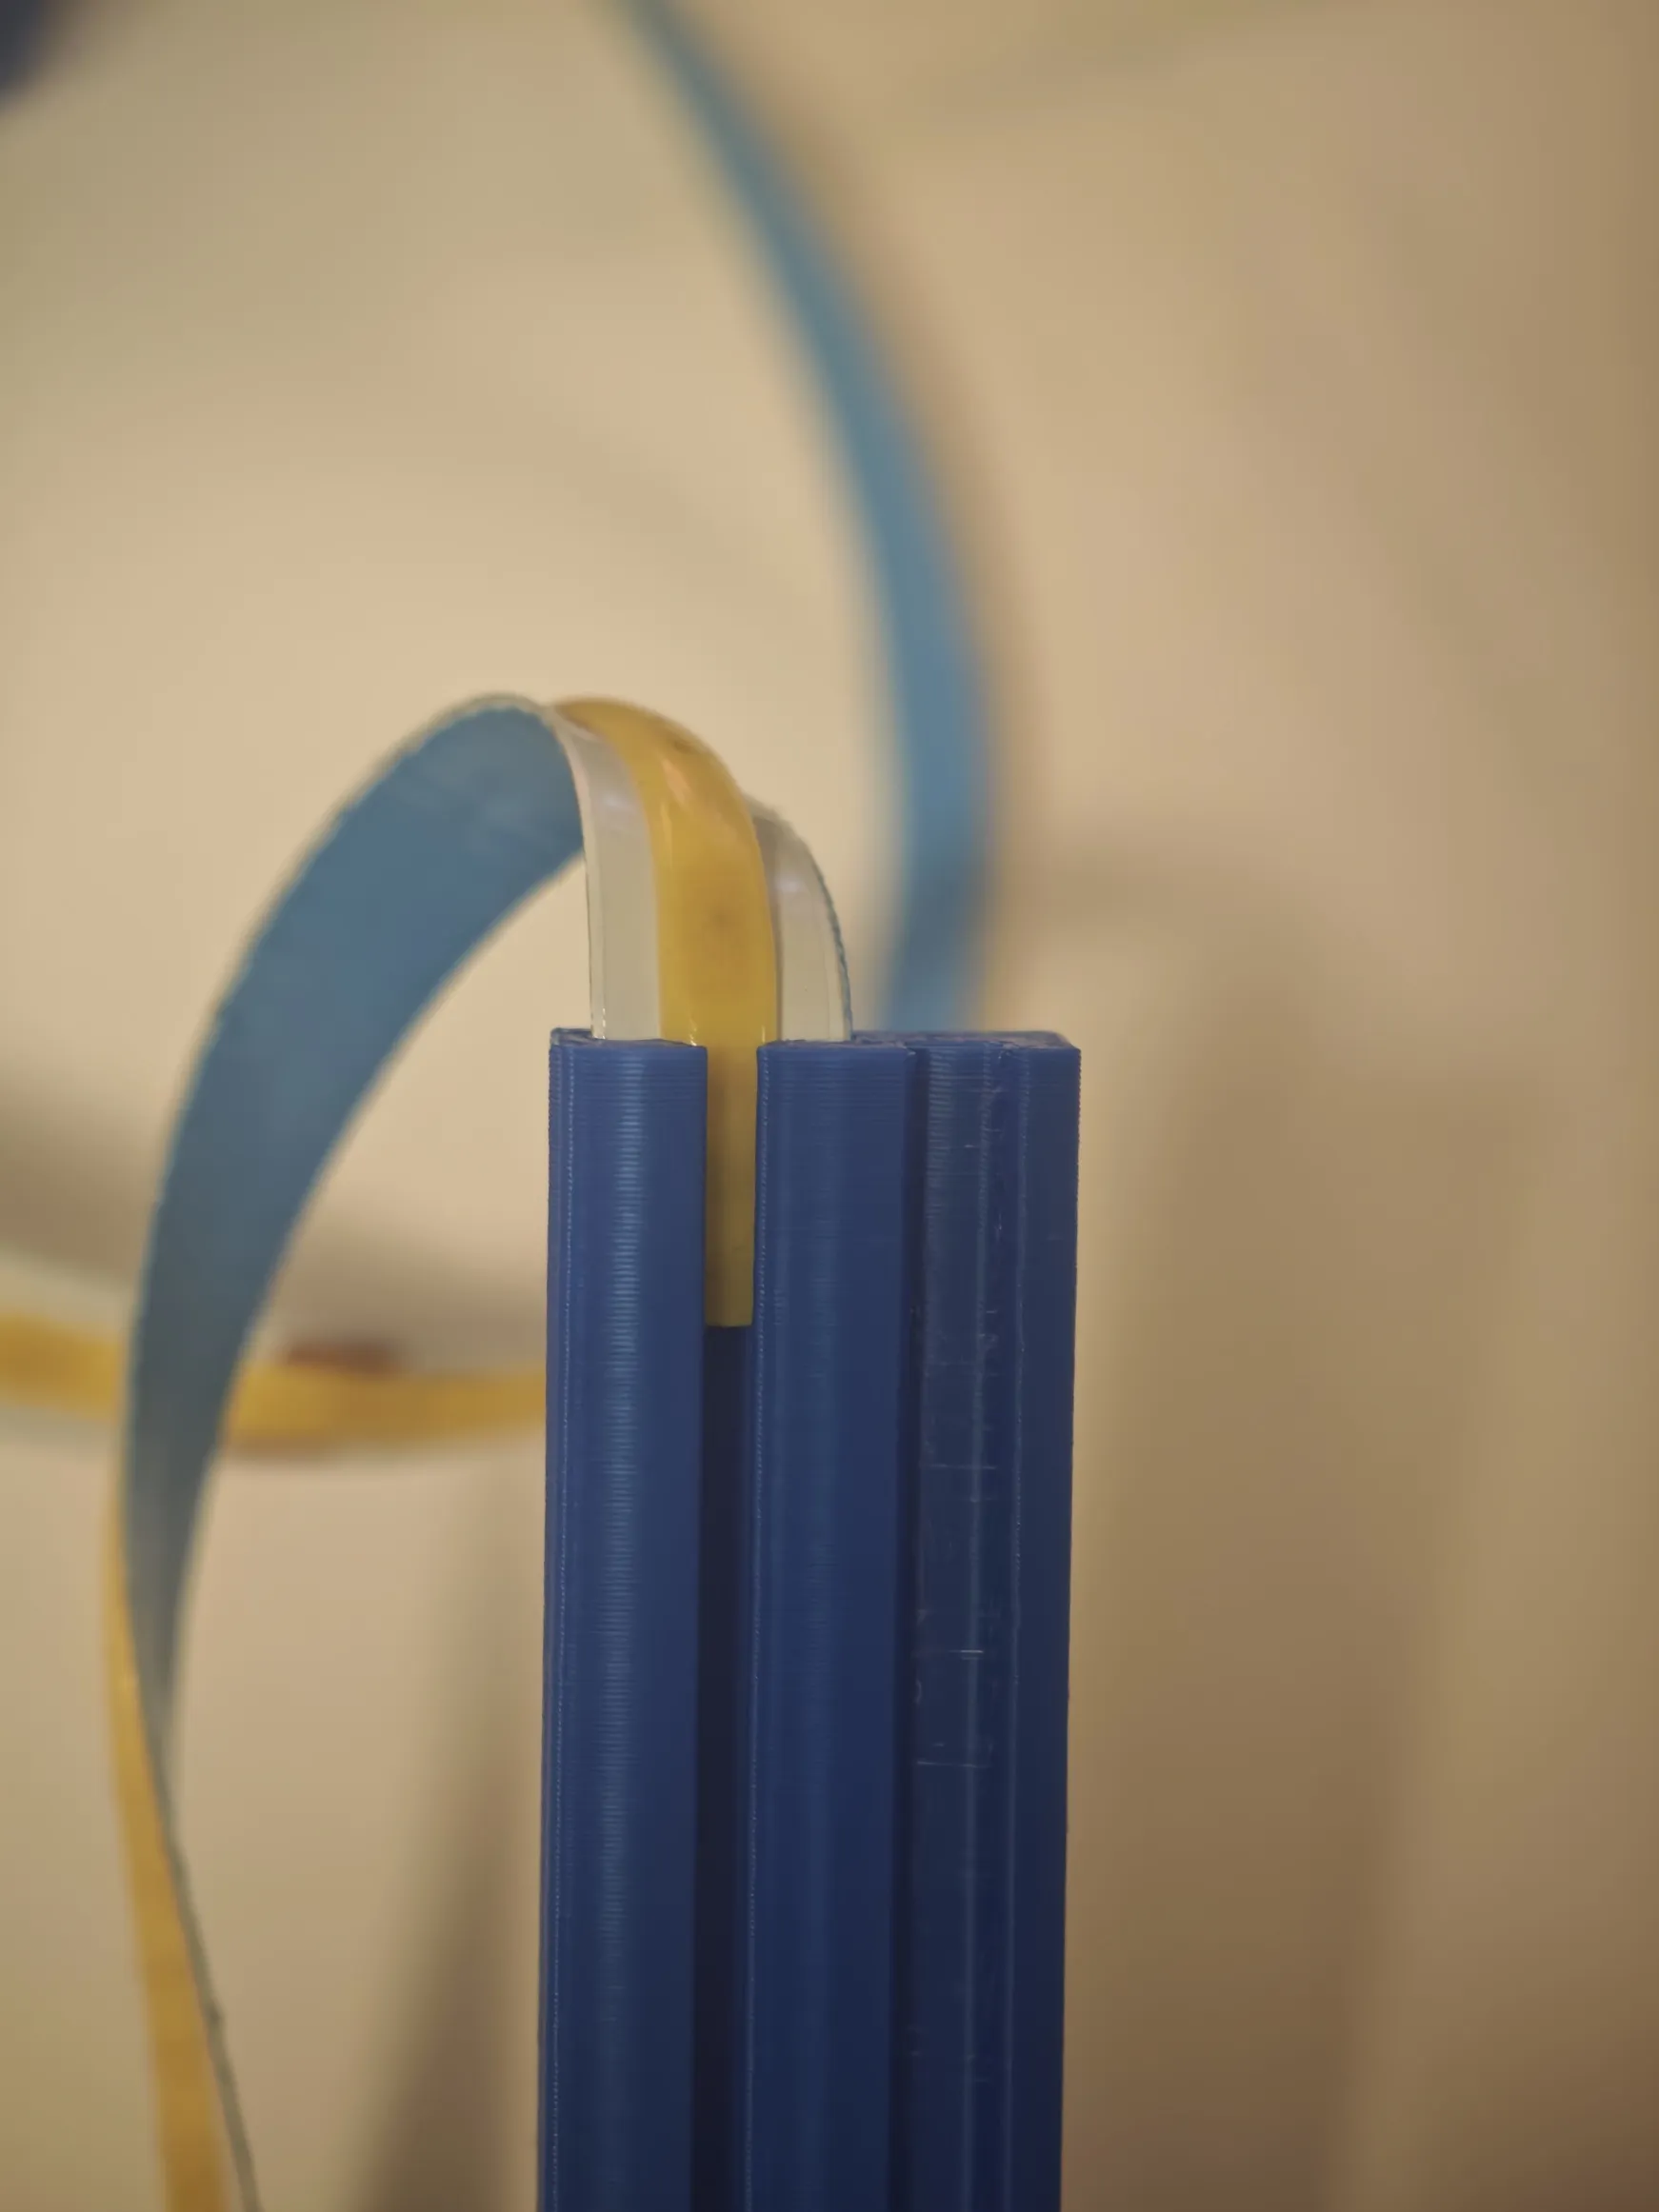
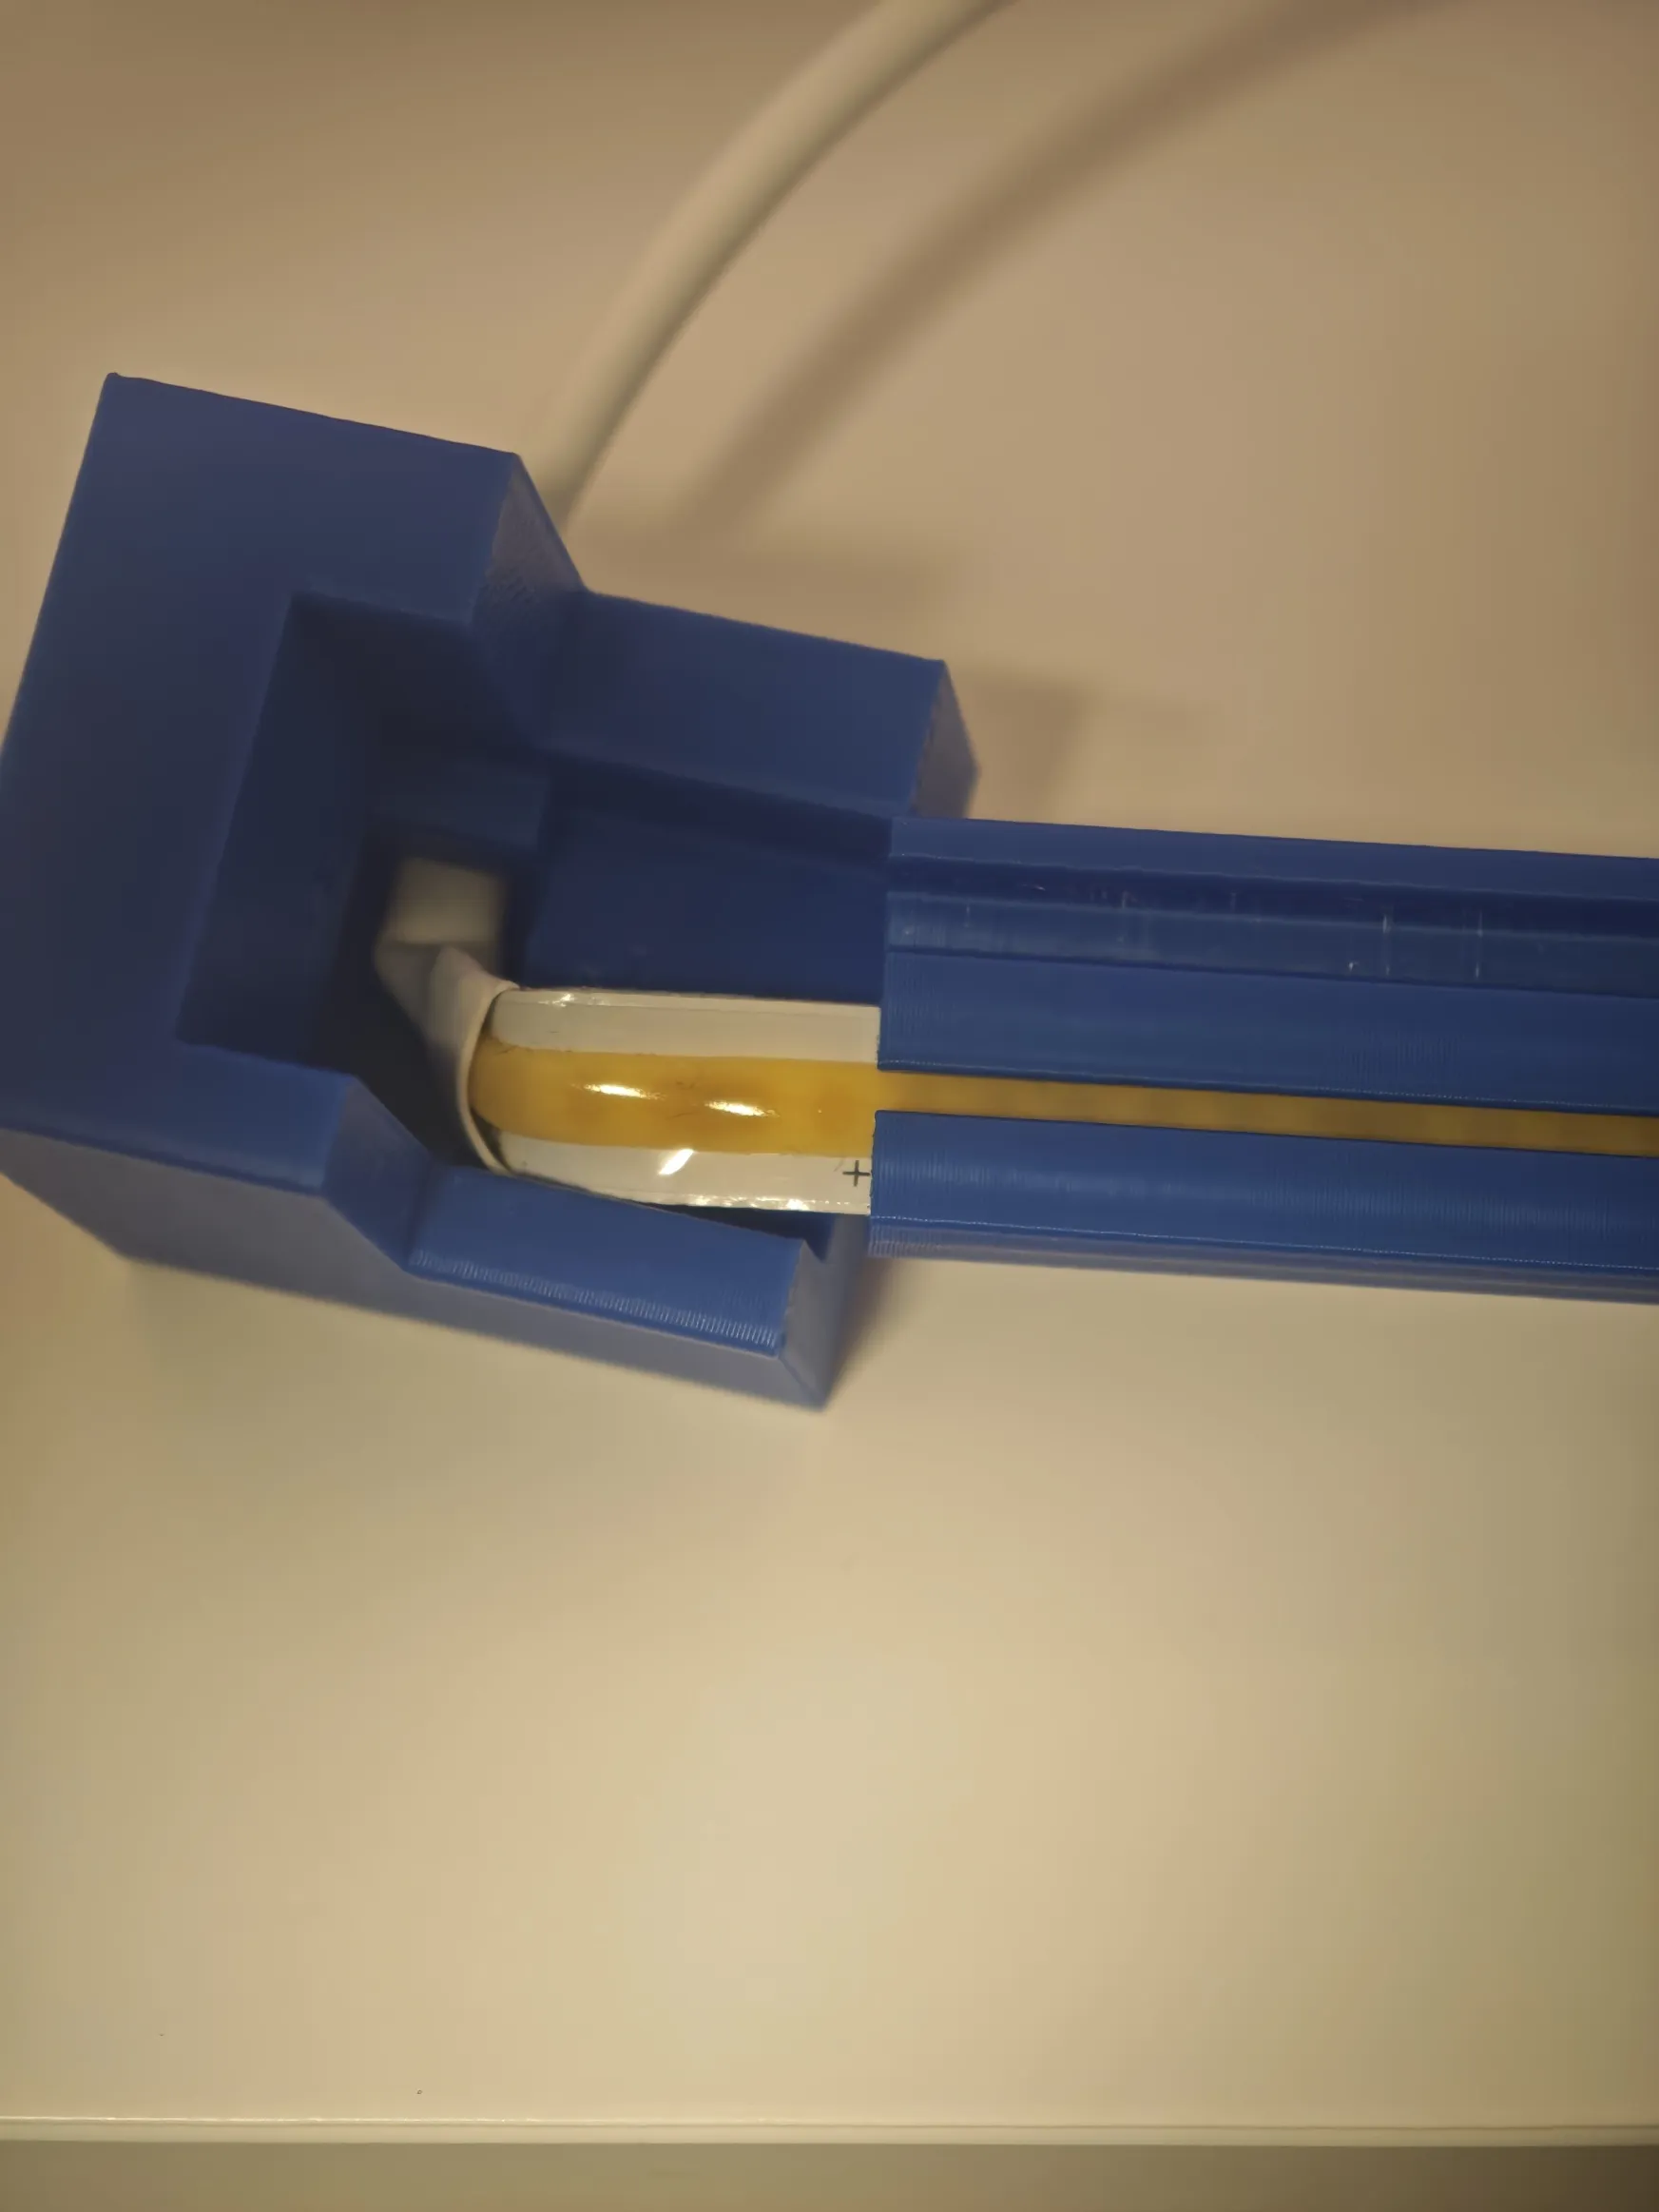
Take bar number 4, insert the LED strip inside it, and slide it along the entire length until the bar reaches the internal stops of the corner, as shown in the photos.
3️⃣ Insert the led in the opposite side, you will now have corner number 1
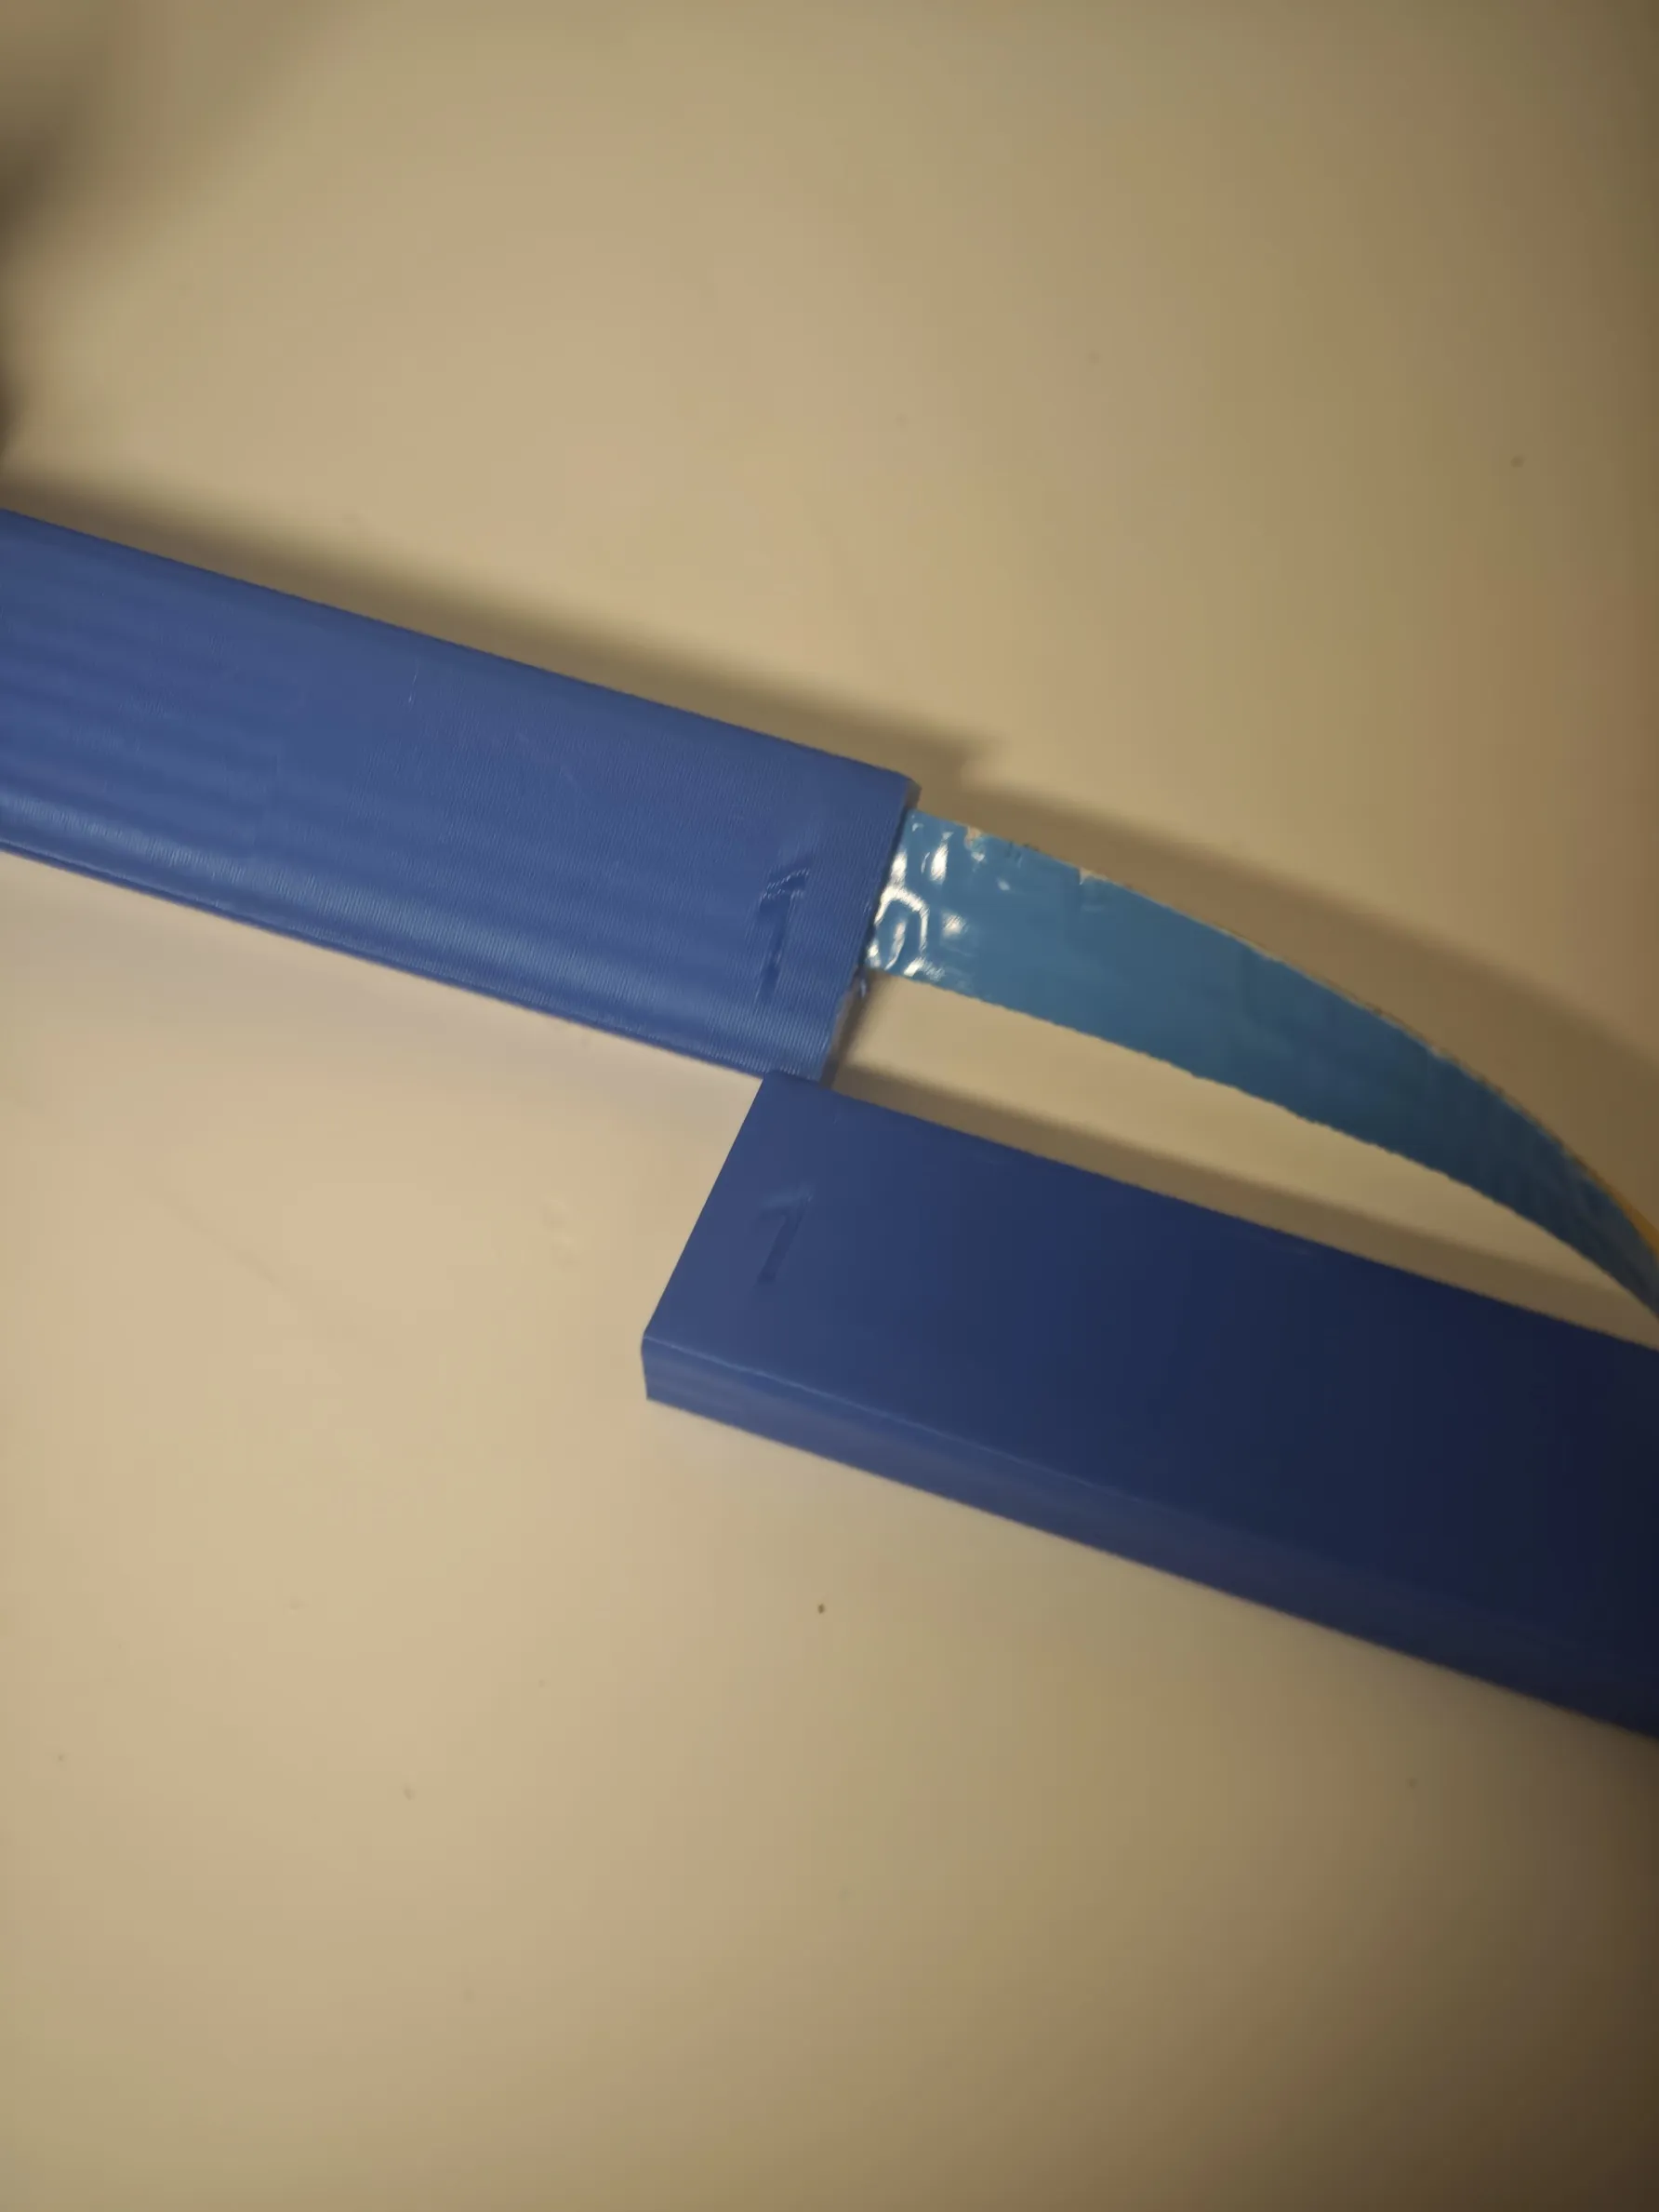
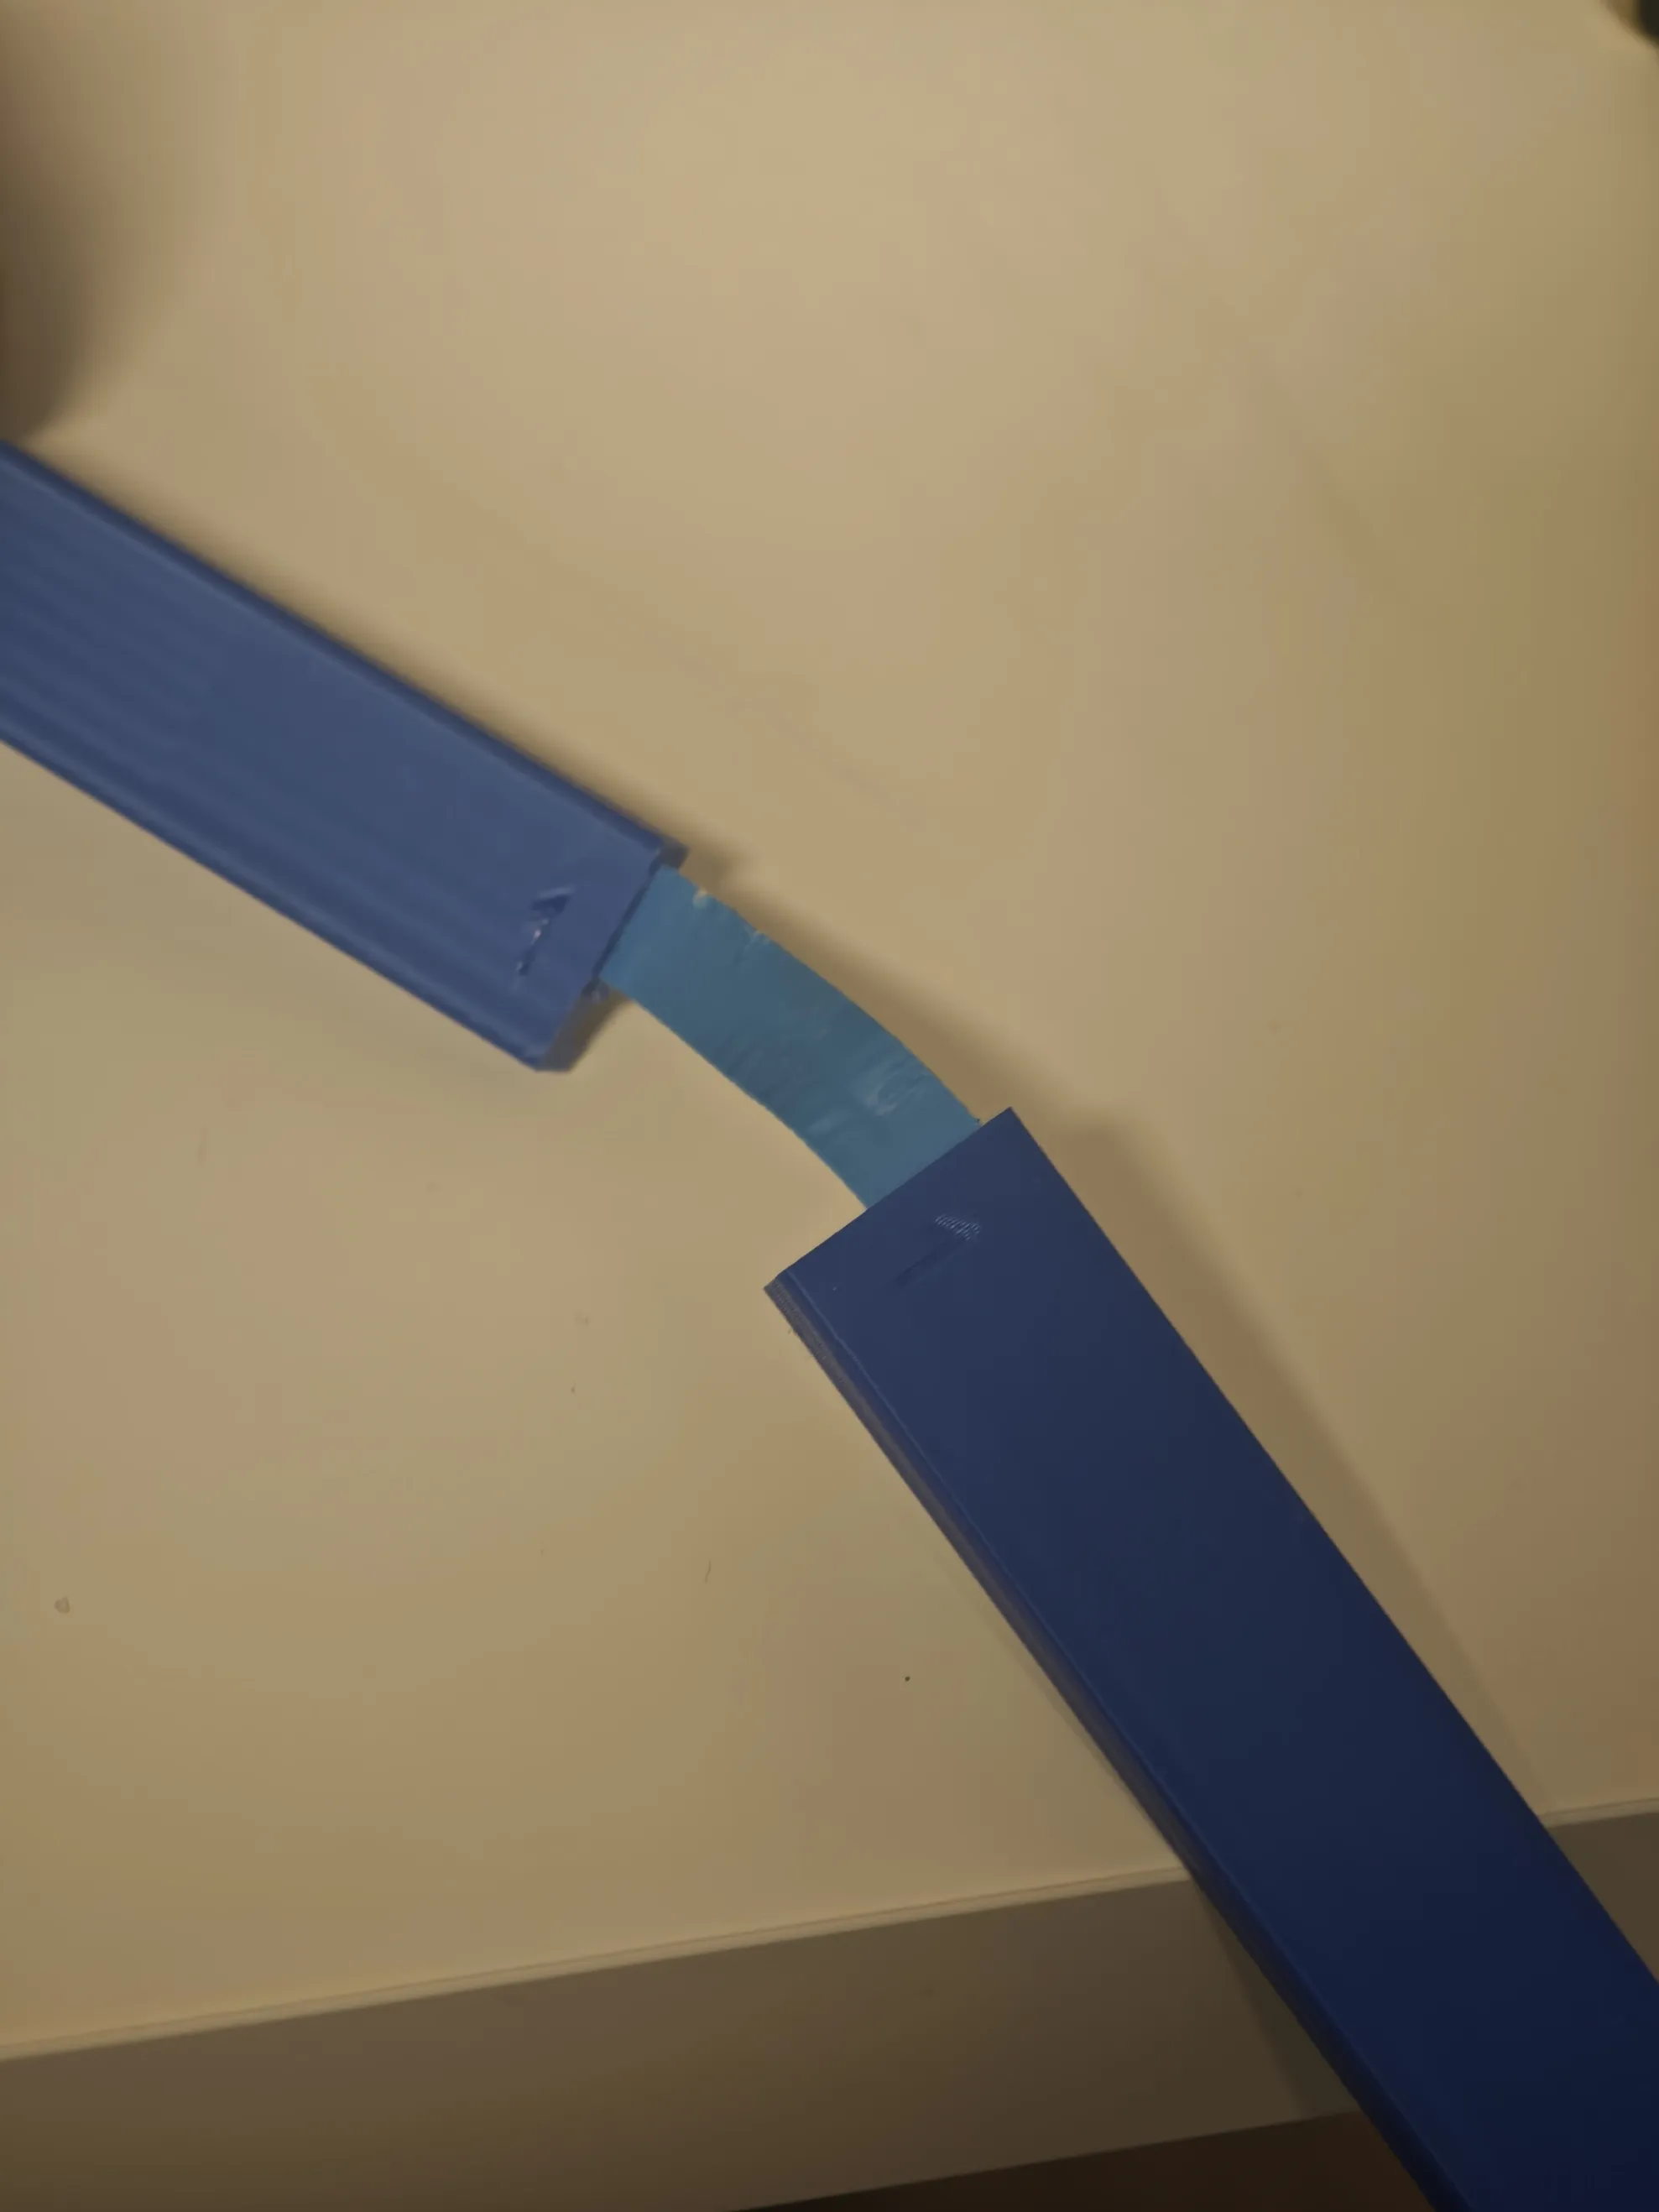
Insert bar number 1 with the LED inside. Slide it until the two bars meet perfectly
4️⃣ Complete all remaining bars.

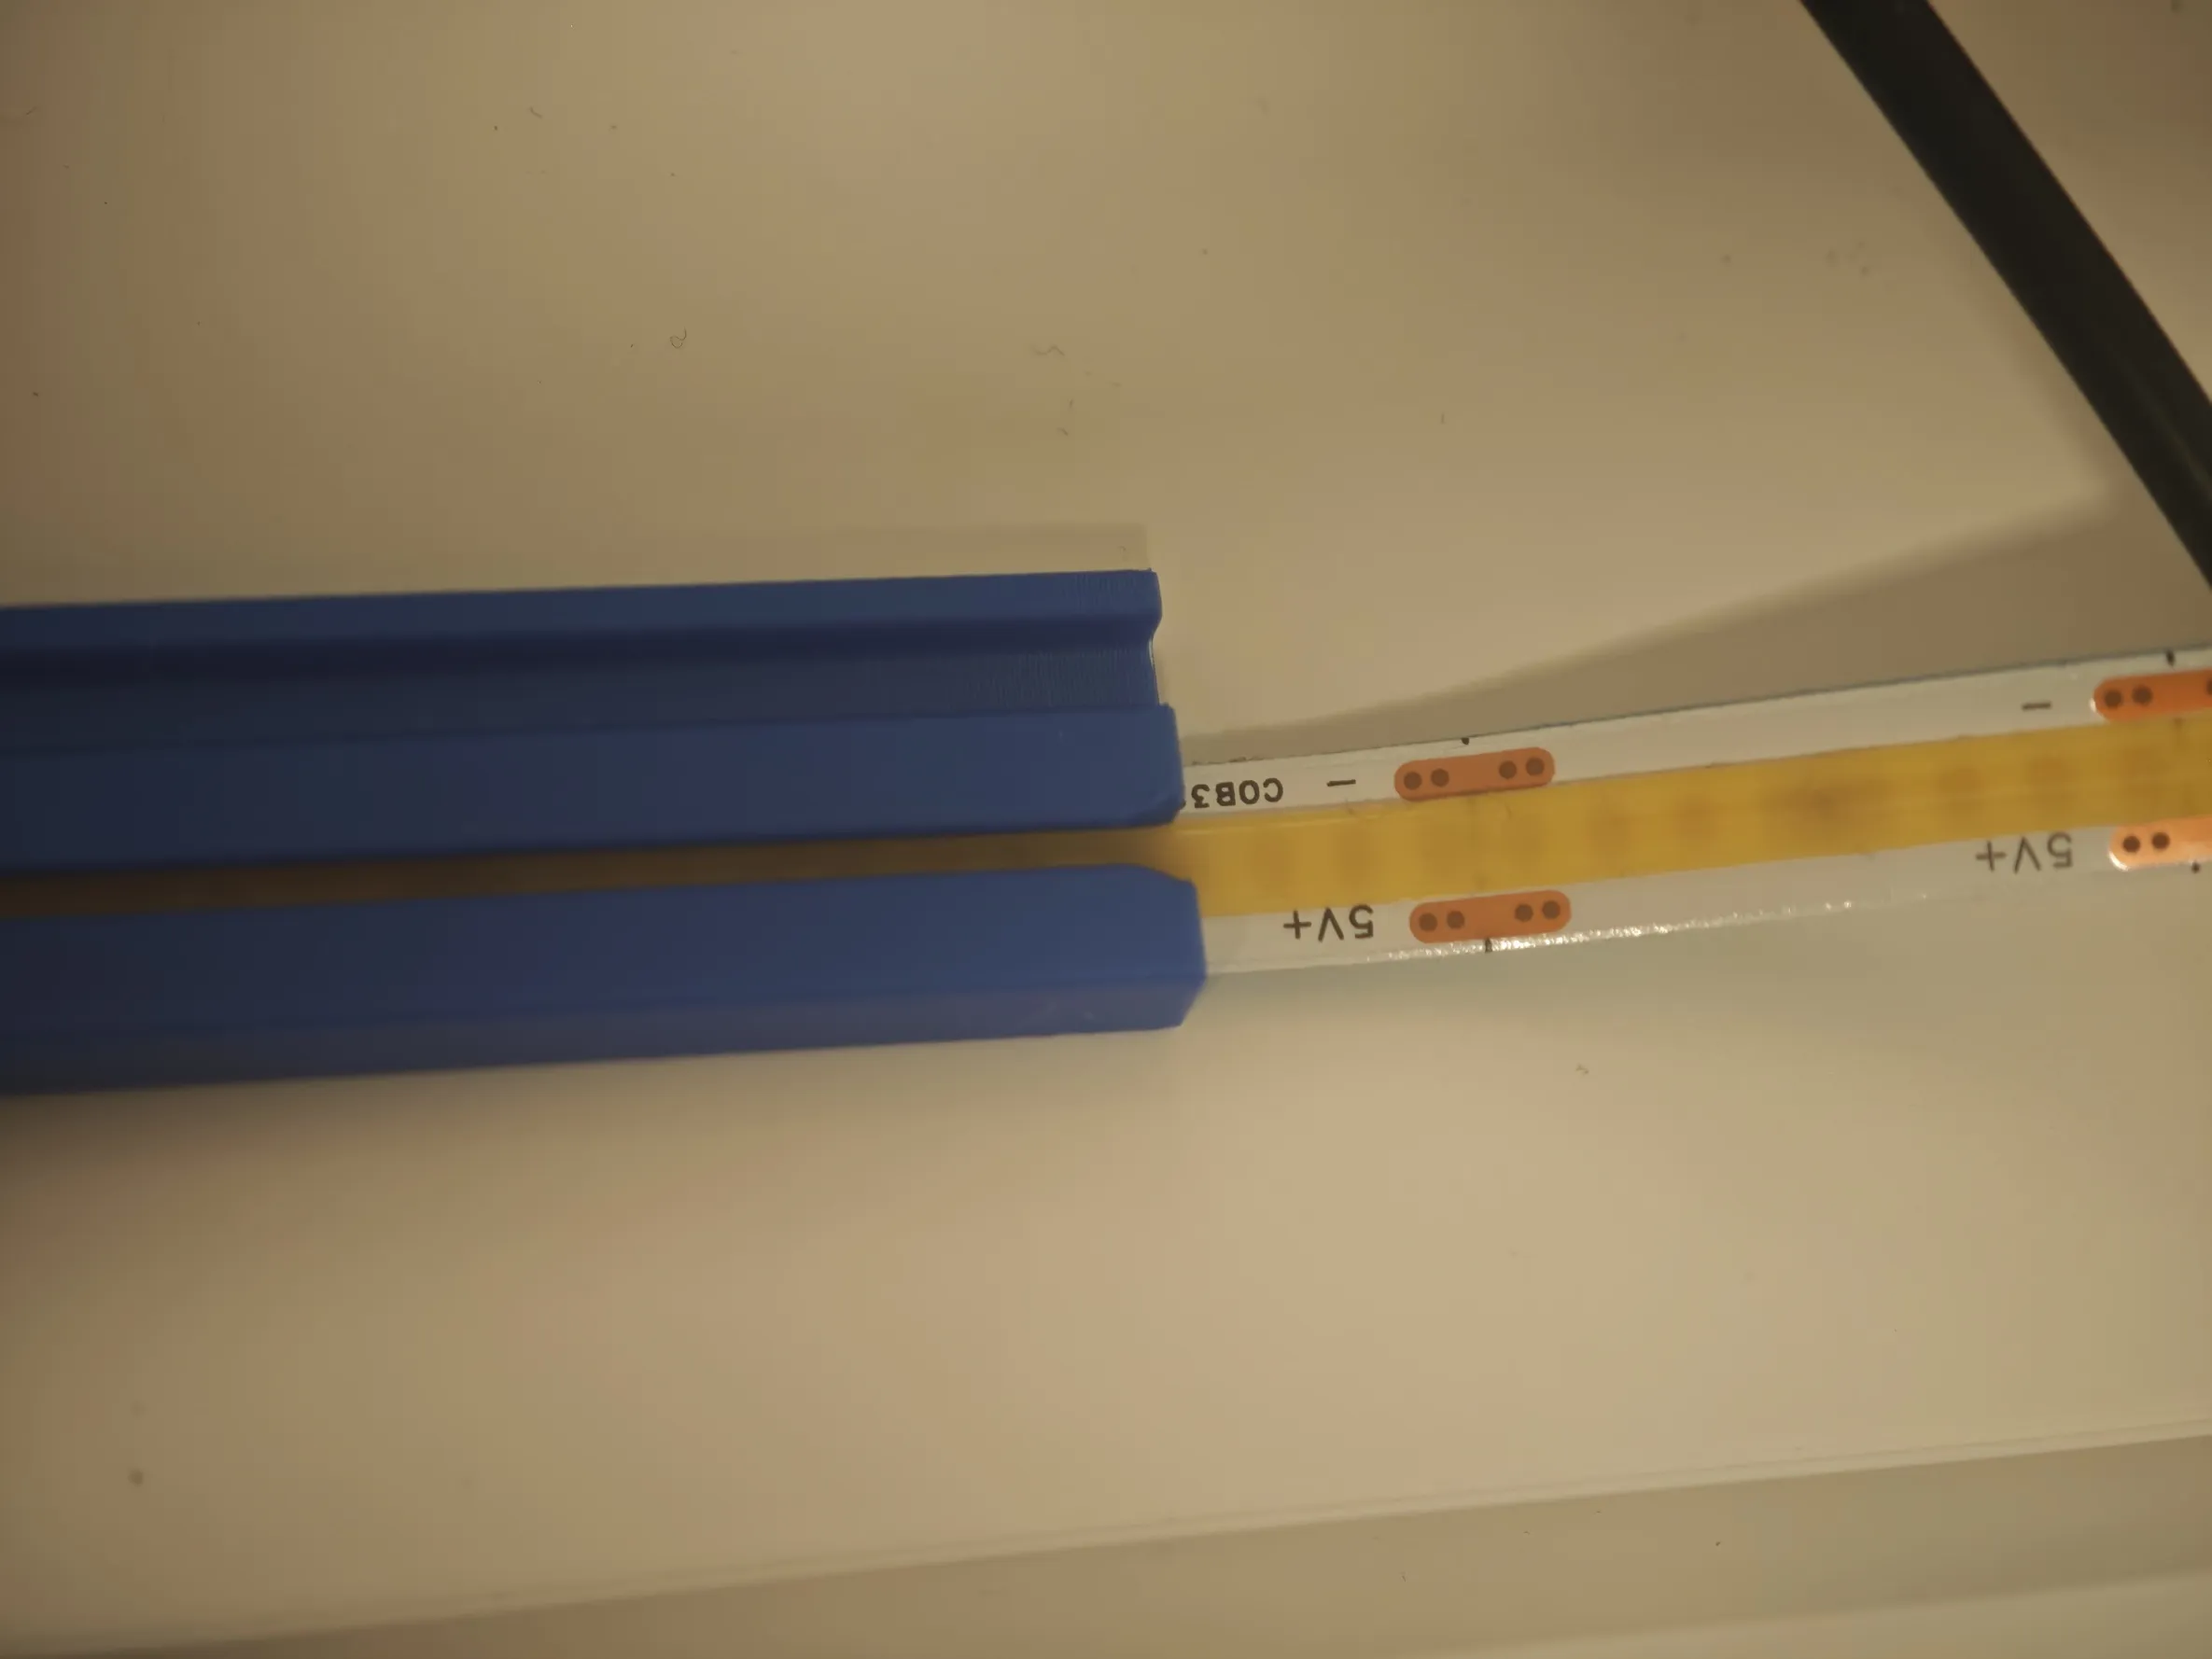
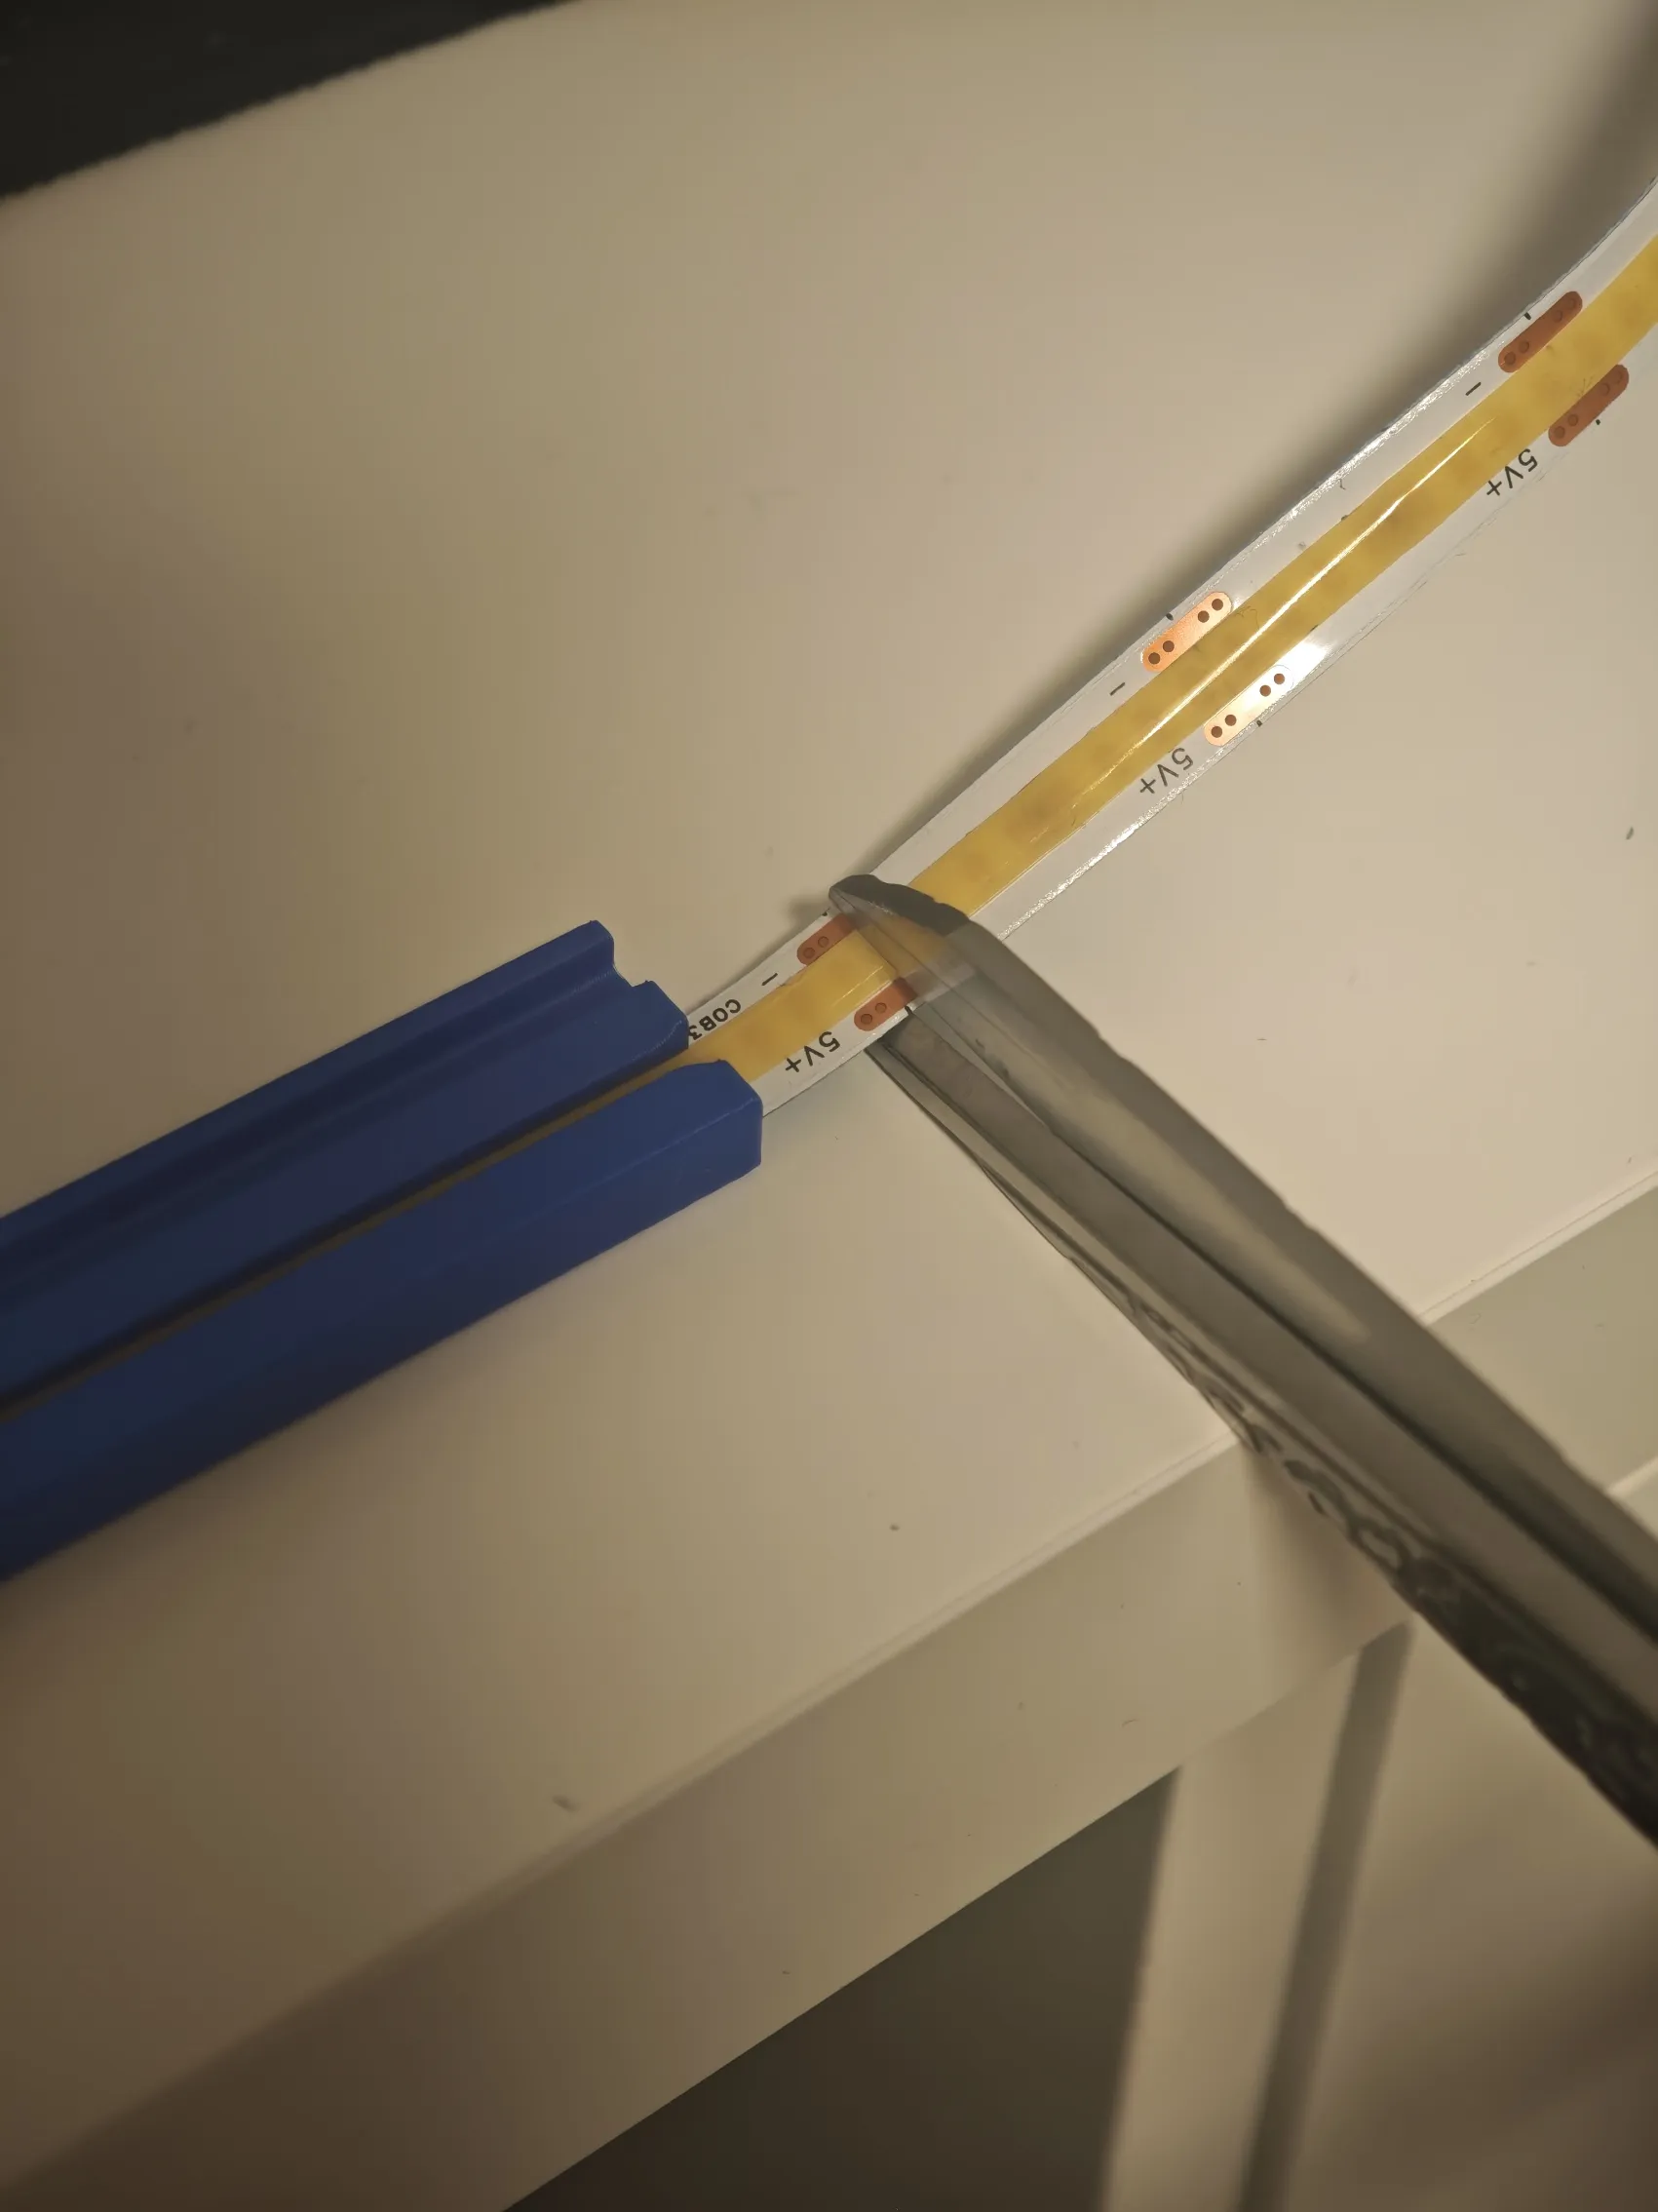
Repeat the same steps for all remaining bars.
You will obtain one long continuous bar with the LED fully enclosed inside. If everything is correct, the LED will slightly protrude from one end.
Trim the excess LED as shown in the photos
5️⃣ Glue the first two corners
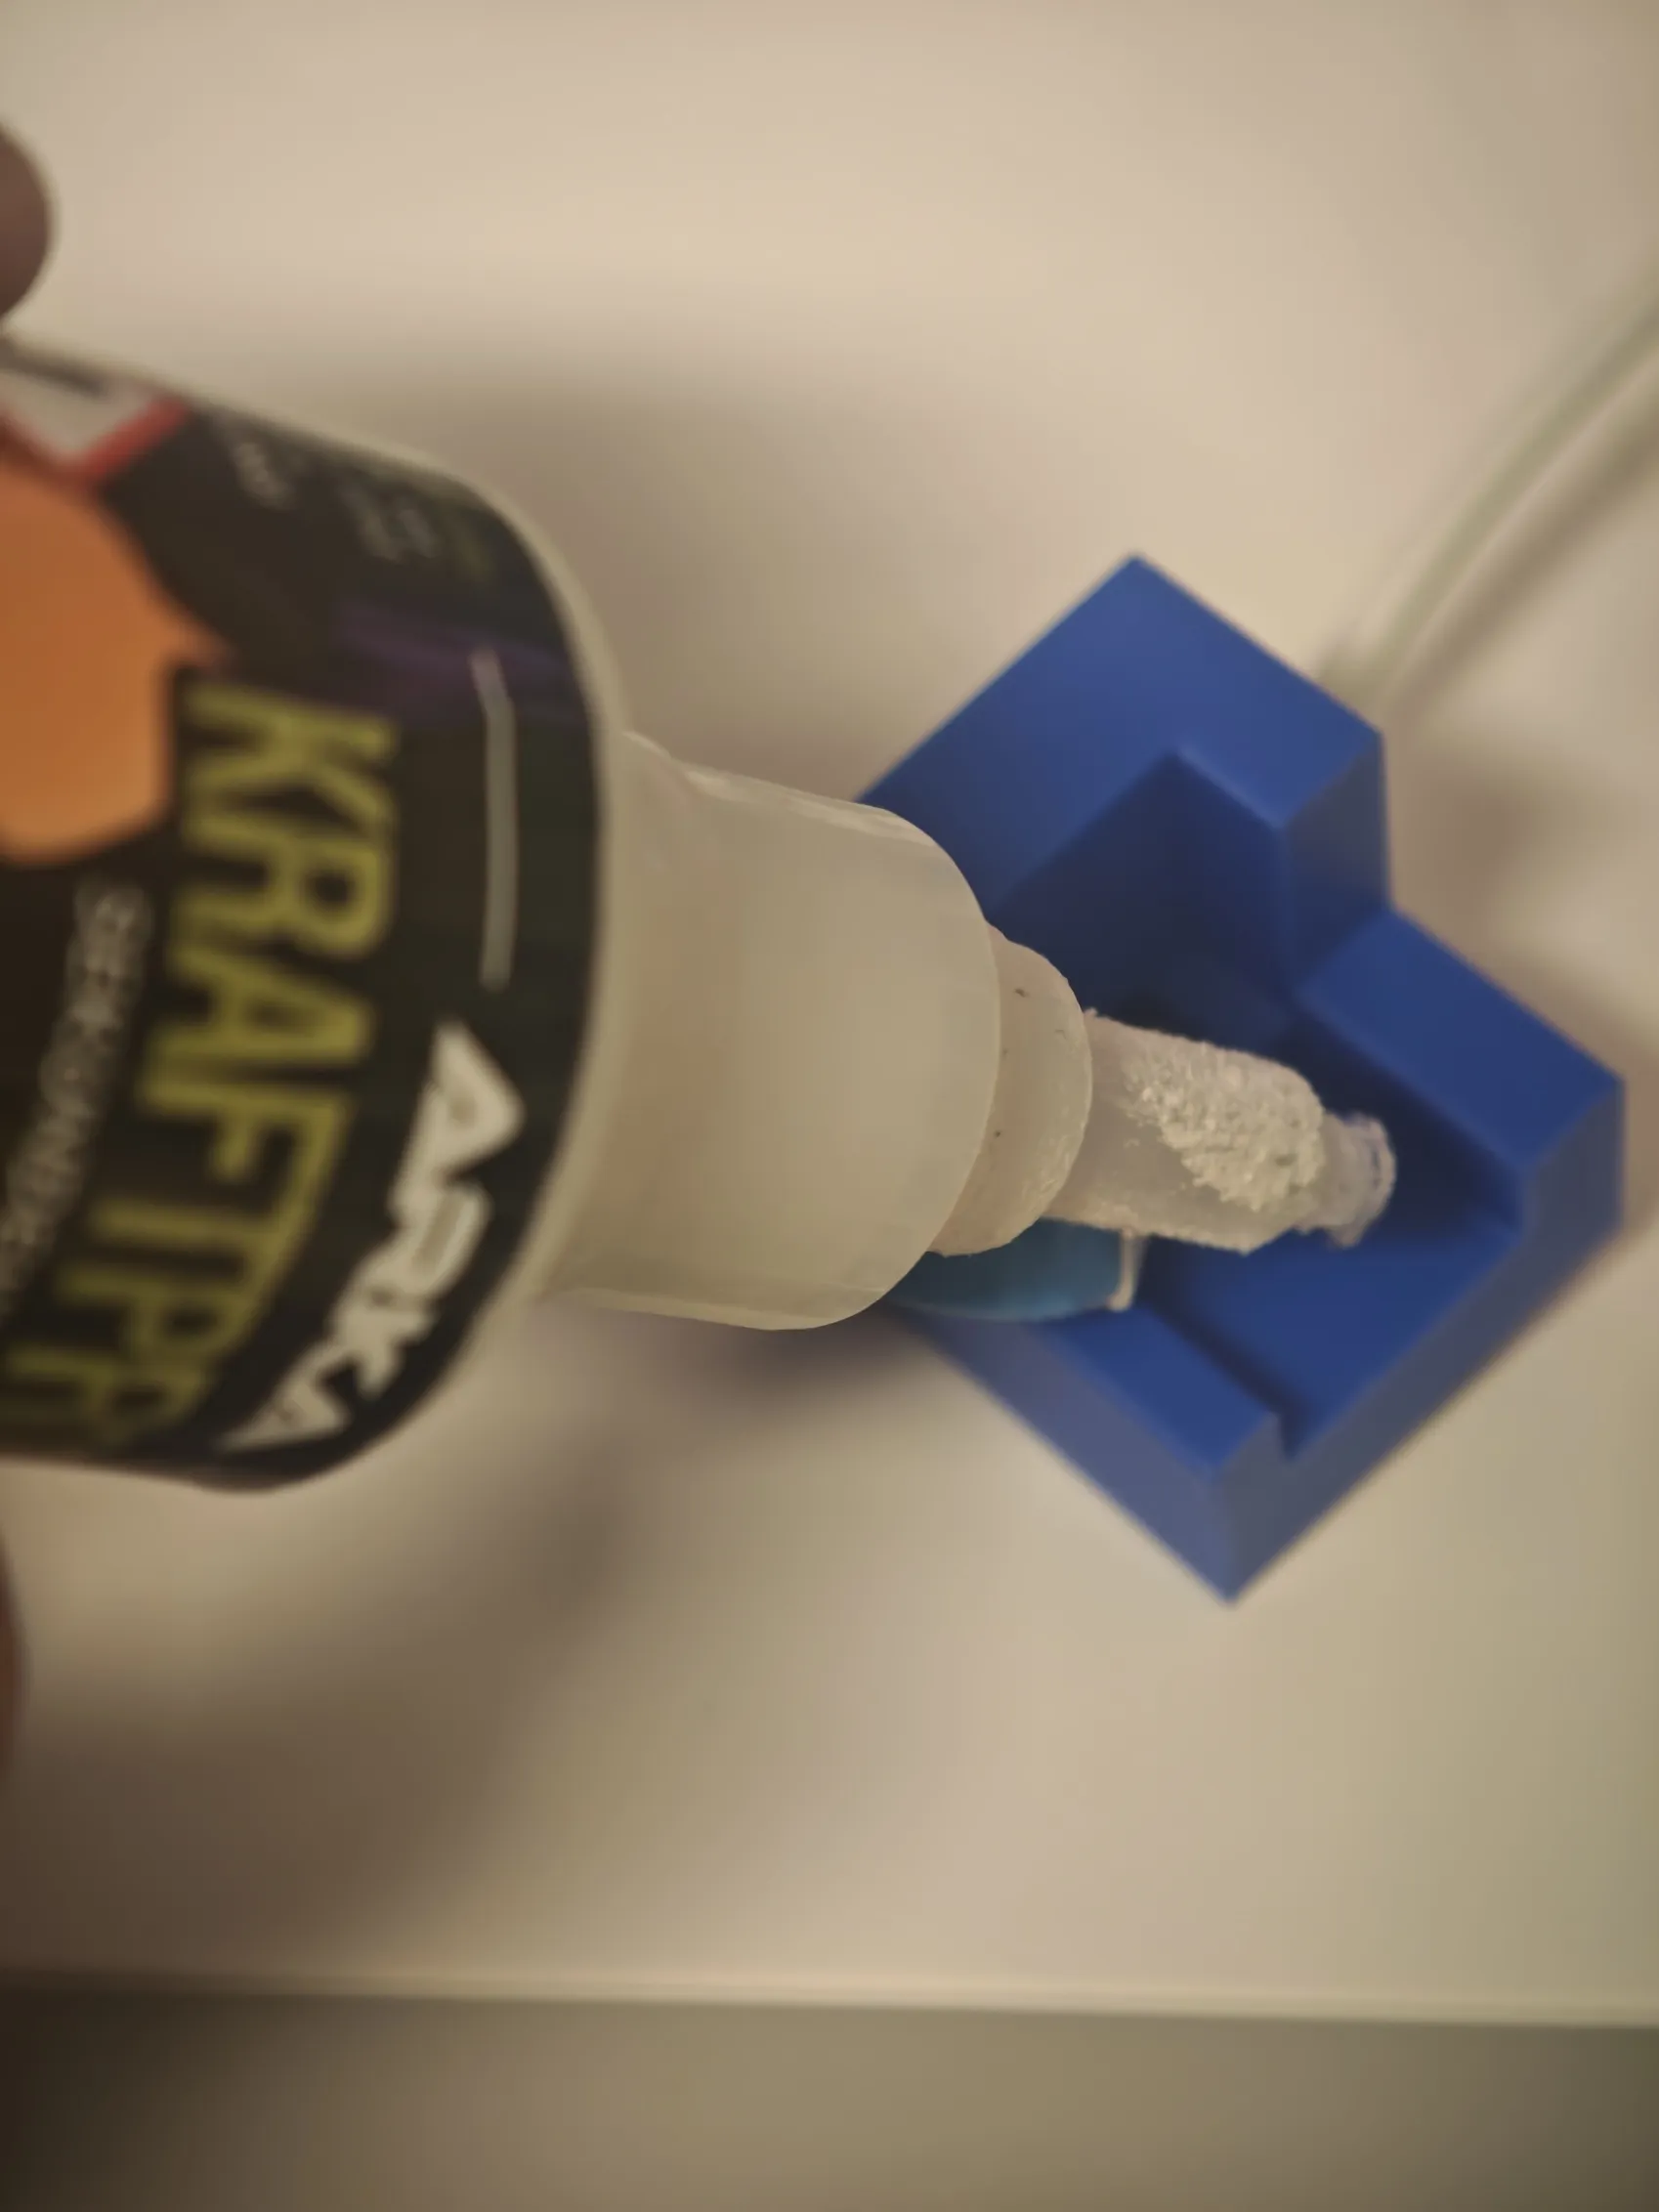
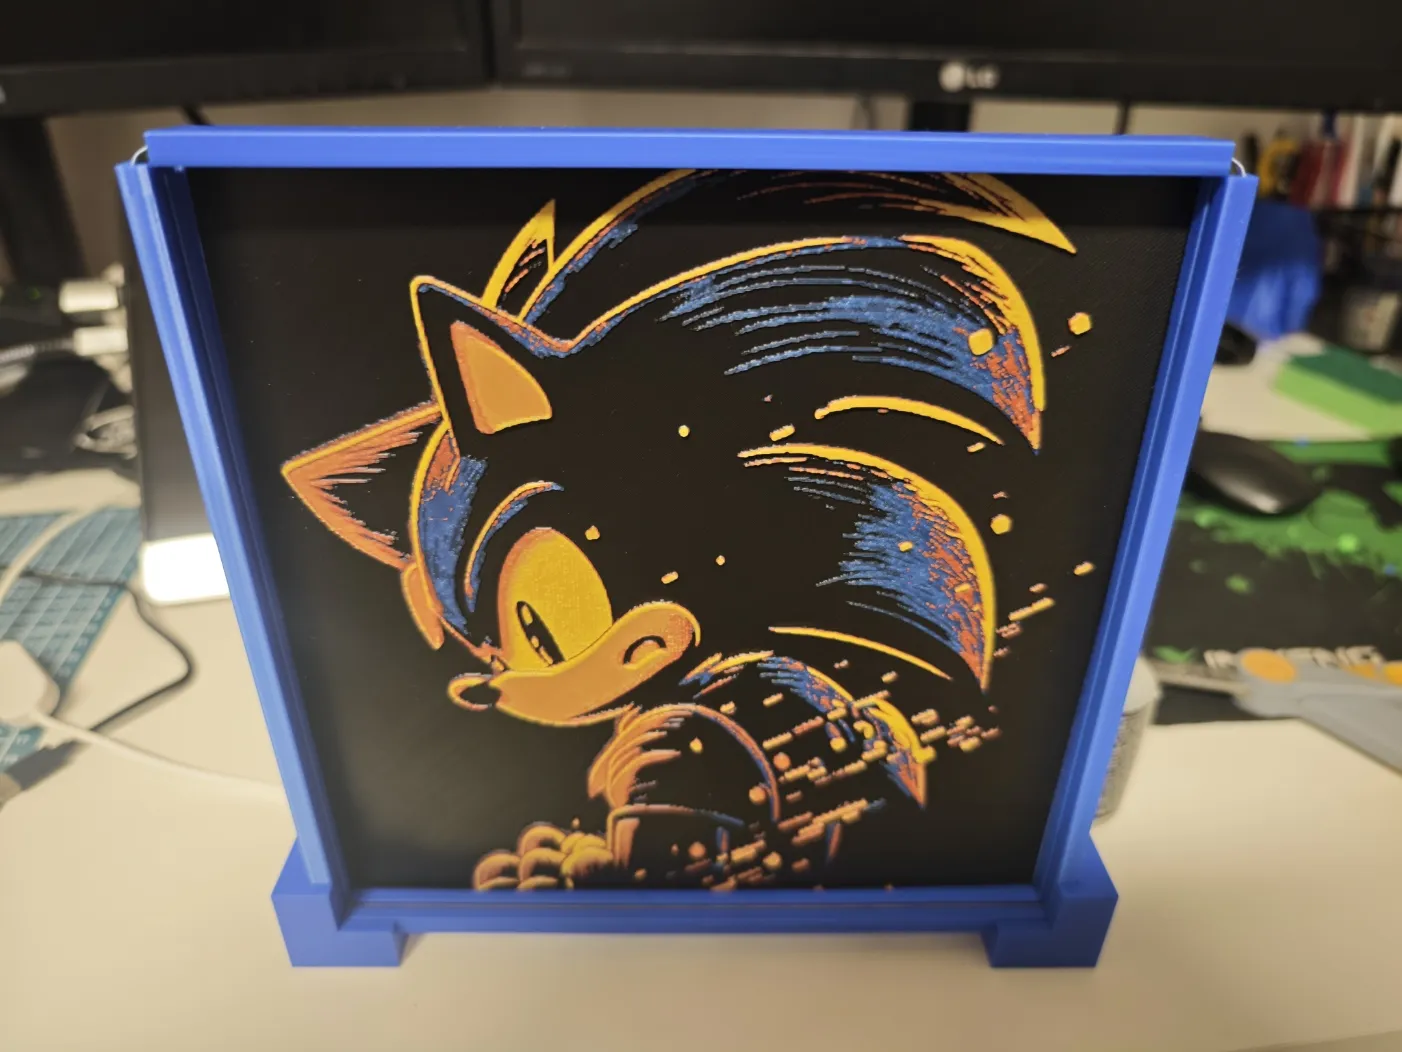
Starting from corner #4, glue the corner and bars together, making sure they are fully seated.
Repeat the process for the second corner, always checking that the numbers match correctly. Insert your HueForge print into the dedicated slot in the frame, as shown in the photos.
6️⃣ Glue the remaining two corners
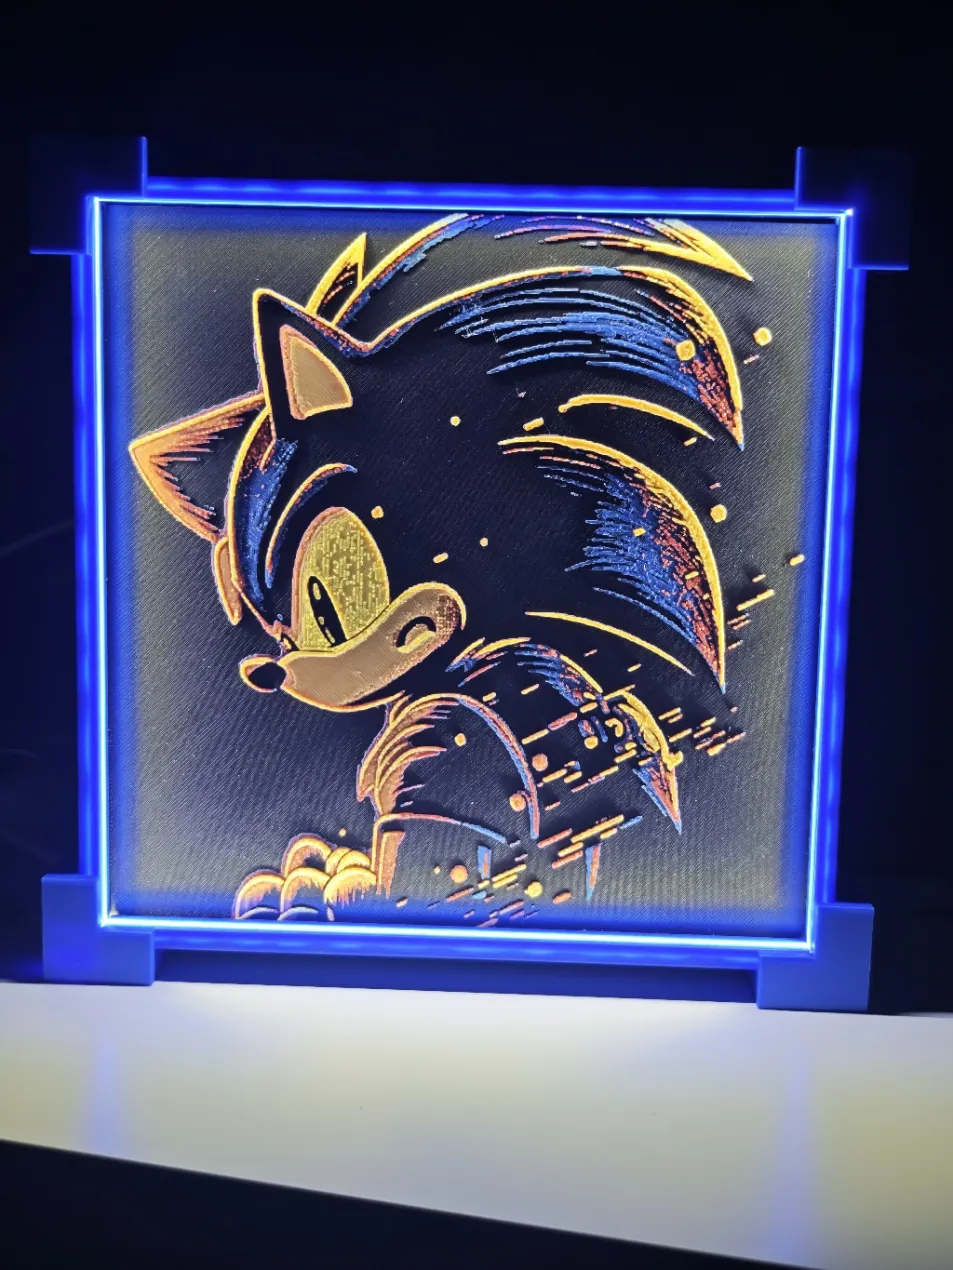
Glue the last two corners, carefully checking:that the corner numbers matchthat the wide and narrow sides of the corners are oriented correctlythat all bars slide fully into place. The final result should have four identical, aligned, and precise corners.
🔧 Optional: Securing the HueForge
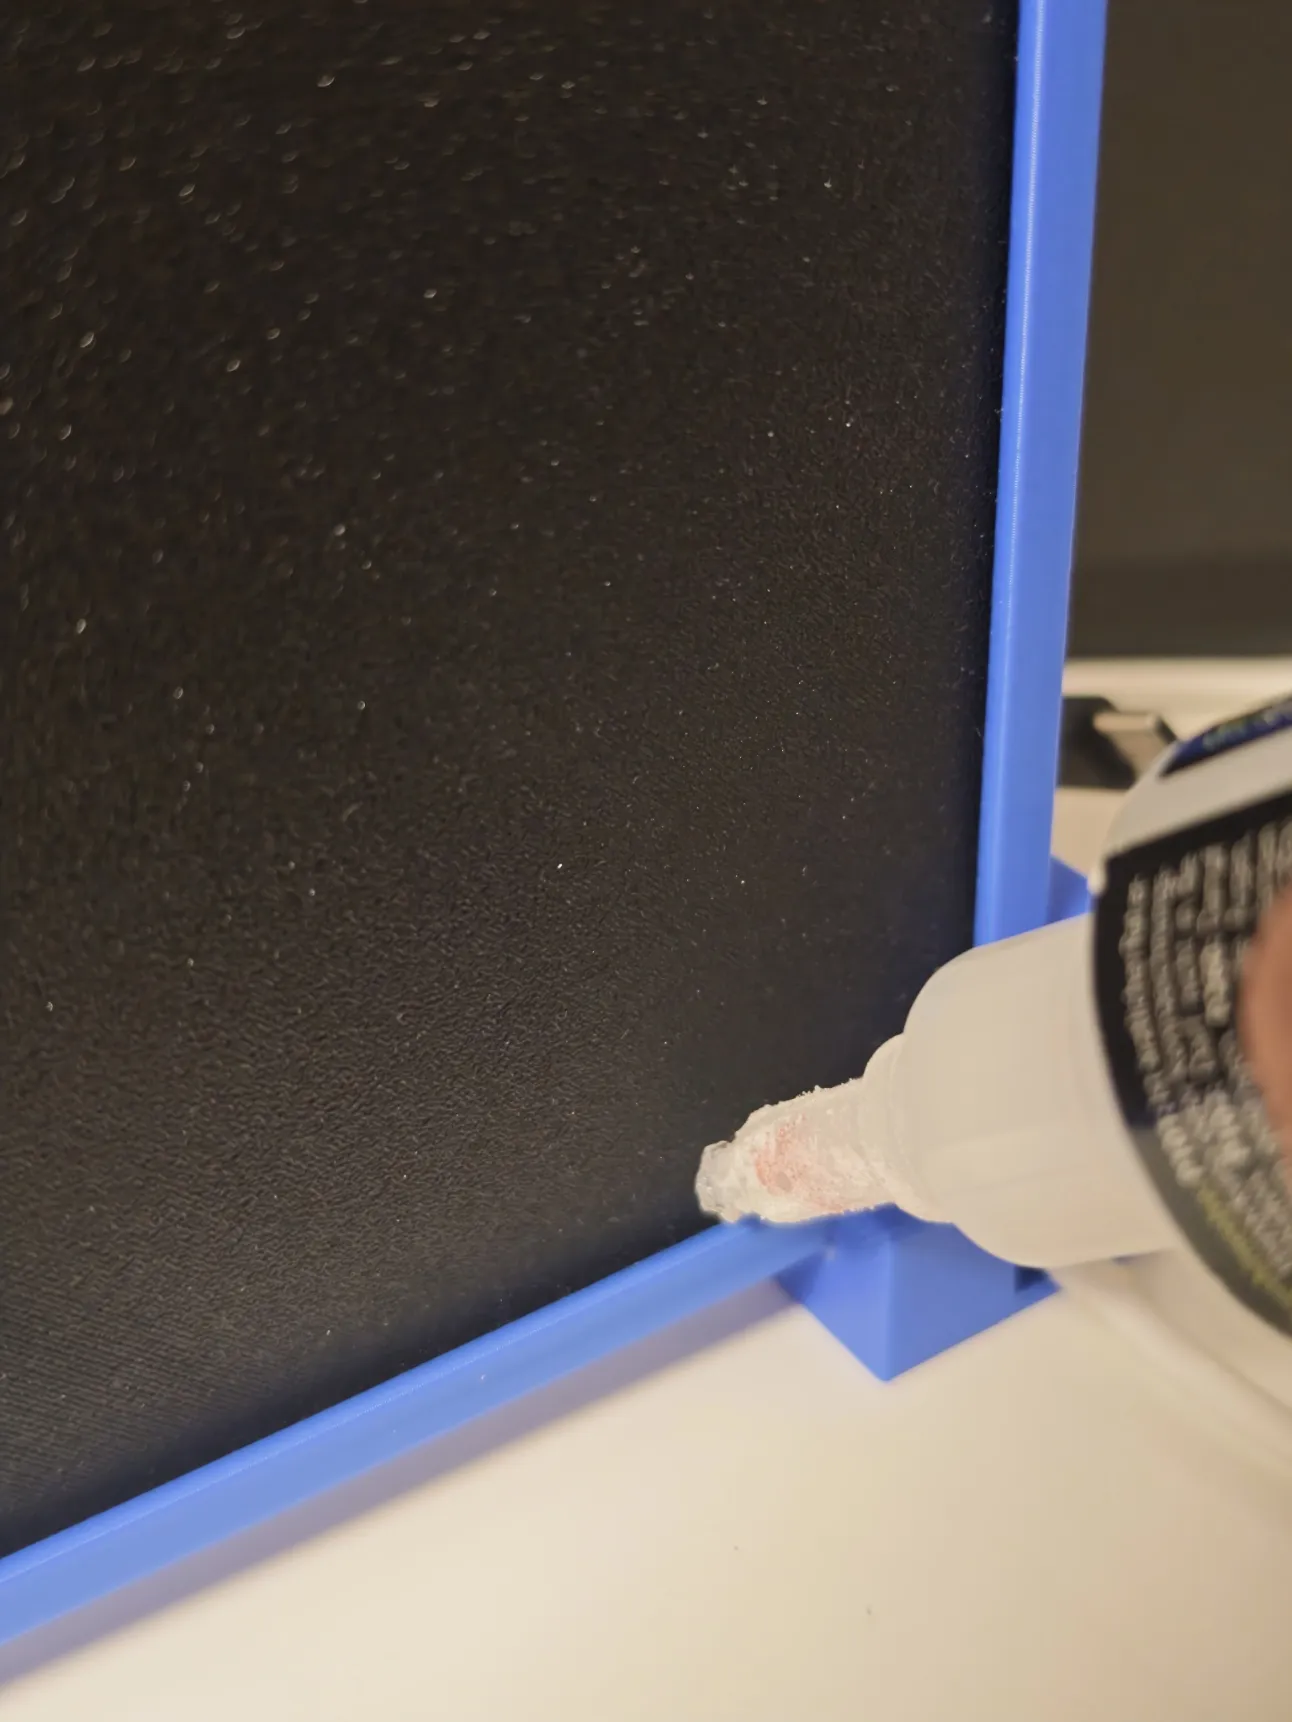
This step is optional.If your HueForge feels slightly loose, apply small dots of glue on the back to secure it in place, as shown in the photo.The frame supports HueForge prints up to 2.5 mm thick.
🖨️ Printing Notes
The provided print profile is specifically designed to minimize the risk of print failures and ensure reliable results.
For best printing performance:
make sure the print bed is perfectly clean
print slightly slower than usual
avoid drafts during printing
Following these recommendations will result in strong, accurate parts that fit together perfectly during assembly.
✅ Final Result
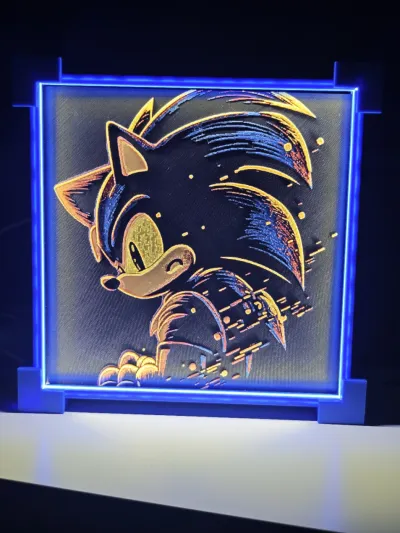
If all steps are followed correctly, you will achieve a clean, uniform LED backlit frame that enhances your HueForge print, as shown in the final photo.
Originality of the Model
The author declares that this work is their personally original model
This model is licensed under the following terms:
This work is licensed under a Standard Digital File License. Digital files have a strict non-commercial, personal use only license.
You shall not share, sub-license, sell, rent, host, transfer, or distribute in any way the digital file or 3D printed versions of this object, nor any other derivative work of this object in its digital or physical format (including remixes of this object). You can not host these files on other digital platforms, web stores or cloud repositories. The objects may not be used in any way whatsoever in which you charge money, collect fees.
Models(1)
- hueforge led.3mfDesigner

303.35 KB

2026-01-18


