




oriole
bird
feeder
clamp
dovetail
hummingbird
threaded
tray
jelly


47

5
Overview:
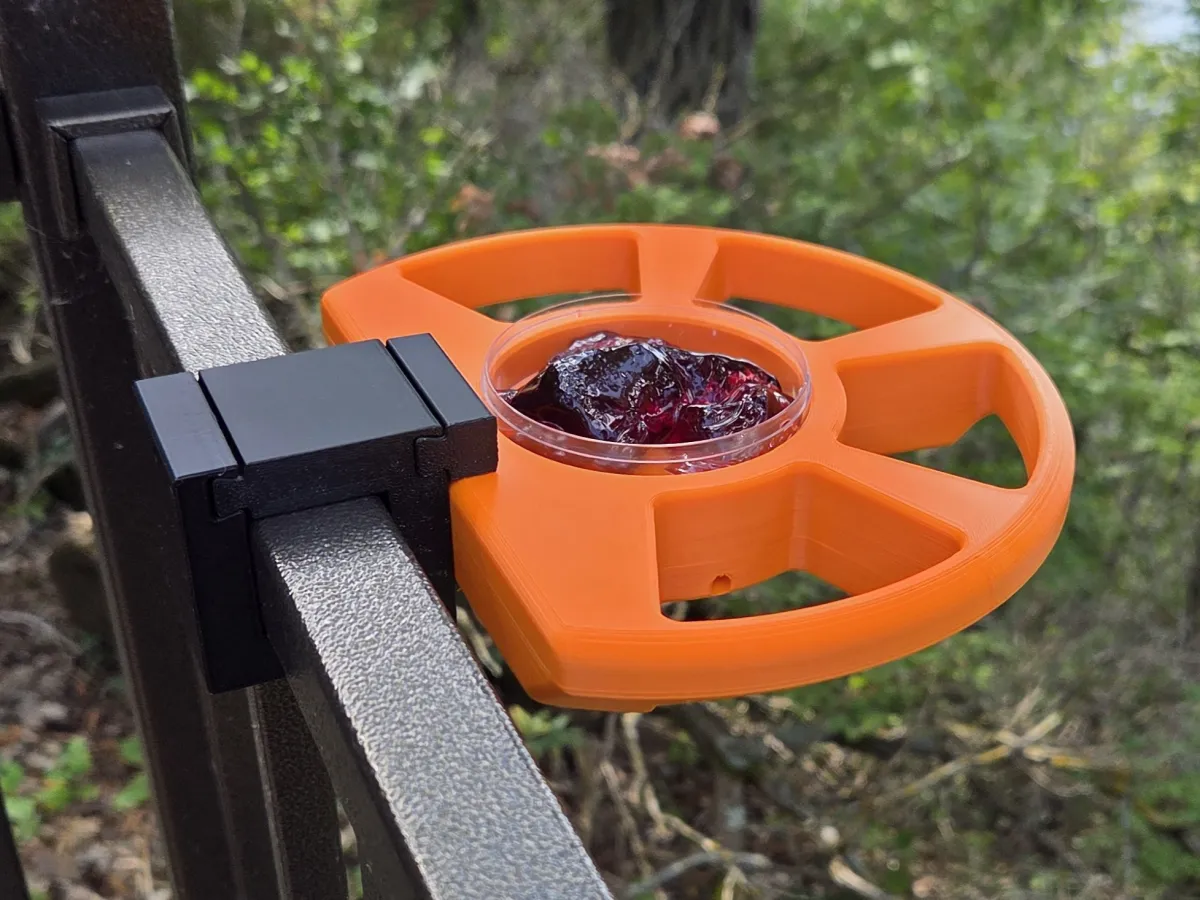
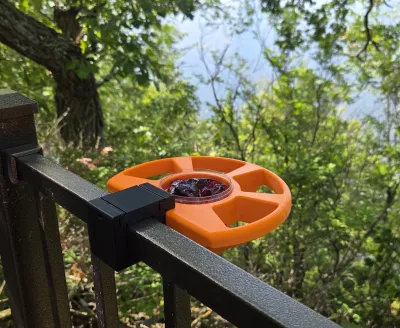
My in-laws own a cabin that has a number of orioles and hummingbirds but an aging feeder hanging from a tree. We recently installed a new aluminum square railing, so I decided to design a new feeder to attach to it. The design had these goals:
- Attract orioles and allow them to feed on jelly.
- Be able to easily bring remaining jelly in and store in the refrigerator when we’re not around.
- Be able to easily move the feeder around or remove it for the season.
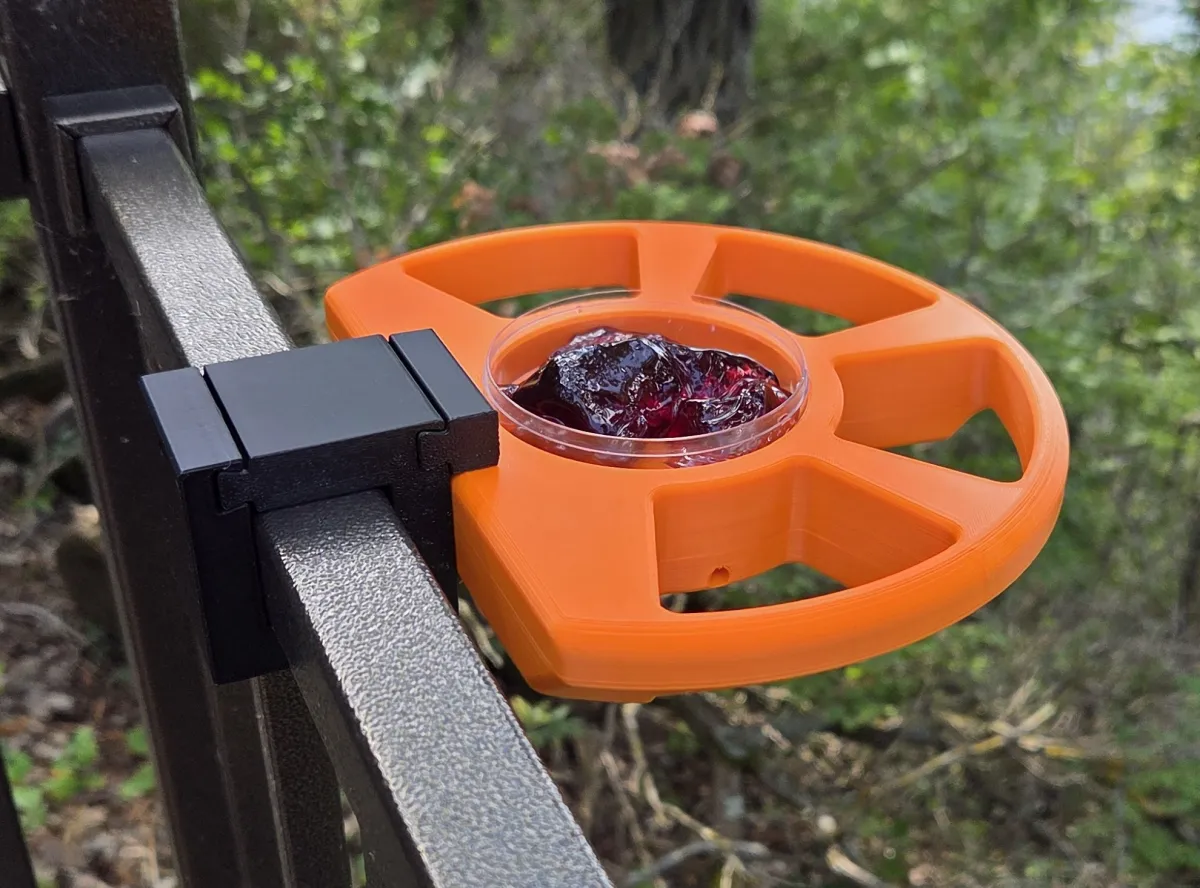
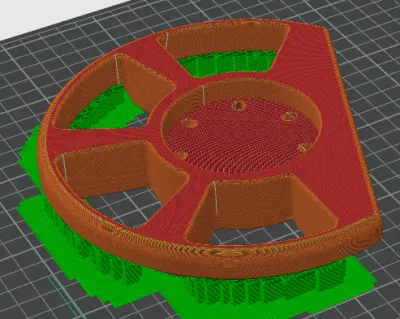
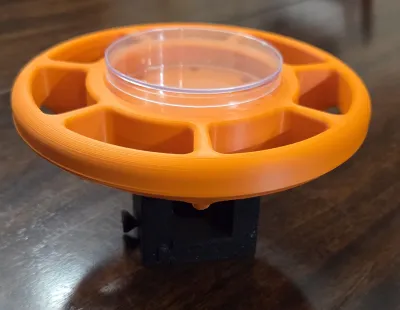
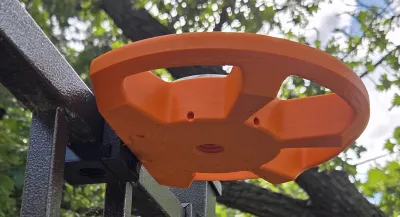
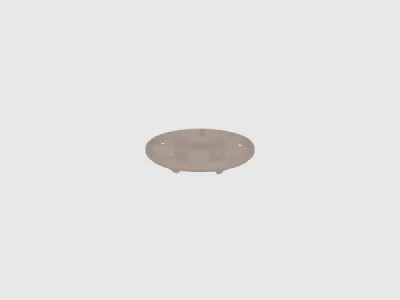
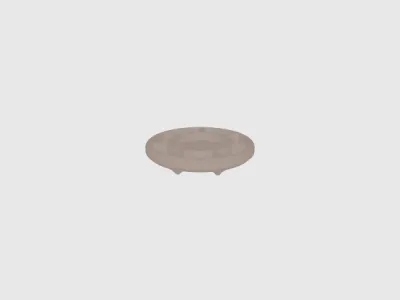
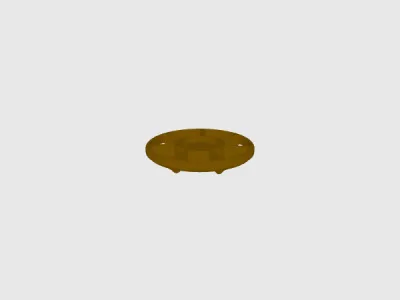
There are two main versions of the feeder. One has perches around the full perimeter and screws to the top of the brackets. The other one screws to the side and needs to be secured with a special dovetailed key that fits tight and keeps any fat or fighting birds from tipping and unthreading the feeder. This version was created to keep the entire feeder outside of the deck area, so it won’t get bumped. There are also drainage holes inside the trays in case water gets under the cup.
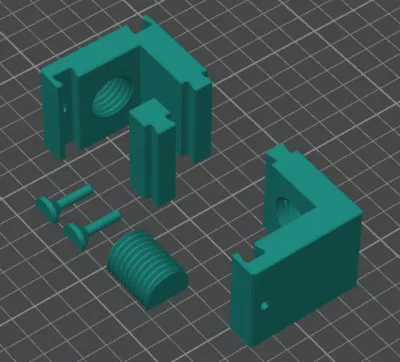
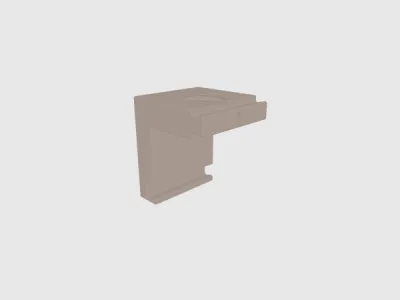
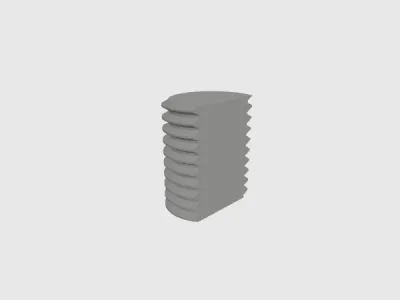
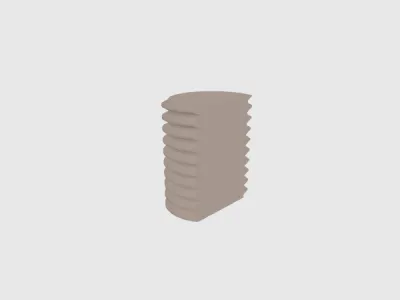
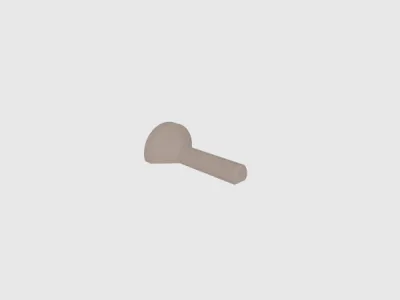
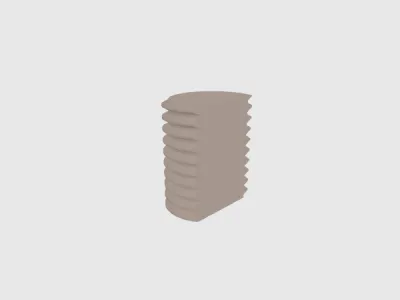
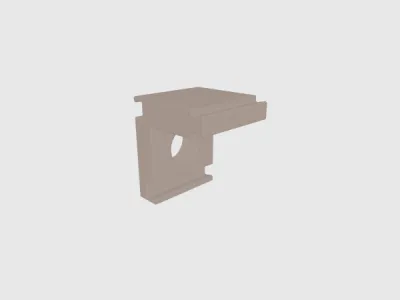
The clamping mechanism is comprised of multiple parts. There are two parts to the clamp which are mirror images of each other for the Top Mount feeder. The Side Mount feeder uses one of these brackets but uses a special Side Mount Bracket for the second half. Regardless of the version, the width of both brackets used when placed side by side must be less than the baluster spacing in order to install them. The included versions comfortably fit between the 4” spacing of most balusters and attach to one another via dovetail slots. These are then secured with printed pins to lock them in place. Lastly, there is a threaded bolt to attach the feeder.
Installation of the Top Mount Feeder:
- Wrap two standard brackets around the top railing and slide to lock them together. Ensure the bolt hole is facing up.
- Insert the bolt and tighten fully against the railing to secure the mount in place.
- Thread the top mount feeder onto the bolt.
- Insert at least one pin to secure the two brackets together. Optionally, you can install a pin on each side.
Installation of the Side Mount Feeder:
- Wrap a side mount bracket and standard bracket around the top railing and slide together. Ensure the side mount bracket’s bolt hole is facing away from the deck.
- Insert the bolt and tighten fully against the railing to secure the mount in place.
- Thread the side mount feeder onto the bolt ensuring the tray is facing up and is level.
- Insert the pin below the feeder to secure the two brackets together.
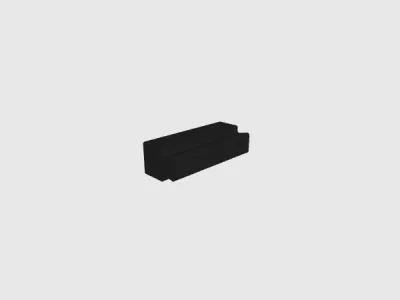
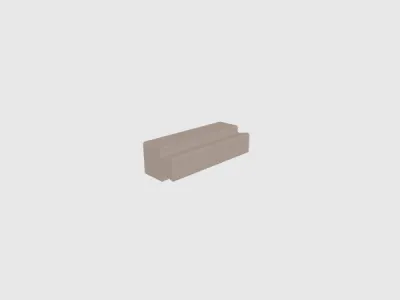
- Insert the sliding key along the top to keep the feeder in place.
You can design your own base to mount to any surface then attach the feeder as long as there is a M20x2.5 threaded hole in the new mounting mechanism.
The current design uses plastic cups I found at Oriental Trading:
These measure approximately 2-3/4” in diameter and come with lids for storing in the fridge. I also modeled a cup and lid, so you can adjust the parameters to match the container you use.
Printing:
I recommend printing these in ASA or something similar for outdoor use. I printed the feeder in orange to attract orioles and the clamps in black to blend in with the railing. Only the feeder requires supports, but they may not be necessary. However, they don’t add much plastic or time and ensure a cleaner underside.
The pin and bolt have flat sides to print them horizontally for strength and will not need supports. The key for the side mount bracket works best printed vertically as shown.
Originality of the Model
The author declares that this work is their personally original model
This model is licensed under the following terms:
Credit must be given to the creator
Only noncommercial uses of the work are permitted
Models(24)
 Bracket-Top Mount (x2).stepDesigner
290.62 KB

2025-12-12
 Bracket-Top Mount (x2).stlDesigner
343.05 KB
2025-12-12
 Feeder - Top - 40mm Perch Offset.stlDesigner
1.04 MB
2025-12-12
 Feeder - Top Small.stlDesigner
1.07 MB
2025-12-12
 Feeder-Top Mount.stepDesigner
744.97 KB
2025-12-12
 Bracket-Bolt.stepDesigner
307.29 KB
2025-12-12
 Bracket-Bolt.stlDesigner
272.35 KB
2025-12-12
 Bracket-Pin (x2) (can scale to 99.5 pct).stlDesigner
32.11 KB
2025-12-12
 Bracket-Pin (x2).stepDesigner
13.64 KB
2025-12-12
 Bracket-Bolt.stlDesigner
272.35 KB
2025-12-12
 Bracket-Pin.stepDesigner
13.64 KB
2025-12-12
 Bracket-Side Mount.stepDesigner
288.01 KB
2025-12-12
 Bracket-Side Mount.stlDesigner
533.77 KB
2025-12-12
 Bracket-Side Mount-DT Key.stepDesigner
57.53 KB
2025-12-12
 Bracket-Side Mount-DT Key.stlDesigner
35.82 KB
2025-12-12
 Bracket-Top Mount.stepDesigner
290.62 KB
2025-12-12
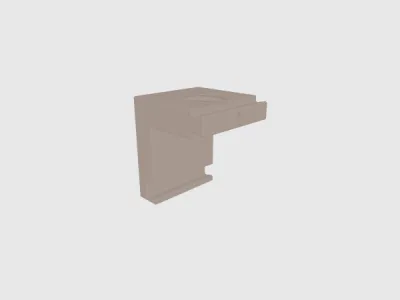 Bracket-Top Mount.stlDesigner
343.05 KB
2025-12-12
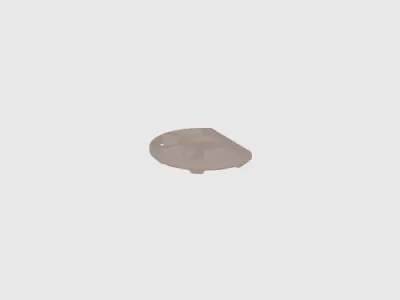 Feeder-Side Mount (40mm Perch offset).stlDesigner
913.36 KB
2025-12-12
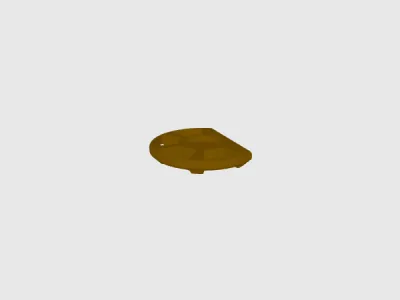 Feeder-Side Mount.stepDesigner
783.17 KB
2025-12-12
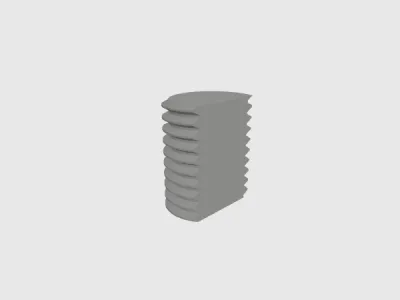 Bracket-Bolt.stepDesigner
307.29 KB
2025-12-12
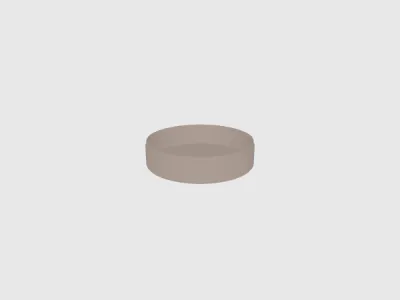 Cup.stlDesigner
432.21 KB
2025-12-12
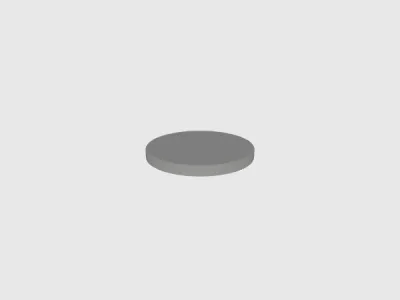 CupLid.stepDesigner
11.25 KB
2025-12-12
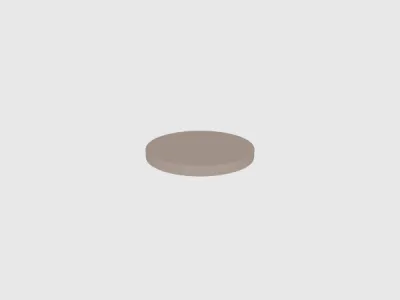 CupLid.stlDesigner
311.61 KB
2025-12-12
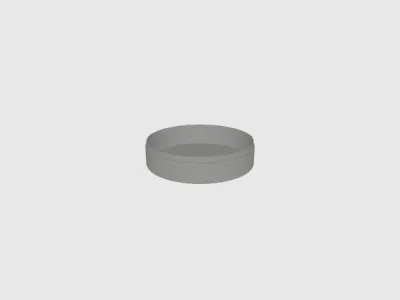 Cup.stepDesigner
14.50 KB
2025-12-12
View all(24)


