



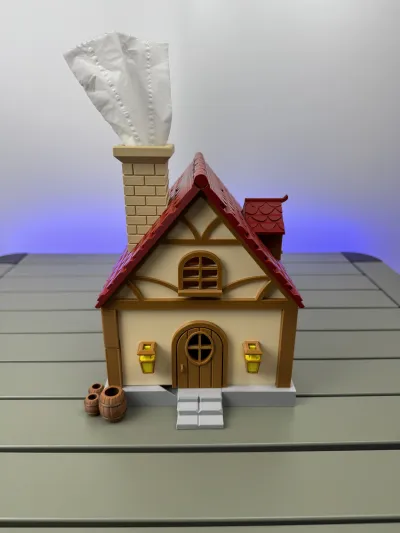


- 0.2 mm layer height, 2‑wall walls, 15% infill density

11-disc
PETG/PLA
Designer

38

5
Multifunctional Forest Cabin Tissue Box – Give Your Tissues a Home!
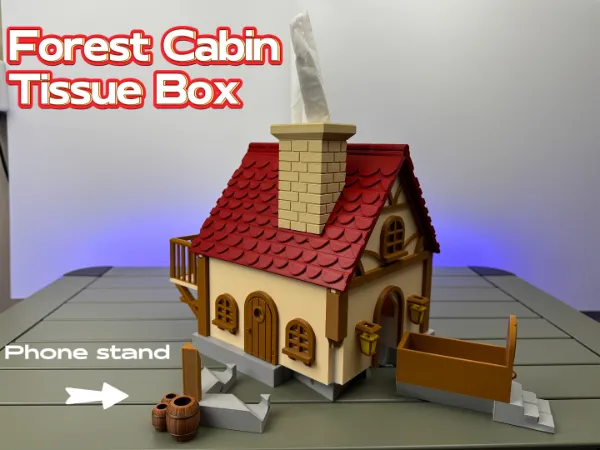
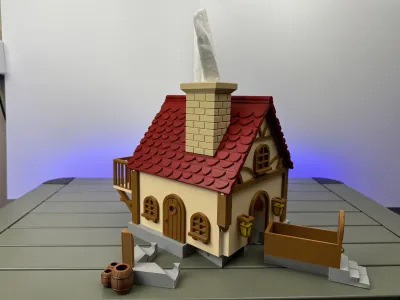
Not just a charming decoration for your desk, this forest cabin is also a practical organizer. It holds tissues, keeps your small essentials neatly stored, and even features a pull-out mini barrel that doubles as a phone stand!
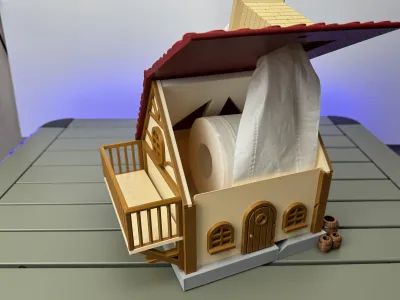
The tissue box fits standard-sized tissue rolls (approximately 10 cm in diameter).
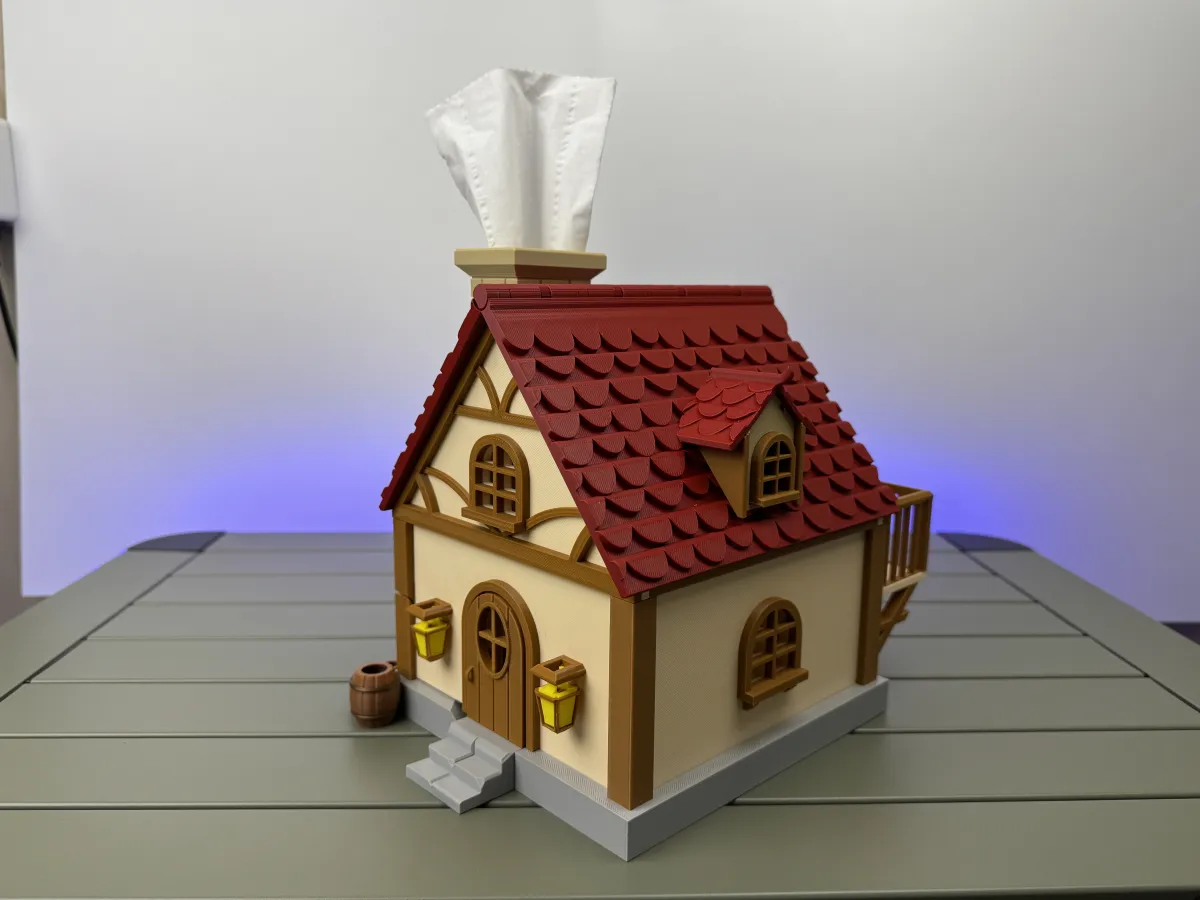
The tissue box is designed in the shape of a cozy forest cabin, with tissues cleverly emerging from the chimney—just like smoke! In addition to its basic function as a tissue holder, it features several thoughtful and playful storage solutions:
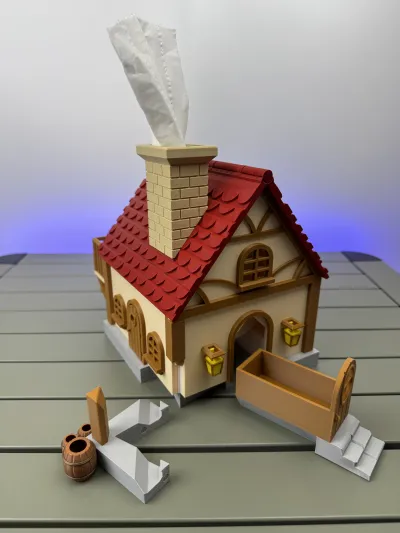
- Hidden Drawer Storage: The drawer is seamlessly integrated into the cabin door. Simply pull the little stone steps to open it, perfect for storing small everyday items.
- Balcony Basket Storage: A basket-style open space on the balcony allows you to store larger items on your desk, like snacks or candy.
- Corner Barrel Phone Stand: The phone stand is creatively built into the corner of the cabin. When not in use, it stays perfectly hidden and blends into the design.
To fully showcase the details of the cabin, we’ve used a variety of colors. At the same time, to reduce multi-color printing time, many parts have been separated and require assembly after printing.
🛠 Assembly Steps & Notes:
Base Section
The phone stand and door drawer are fixed using magnets (size D5×2mm). You will need a total of 12 magnets.
The barrel should be inserted from underneath the phone stand—press firmly to secure it. The barrel helps stabilize the stand.
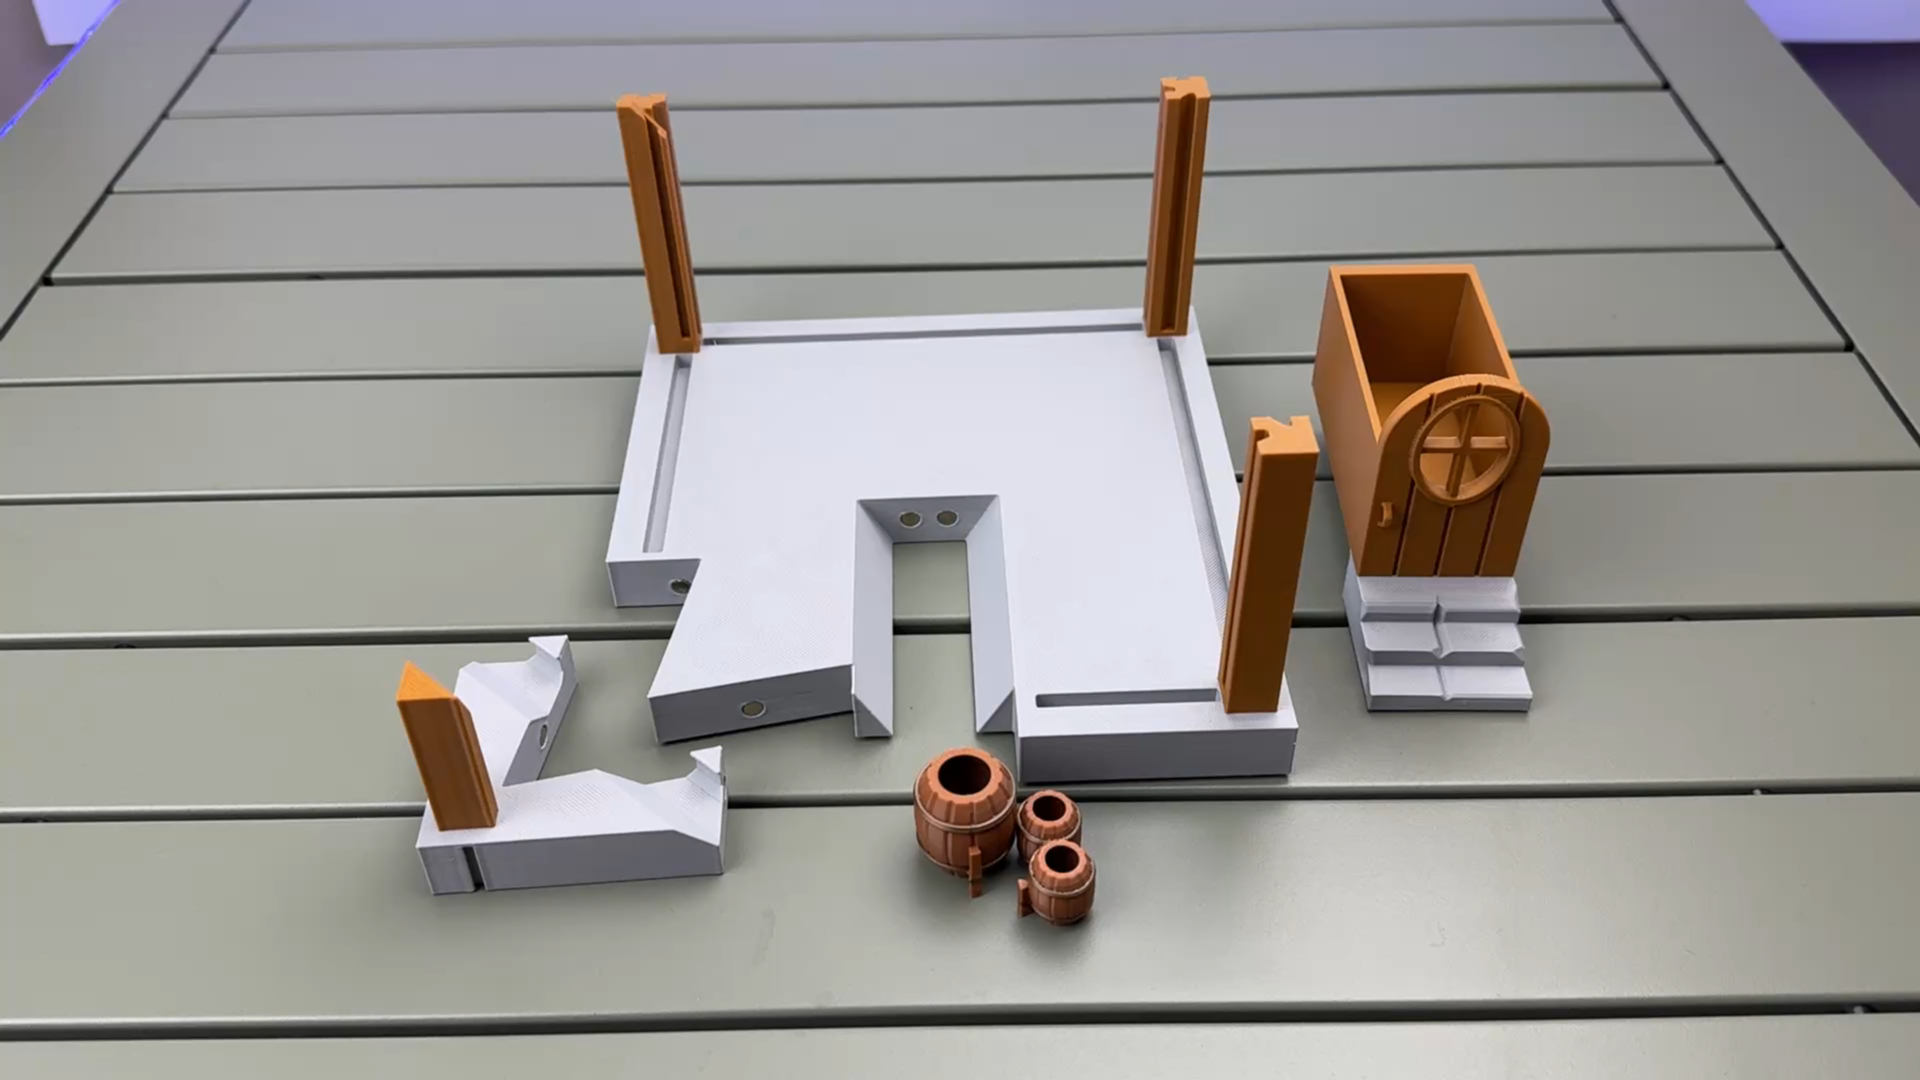
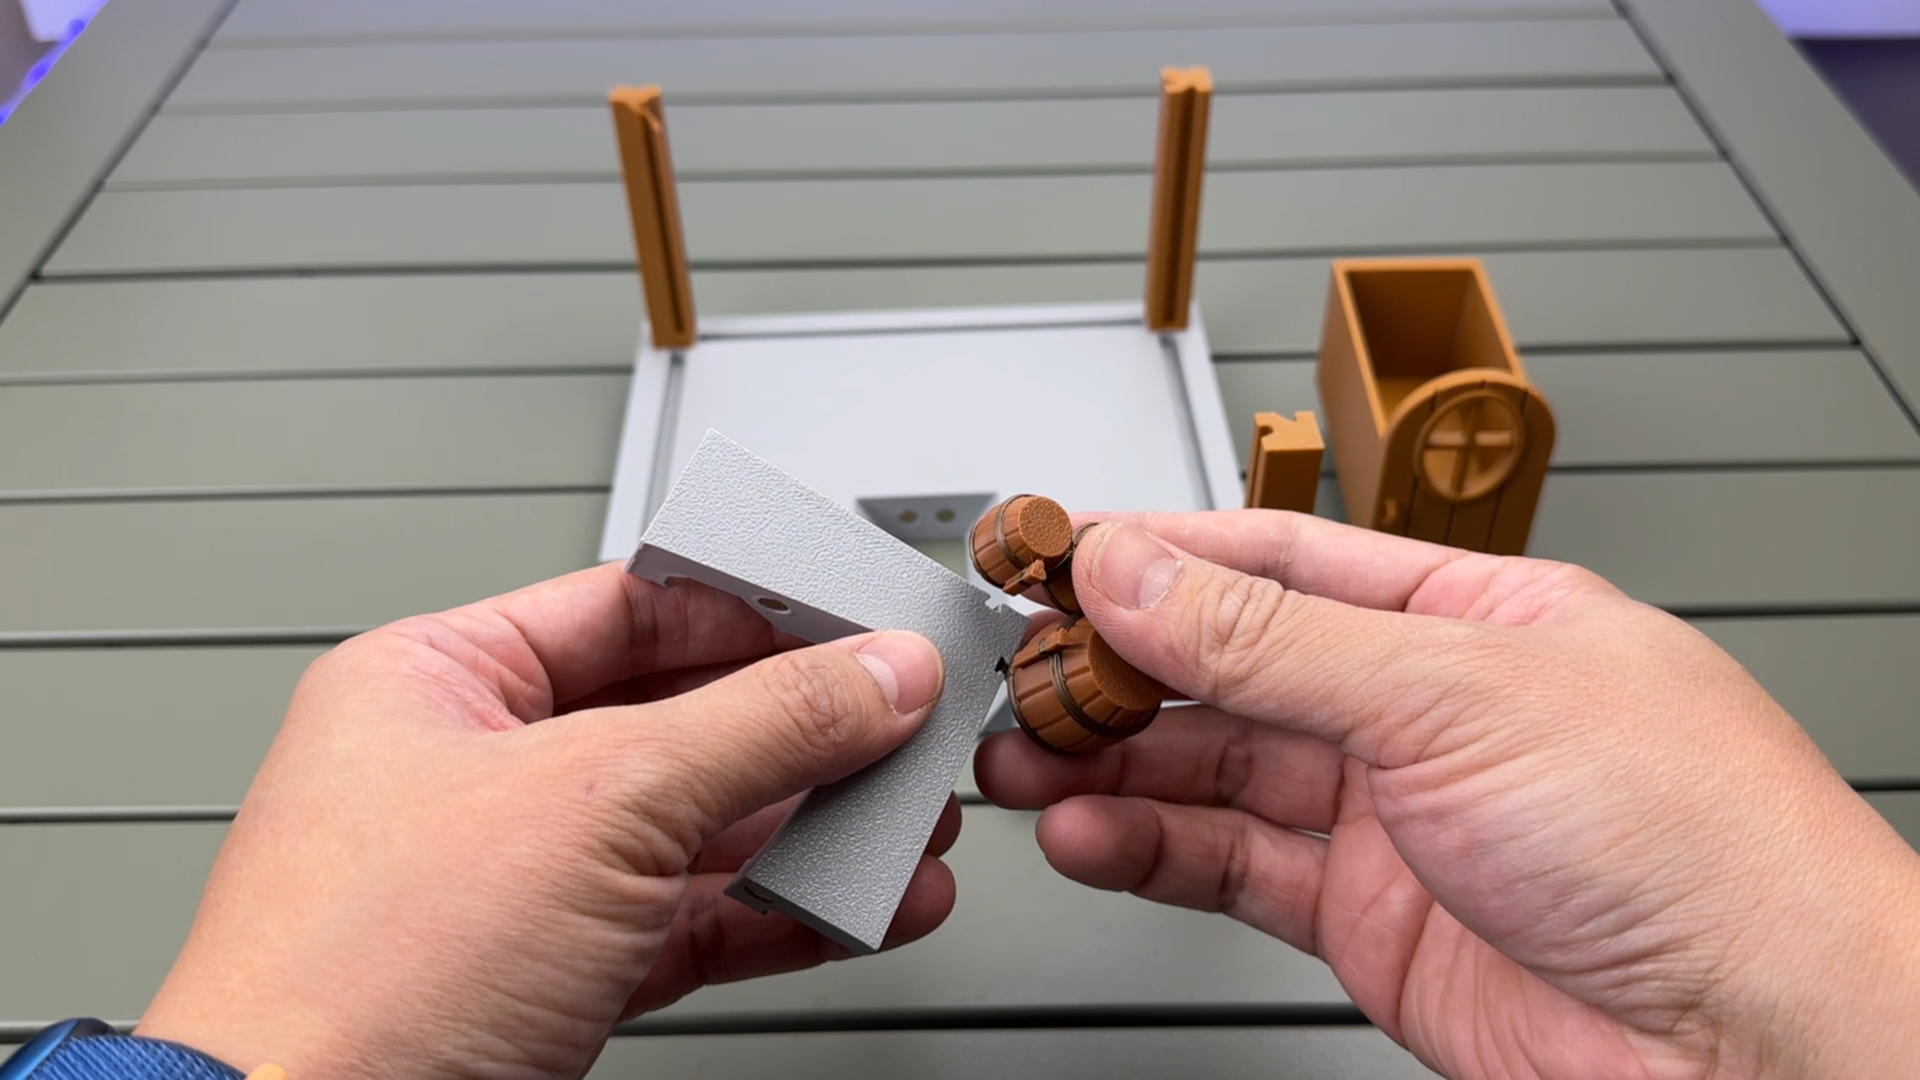
Wall Installation
Each wall has a specific position, so it’s unlikely to install them incorrectly.
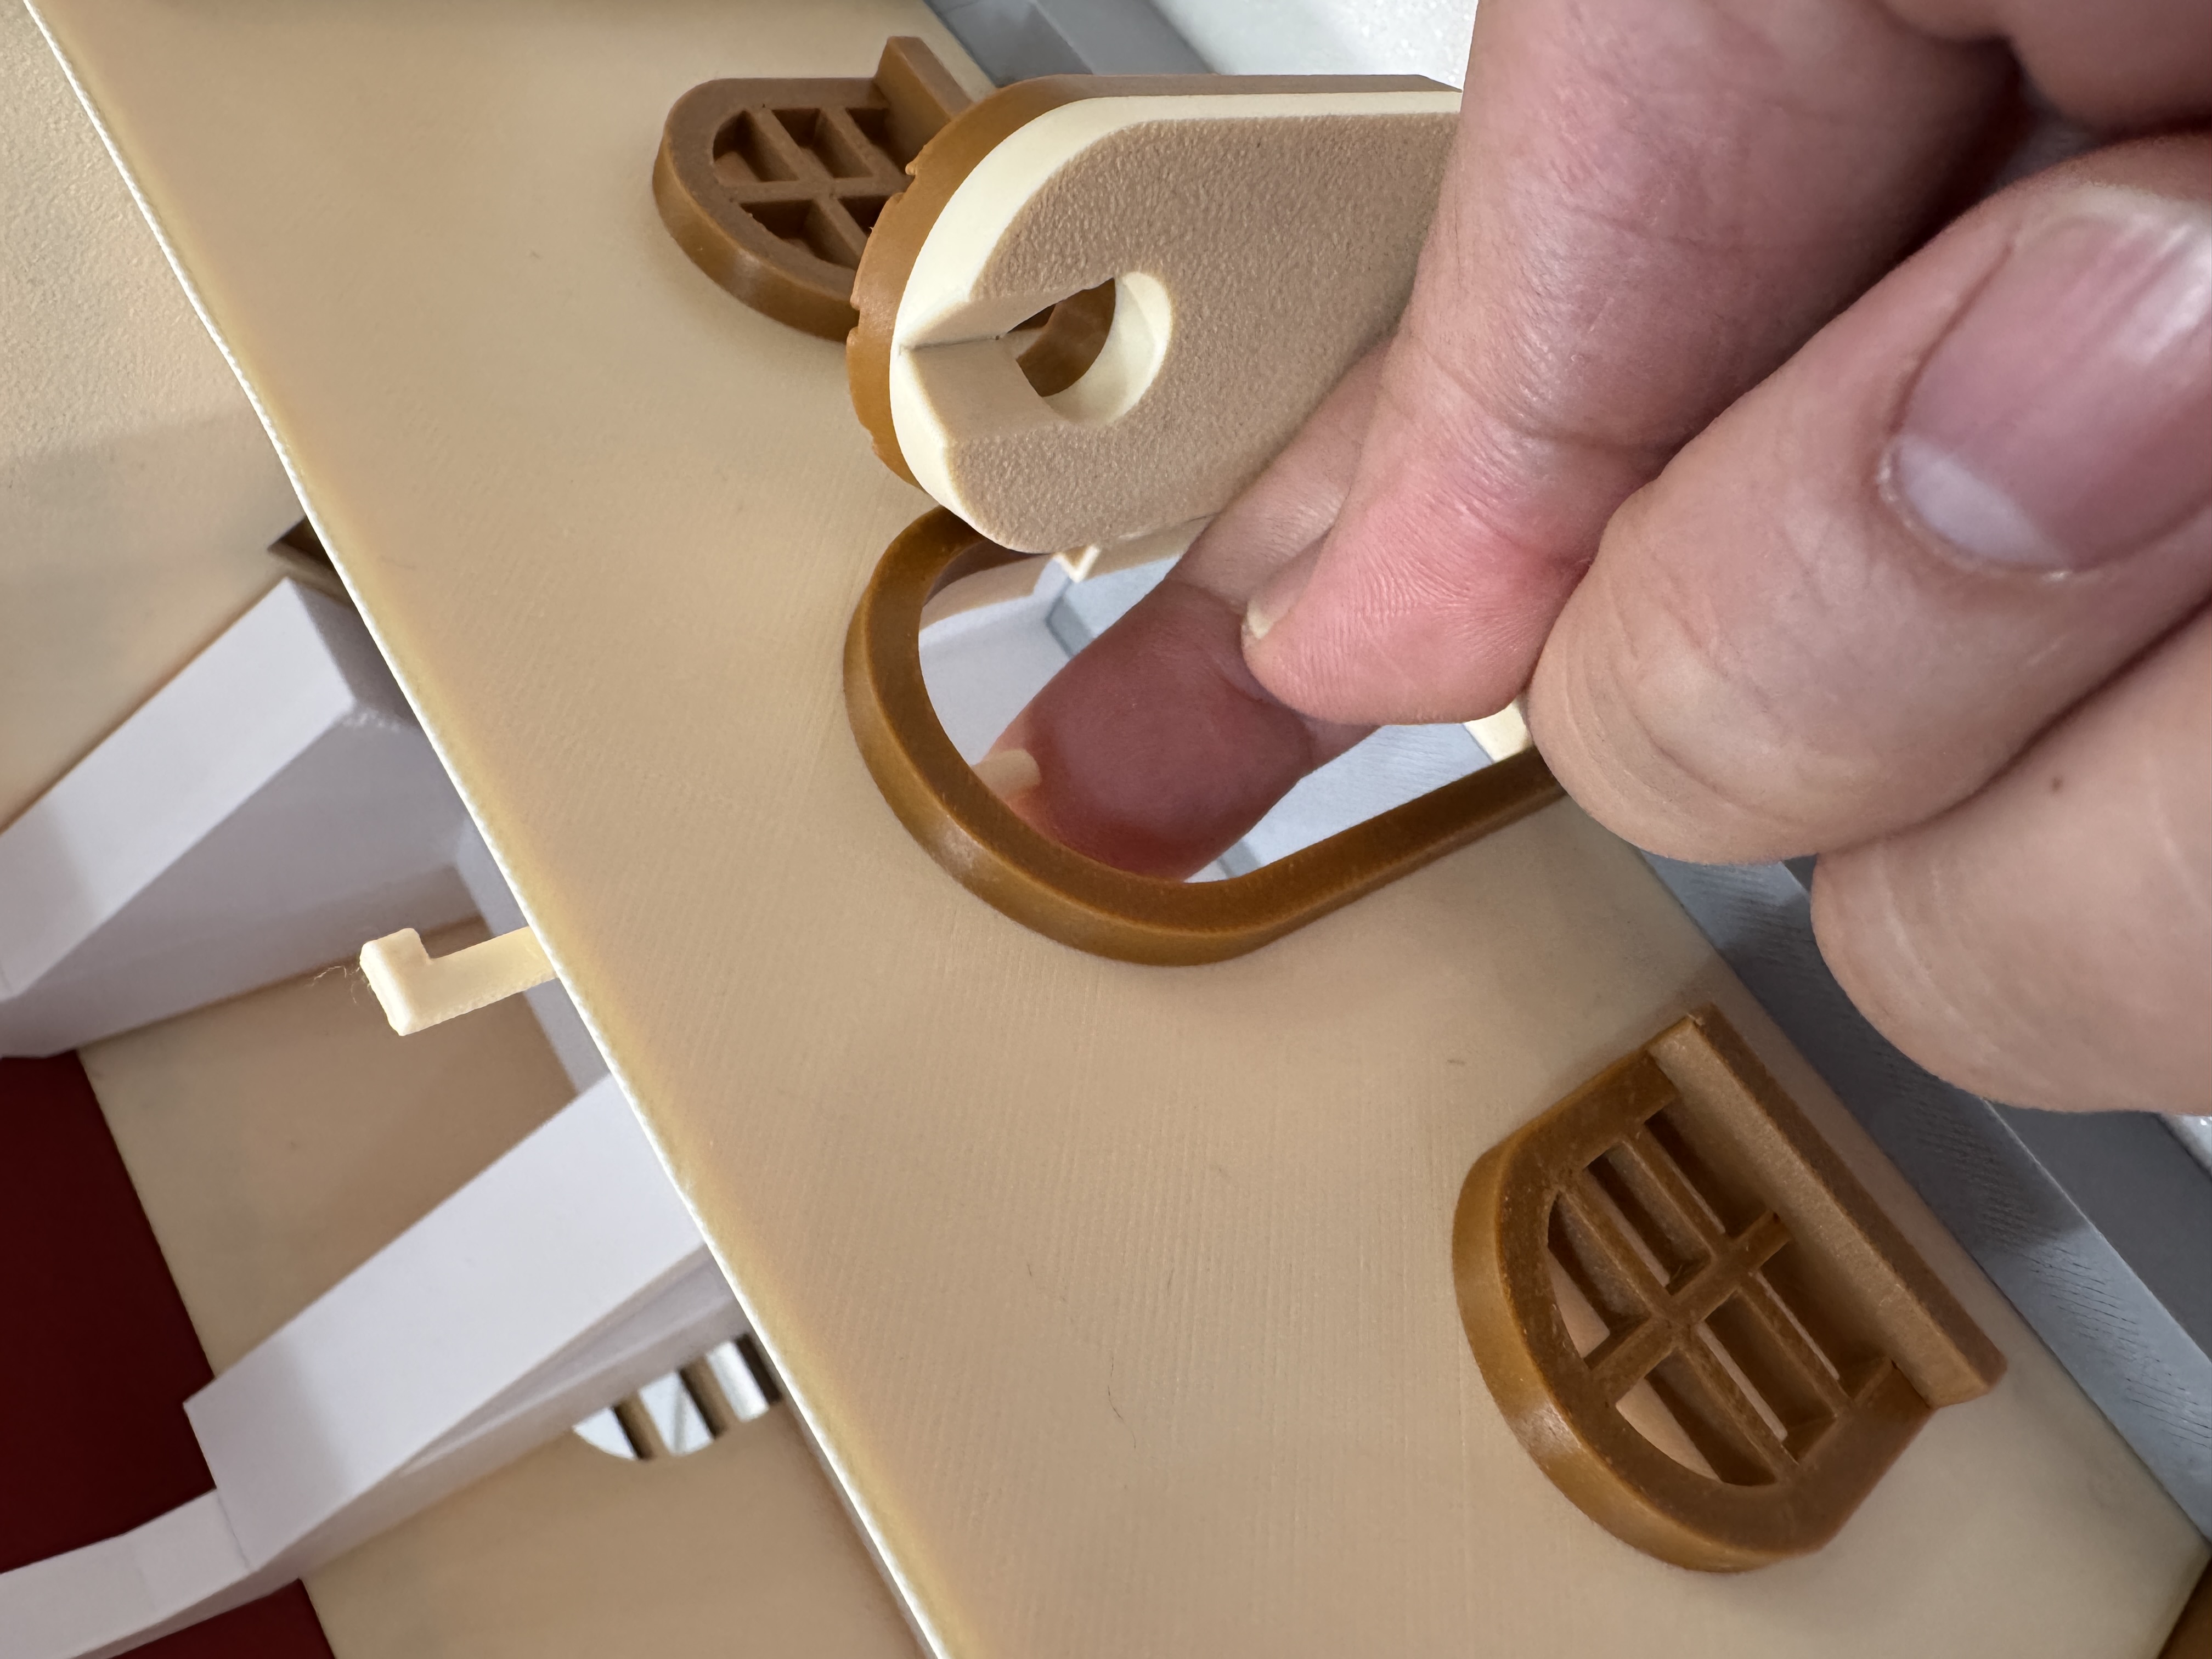
The wall with the movable door has a small protruding rod. After printing, it might be stiff; you can gently twist it using pliers if it doesn’t turn smoothly.
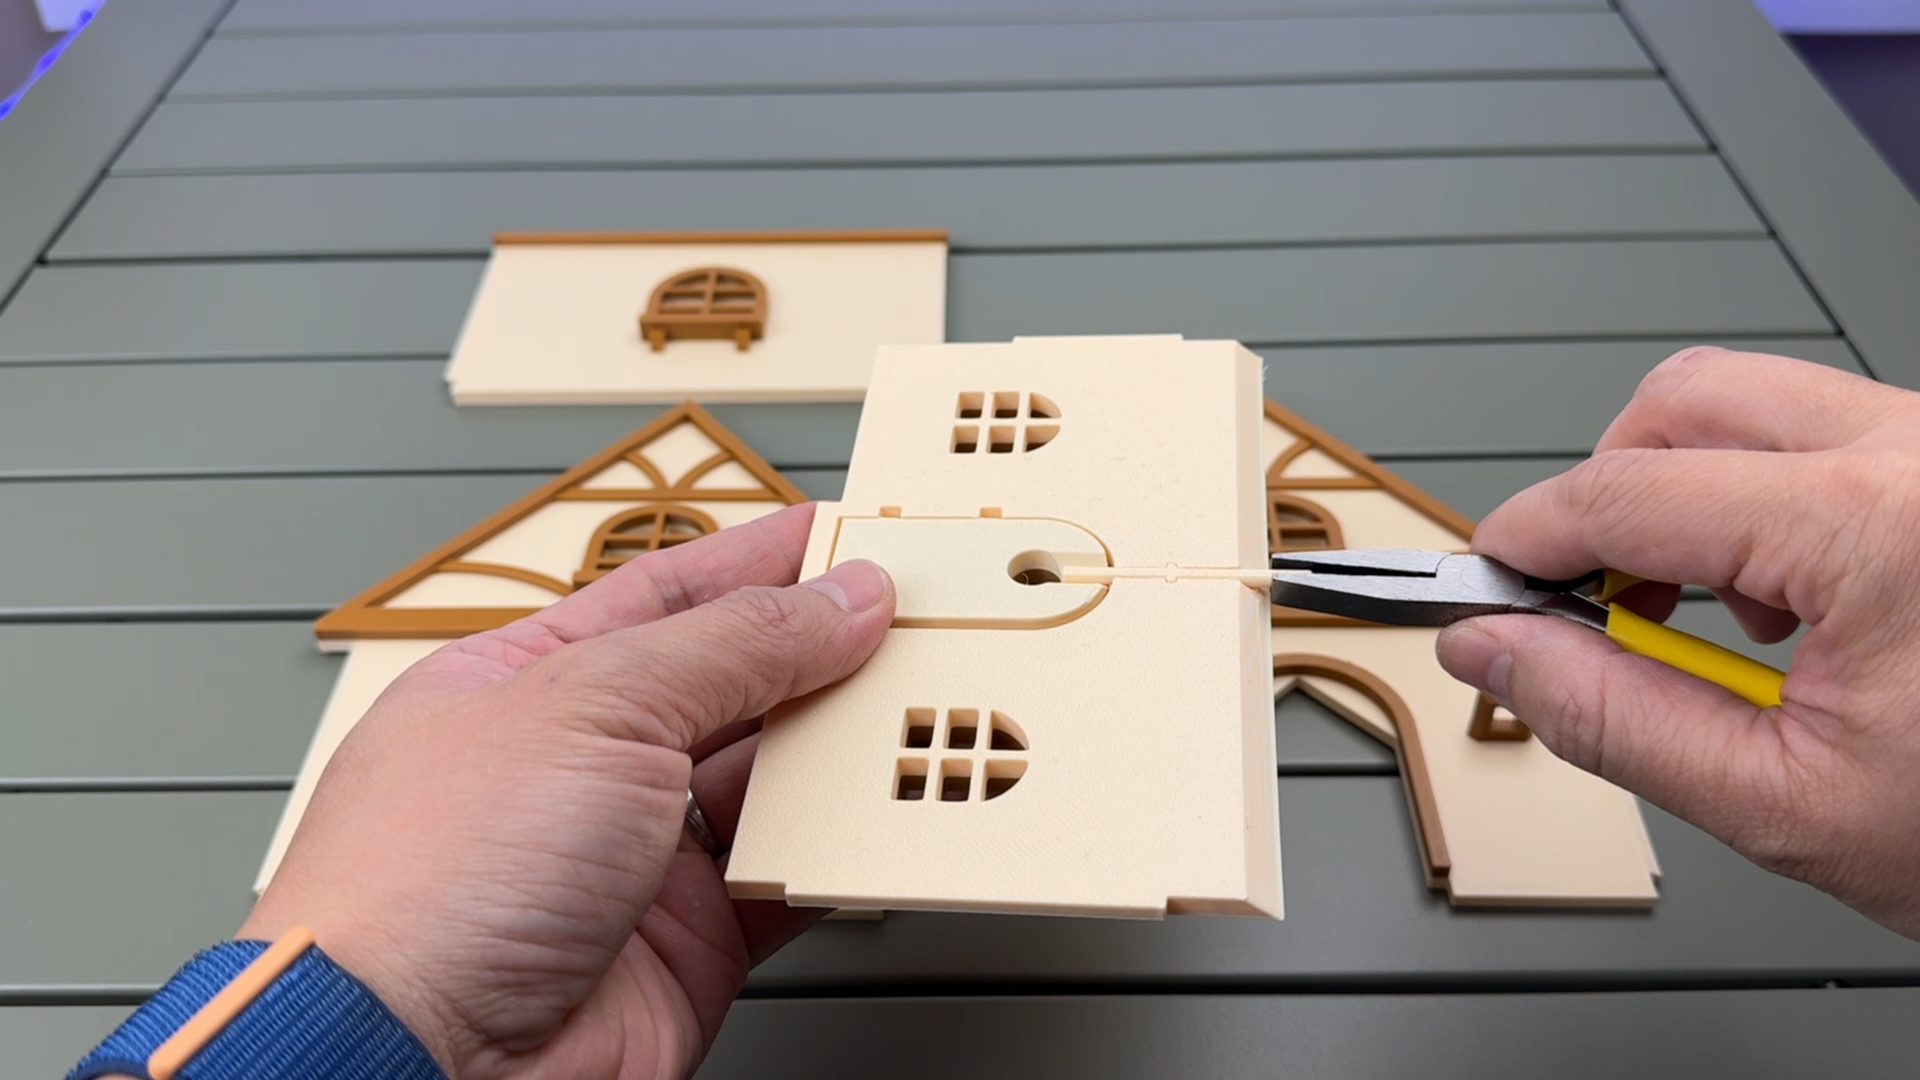
Drawer Wall – Light Installation
When installing the small lamp on the drawer wall, be mindful of the insertion direction. Do not force it in—it may break easily.
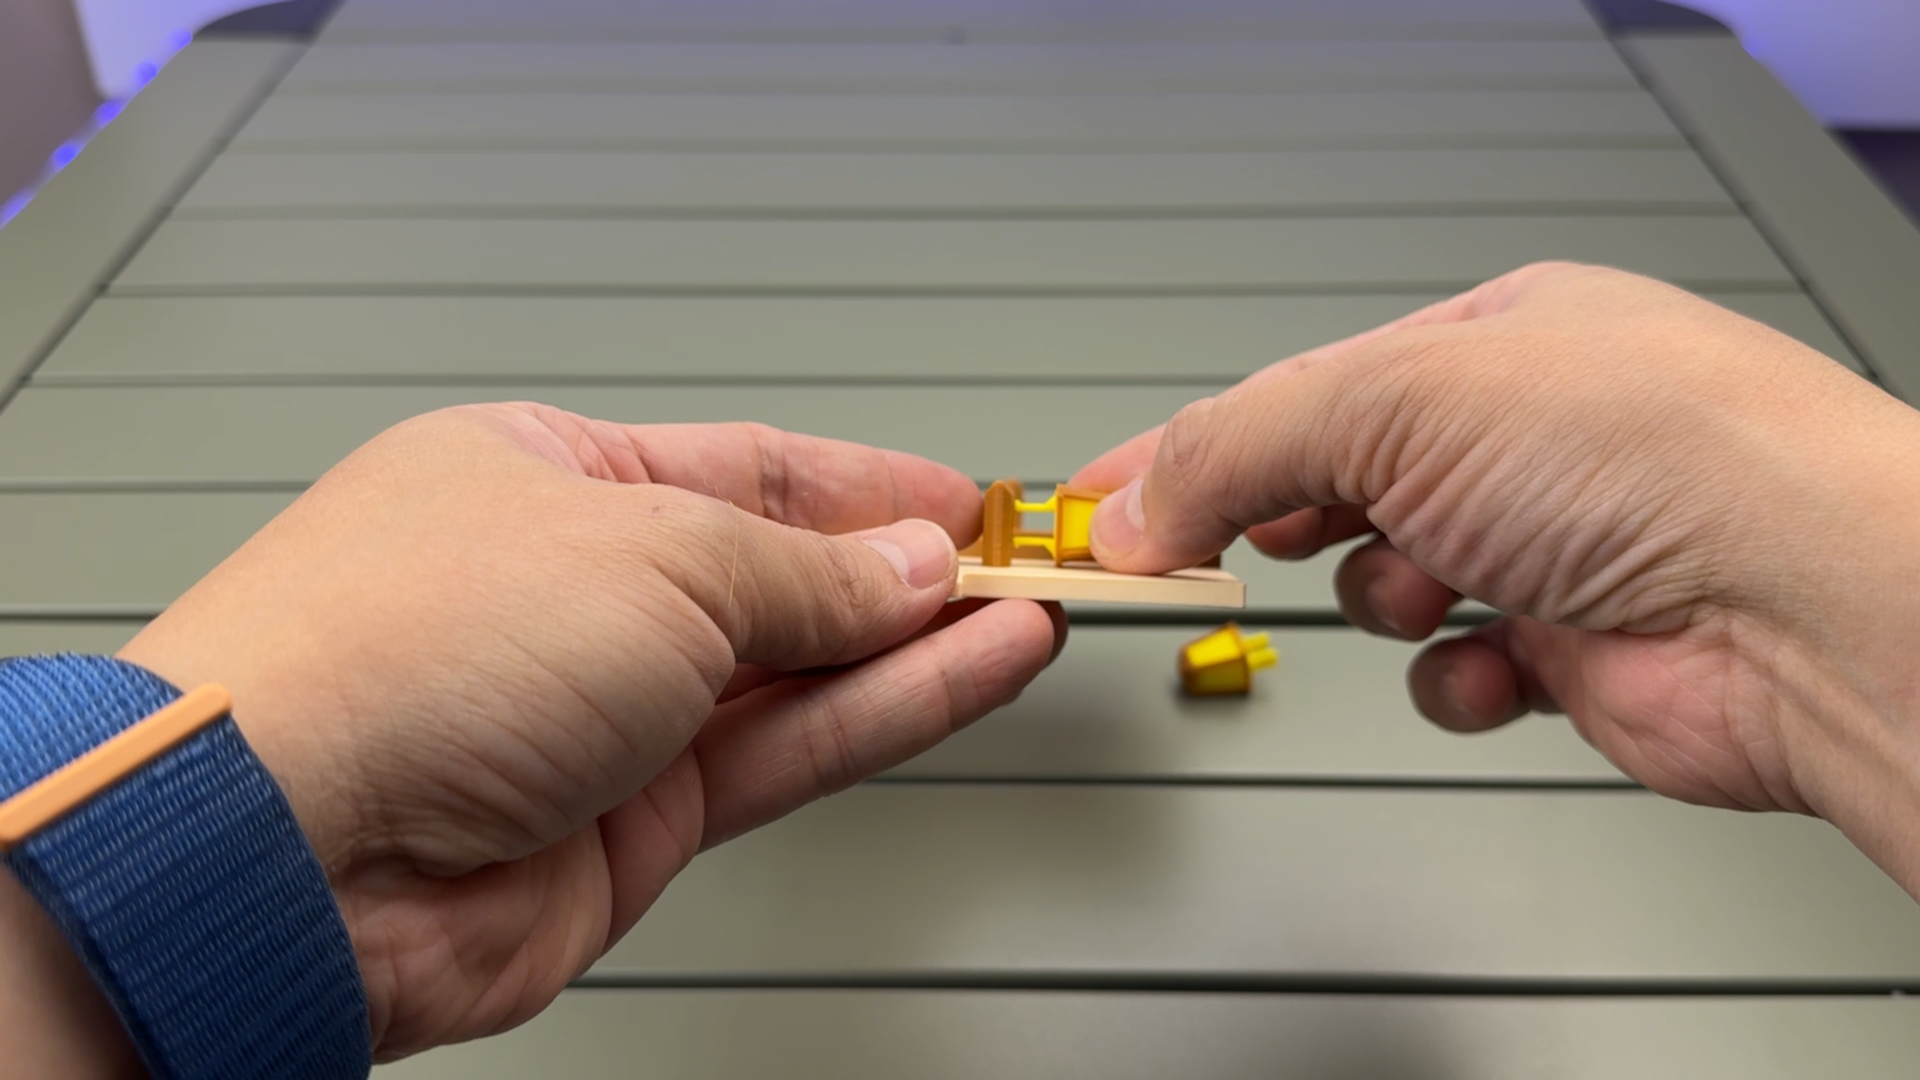
Install the Elevated Column First
Before installing the drawer wall, be sure to attach the elevated column first.
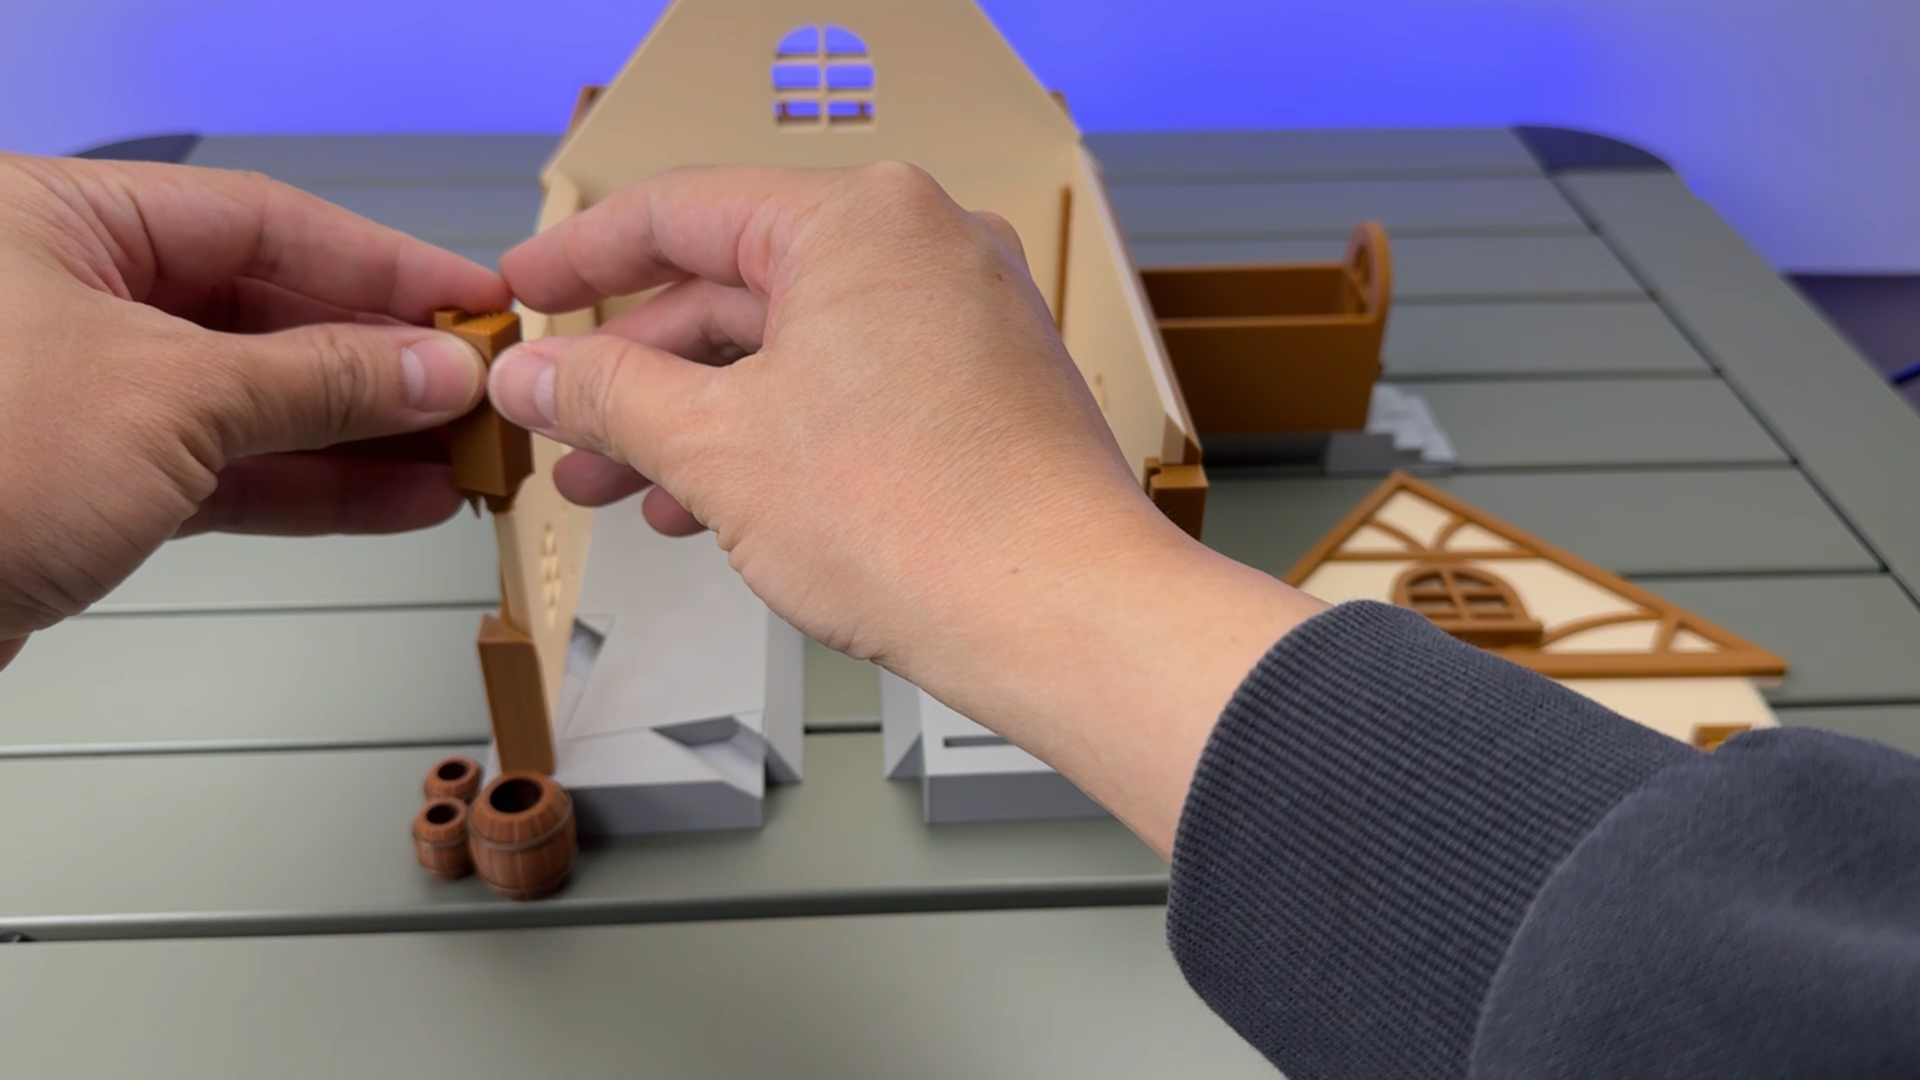
Balcony Wall Installation
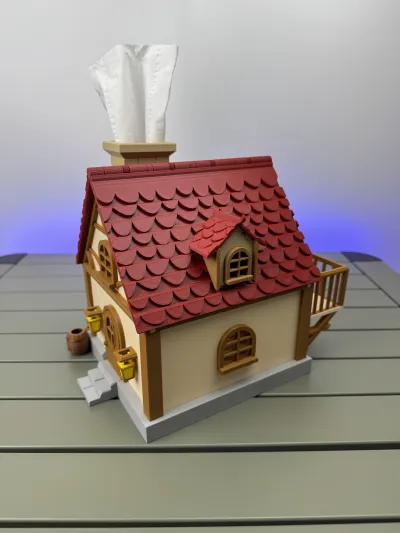
Attach the balcony piece first, then install the wall onto it.
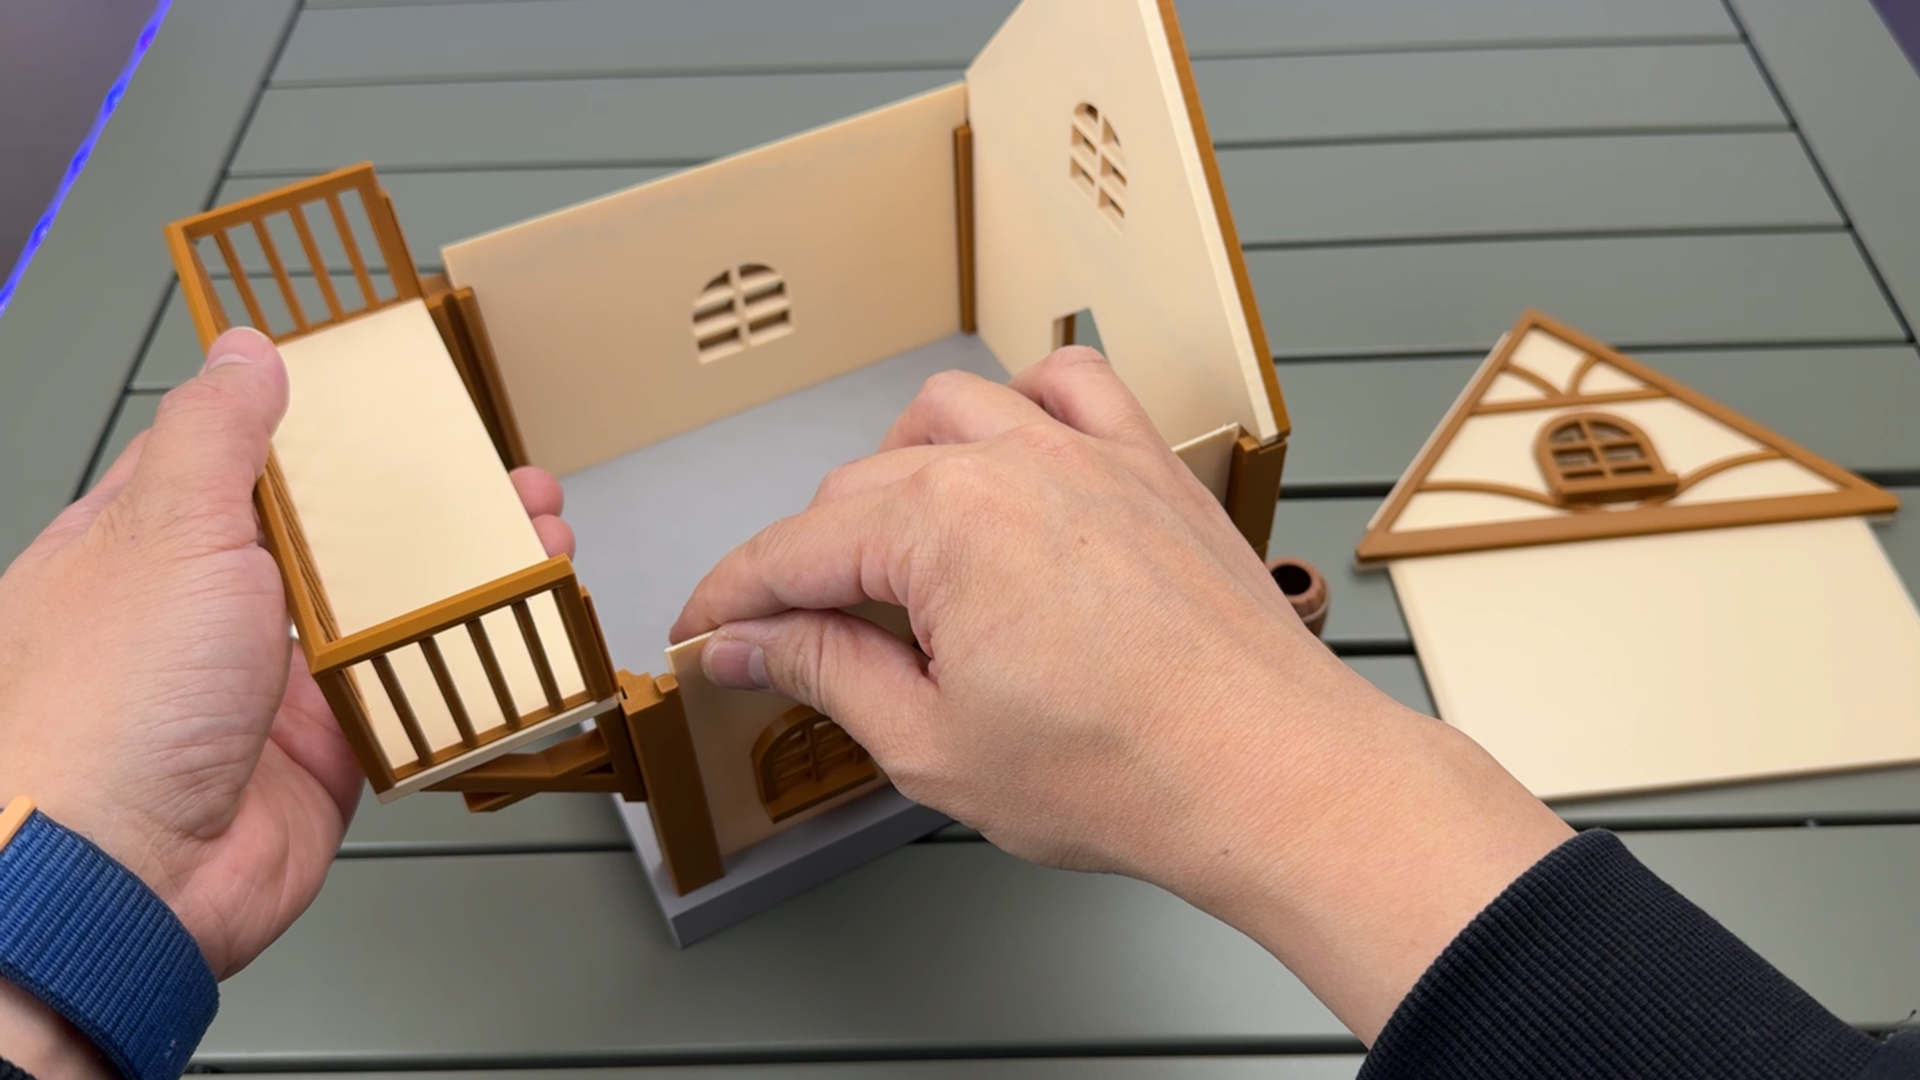
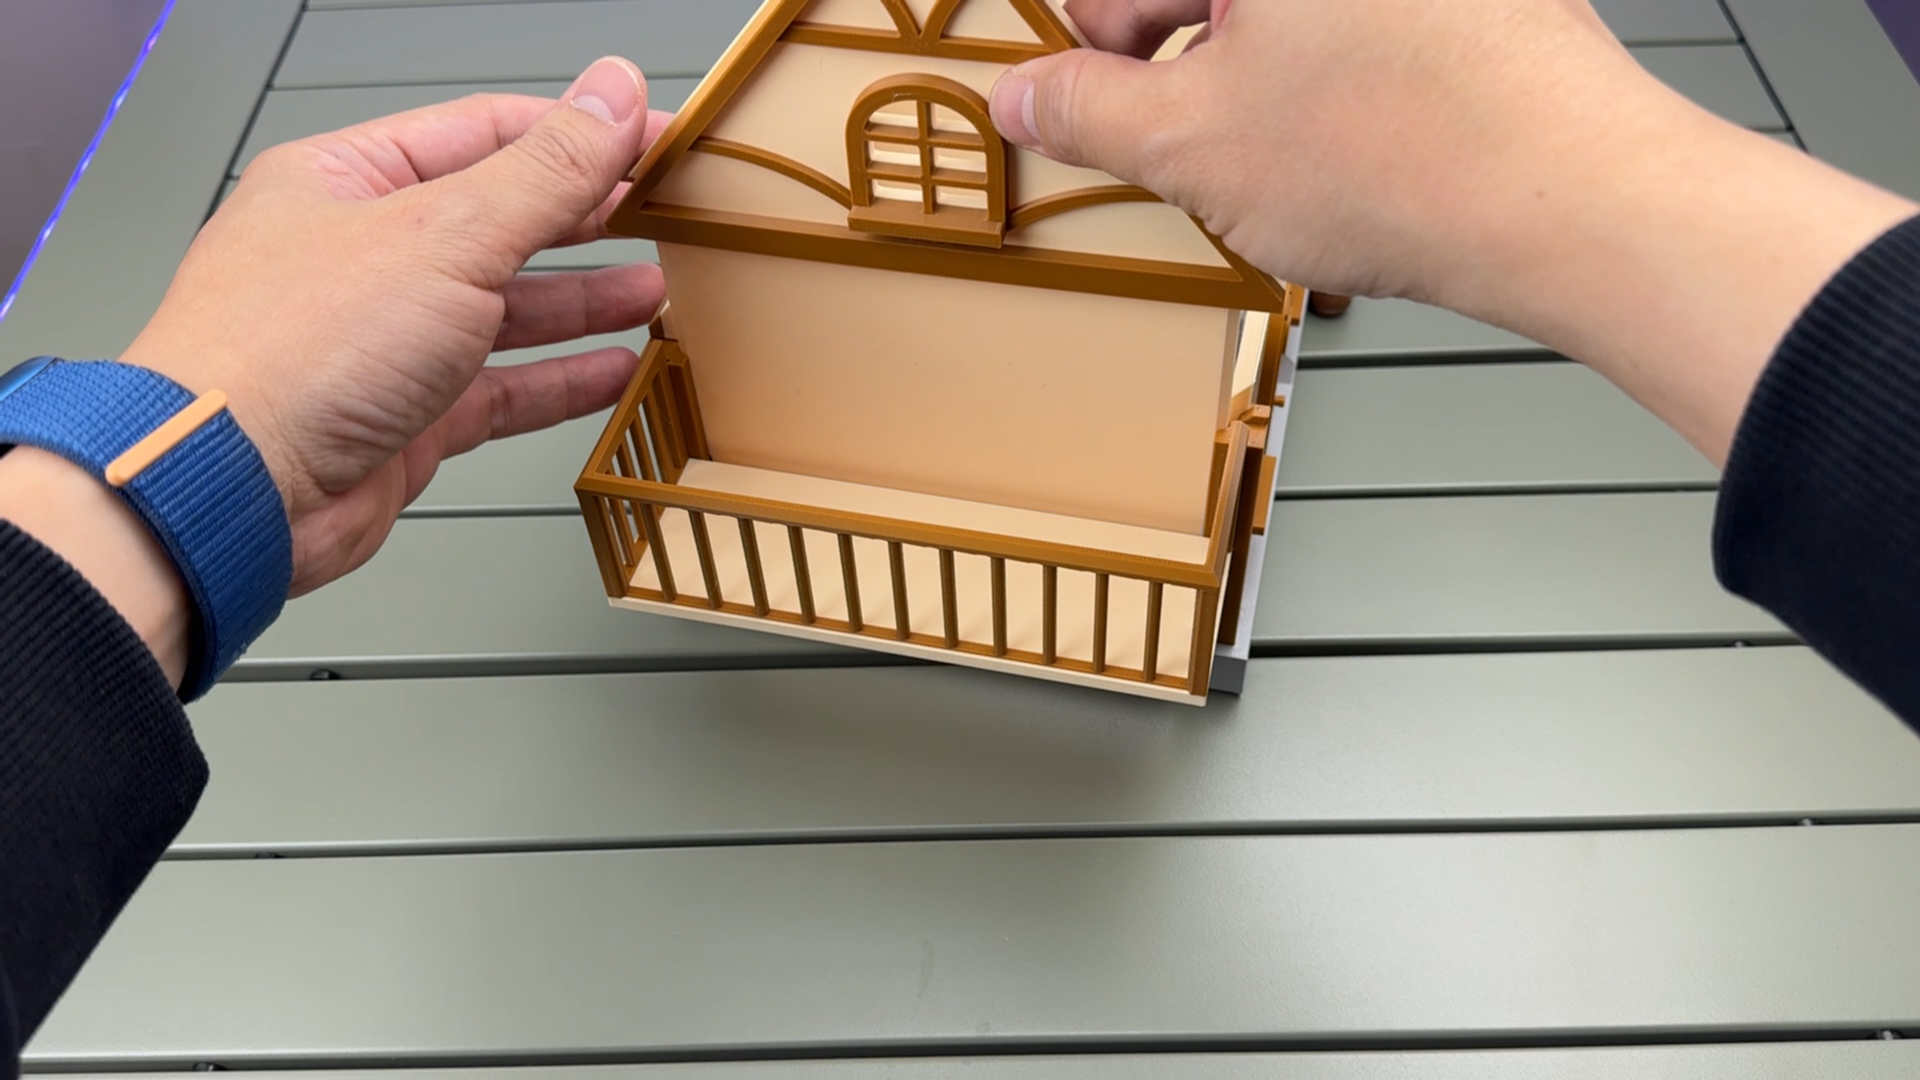
Roof Window Installation
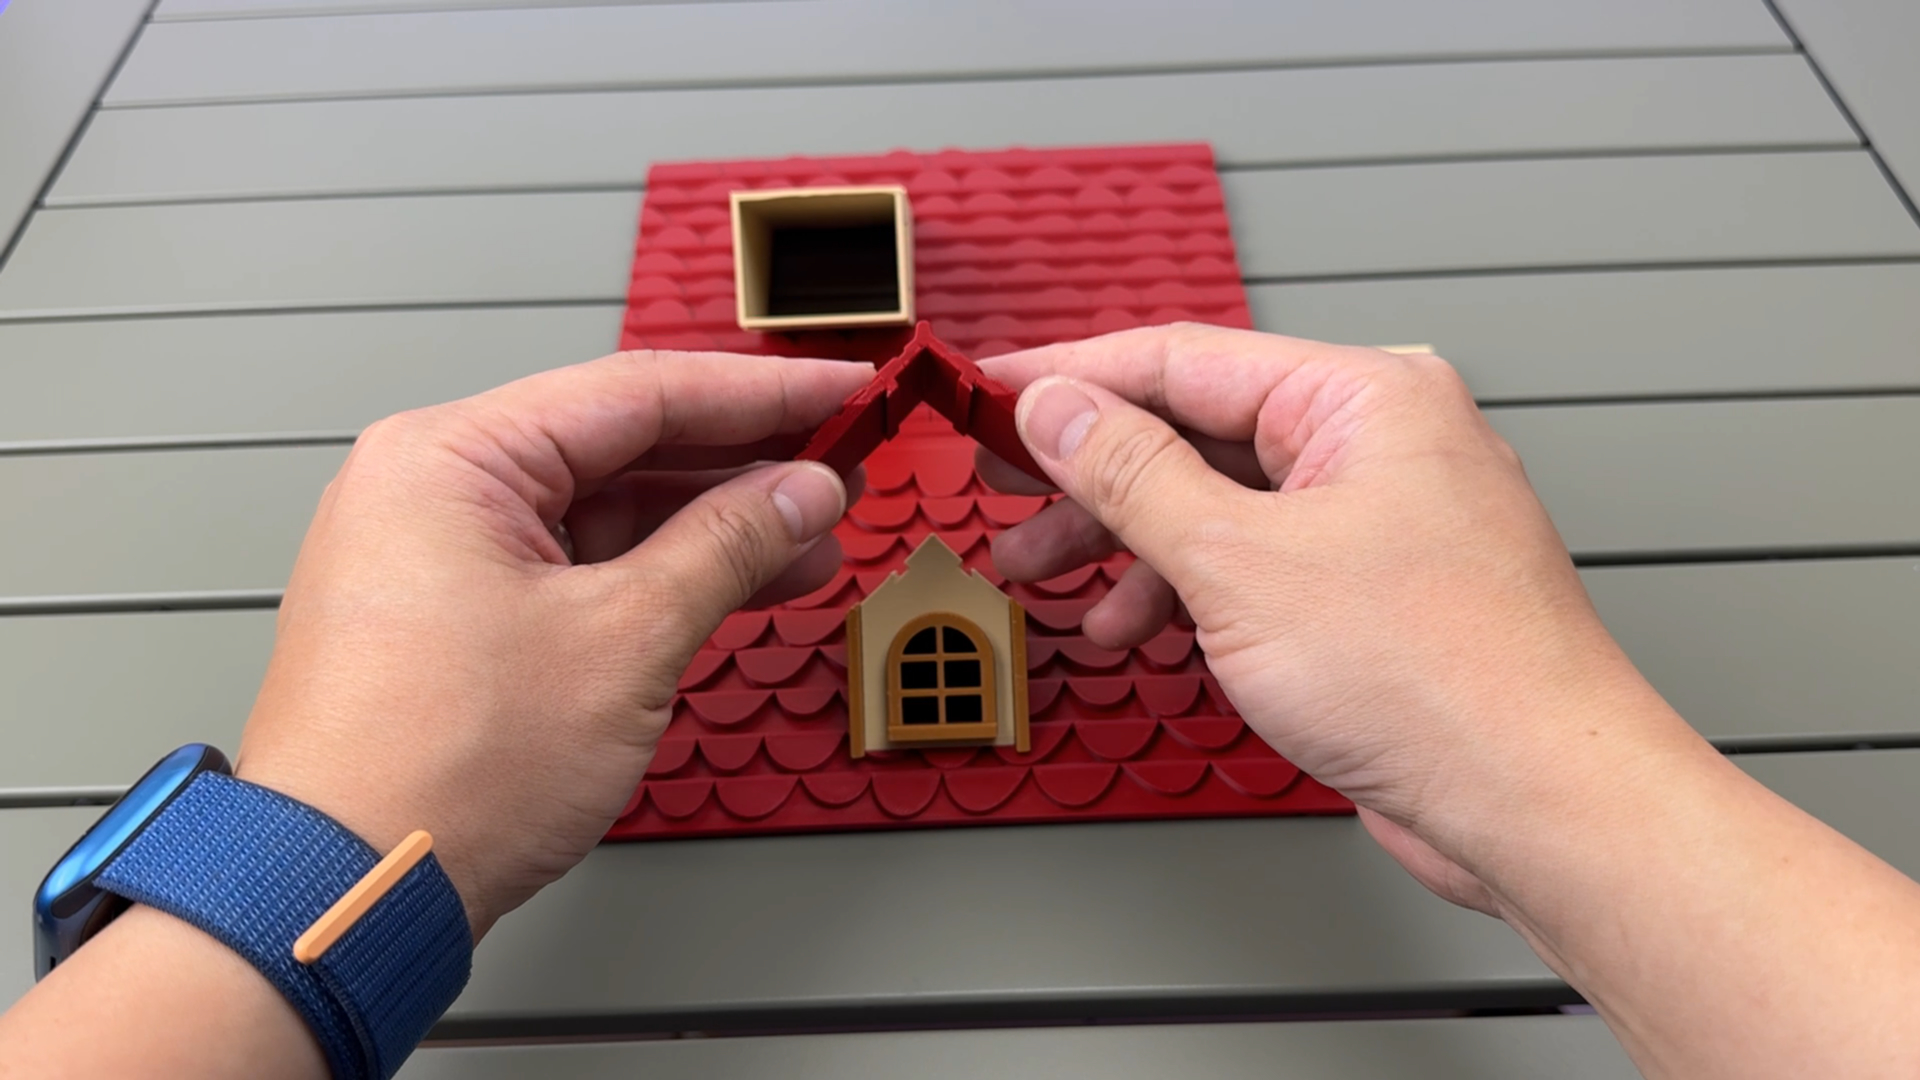
For the small roof window, install the two side wooden walls first, then place the small rooftop on top.
To lock the lid, open the door and rotate the inner rod clockwise.
Here is the full assembly video:
Originality of the Model
The author declares that this work is their personally original model
This model is licensed under the following terms:
Credit must be given to the creator
Models(1)
- Forest cabin tissue box.3mfDesigner

4.42 MB

2025-10-15


