




DIY charger
custom power supply
100W charging module
clamp mount
3D printed case
transparent PLA light guides
Quick Charge
Power Delivery
USB TypeC
modular charging station
SW3518

- 0.1mm layer, 4 walls, 65% infill

4-disc
PLA
Designer

68

6
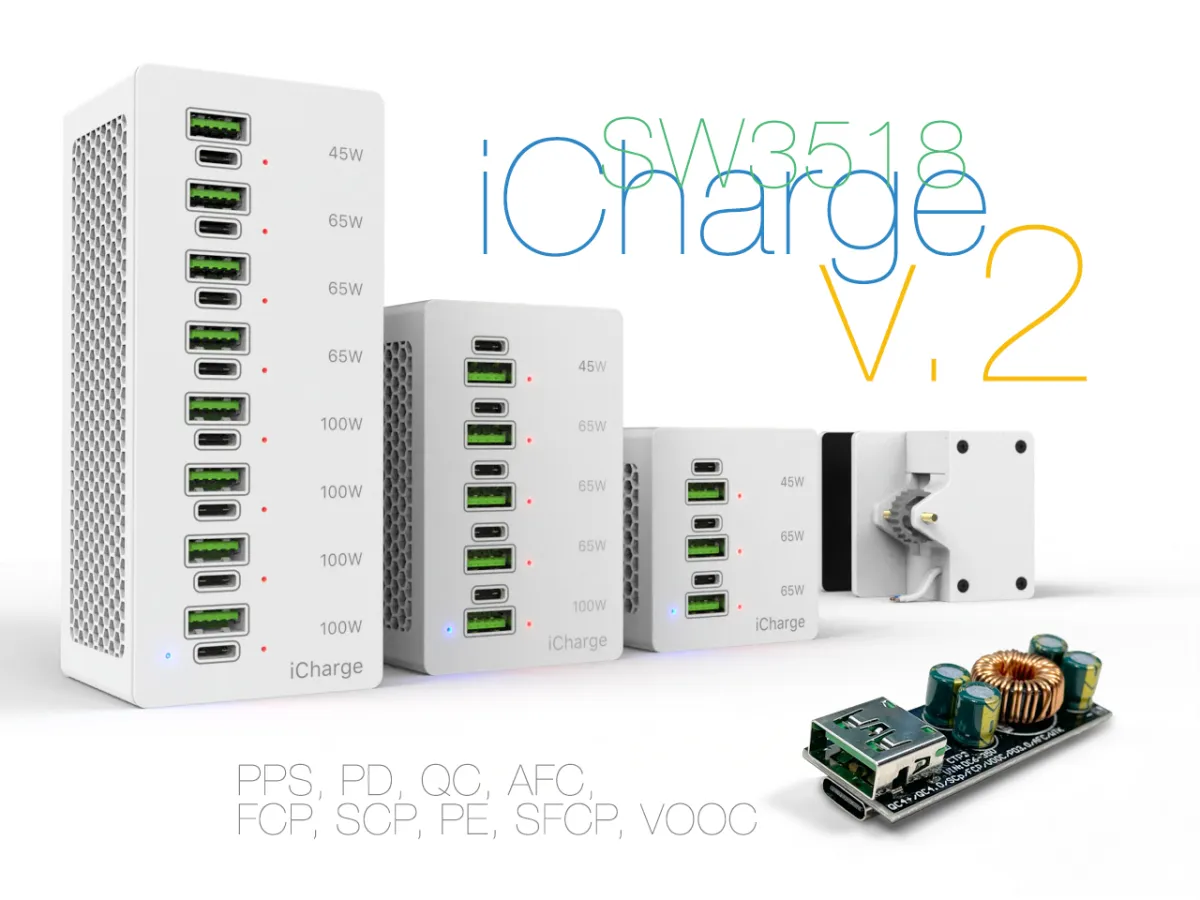
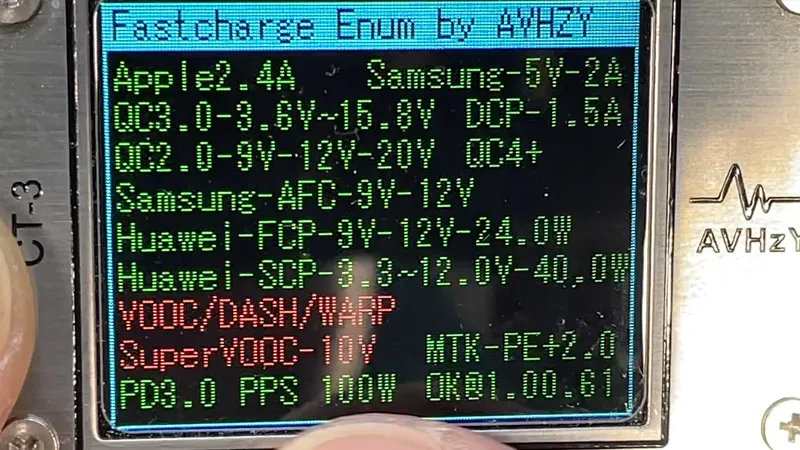
iCharge v.2 — Modular Charging Station Based on SW3518
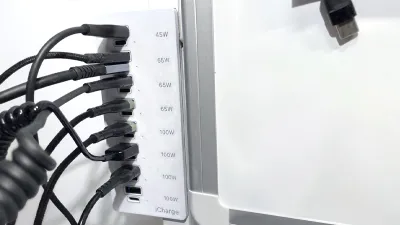
When I created the first version of the case for modular assembly using SW3518 modules, I thought five modules would be enough. Each of them has two ports — USB Type-A and USB Type-C. Ten ports should have been sufficient for all tasks. But practice showed otherwise: there are never enough ports. I constantly had to rearrange, unplug, or figure out where to plug in another cable. So, I decided to expand the project and build a more capacious unit. That’s how the second version — iCharge V2 — was born.
Refined Layout
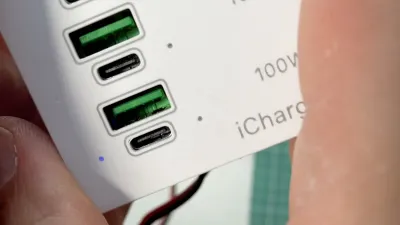
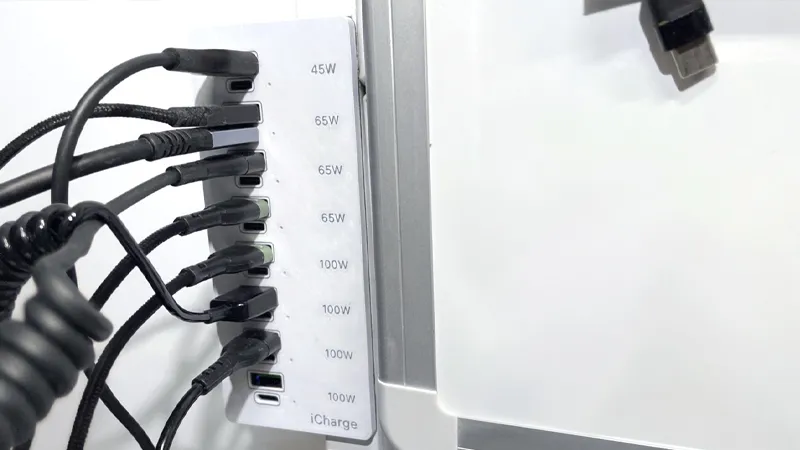
In the new case, I changed the orientation of the modules. Previously, USB Type-C was on top and Type-A below. Now it’s the opposite. In the first version, it seemed more logical to have USB-C on top. But real-world use proved that it’s more convenient to have Type-A above and Type-C below. A small detail, but it’s nuances like this that make a device truly practical.
Light Guides: From Fishing Line to Transparent PLA
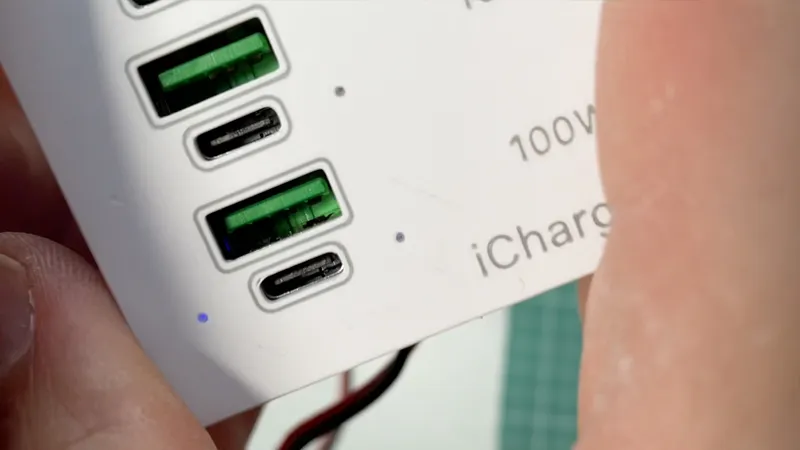
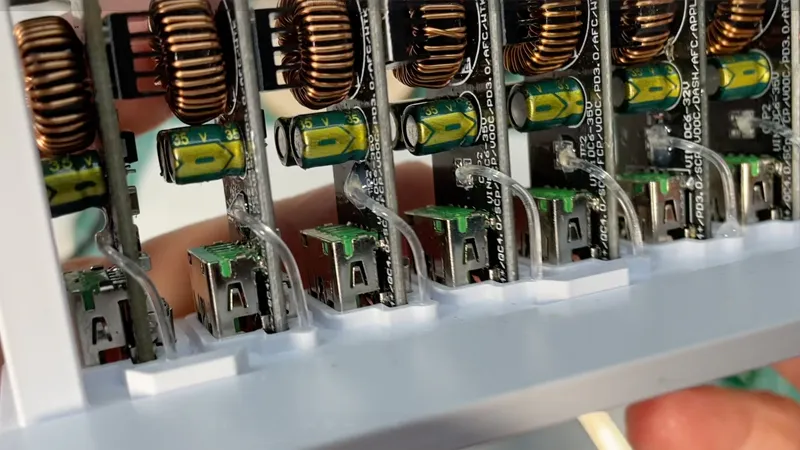
In the first version, I made the light guides out of fishing line: I drilled a through hole from the LED to the outside, inserted a piece of line, and then carefully trimmed it flush after assembly. It worked, but it didn’t look great. Now it’s different: I print the light guides directly from transparent PLA. The case has a blind mounting hole above the printed light guide — no extra steps required.
Important: for a clean result, use a 0.2 mm nozzle. Both the fonts and the light guides require high precision. You can try with a 0.4 mm nozzle, but I couldn’t achieve decent quality that way.
Modules and Power
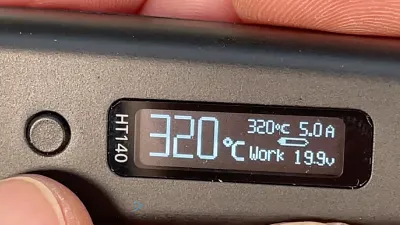
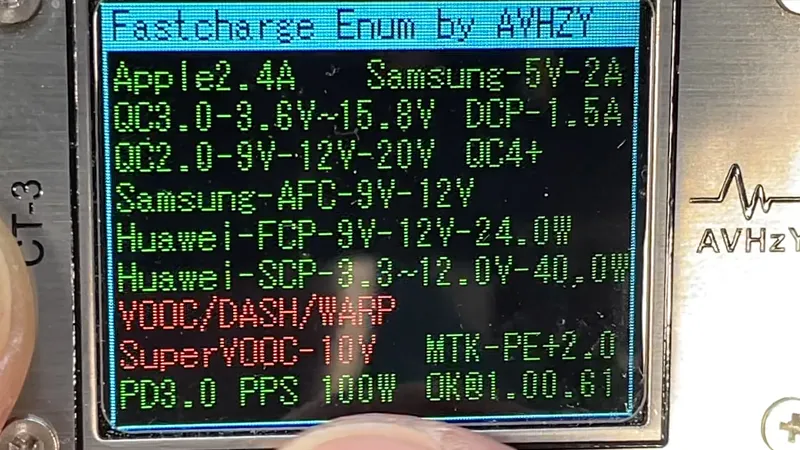
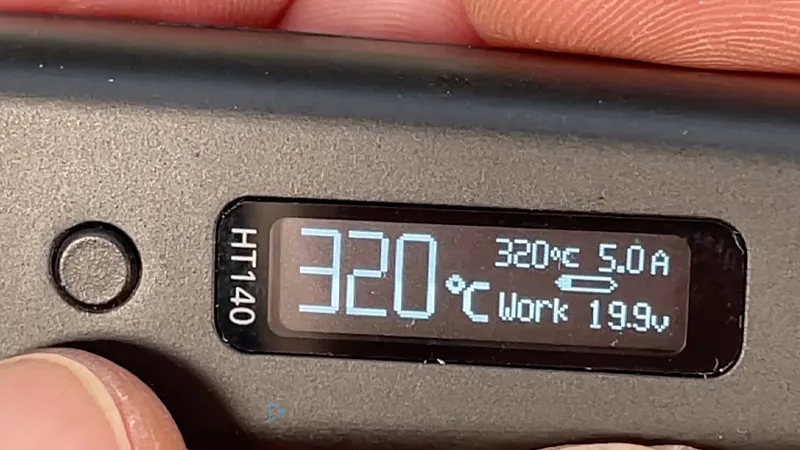
The block now includes more 100-watt modules. Yes, if you add up the rated power of all the ports, the number significantly exceeds the power of the supply I’m using. But that’s just theoretical math. In practice, it never happens that all ports run at maximum simultaneously. At most, I draw about 100 W for a soldering station — and even then, not with this unit, but with another setup using the same modules.
Still, the principle is clear: if you plan on heavy loads, your power supply must match. Otherwise, the unit easily handles real-world scenarios: smartphones, tablets, a laptop, and a few gadgets all charging in parallel without issue.
Case and Mounting
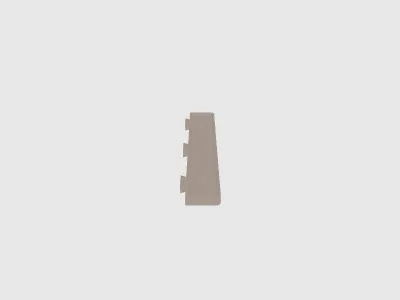
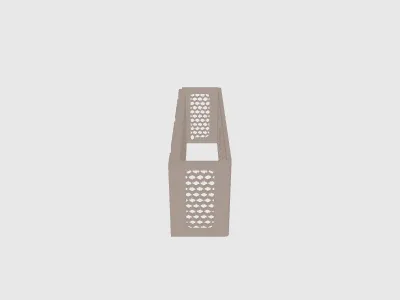
The case design remained the same — it’s still a clamp. You can mount it on the edge of a desk, on a wall, or on a furniture frame. Mine, for example, hangs on a shelf frame, which turned out to be the most convenient option.
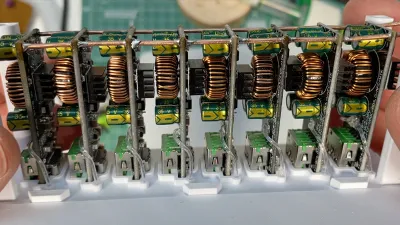
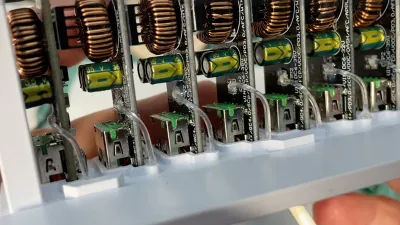
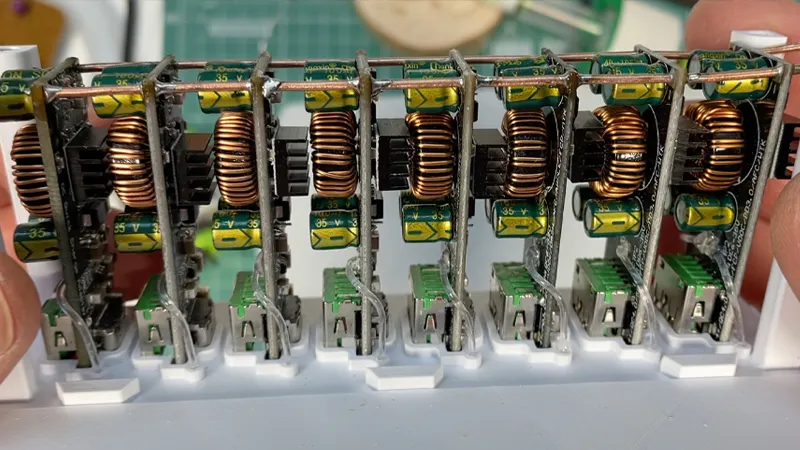
The modules are connected by a parallel copper bus. I used a solid 1.5 mm² copper wire. This solution serves two purposes at once: it ensures reliable current conduction and adds rigidity to the entire assembly.
Assembly and Indicators
Inside, everything is assembled just like in the first version. Red LEDs light up when a fast-charging protocol (PD, QC, etc.) is active, while a single blue LED indicates power. With the printed light guides, the indicators now look cleaner and clearer.
I also made a video of the assembly process. It shows every step, and even if you’re not a specialist, you’ll have no trouble following along. There’s nothing complicated about it.
Conclusion
iCharge V2 is the evolution of the first version. The same concept of independent SW3518 modules, but with improved layout, cleaner indicators, and an increased number of ports. The solution is simple, repairable, and adaptable. You can build your own version — with three, five, eight, or more modules. It all depends on the tasks you have and the power supply you connect.
Boost Me (for free)
If you liked it, give it a boost or hit like. I’d appreciate it. I hope you enjoy the device I created.
For me, this device has become a full-fledged replacement for off-the-shelf charging stations. Only here do I know exactly what works and how.
See the video for details:
If you liked this thing - let me know by putting like!
Parts links below:
- DC-DC Step Down Module SW3518P
- DC-DC Step Down Module SW3518S
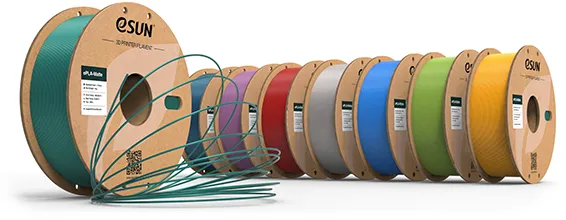
- ESUN Filament PLA
- Flexible Silicone Wire 10-26 AWG
- Self-Adhesive Magnetic Sheets Rubber
- Inserts Nut 2.5
- Insert Knurled Nuts M2-M3
- Screws Flat Head M2.5
- Threaded Rod Brass M3
- Threaded Rod M3
- Crystal Fishing Wire
- Mean Well RSP-200
- MEAN WELL RSP-100
- Mean Well LRS
Links to used tools:
My favorites:
Thank you for every tip or donation, it means great recognition for me and helps a lot to keep going!

BTC:bc1qplpzq36ghw84hty4nn2zzu4ps4sdh4th0v93j8
ETH:0xc766ebbeAa76aaf629788c8F99C33A8d80d48977
My some other things:


Originality of the Model
The author declares that this work is their personally original model
This model is licensed under the following terms:
Credit must be given to the creator
Models(6)
- iCharge-v2-8-Modules.3mfDesigner

10.03 MB

2025-09-23
 Clamp 8.STLDesigner
6.83 MB
2025-09-23
 Grid Case 8.STLDesigner
1.62 MB
2025-09-23
 Wheel.STLDesigner
16.43 MB
2025-09-23
 Back Panel 8.STLDesigner
10.32 MB
2025-09-23
 Front Panel 8.STLDesigner
8.40 MB
2025-09-23
View all(6)


