












DIY
lamp
night
led lamp
touch
desk lamp
kids
infinite creativity
strip led
nigth

- 0.2mm layer height, 3 walls, 15% infill

4-disc
PETG
Designer

17

2
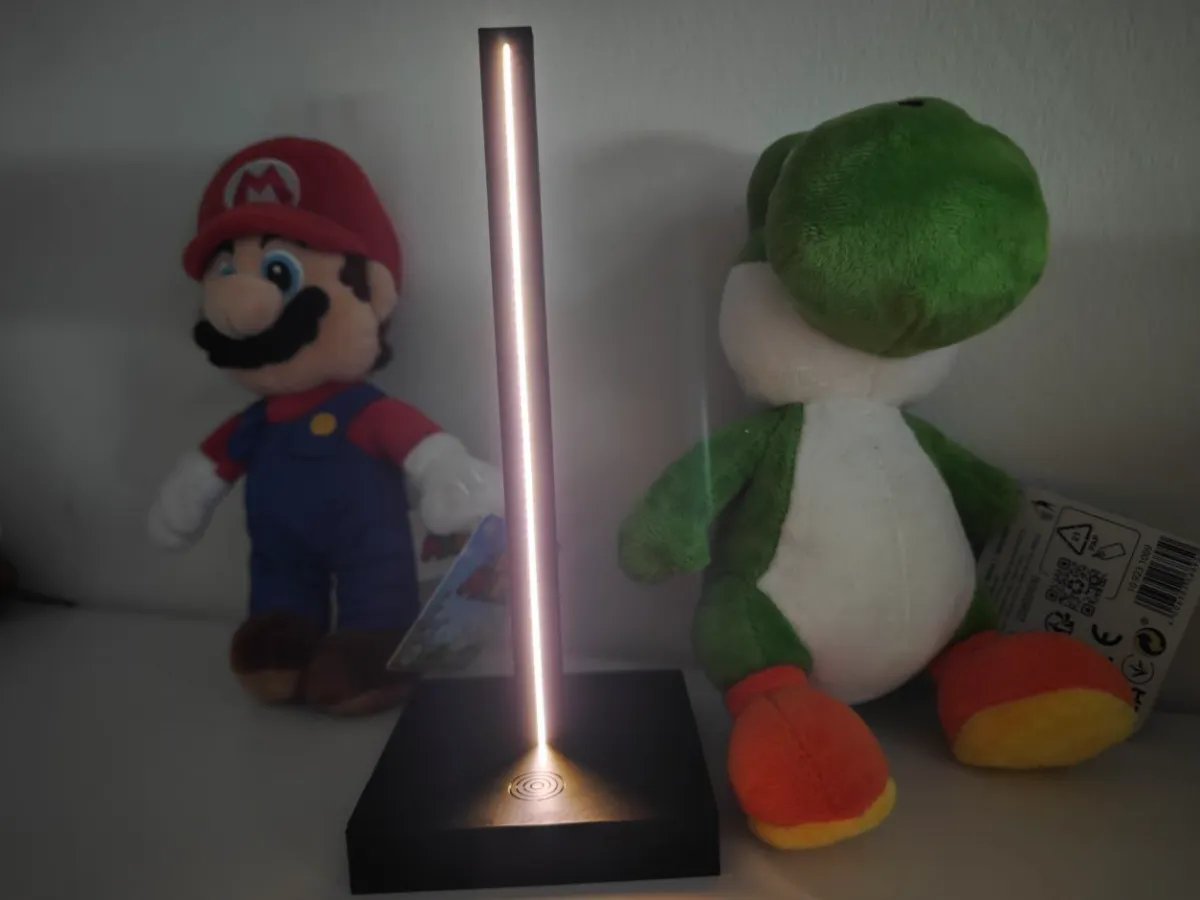
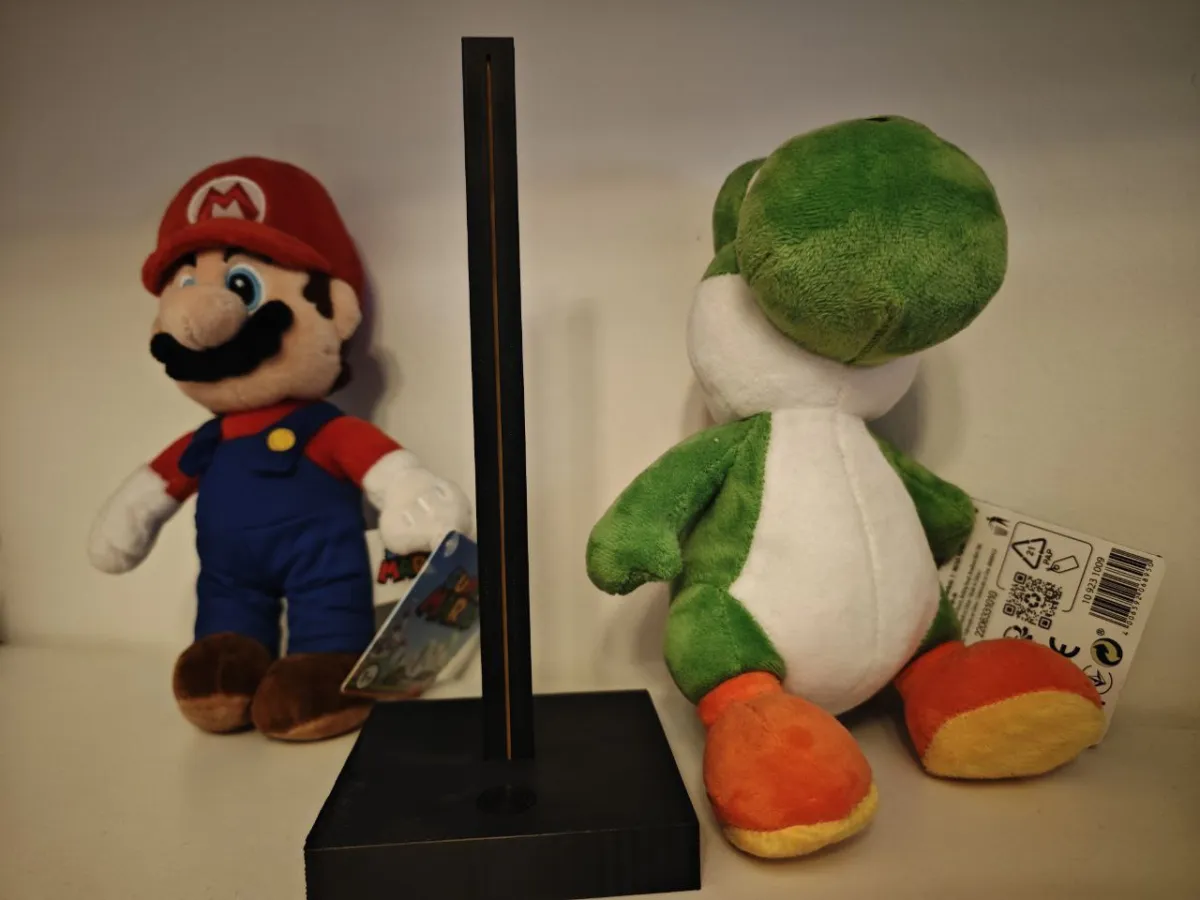
Custom USB-C Rechargeable Lamp with Battery Option
This lamp is a custom-built project designed with modularity and ease of assembly in mind. Each component is 3D-printed separately to ensure clean prints and minimize errors. The lamp is USB-C rechargeable and can operate with a battery installed. Below are the project details, step-by-step assembly instructions, and links to necessary parts.
Features:
Rechargeable via USB-C: Convenient and modern charging port.
Battery Operated: Supports a battery (maximum size 50x43x50mm) for portability. Includes an additional file battery.stl to secure the battery in the base.
Touch Activation: Powered on/off via a touch-sensitive base.
Dimmable Versions Available: Depending on the circuit board used.
Charge Indicator: Built-in red and green LEDs indicate charging status and completion.
Run Time and Charging: Approximately 4 hours of light at maximum brightness with an 800mAh battery. Recharges in about 1 hour.
Materials and Tools Required:
3D-Printed Files:
lamp.stl
base1.stl
base2.stl
battery.stl (only if using a battery)
Electronic Components:
Battery: 800mAh (433450 recommended), but it supports up to 50x43x50mm.
Circuit Board: Touch-sensitive circuit for LED control.
LED Strip: COB LED strip, 8mm wide, 225mm long.
Copper Adhesive Tape: 5mm wide.
Miscellaneous:
Wires for connections.
Soldering iron and solder.
Glue for securing components.
Two screws (M2*4).
Step-by-Step Assembly Instructions:
1. 3D Printing the Parts
Print the following files in this order:
lamp.stl
base1.stl
base2.stl
battery.stl (if using a battery).
Ensure clean edges and verify proper fit of each part after printing.
2. Connecting the Circuit
Important Tip: Perform all soldering on the circuit board before placing the components in their designated slots.
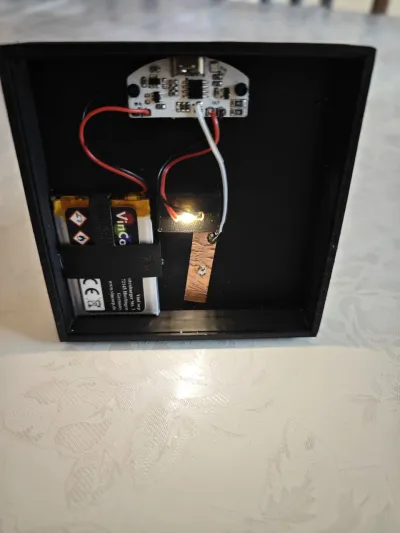
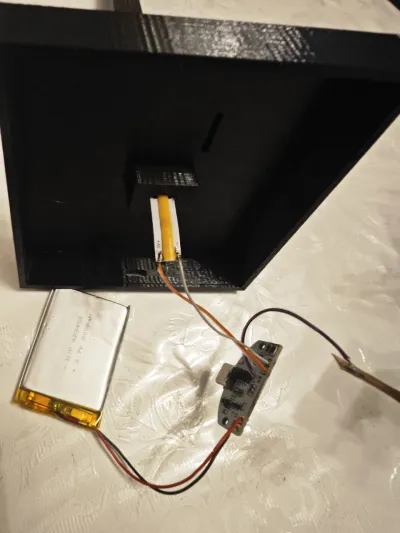
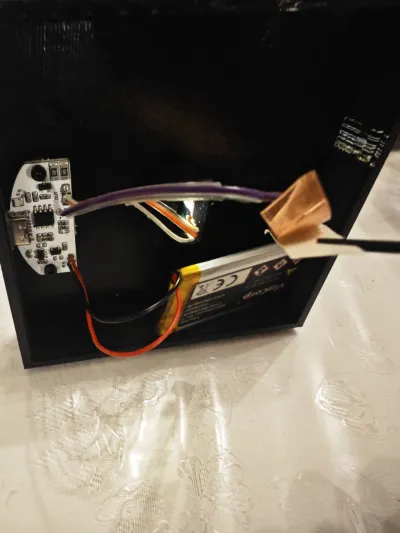
Solder the LED strip’s positive and negative terminals to the corresponding poles on the circuit board.
If using a battery:
Solder the battery connections to the circuit, ensuring polarity is correct.
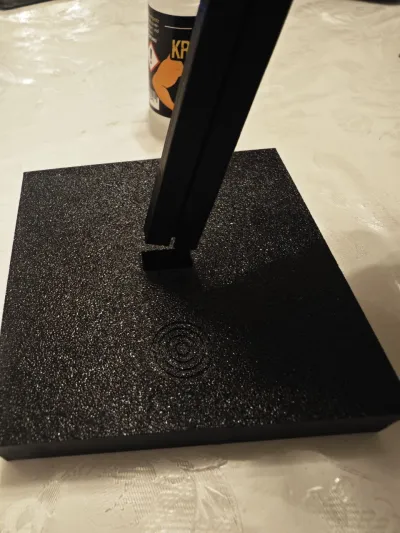
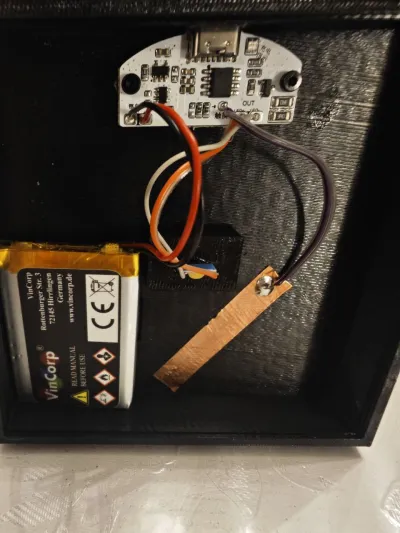
Cut a piece of copper adhesive tape, attach it under the circular design at the base, and solder it to a wire.
Connect this wire to the designated input on the circuit board as per the manufacturer’s instructions.
3. Assembling the Lamp
Insert the lamp.stl piece into the base1.stl. Use a small amount of glue to secure the connection firmly.
4. Installing the LED Strip
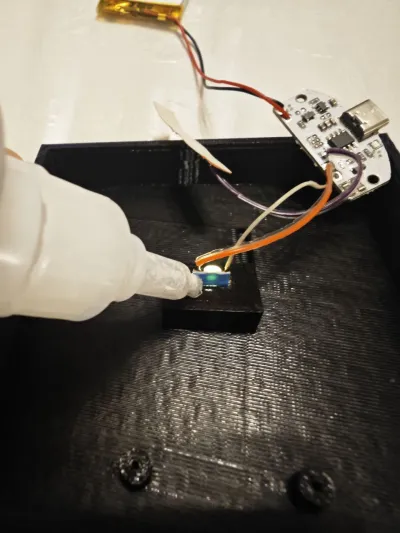
Slide the COB LED strip into the lamp piece’s 225mm channel. Ensure it fits snugly.
5. Mounting the Circuit Board
Place the circuit board into its designated slot inside base1.stl.
Apply a small amount of glue to secure the board, then use the two M2*4 screws to fasten it for added stability.
6. Installing the Battery
If using a battery:
Place the battery into the printed battery.stl holder. Secure it in place using glue.
Insert the battery holder into the base, ensuring proper alignment.
7. Final Assembly
Attach base2.stl to base1.stl to close the base. Ensure everything fits securely.
8. Charge Indicator Setup
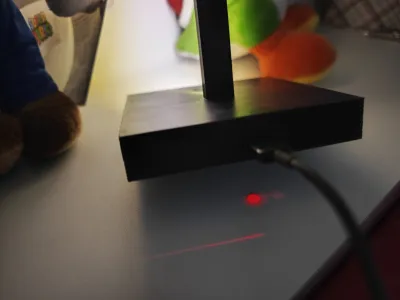
Align the pre-installed red and green LEDs on the circuit board with the hole in the base for charge status indication.
Usage:
Activation: The lamp is activated by touching the base where the copper tape is attached. Depending on the circuit used, dimming functionality may also be available.
Charging: Recharge the lamp via the USB-C port. The red LED indicates charging, and the green LED indicates a full charge.
This project combines 3D printing, electronics, and soldering, making it ideal for hobbyists and DIY enthusiasts. Happy building!
Step-by-Step Dettalied Procedure for Assembling the Lamp
Step 1: Attaching the Lamp Post to the Base
Apply a small amount of glue inside the slot at the top of the base (base1.stl).

Insert the lamp post (lamp.stl) into the slot and press it firmly.

Allow the glue to dry completely to ensure stability.
Step 2: Preparing and Soldering the LED Strip
Solder the positive (+) and negative (-) wires to the COB LED strip.

Ensure the solder joints are clean and secure for proper electrical connection.
Step 3: Connecting the Circuit Board
Solder the battery wires to the terminals on the circuit board, ensuring the polarity is correct (+ and -).

Connect the LED strip wires to the appropriate terminals on the circuit board as per the manufacturer's instructions.
Step 4: Attaching the Copper Tape
Cut a piece of adhesive copper tape and solder a wire to it.

This copper tape will act as the touch-sensitive area for turning the lamp on and off.
Connect the wire from the copper tape to the designated input on the circuit board.
Step 5: Installing Components Inside the Base
Insert the LED strip into the channel inside the lamp post. Ensure it is aligned and fully inserted.

Place the circuit board into its designated slot inside the base (base1.stl) and secure it using small screws or glue. Test the hole before.


Step 6: Fixing the Battery Holder
Apply glue to the battery holder (battery.stl) and attach it inside the base in the designated area.

Insert the battery into the holder and secure it to prevent any movement during operation.
Step 7: Final Connections and Closing the Base
Verify that all wires are securely connected and the copper tape aligns with the touch-sensitive area.

Attach the base cover (base2.stl) to seal the assembly.

Ensure all components are properly positioned inside before fully securing the base.
If you wont glue the LED COB to the base to prevent any movement.

This detailed step-by-step guide ensures a successful assembly of your custom lamp. Let me know if anything else needs clarification!
Originality of the Model
The author declares that this work is their personally original model
This model is licensed under the following terms:
This work is licensed under a Standard Digital File License. Digital files have a strict non-commercial, personal use only license.
You shall not share, sub-license, sell, rent, host, transfer, or distribute in any way the digital file or 3D printed versions of this object, nor any other derivative work of this object in its digital or physical format (including remixes of this object). You can not host these files on other digital platforms, web stores or cloud repositories. The objects may not be used in any way whatsoever in which you charge money, collect fees.
Models(5)
 base1.stlDesigner
347.25 KB

2025-05-12
- base2.stlDesigner
21.18 KB
2025-05-12
- battery.stlDesigner
8.29 KB
2025-05-12
- lamp.stlDesigner
7.70 KB
2025-05-12
- test.3mfDesigner
114.65 KB
2025-05-12
View all(5)


