




skull
tank
tracks
picaxe
remote controlled
tank tracks
Remote control


9

1
Summary
https://www.youtube.com/watch?v=XKXZaKyjVCw
- Prints without support!
- Assembles without hardware!
- Wires without soldering!
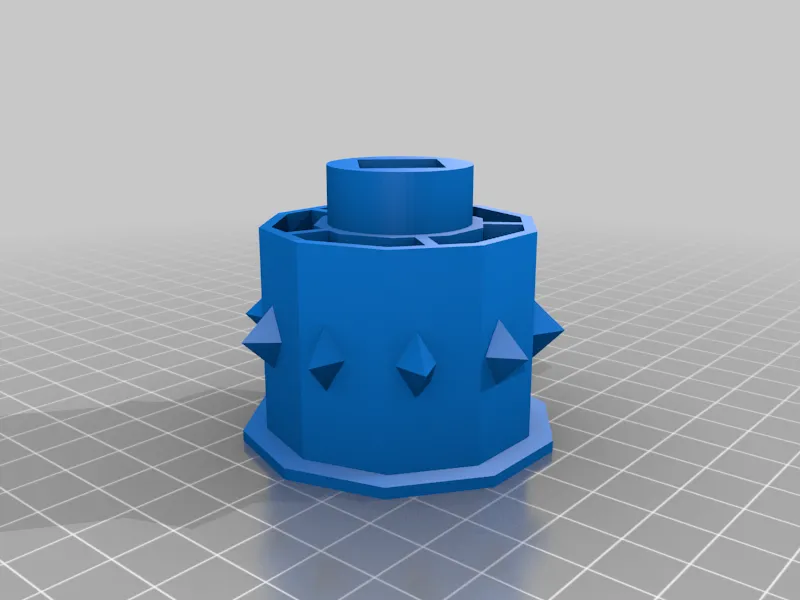
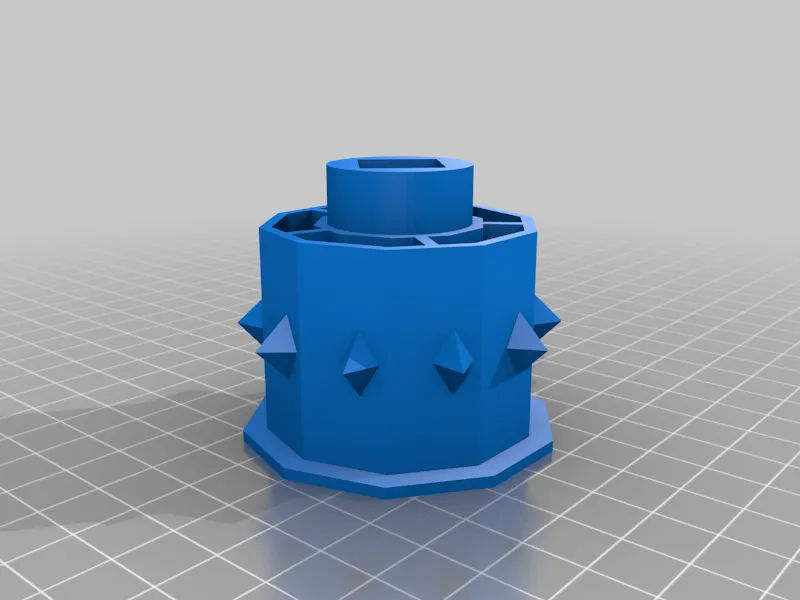
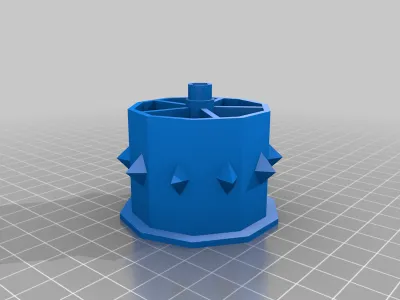
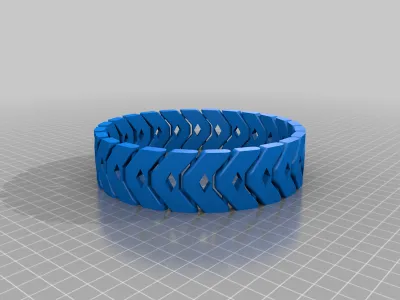
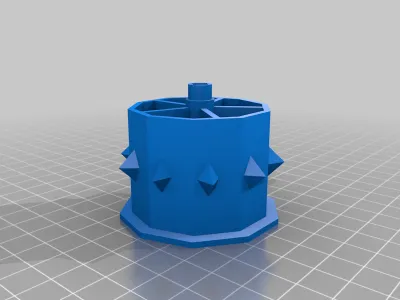
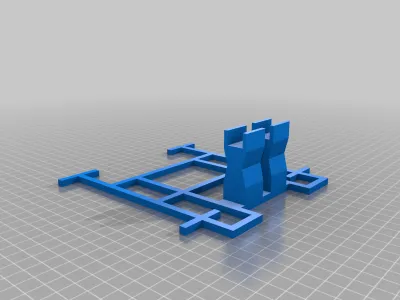
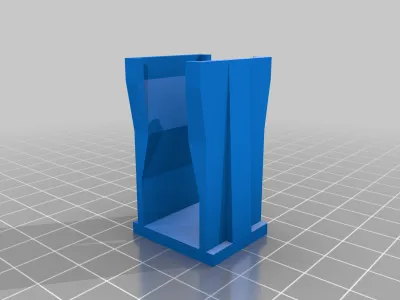
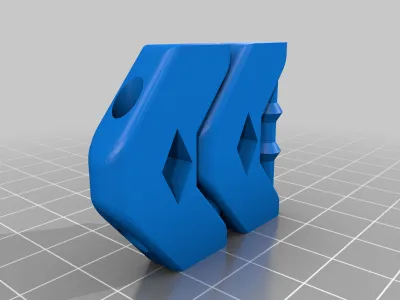
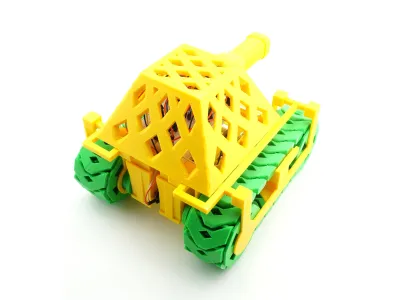
This tank does not require a single bolt or nut. You just print the parts, put them together, connect the motors and electronics, and it's ready for battle. It shows excellent off-road capabilities, and turns on a dime. Each of this tank's two tracks is printed in a single piece, thus eliminating the need for assembly hardware.
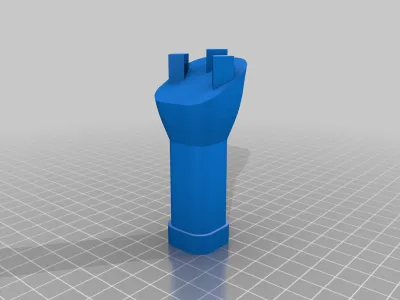
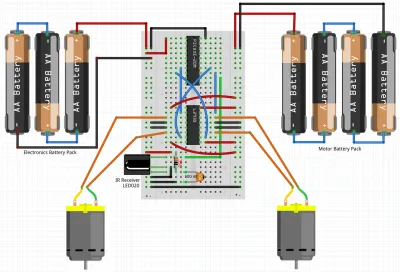
The machine shown in the video below is powered with a Picaxe 20M2 microcontroller installed on a 300-hole mini-breadboard. There is also an H-bridge motor driver, an IR sensor, a couple of resistors and capacitors, and a whole bunch of jump cables. The entire set of electronic components used here can be bought on eBay for just a few dollars. The tank is operated with a regular Sony TV remote control.
Parts:
| Qty | Filename | Print Time (min.) | Total Print Time (min.) |
|---|---|---|---|
| 2 | tank_tracks.stl | 204 | 408 |
| 1 | tank_left_front_wheel.stl | 86 | 86 |
| 1 | tank_left_back_wheel.stl | 77 | 77 |
| 1 | tank_right_front_wheel.stl | 86 | 86 |
| 1 | tank_right_back_wheel.stl | 77 | 77 |
| 2 | tank_front_hubcap.stl | 10 | 20 |
| 2 | tank_back_hubcap.stl | 11 | 22 |
| 1 | tank_left_outer_rail.stl | 51 | 51 |
| 1 | tank_left_inner_rail.stl | 41 | 41 |
| 1 | tank_right_outer_rail.stl | 51 | 51 |
| 1 | tank_right_inner_rail.stl | 41 | 41 |
| 1 | tank_frame.stl | 105 | 105 |
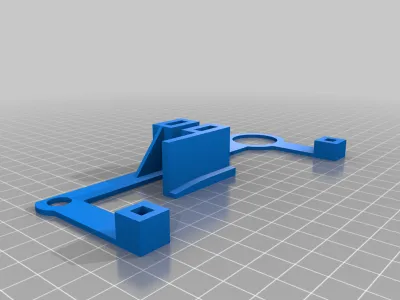
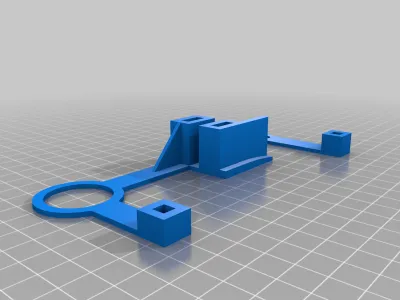
| 2 | tank_motorholder.stl | 40 | 80 |
| 2 | tank_adapter.stl | 10 | 20 |
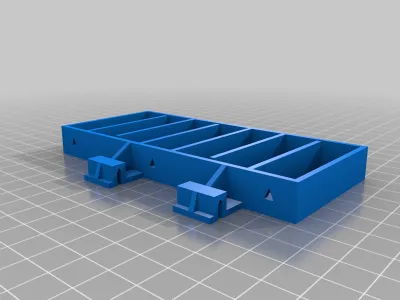
| 1 | tank_batteryholder.stl | 91 | 91 |
| 1 | tank_cover.stl | 166 | 166 |
| 1 | tank_cannon.stl | 61 | 61 |
Total printed parts: 22
Total print time (approx.): 1,483 min. (24 hours and 43 min.)
For detailed and illustrated assembly instructions, please visit http://www.otvinta.com/download10.html.
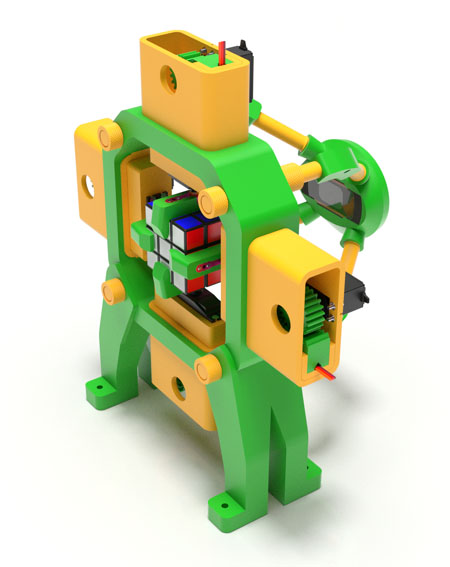
if you like our tank, you may also like our Rubik's Cube Solving Robot:
All our models including this one were designed with Blender 3D. We have created many video tutorials on designing gears and mechanisms in Blender. To see them, please visit our YouTube channel at https://www.youtube.com/c/otvinta3d.
Post-Printing
Print the tracks first.
The two single-piece tracks are the most difficult parts to print, so start with those. Once the part is printed, each track segment needs to be gently snapped loose so that it can rotate freely relative to its adjacent segment. Do not apply excessive force when doing it as it can cause an axis to break and ruin the entire part.
UPDATE 2017-07-23: Before you attempt to print the entire track, try printing the test piece, tank_2tracks.stl. If you can then break loose the two segments and have them rotate freely, proceed with the printing of the full tracks.
Originality of the Model
The author declares that this work is their personally shared model

This model is licensed under the following terms:
Credit must be given to the creator
Models(17)
 tank_back_hubcap.stl
23.13 KB

2025-03-18
- tank_right_outer_rail.stl
40.61 KB
2025-03-18
- tank_batteryholder.stl
59.55 KB
2025-03-18
- tank_left_front_wheel.stl
47.74 KB
2025-03-18
- tank_front_hubcap.stl
29.18 KB
2025-03-18
- tank_right_front_wheel.stl
47.74 KB
2025-03-18
- tank_adapter.stl
32.11 KB
2025-03-18
- tank_right_back_wheel.stl
46.76 KB
2025-03-18
- tank_right_inner_rail.stl
37.97 KB
2025-03-18
- tank_motorholder.stl
12.00 KB
2025-03-18
- tank_left_back_wheel.stl
46.76 KB
2025-03-18
- tank_cover.stl
64.93 KB
2025-03-18
- tank_frame.stl
34.07 KB
2025-03-18
- tank_left_outer_rail.stl
40.61 KB
2025-03-18
- tank_left_inner_rail.stl
37.97 KB
2025-03-18
- tank_cannon.stl
83.19 KB
2025-03-18
- tank_2tracks.stl
319.42 KB
2025-03-18
View all(17)


