


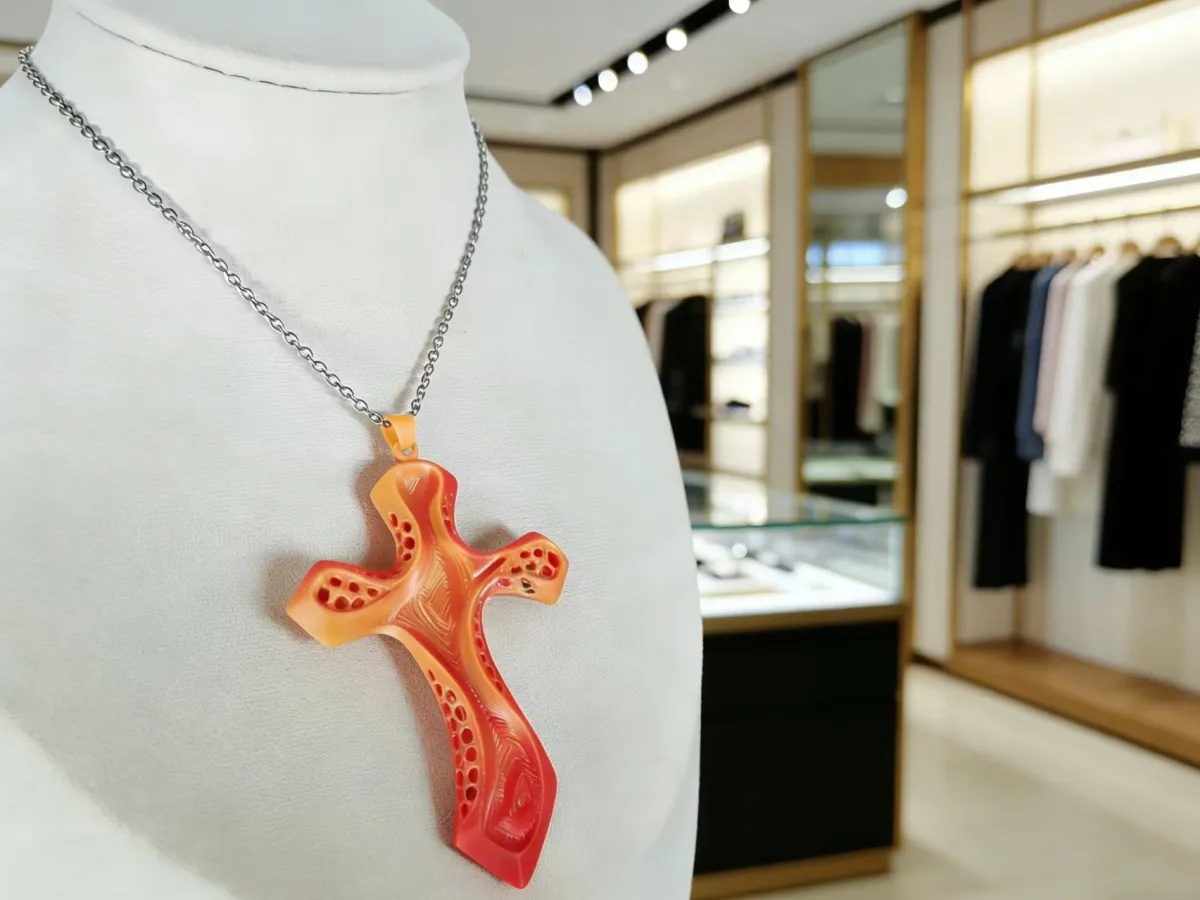
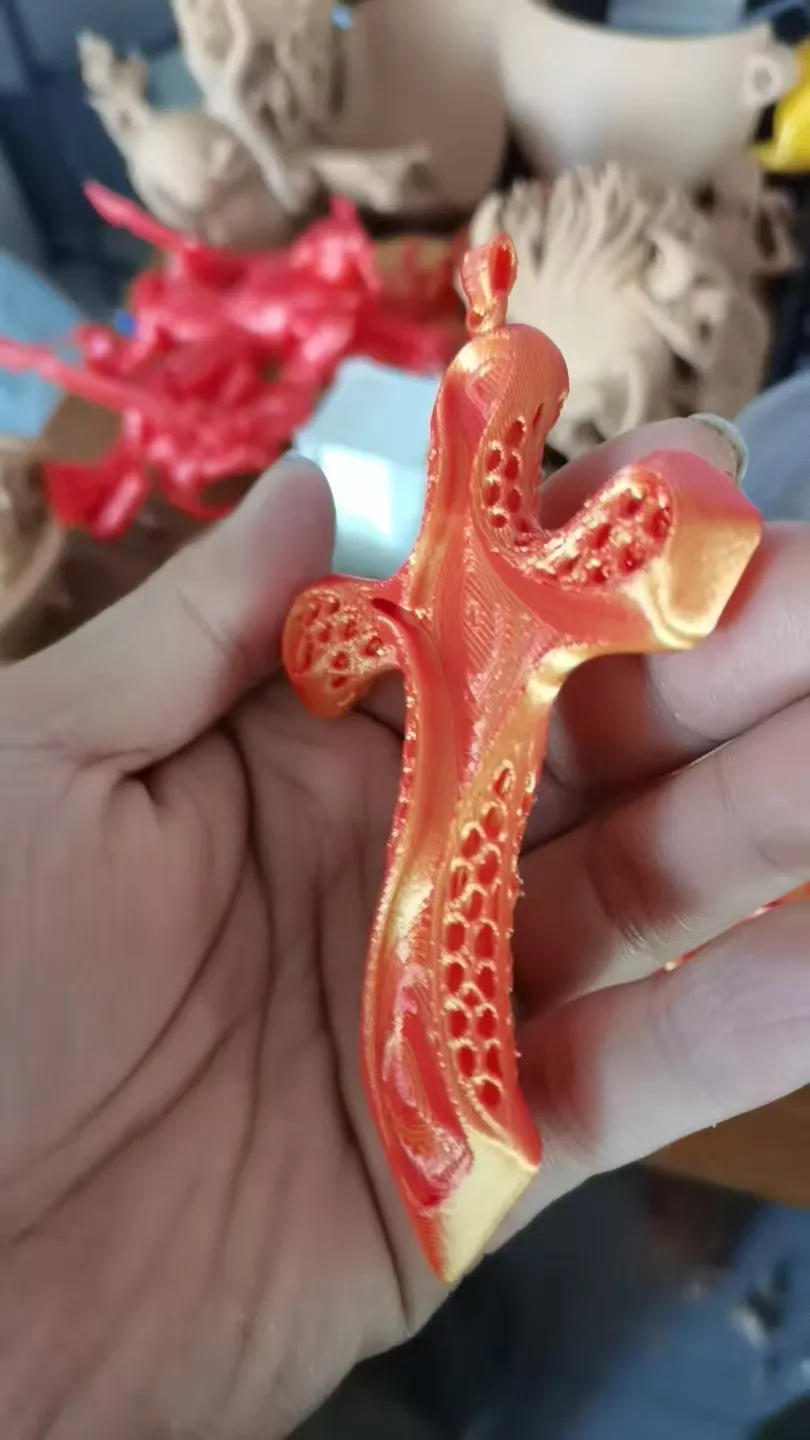

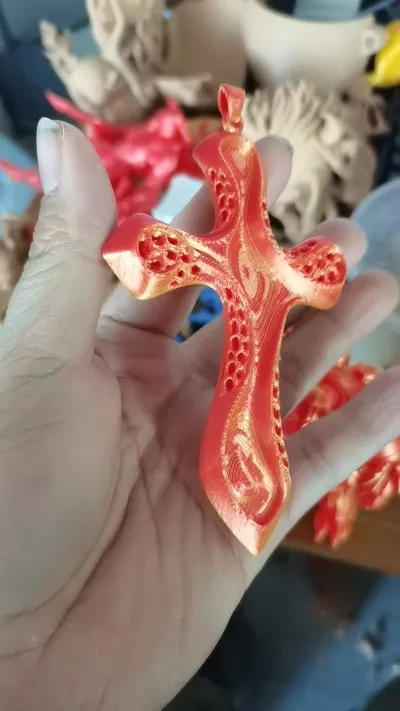
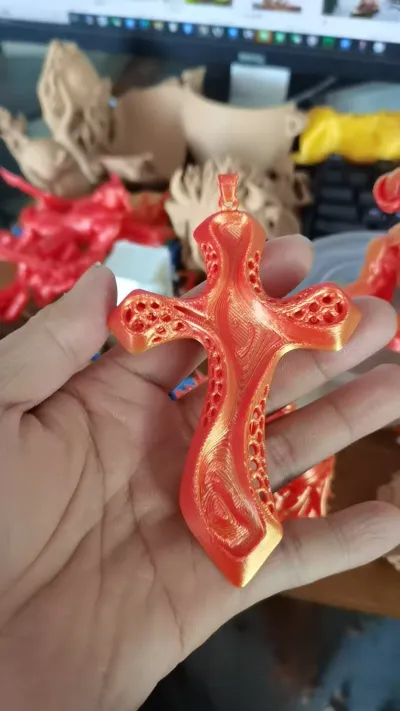

Cross Pendant
Hollow‑out design
Sword‑shaped pendant
Wearable Accessories
Artistic Accessories
Symbols of Faith
Symbol of Strength
Gothic Style
Lightweight Design
Light and Shadow Effects
Honeycomb Hollow Structure
Polishing and Coloring
Comfortable to wear
Fashionable items
Customized Accessories
Handmade DIY
Creative Design

- 0.2 mm layer height, 3‑layer walls, 15% infill density

1-disc
PLA
Designer

8

1
1. Inspiration and Design Concept ✨
The design inspiration for this hollow, sword-shaped cross pendant stems from a fusion and reimagining of two powerful symbols: “faith” and “strength.”
1. Cultural Roots: The cross, as a universal symbol of faith, embodies protection and redemption; the sword, on the other hand, is the embodiment of power, courage, and justice. In this design, I deconstructed and reassembled these two symbols, breaking free from the rigid, conventional form of the cross. By reshaping the lower half into a sharp, blade-like edge, the pendant carries the profound meaning: “Let faith be your blade—guarding the steadfastness within your heart.”
2. Aesthetic Expression: The hollow, openwork design draws inspiration from the flying buttresses of Gothic architecture and the lightweight principles of modern industrial design. By incorporating honeycomb-like perforations into the cross’s arms and the sword’s blade, not only is the overall weight reduced, making the piece more comfortable to wear, but a unique interplay of light and shadow is also created. As light filters through these intricate openings, it casts dappled patterns across skin or fabric, lending the piece an ethereal, almost mystical quality.
3. Functionality-Driven Design: As a wearable 3D‑printed accessory, the core of the design lies in striking a balance between aesthetics and practicality. The sword-shaped silhouette features smooth, flowing lines with rounded edges that eliminate sharp angles, ensuring both comfort and safety during wear. The top-mounted bail has been carefully designed to accommodate a wide range of chain styles, making this pendant a versatile fashion statement that pairs effortlessly with any look.
2. Printing Requirements and Process Guidelines 🛠️
To achieve optimal print results, we recommend adhering to the following printing configurations and requirements:
1. Core Print Parameters
- Printer Type: FDM 3D Printer
- Recommended Filament: PLA (easy to print, excellent detail retention) or PETG (higher strength, greater durability)
- Nozzle Diameter: 0.4 mm
- Layer Height: 0.15–0.2 mm (lower layer heights yield sharper, more intricate hollow details)
- Print Temperature: PLA 200–210°C; PETG 230–240°C
- Bed Temperature: PLA 60°C; PETG 80°C
- Infill Density: 15%–20% (balancing strength with lightweight construction)
- Shell Layers: 2–3 layers
2. Support Structures, Brims, and Adhesive Strategies
- Supports: The hollow internal structure of the model requires support. We recommend using easy‑to‑remove supports—such as tree‑like supports—and setting the support density at 15%–20% to minimize damage to the model’s surface.
- Brims: Strongly recommended. Since the bottom of the model has a small contact area, brims help prevent warping and print failures while also making post‑print removal exceptionally convenient.
- Adhesive/Masking Tape: To further enhance print success—especially when printing vertically—we suggest applying a thin layer of PVP solid adhesive or affixing masking tape to the print bed to improve adhesion between the model and the build plate.
3. Comparison of Two Printing Orientations
Orientation Advantages Disadvantages Use Case
Vertical (Cross Perpendicular to Build Plate) Fewer supports needed; easy to remove supports around hollow areas; cleaner model surface with better detail retention Higher center of gravity, relatively higher risk of failure and potential tipping Users seeking perfect detail and easy‑to‑remove supports
Lying Flat (Cross Parallel to Build Plate) Stable center of gravity; extremely high print success rate; minimal visible layer lines More supports required, and the contact surfaces are harder to remove—aggressive removal can easily lead to model breakage or surface scratches Users prioritizing high print success rates and stable, reliable prints
3. Assembly Instructions and Post‑Processing Techniques 🧰
Once printing is complete, a few careful post‑processing steps and simple assembly techniques can breathe new life into your pendant:
1. Removing Supports
- Tools: Needle‑nose pliers, diagonal cutting pliers, a small knife (or a dedicated support‑removal tool)
- Steps:
1. First, use diagonal cutting pliers to snip off larger support structures, taking care not to apply excessive force—this could cause the model itself to snap.
2. For the fine, delicate supports around the hollow areas, carefully pick away the remnants with a small knife or needle‑nose pliers.
3. After removal, gently sand down any remaining support marks with fine sandpaper (400–800 grit) to ensure a smooth transition between the supports and the model’s surface.
2. Surface Finishing and Polishing
- Sanding: Use progressively finer grits of sandpaper—from 400 to 800 to 1200 to 2000—to smooth out the entire model, eliminating layer lines and support marks.
- Polishing: If using PLA filament, you can polish the surface with acetone vapor (ensuring proper ventilation and safety precautions) or manually polish with specialized polishing compounds to achieve a glossy finish reminiscent of plastic.
3. Coloring (Optional)
- Depending on your personal preference, you can add color to the model. Use acrylic paints or model‑specific paints to fill the hollow sections with contrasting hues—or age the blade with weathered tones to evoke a vintage, battle‑worn aesthetic.
4. Attaching the Bail and Chain
- Bail: Insert a metal or plastic bail (also known as a jump ring) into the top mounting hole of the model. Ensure the bail’s dimensions match the hole precisely and that the connection is secure.
- Chain: Choose a chain you love—whether it’s a stainless steel chain, a silver chain, or a leather cord—and simply thread it through the bail to complete your pendant.
Originality of the Model
The author declares that this work is their personally original model
This model is licensed under the following terms:
Credit must be given to the creator
Models(1)
- 剑.3mfDesigner

8.54 MB

2026-02-21


