




winter
snow
lantern
candle
panels
multicolor
light

- 0.2mm layer, 2 walls, 15% infill

2-disc
PETG
Designer

5

2
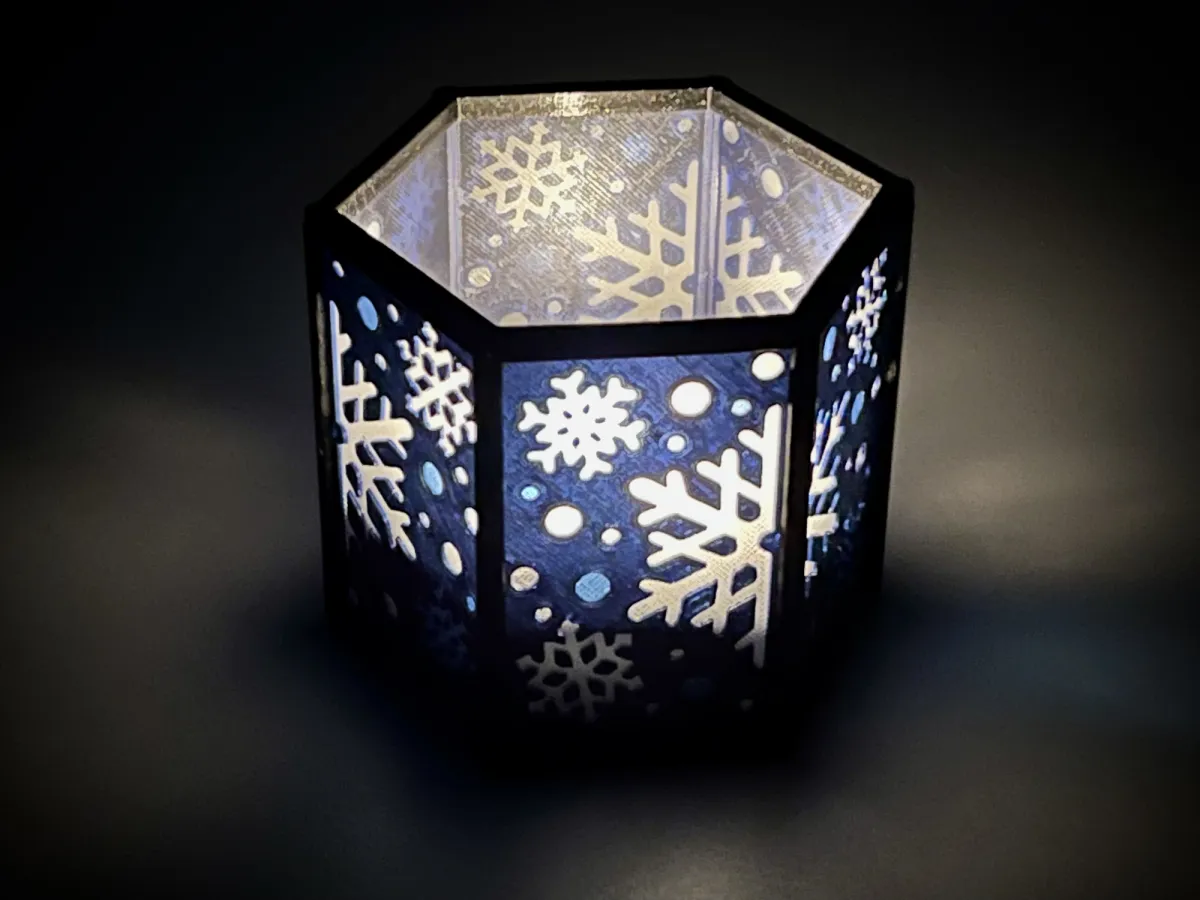
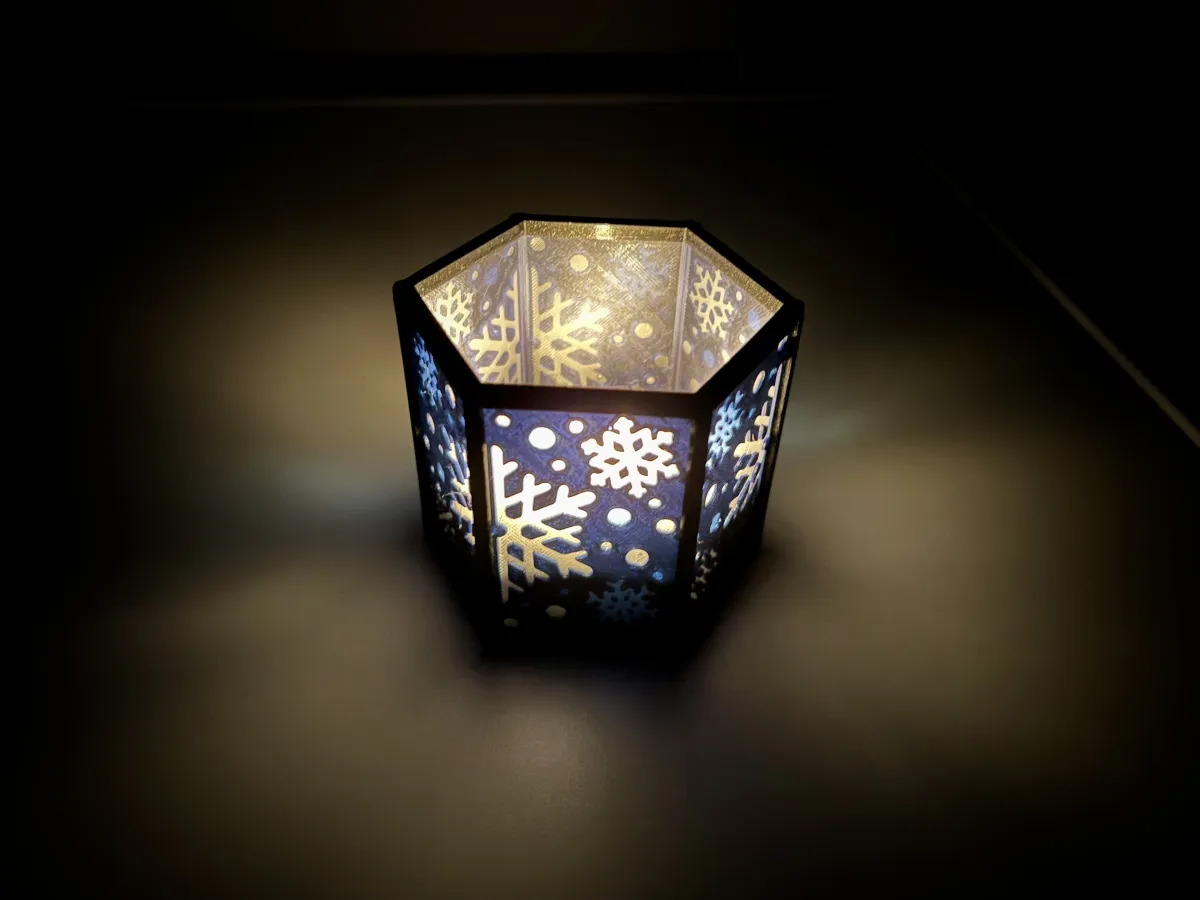
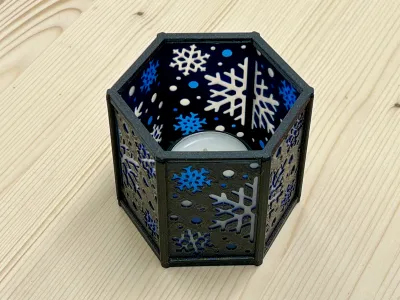
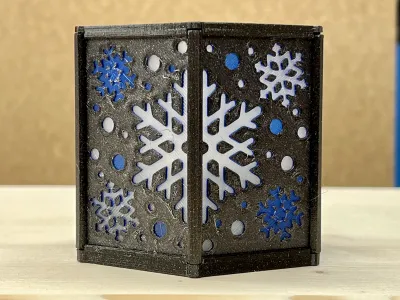
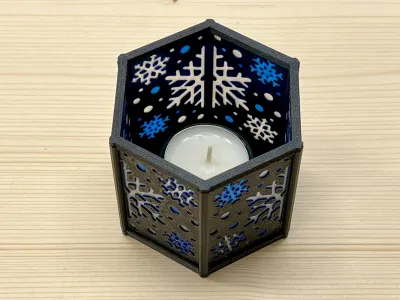
Get ready for winter with this stunning lantern, designed to brighten up any space with a warm, festive glow. With a modular design, this lantern can be printed in a variety of colors, allowing you to create a unique look. Each part is designed to fit perfectly without the need for glue, making assembly easy and seamless.
Display it with LED candles or, for added safety, with real candles in a small glass holder within the lantern.
Safety Note: Avoid PLA with Real Candles
Avoid using PLA if you plan to place real candles in the lantern, as PLA has a low melting point and can easily catch fire. PETG is safer, but place real candles inside a small glass holder to prevent heat from reaching the lantern frame. Ensure the outer temperature of the glass holder stays below 80ºC.
Printing Guide
Frame Parts
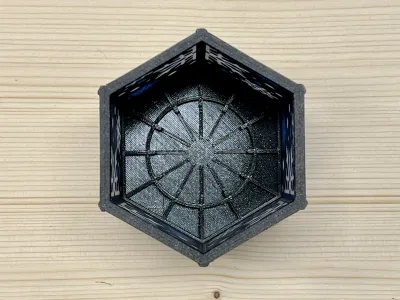
Begin by printing the frame components on plate 1 in a single color, like Black, as shown in the photos:
Side Panels
The side panels on plate 2 are designed for manual multi-color printing with filament changes, allowing you to add a touch of personalization. To get the same look as shown in the the photos:
- Layer 1-2: Clear PETG
- Layer 3-4: Transparent Blue PETG
- Layer 5+: Opaque Black PETG
Note: The design supports up to four colors, so feel free to experiment with your choice.
| Layer | Suggested Color |
|---|---|
| 1 | Lightest color |
| 2 | Secondary color |
| 3 | Tertiary color |
| 4 | Additional accent |
| 5 | Opaque/Final color |
Assembly Instructions
1. Start with the Base
Place the bottom frame on a flat surface. Insert the first side panel into its groove, ensuring a snug fit.

If the panel does not slide in the groove, use a fine sandpaper and remove material from the backside of the panel frame until it has a tight fit.
2. Add Side Panels Alternately
Next, continue with the second panel, but flip the orientation to align with the snowflake pattern.

3. Secure Panels with Clamps
Slide a clamp (LR2187-2) over each pair of adjacent panels, securing them in place.

Repeat until all panels are connected.
4. Attach the Top Frame
Carefully slide the top frame (LR2187-4) over the panels, ensuring they align with the grooves. Press gently or use a wooden block to apply even pressure if needed.

Explore More from Meti·kumi
Interested in my designs? Browse through my collection of 3D models:
👉 https://metikumi.com/3d-models/
Stay connected on social media for the latest updates and work-in-progress insights:
Originality of the Model
The author declares that this work is their personally original model
This model is licensed under the following terms:
Credit must be given to the creator
Models(1)
- LR2186-tight-fit.3mfDesigner

364.92 KB

2025-11-14


