


Prusa
Enclosure
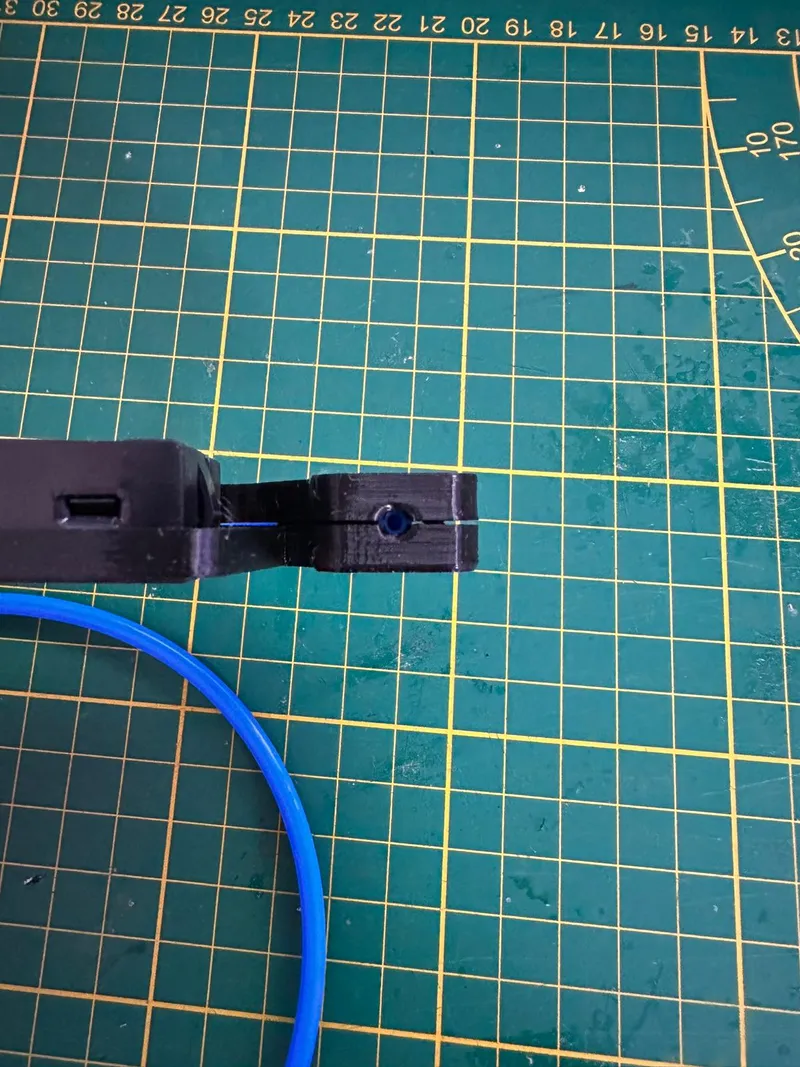
Original Prusa Enclosure Filament Guide Left with Thermometer

Print Profile(0)

6

0
Released 2025-11-07
Print instructions
- print settings: 0.20mm QUALITY
- filament: PETG
- 15-20% grid infill
What is needed:
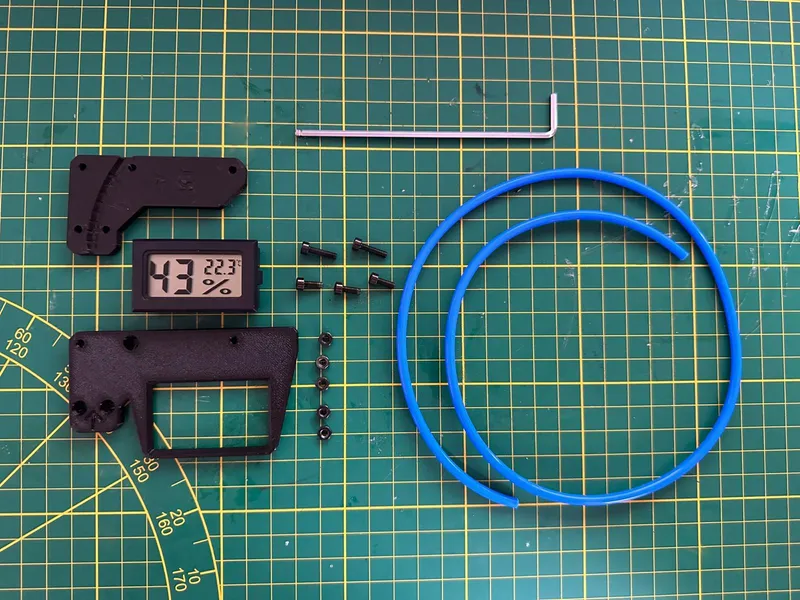
- 2.5mm Allen key
- 5x M3n nut
- 2x M3x12 screw
- 3x M3x8 screw
- 1x zip tie
- PTFE-Tube 4x650mm
- Filament Guide A
- THERMOMETER BRACKET FS Guide
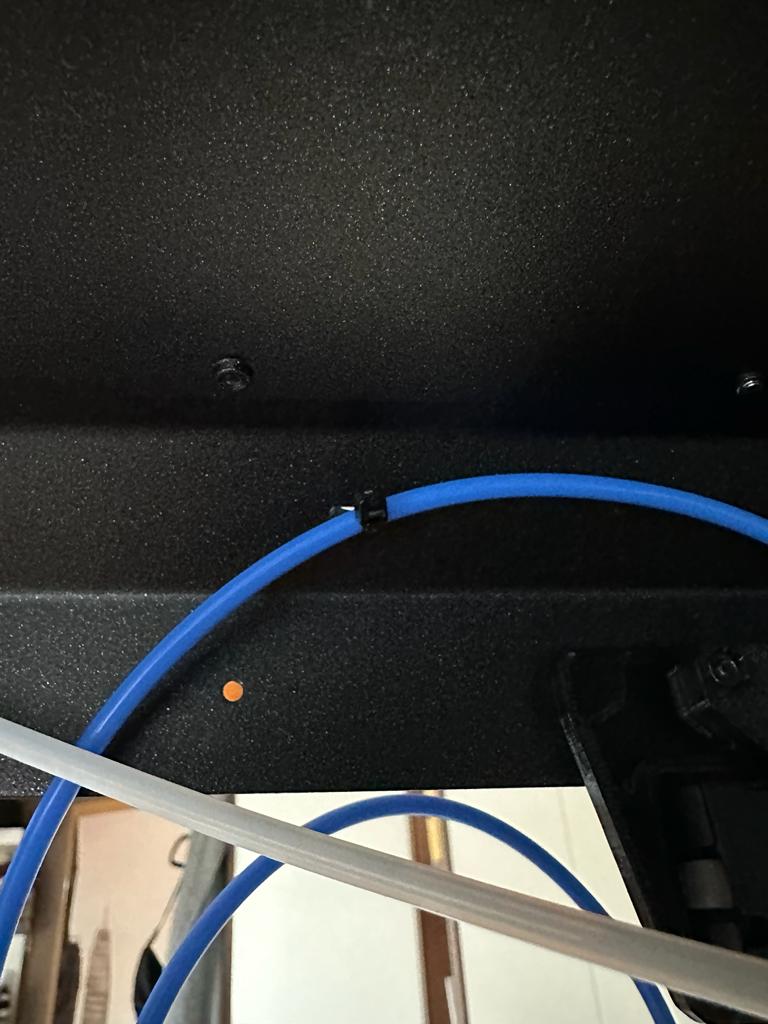
- TOP_PLUG_CENTER with PTFE Tube Holder
- Something to push the nylon rivet out
Install Instructions:
- Unscrew the old Thermometer bracket and take out the 2 M3n Nuts (we will need them later)
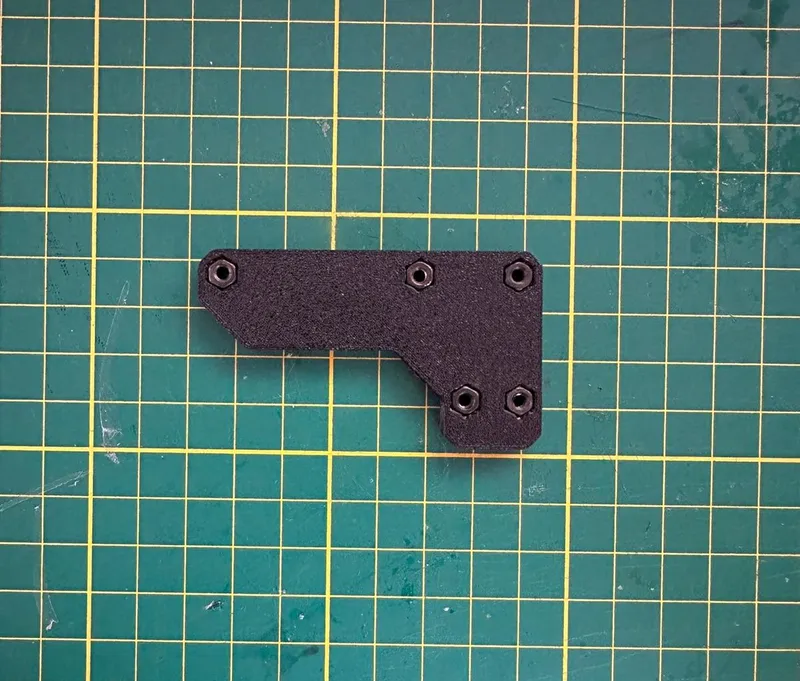
- Now Take your Printed parts, we will start with Filament Guide A and insert all the 5 M3n nuts.
- Now push the Thermometer out of its old housing and push it inside of the new one.

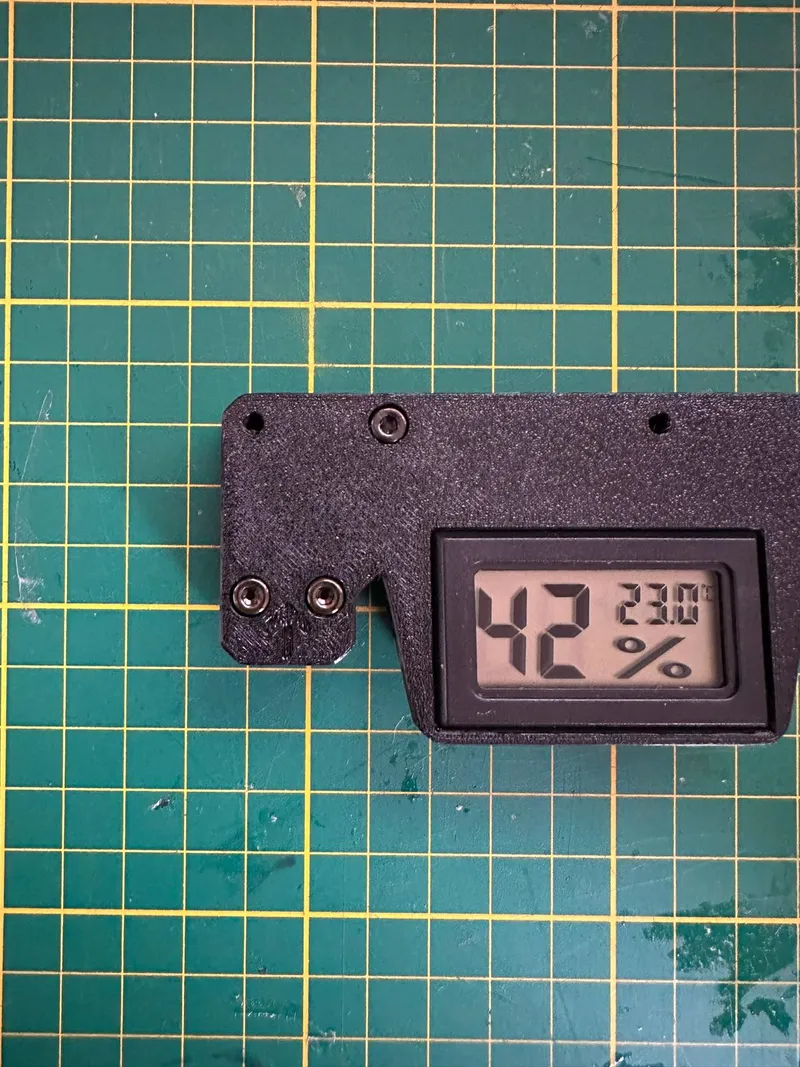
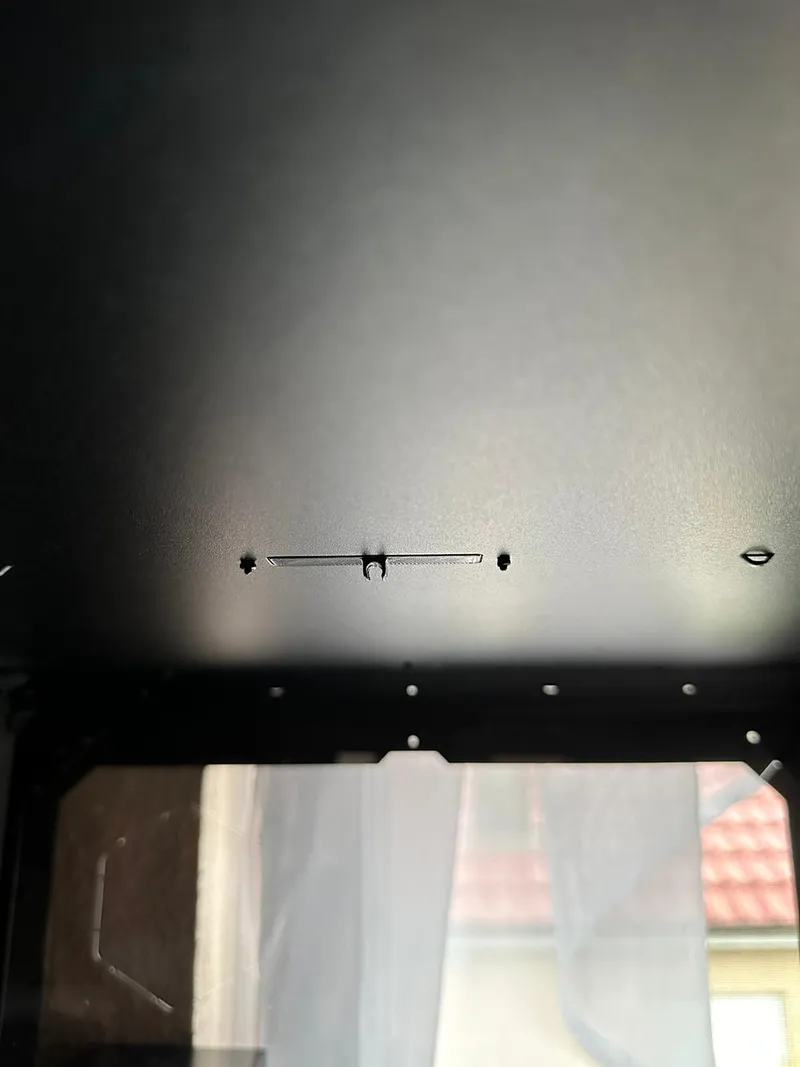
- Take the three M3x8 Screws and screw them into the the holes just like on the picture above (do not tighten them all the way yet!)
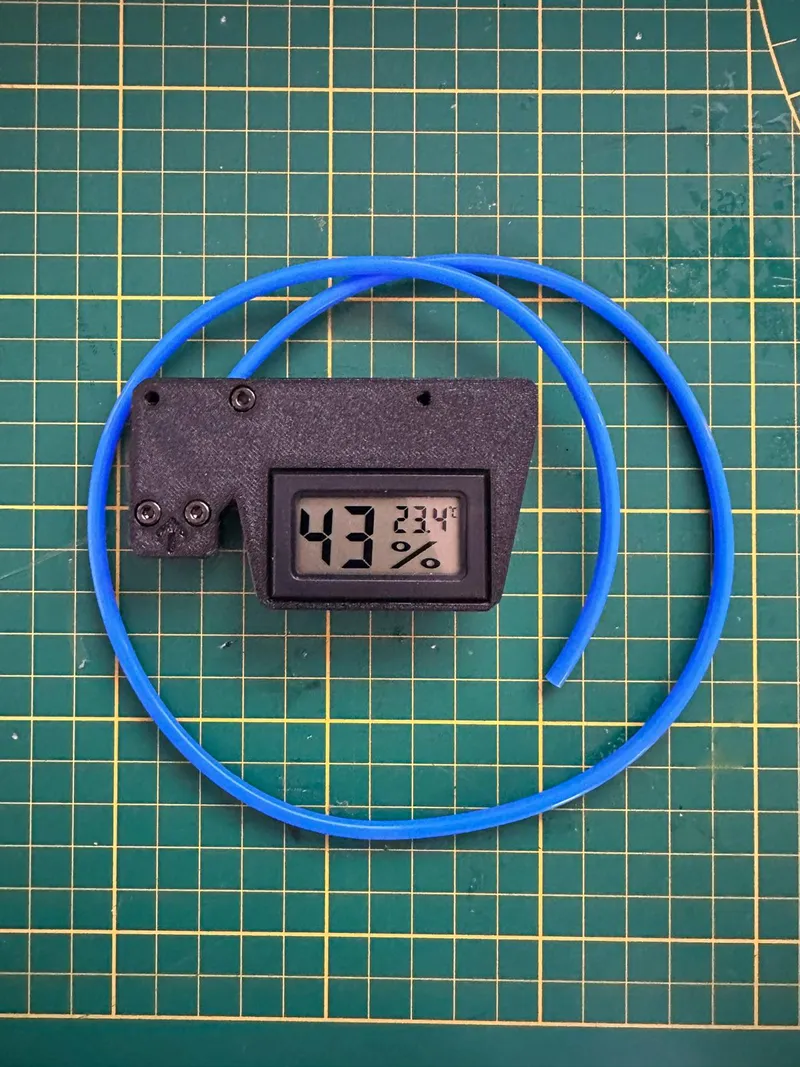
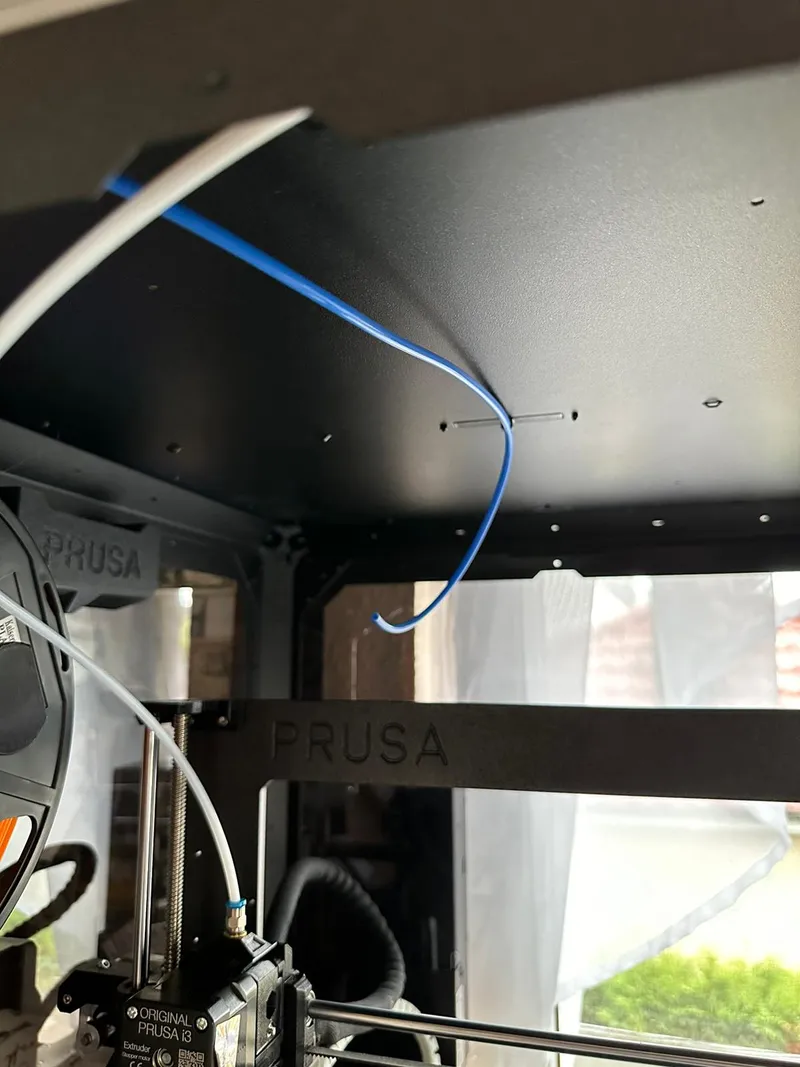
- Insert the PTFE Tube all the way in until you see the end on the other side
- Now align the new bracket with the holes in the Enclosure and use the two M3x12 Screws to fix the bracket in place

- Fixate the new PTFE Tube with a zip tie to the first hole
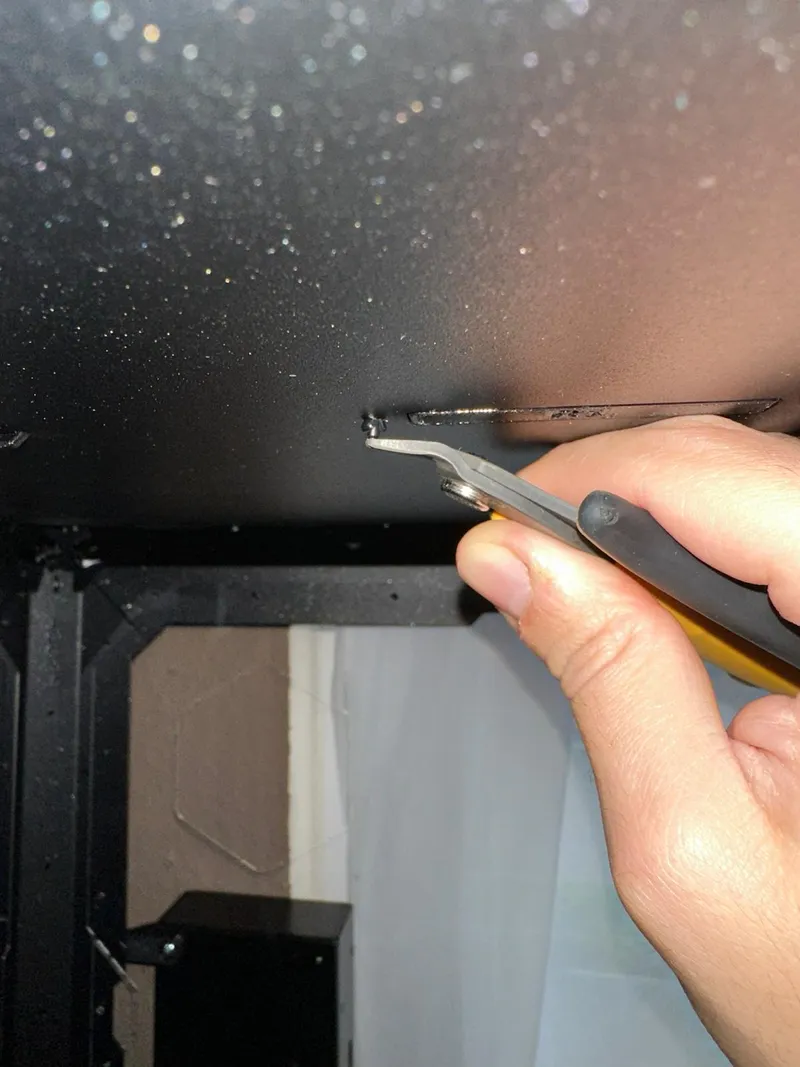
- Now use your choosen Tool the remove the nylon rivtes (do not destroy them you will need them right afterwards again) Just push them upwards.
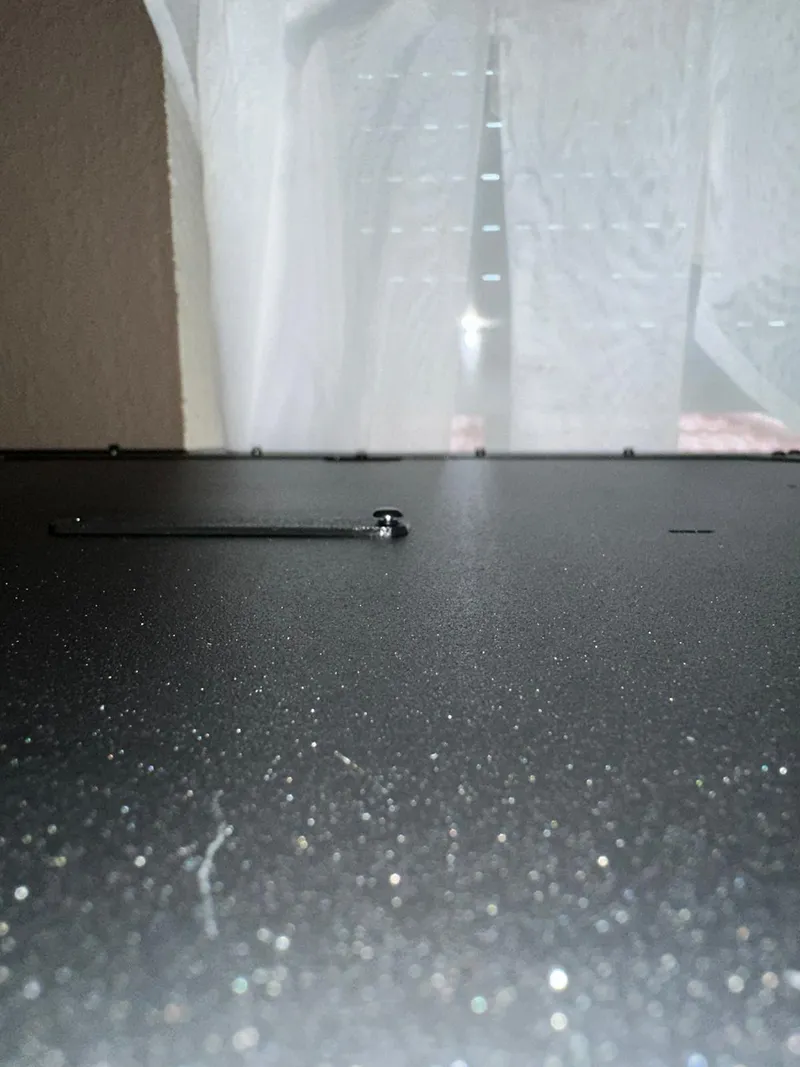
- Replace the old Top Hole Plug with the new one. Use the old rivets to fix it in place again
- Now Just put your PTFE Tube inside and your done. During Printing now the other tube wont get in your way
Originality of the Model
The author declares that this work is their personally original model
This model is licensed under the following terms:
Credit must be given to the creator
Only noncommercial uses of the work are permitted
Remixes must be shared under the same license
Models(1)
 Prusa Enclosure second FS guide.3mfDesigner
181.03 KB

2025-11-05
No more