


caliper


11

0
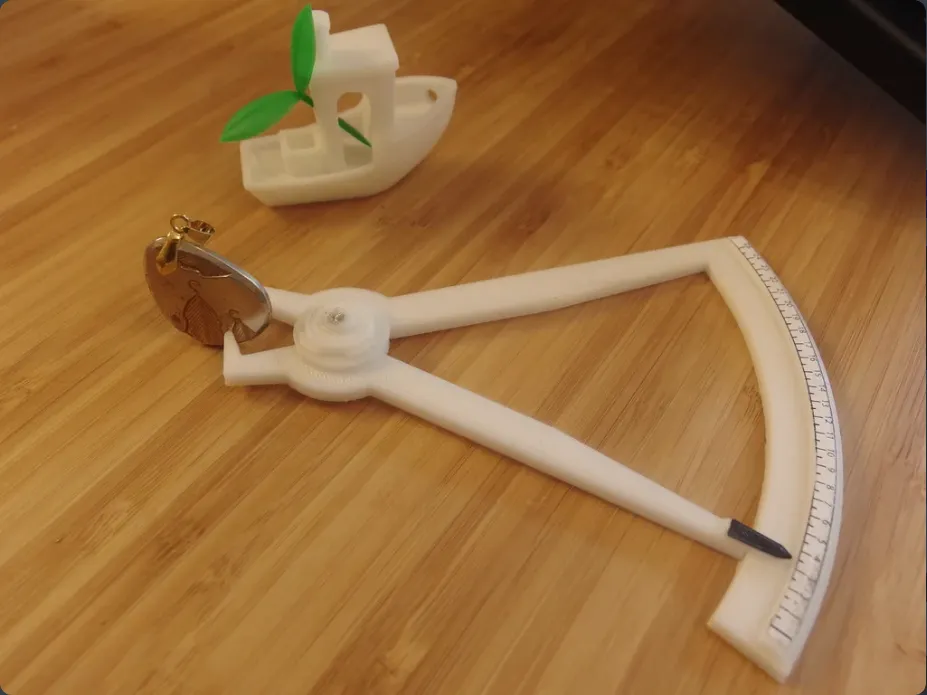
This is a quick 1 hr print of a functional thickness caliper. Thanks to its 4:1 ratio it can pretty reasonably measure within 0.5mm.
Use 50% or higher infill to get enough support inside - especially where the screw goes.
You will need a small wood screw to hold the 3 pieces together.The screw goes from the top where the washer/nut is. Have enough infill so you will not dislodge the post to which you will screw the screw but even it happens just use longer screw so it reach to main body.
It was designed and positioned so no support is needed.
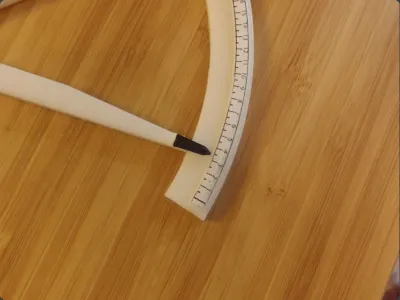
Instead of trying to write on the piece directly (which would impossible to calibrate to zero), I designed a decal that I cut and glued on the piece.
First assemble the caliper, look at the nose and see if there is any uneven surface from printing. Use sandpaper to make the surfaces of the measuring nose to match tightly. Then print and cut the decal from paper, use spray craft glue (they usually stick to everything) and then position the zero where the needle is.
The decal is in PDF in Letter paper size. Make sure when you are printing you don't have any scaling.
Originality of the Model
The author declares that this work is their personally shared model

This model is licensed under the following terms:
Credit must be given to the creator
Models(3)
 Caliper_All_in_one.stl
145.10 KB

2025-07-04
- caliper_decal.ai
69.53 KB
2025-07-04
- caliper_decal_letter.pdf
30.23 KB
2025-07-04
View all(3)