




recycle
Laptop
TV
Console


49

1
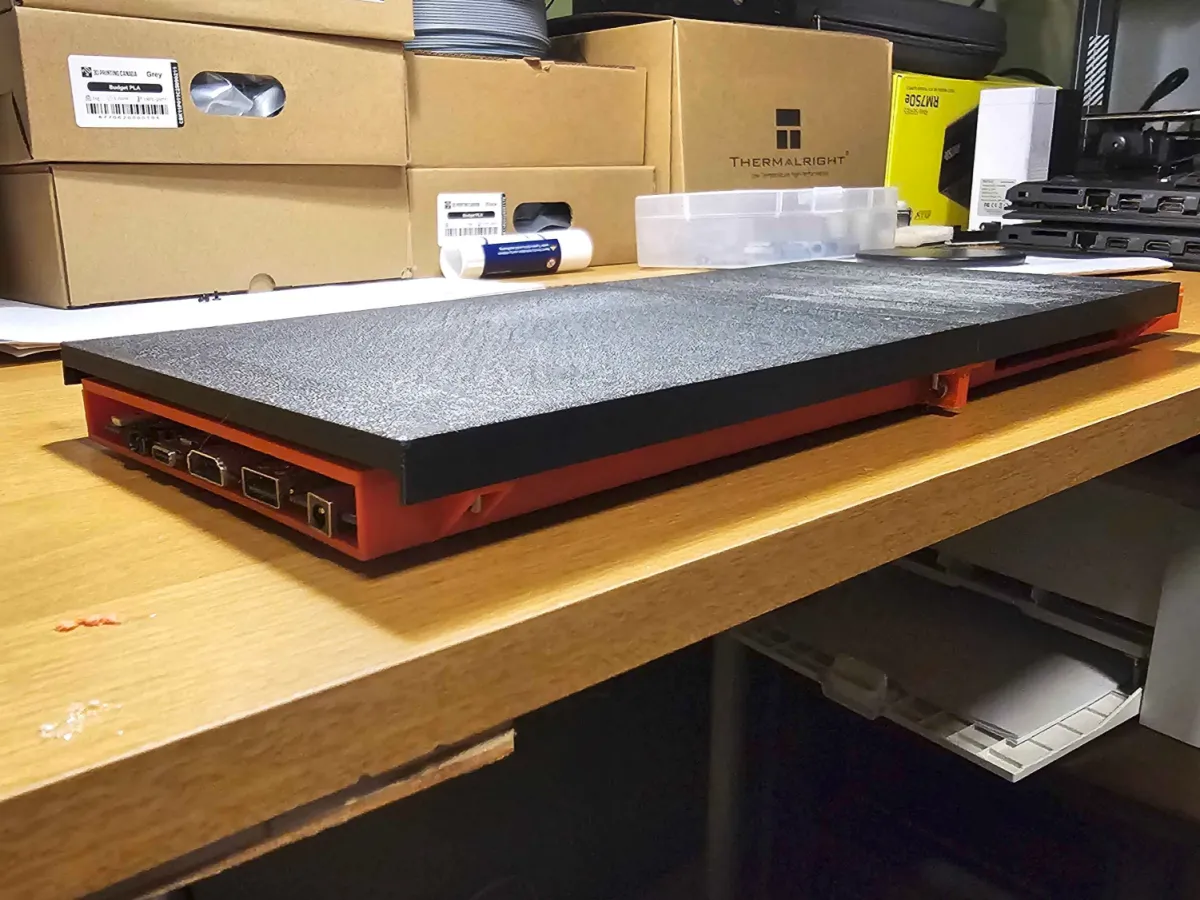
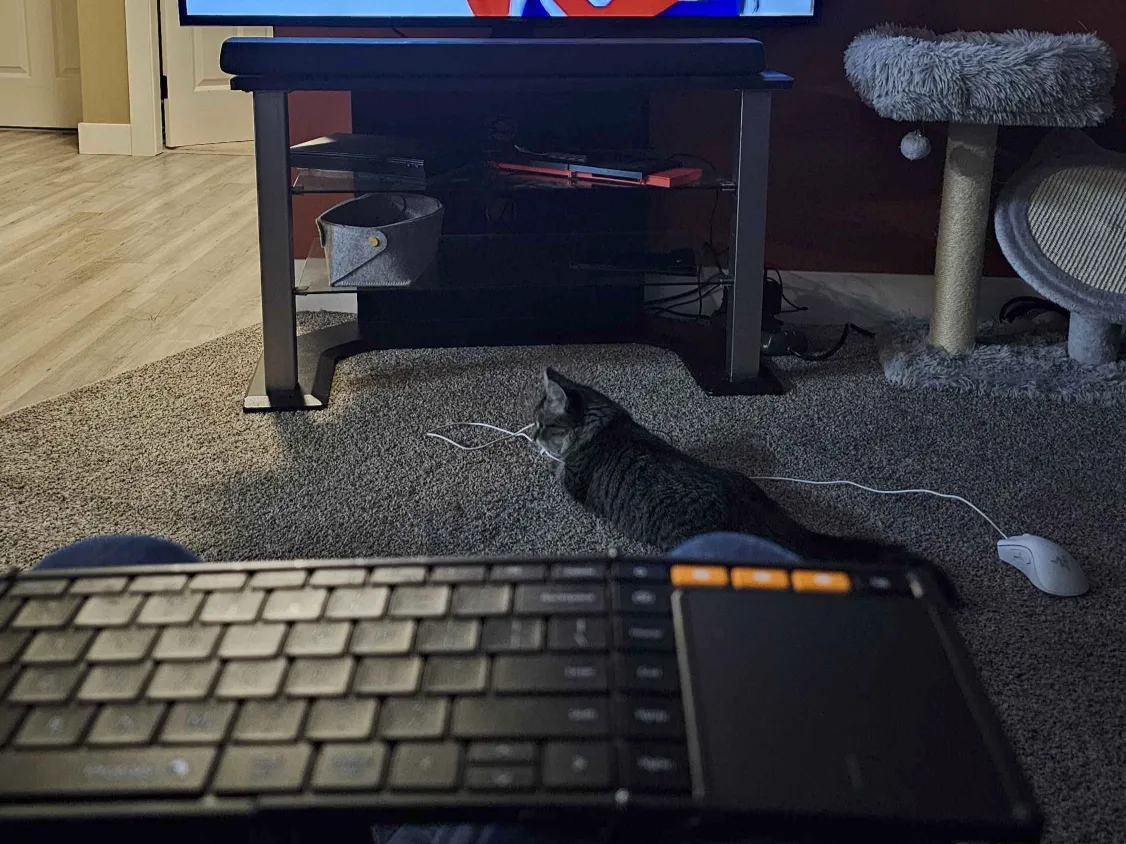
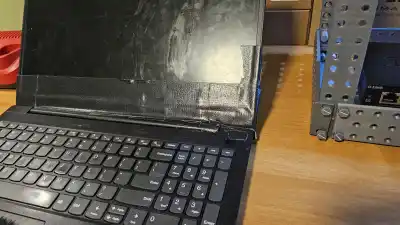
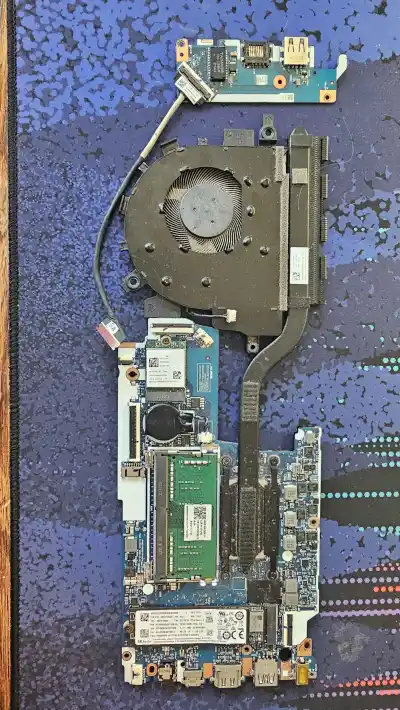
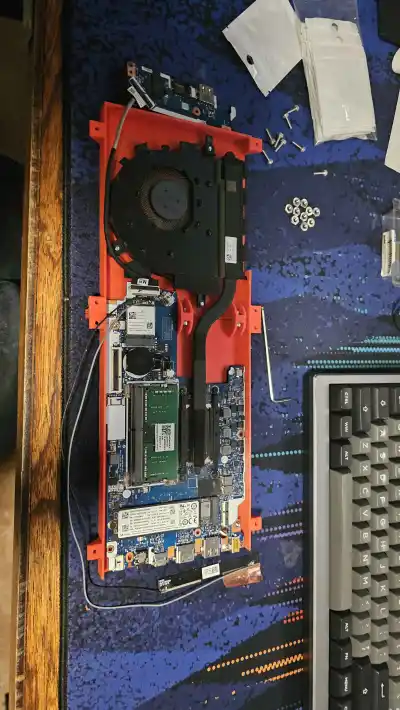
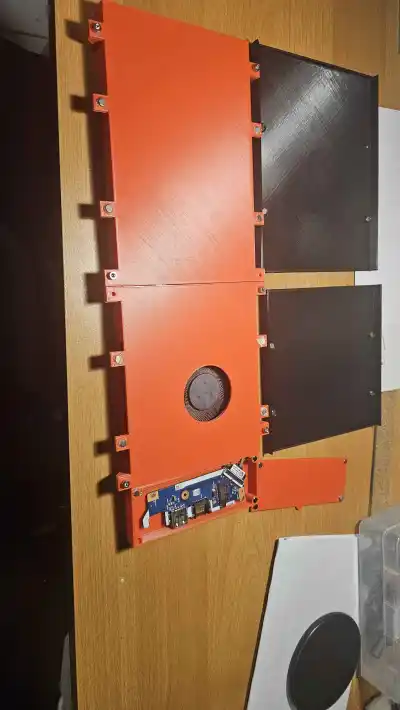
This is the Lenovo V15 laptop… or it was. The chassis of the laptop was destroyed, but the motherboard was totally functional, so I figured “What a waste to throw this out.” So I recycled it, making a shell for the laptop motherboard as seen above. It was honestly really straightforward. Now it's sitting under the TV as a console / media, hooked up to a Bluetooth keyboard / trackpad combo (the one I used was the Protoarc XK01. solid quality for what it is, maybe get a non-folding keyboard so its a bit more stiff.)
But that begs the question, isn't this specific build very niche and it would only work for a single laptop out of the thousands of models?
Well, yes. It was meant more for inspiration, to see and maybe learn from my mistakes, and see if you would want to do it yourself.
What are the use cases?
If you break a laptop screen, or the chassis is totally destroyed and you use it more as a PC than a laptop, you can turn it into a box and just hook it up to a monitor and use it like normal, although you'd also need a new keyboard and mouse for it.
OR You have a broken laptop that you want to use as an emulator on the TV for party games with friends, or just so you can watch Youtube on your Smart TV without ads… (what I do, and it works great!)
So, here's the biggest things I learned and what I might change if I did it again:
For one, figure out how you're going to power on the device before hand. For this specific model, the power button is on that daughterboard on the side, on the bottom. For cheaper lenovo models (and I'm sure other brands), they also have a lid sensor near the power button (since it activates the same circuit, I'd assume), so by passing a magnet over that, the device will also power on, but that only works if the device was powered on earlier, then shut down, because otherwise there is no power running through the circuit. If you design a power button that actually presses down the physical button, good work! Those damn things are tiny, and I hate them very much.
The design process was actually very simple. I had some m3 screws lying around, so that with a few tabs that I could just screw the m3 screws right into let me assemble it very easily. I didn't have any heat inserts, and those require extra tools, but it might be smart for if you want to clean it easier without breaking it. In total I probably spent 10 hours on what you see there, and ? hours printing it. And seriously, the design was not hard. I have been using Onshape for hardly 6 months for various small prints, and this didn't feel hard to make at all.
Make sure you have proper airflow for the cpu fans. As an IT guy, I've seen way too many devices get totally cooked because the fans were full of gunk or they didn't get any airflow because they were sitting in a bed or something. I used the m3 heads on the top as the offset, and just designed around that using some 5x2mm magnets to attach the top lid to the shell. Just, don't remove the hole and leave zero airflow at all… that'd be bad.
There's probably also a way to make it generally look better. I still need to make a bottom shell, so it's encased in black with a stripe of red down the middle, but that's for later me to deal with. Didn't really design a good way for me to attach the bottoms.
“What about the battery?”
I removed the battery, since I didn't see a use for it. Theoretically could put it in the build, but it takes up more space and weight, and I didn't see a use for it. Could be nice for portability or power backup if the power goes out (but what about the TV?). It's also just something else to go wrong, and the battery sitting like that will eventually go bad.
What OS are you using?
Ubuntu, because windows takes way too much ram and CPU to make any sense with such a low power device, and it also has cool softwares like Cemu, Dolphin, etc :)
How much did this build cost me?
Well, that laptop was free (see IT job), and I used about 500g of filament and about $0.67 worth of M3 screws. So like, 15$ total. Not bad for a console for the TV.
Future plans:
- parametric model that fits any laptop motherboard???
- someone else can gladly take this idea, because it will probably take me forever if I actually get around to it.
- a bottom shell for current model lol
- find a gaming laptop mobo and then put steamOS on it so it's a proper gaming console.
If anyone sees this and has any other suggestions of what to add, please let me know! I want to make a very good model for anyone to repurpose, and I want to make it good.
Bill of materials
- NameQuantityNotes
- 1M3 Screws15could really use any type of screw or fastener, just used what I had on hand. Or glue. glue works.
- 2Magnets 5x2 MM circle16Used for holding the black lid on without any visible screws
Originality of the Model
The author declares that this work is their personally original model
This model is licensed under the following terms:
No Copyright.
Models(8)
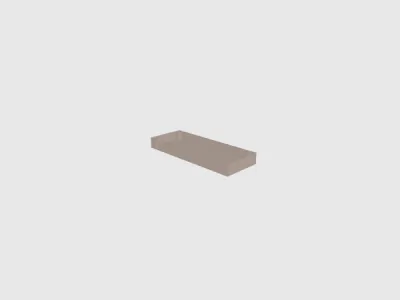 Daughterboard Box.stlDesigner
69.42 KB

2025-12-14
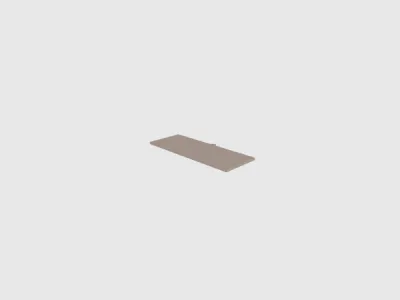 Daughterboard Top.stlDesigner
53.50 KB
2025-12-14
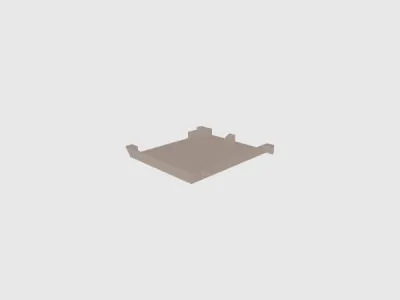 Left Side Bottom Mobo.stlDesigner
108.87 KB
2025-12-14
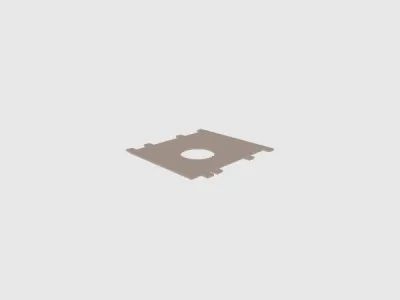 Left Side Top Mobo.stlDesigner
116.59 KB
2025-12-14
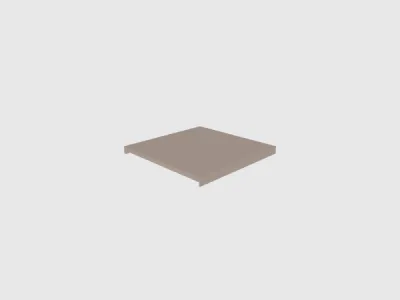 Left Side Top Shell.stlDesigner
93.44 KB
2025-12-14
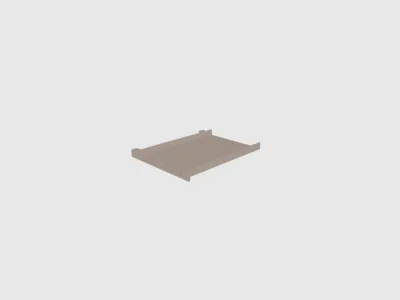 Right Side Bottom Mobo -.stlDesigner
108.48 KB
2025-12-14
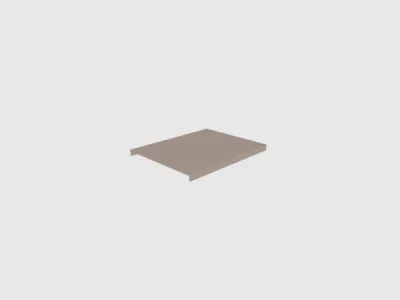 Right Side Shell.stlDesigner
93.44 KB
2025-12-14
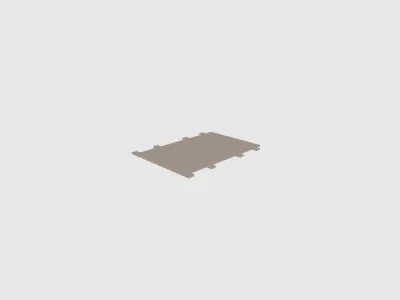 Right Side Top Mobo.stlDesigner
91.00 KB
2025-12-14
View all(8)


