




hdd
harddisk
server
19inch
hddenclosure
19inchrackmount

- 0.2mm layer, 3 walls, infill depends on model

7-disc
PETG
Designer

39

5
Hello,
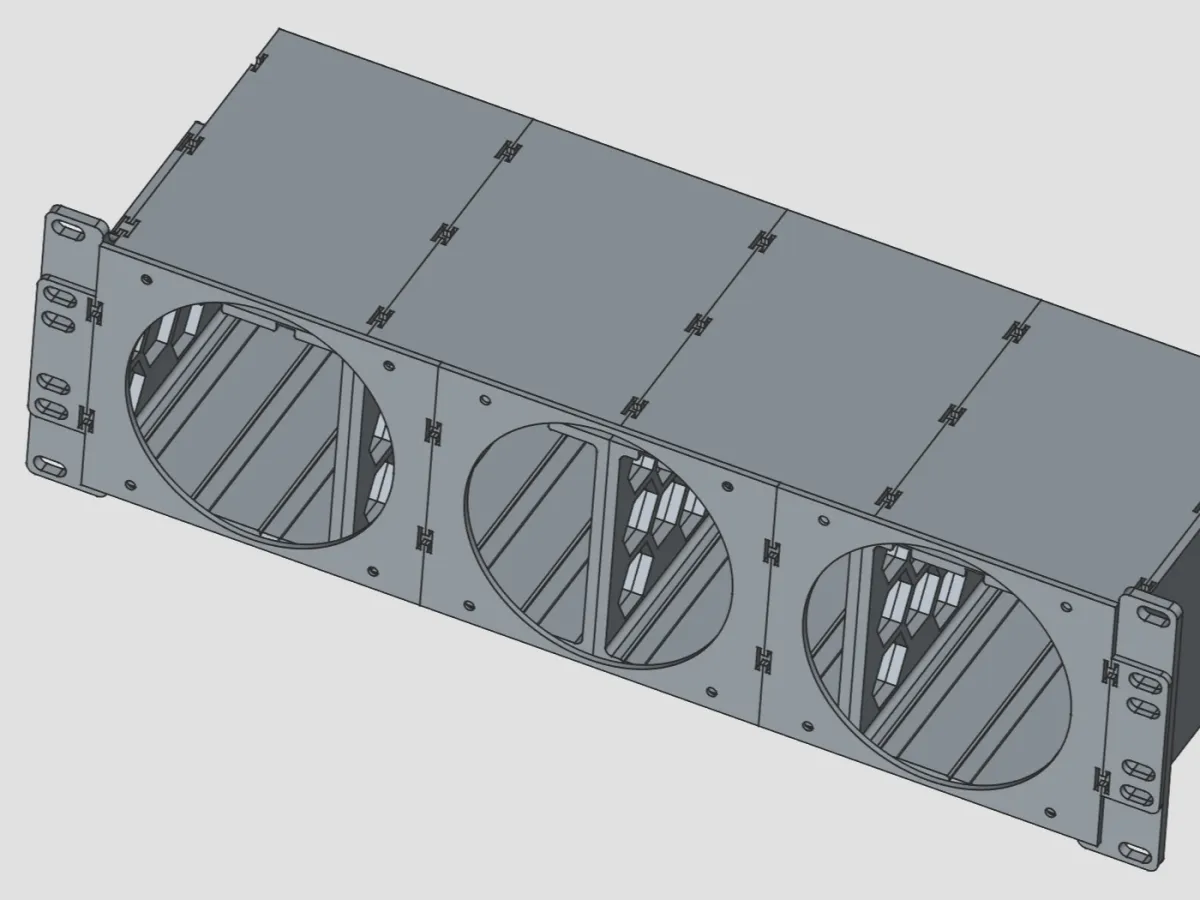
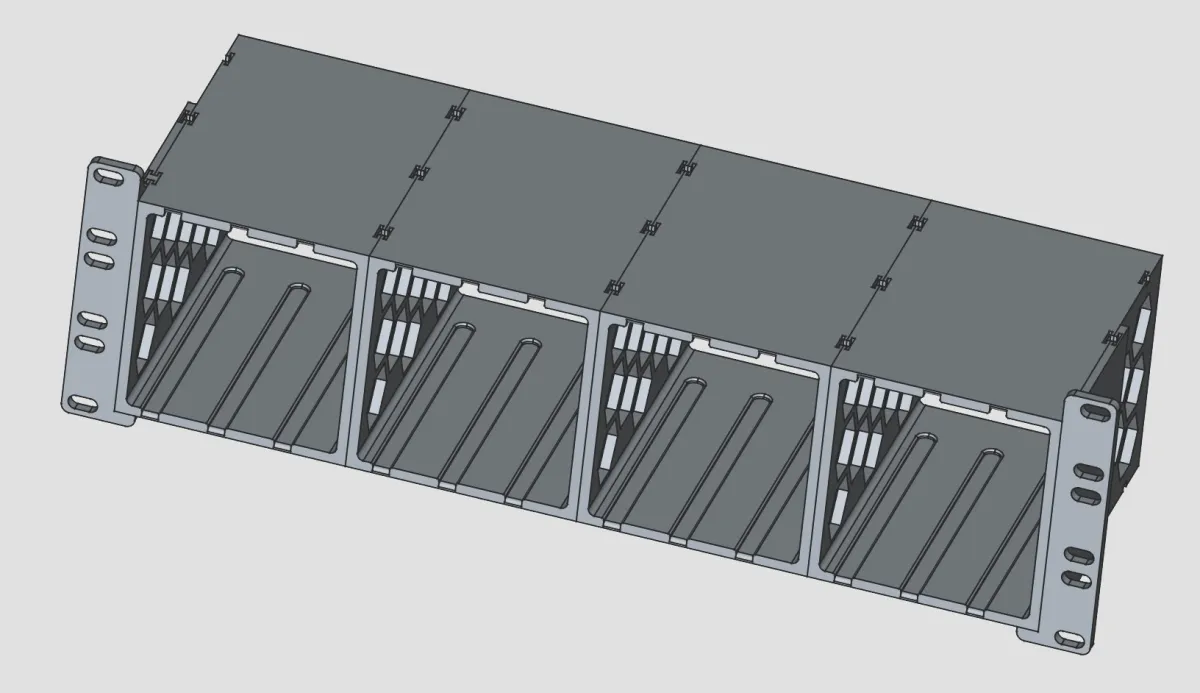
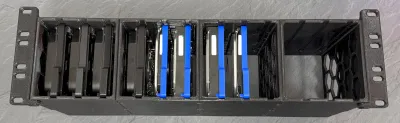
I have built a new version of my hard disk shelf.
First of all I would like to thank @JorySharr_2146962 for the idea and the constructive criticism during the design.
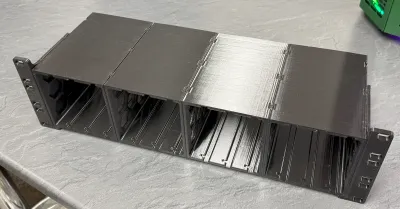
A total of 12 hard disks can now be installed. These are locked in the respective slot with the handle. The following parts are required for the complete print:
4x hard disk enclosure
1x rack bracket left
1x rack bracket right
12x handles
24x pins
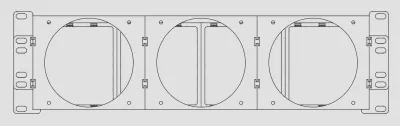
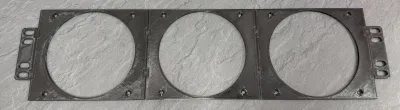
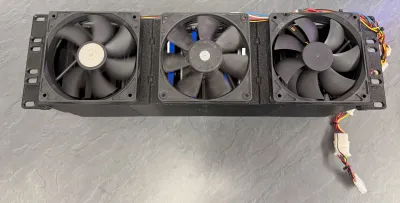
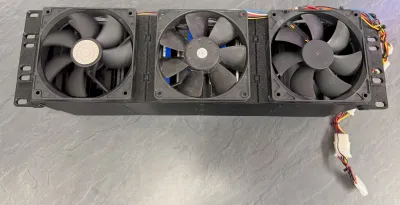
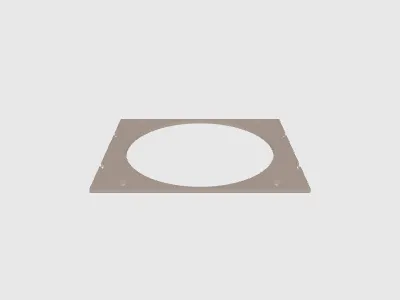
3x 120mm fan bracket
2x rack fan bracket
34x connectors
Print:
PETG with 3 walls, top and bottom
30% infill should be enough for the hard disk enclosures
50% infill for the rack mounts
10% should be enough for the rest
Supports are only necessary for the handles
Assembly:
Assemble the four hard disk housings with the connectors at the top and bottom. These should be pressed in with the end of a screwdriver, for example. Attach the respective rack mounts on the left and right with the same technology.
In the server rack, the top, bottom and the two holes in the middle of the 3U space must now be fitted with rack nuts. Then screw the housing into the rack, using screws at the top and bottom.
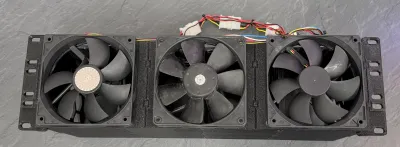
Install and wire all hard disks. Then assemble the fan brackets and the rack brackets provided with the connectors and screw on the fans. Finally, the entire fan bracket only needs to be screwed in front of the hard disks.
----------------------------------------------------------------------------
Hallo,
ich habe eine neue Version meines Festplattenshelfs gebaut.
Als erstes gilt hier mein Dank an @JorySharr_2146962 für die Idee und die konstruktive Kritik während des Entwurfs.
Es können nun insgesamt 12 Festplatten eingebaut werden. Diese werden mit dem Griff im jeweiligen Slot arretiert. Für den vollständigen Druck werden folgende Teile benötigt:
4x Festplattengehäuse
1x Rack-Halterung links
1x Rack-Halterung rechts
12x Griff
24x Pin
3x 120mm Lüfter-Halterung
2x Rack-Lüfter-Halterung
34x Verbinder
Druck:
PETG mit 3 Wänden, Top und Boden
30% Infill sollten bei den Festplattengehäusen reichen
50% Infill für die Rack-Halterungen
10% sollte für den Rest reichen
Supports sind nur bei den Griffen nötig
Zusammenbau:
Die vier Festplattengehäuse mit den Verbinder oben und unten aneinander bauen. Diese sollten z.B. mit dem Ende eines Schraubendrehers eingedrückt werden. Links und rechts die jeweiligen Rack-Halterung mit der selben Technik anbauen.
Im Server-Rack müssen nun im 3HE-Platz jeweils die oberen, unteren und die beiden Löcher in der Mitte mit Rack-Muttern versehen werden. Anschließend das Gehäuse ins Rack schrauben und dabei oben und unten Schrauben verwenden.
Alle Festplatten einbauen und verkabeln. Anschließend die Lüfterhalterungen und die dafür vorgesehenen Rackhalterungen mit den Verbindern zusammenbauen und die Lüfter anschrauben. Abschließend muss die gesamte Lüfterhalterung nur noch vor die Festplatten geschraubt werden.
Originality of the Model
The author declares that this work is their personally original model
This model is licensed under the following terms:
Credit must be given to the creator
Only noncommercial uses of the work are permitted
Remixes must be shared under the same license
Models(9)
 Fan_bracket.stlDesigner
253.99 KB

2025-09-02
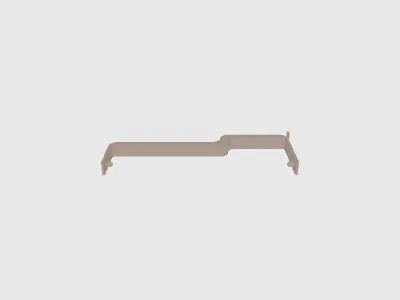 Handle.stlDesigner
680.45 KB
2025-09-02
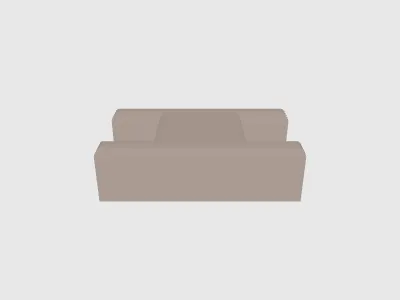 Connector.stlDesigner
12.78 KB
2025-09-02
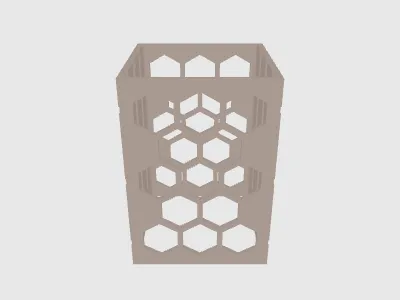 Enclosure.stlDesigner
1.82 MB
2025-09-02
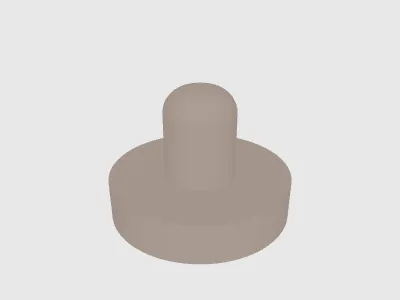 Pin.stlDesigner
330.84 KB
2025-09-02
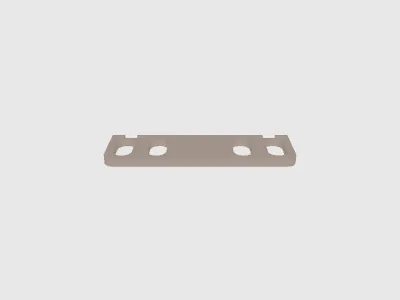 Rackmount_fan.stlDesigner
117.07 KB
2025-09-02
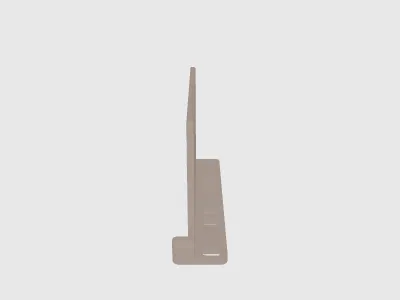 Rackmount_left.stlDesigner
348.32 KB
2025-09-02
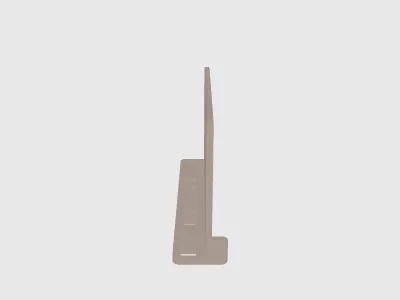 Rackmount_right.stlDesigner
348.32 KB
2025-09-02
- Rack_Neptune4pro.3mfDesigner
6.12 MB
2025-09-02
View all(9)


