




Venom
Dummy 13
Figurines
Articulated
Lethal
Action
marvel
sony
articulated 3d
head
accesories
design

- 0.15mm layer height, 2 walls, 20% infill

3-disc
PETG/PLA
Designer

167

50
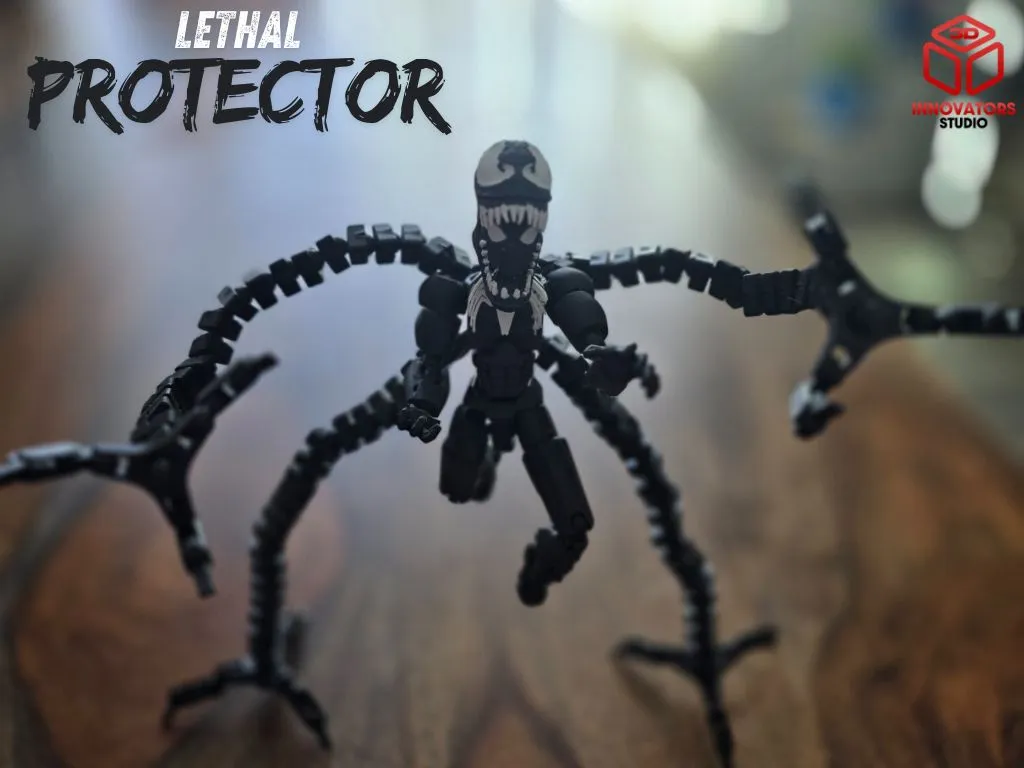
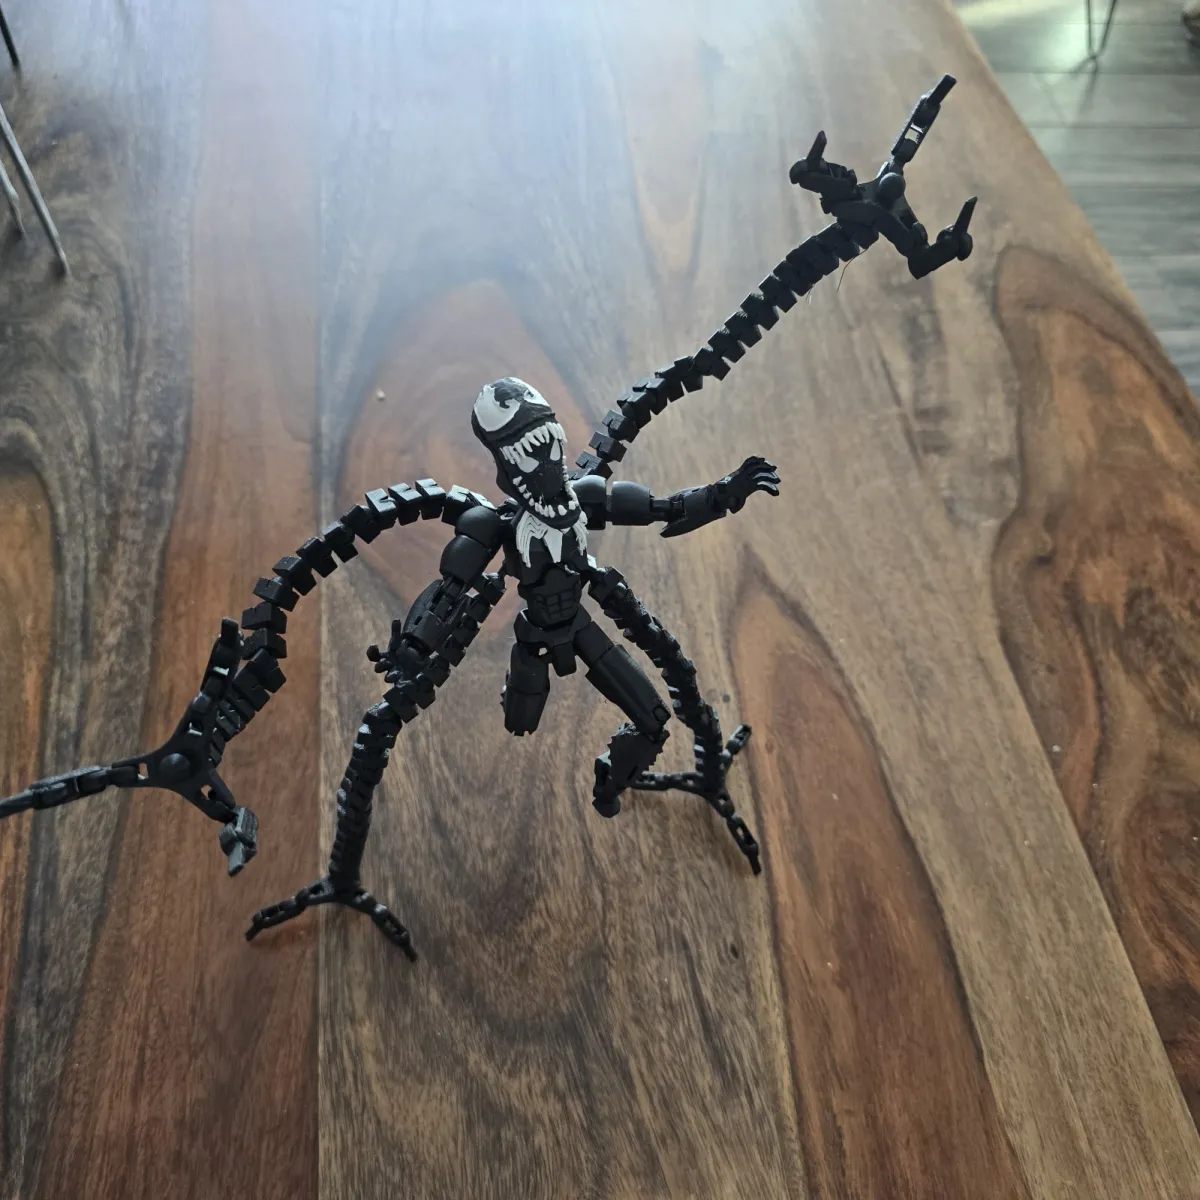
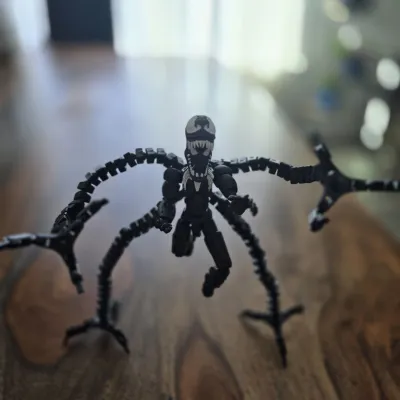
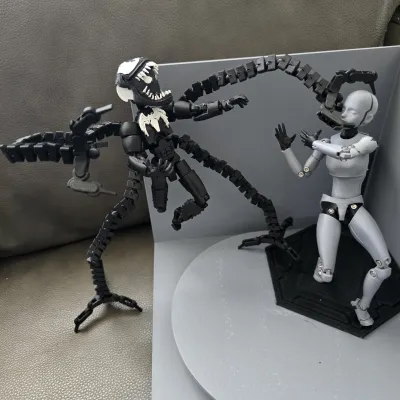
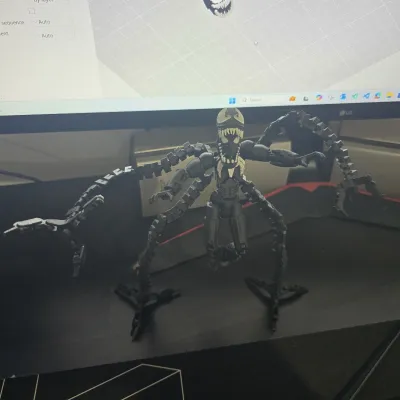
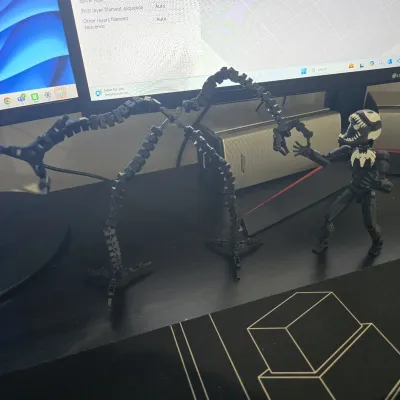
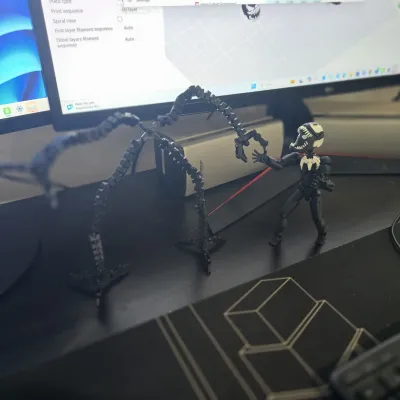
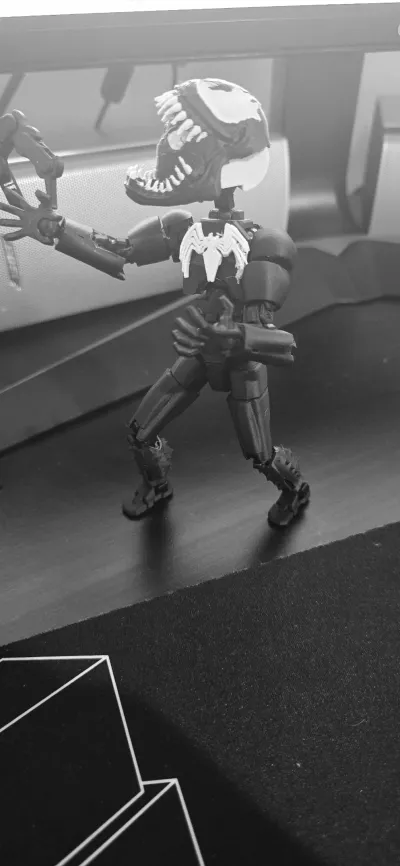
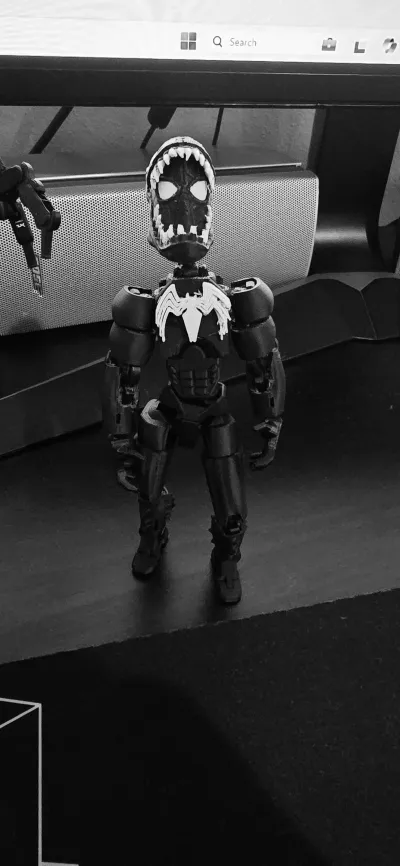
Hey Venom fans! Here's my take on "The Lethal Protector," a model inspired by the ever-iconic title that Venom proudly claims. This time, I've used the Dummy 13 Version 1.0 platform from Lucky 13 Toys with some personal modifications to make it a true symbiote powerhouse!
Visit my 3d Printing Essentials list in notion: Essentials List :)
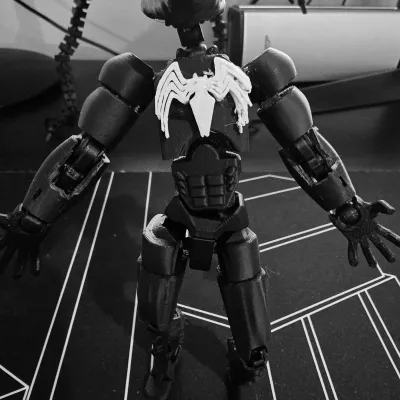
I wanted to bring Venom's infamous strength to life, so I sculpted a bit of muscle into the body armor. The skeleton is adapted from the Dummy 13 model, and I borrowed a head design from the talented puskar_karmakar on Thingiverse to get that unmistakable grin just right. 👅💀
Creators Shoutout
- Dummy 13 Version 1.0: Lucky 13 Toys
- Venom Head: Marvel Venom Spiderman Bust
Model Details
- Skeleton: Printed in PETG for durability and flexibility. PLA posed an issue with sagging and losing friction over time, so I opted for PETG, which keeps the articulations stable and makes posing easy.
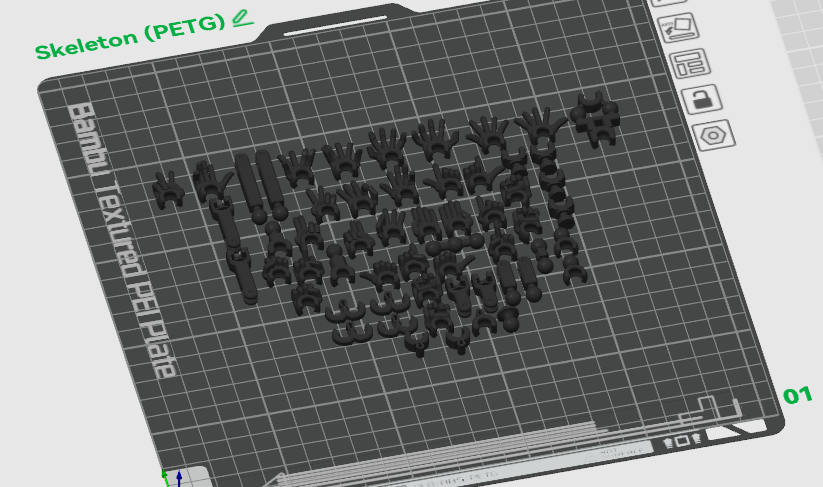
- Layer Height: 0.16mm for all plates for that smooth finish.
- Scale: 115% of the Dummy 13 Version 1.0 to bring this beast to life.
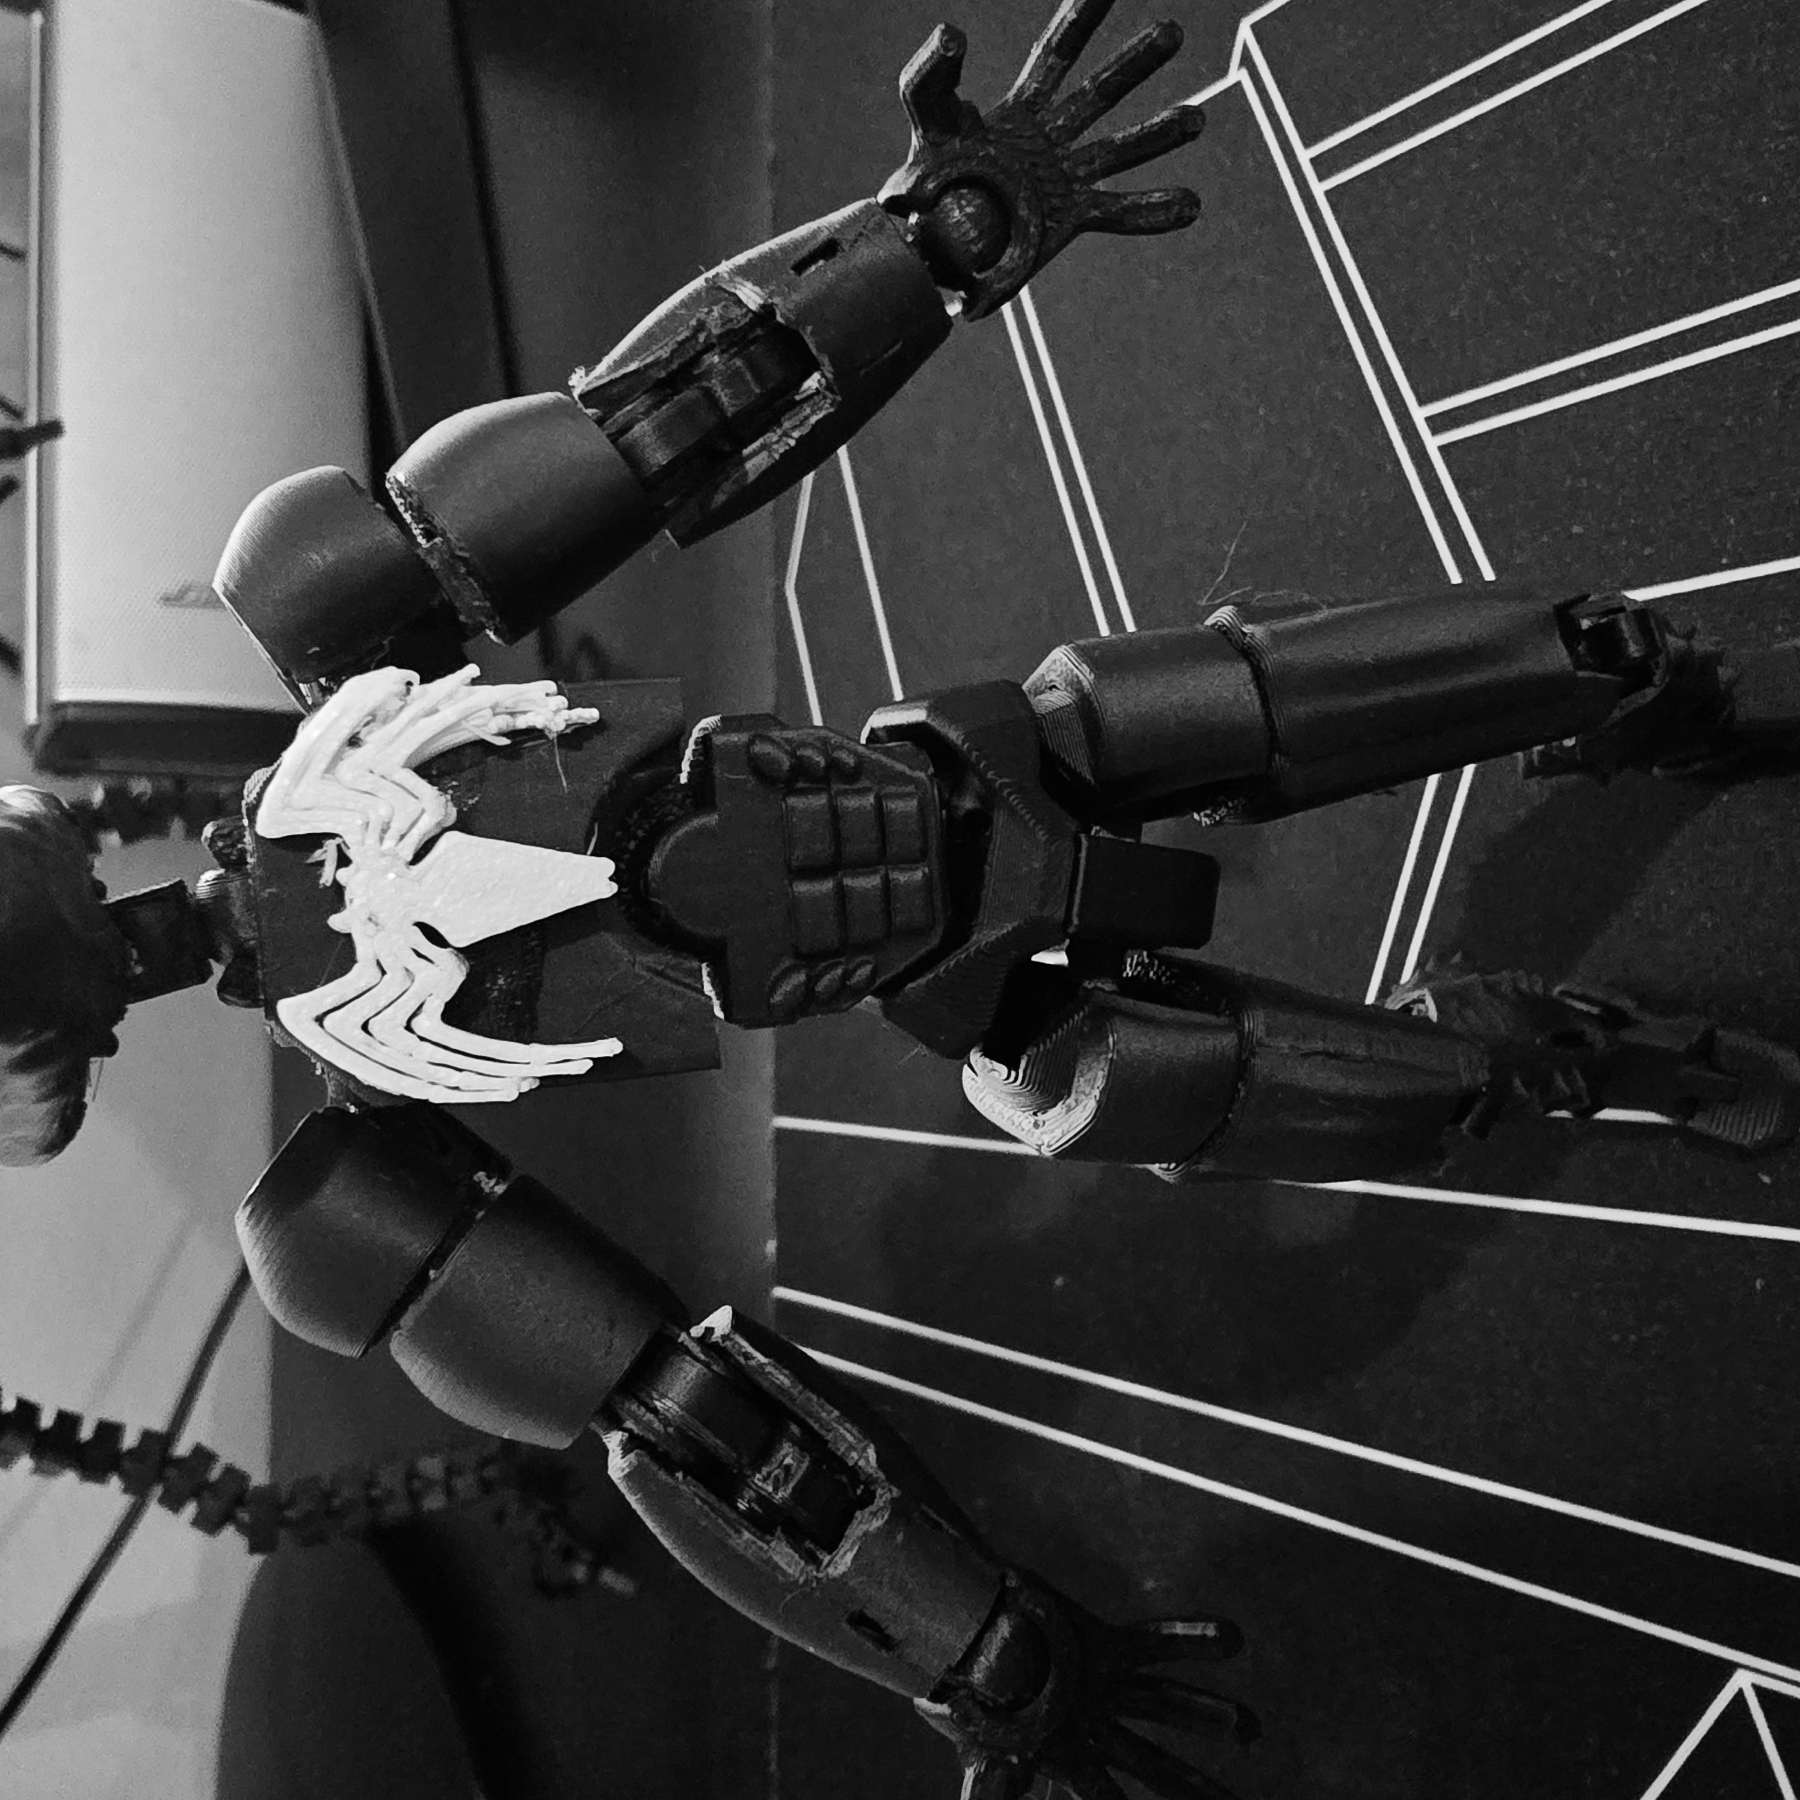
Armor & Chest Emblem
The chest emblem requires a little extra care—print separately with a brim to prevent warping. You’ll notice (photo on right ) that mine still had a bit of a warp on the left side. To prevent this, I recommend adding a brim to Plate 3.
Making the Perfect Fit: Adjustments & Tips
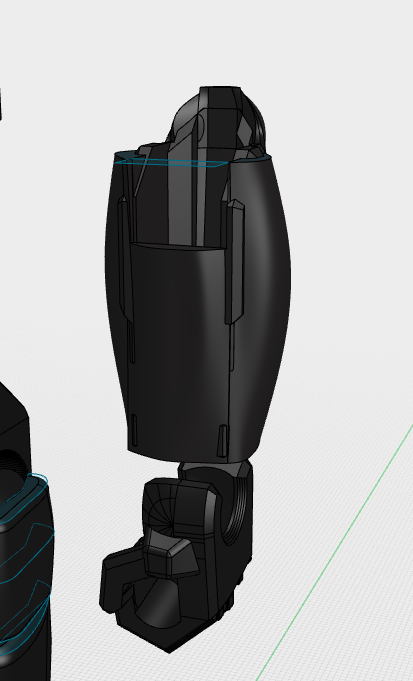
- Biceps: Initial print had a tight fit, so I enlarged the hole for easier assembly. If you still experience any issues, trimming a small amount should do the trick!
- Neck Pin: Scaling issues caused the neck pin to be slightly large, so I trimmed it down to fit the head comfortably. (Neck and head fitting photos here)
Head Positioning: The head is a bit loose, I made a negative part inside the Venom head to fit a regular Dummy13 head, my approach here is printing it with the extra neck and then securing it with glue. Finally trimming the excess from the print. See the picture below for reference:
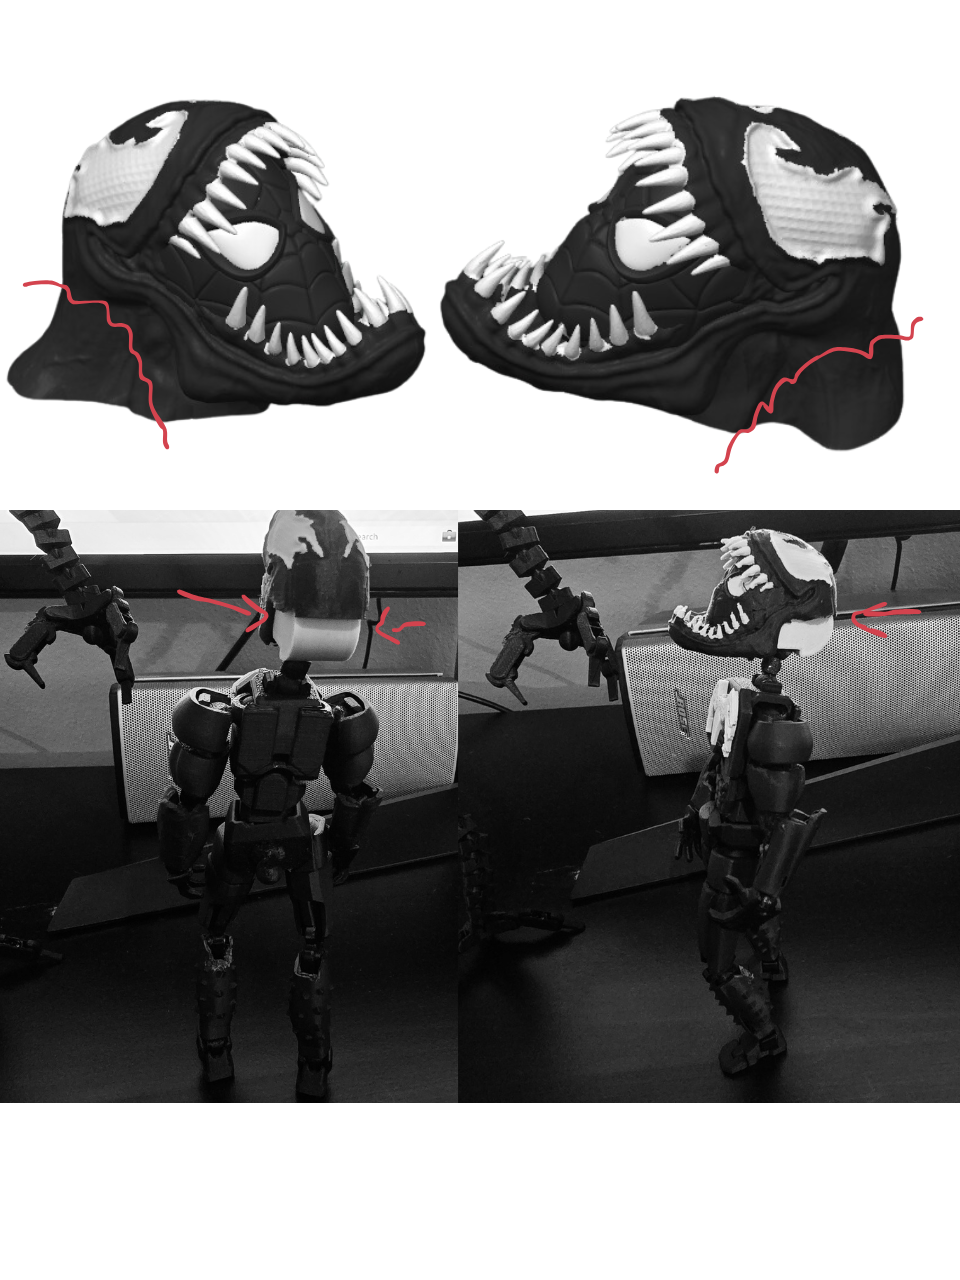
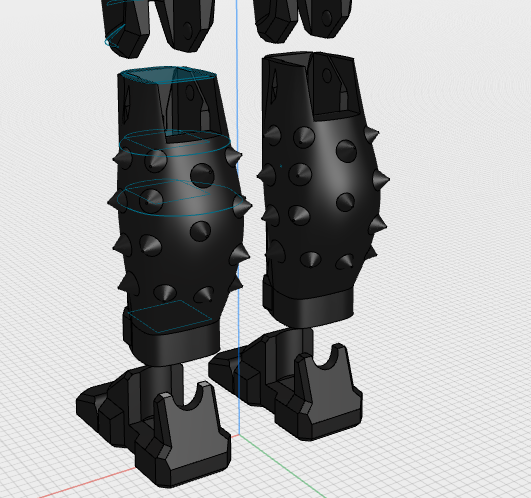
- Forearms and Calves: I’ve already removed material from these areas, but for the best fit, a bit more trimming might be necessary.
Bonus: The Extra Head
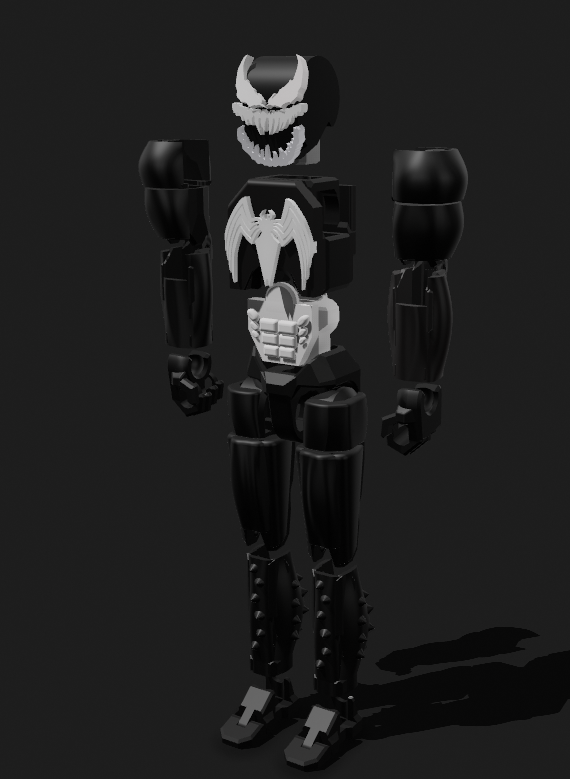
Here’s a little bonus I threw in—a different head design I originally tried but didn’t end up using. I kept it as a fun extra head, though it didn’t give off that perfect Lethal Protector vibe!
Plates & AMS Tips
Here’s the breakdown for efficient, waste-minimizing printing:
- Plate 1 (Skeleton): Printed in PETG for flexibility. Im using BambuLab PETG HC.
- Plate 2 (Armor): Printed in PLA. Im using BambuLab Black Matte PLA.
- Plate 3 (Chest Emblem and Accessories): For AMS settings:
- Prime Tower: Width: 10mm | Prime Volume: 20mm³ | Brim Width: 1mm
- Flushing Volumes: Set the multiplier to 0.50 to reduce filament flush during color changes.
🔧 Want to level up your 3D printing setup? I’ve compiled a list of essential tools, filaments, and accessories I personally use and recommend:
👉 🛠️ MS 3DPrints Essentials – Amazon Buying List (Affiliate link – helps support the project at no extra cost to you!)
💬 Feedback, remixes, and makes are always welcome. Let’s build smarter, together!
Originality of the Model
The author declares that this work is their personally remixed model
This model is licensed under the following terms:
Credit must be given to the creator
Models(1)
- Lethal_Protector_Beta.13_Project.3mfDesigner

23.36 MB

2025-05-28


