




Unzip Master
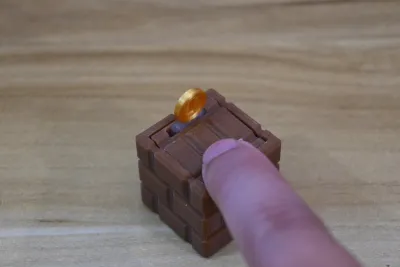
Press-and-release toy
Gaming Accessories
Mario bricks

- 0.2 mm layer height, 2‑wall walls, 15% infill density

4-disc
PLA
Designer

6

0
Write in front of some words:
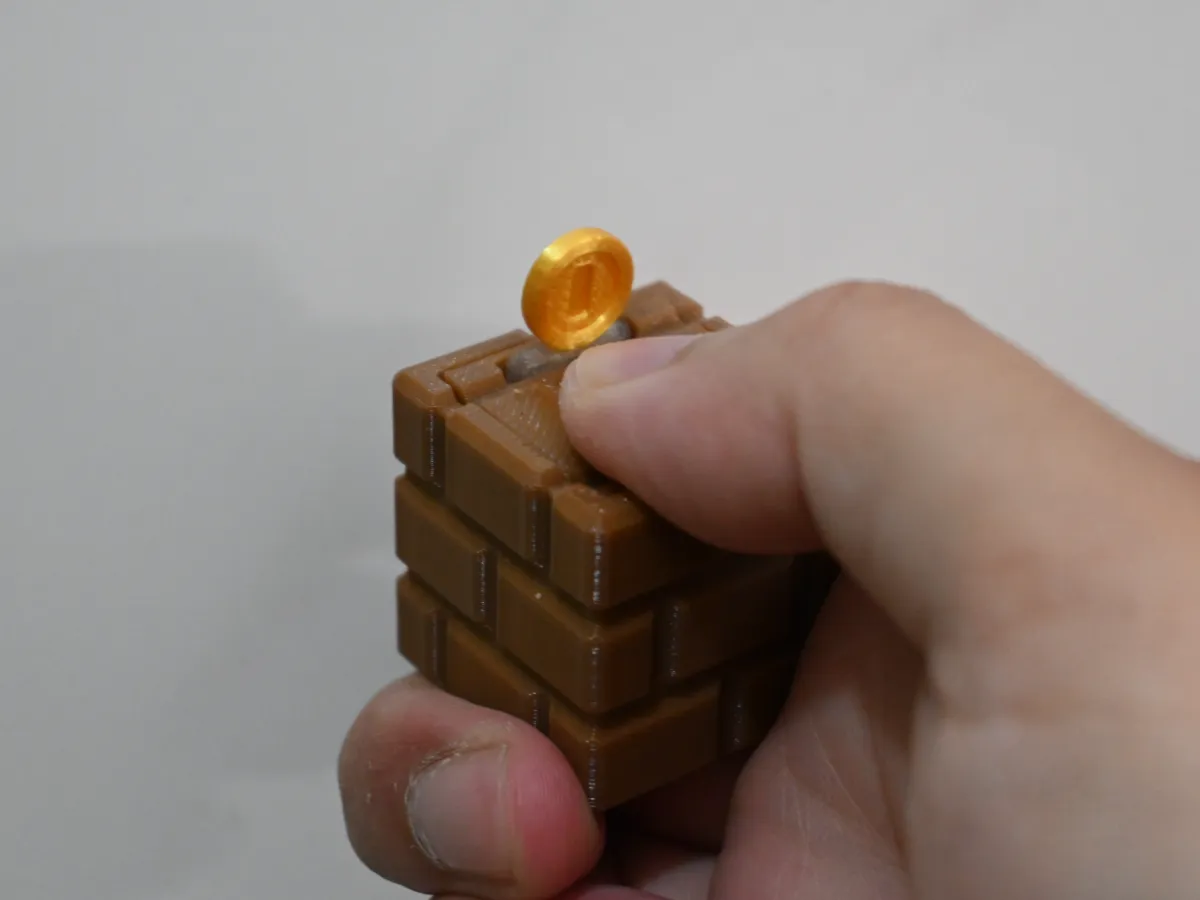
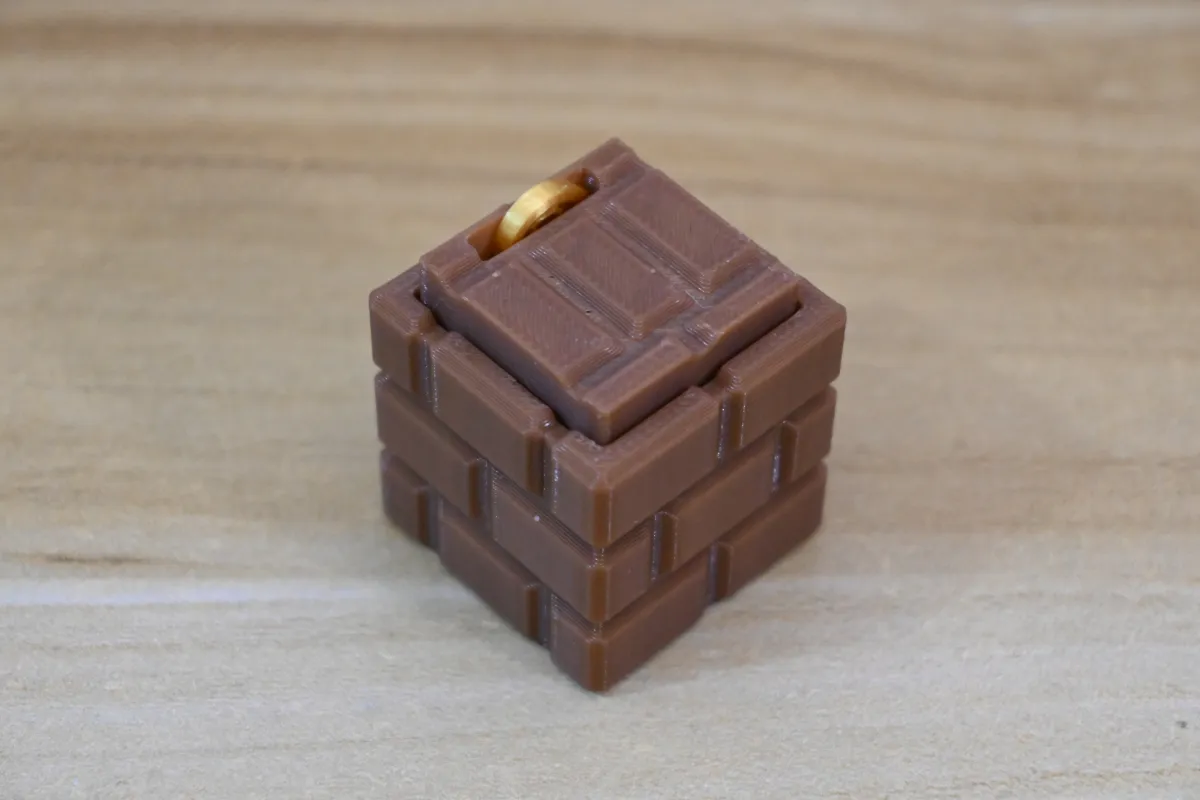
Hello, everyone, I am Green Deer Pigeon (the same name for the whole platform). As a multi-platform award-winning designer, what I bring to you this time is that you can press Mario Brick.
The inspiration for this design comes from a stone plastic clay work. I happen to have many mechanical keyboard shafts at hand. The shafts will have a paragraph feeling when pressed.The crisp sound is very decompressed, so it is preliminarily decided to use the shaft body as the pressing structure. However, a new problem ensues. Measured with a vernier caliper, the stroke of the shaft body pressing is only about 3.8mm, and the size of the gold coin is about 11 mm, which is not equivalent.Then there will be a situation, because the stroke of the shaft body is limited, pressing it will not fully expose the gold coin.
This problem once got me into a dilemma, even thinking about how to solve it when I went to bed at night. But inspiration always flashes inadvertently. I thought about using" principle of Leverage"in" laborious lever"To solve this problem. Through the laborious lever, we can press the stroke of 3.8mm, but we can raise the gold coin by 11mm. Moreover, after releasing, due to the joint action of laborious lever and gravity, the gold coin will automatically fall back. Next, we determined the "fulcrum" position of the lever by calculation and modeled it. In the modeling process, we continue to disassemble, divide and design the work, and strive to do the best in simplifying the printing difficulty, reducing support, improving smoothness, reducing noise, and improving aesthetics.
The entire process of thinking, designing, modeling, testing and optimizing took us 7 days, and we put a lot of effort and effort into it. I hope this work can bring you a better experience and feel the same happiness as us.
⚙[core technology breakthrough]
Precision calculation: 3.8mm travel 11mm gold coin lift
• Mechanical structure: laborious lever
• Double springback: lever mechanics + gravity self-fall design
Sub-piece design: support minimization + smoothness test
• Acoustic optimization: reduce noise
• Visual presentation: hidden mechanical structure minimalist aesthetics
✨"Final presentation effect"
Press to trigger the mechanical keyboard clear click → gold coin rises → automatically fall back to its position

Below is the graphic tutorial. (Video Tutorial Updating)
1. First print all the parts in the file, and also need to prepare a mechanical keyboard shaft, which is the shaft I have tested .https://e.tb.cn/h. TwiVi9ZzesF8YYB?tk=0pmCeOBTBe V

2. Take out the base and find the small notches of these two fulcrums.
2. Take out the base and find the small gap between the two fulcrums.

3. Align the two levers with the two pivot notches and put them in.
3. Put the two levers in alignment with the two fulcrum gaps.

4. Take out the mechanical keyboard switch body and put it into the square groove in the middle.
4. Take out the mechanical keyboard shaft body and install it into the middle square groove.

5. Face up the gold coin, use 502 to stick it with the transparent component. (Note: The two small bumps of the transparent component are facing the same as the gold coin number)
5. Gold coin face up, use 502 to paste it and transparent components. (Note: The two small protrusions of the transparent component are in the same direction as the gold coin numbers)


6. Put the pasted combination in the direction of the shaft body and put it at the end of the longer lever, that is, the side with the lowest lever.
6. Put the pasted combination in the direction of the shaft body into the longer end of the lever, that is, the lowest side of the lever.

7. Take out the lid and find the rectangular notch underneath.Take out one of the transparent lifting components and align it with the rectangular notch to install it. (Note: 502 glue is preferred)
7. Take out the lid and find the rectangular notch below. Take out one of the transparent lifting components and align it with the rectangular notch to install it. (Note: the use of 502 glue is better)


8.Take the assembled cover, align the end of the transparent component with the shortest end of the lever (i.e., the highest point of the lever). Position the coin to align with the opening at the top, and center the shaft with the cover. Once all three components are properly aligned, press them firmly into place.
8. Take out the combined cover. The transparent component end is aligned with the shortest end of the lever, I .e. the highest part of the lever. The gold coin is aligned with the opening at the top. The shaft body is aligned with the cover in the middle. The three are aligned and can be installed by force.


9. The installation is successful ~ press down, the gold coin can be raised, and let go can be fallen. It will be smoother to play a few more times~
9. Successful installation ~ Press down, the gold coin can rise and fall back when you let go. Play a few more times will be more smooth oh ~

Originality of the Model
The author declares that this work is their personally original model
This model is licensed under the following terms:
This work is licensed under a Standard Digital File License. Digital files have a strict non-commercial, personal use only license.
You shall not share, sub-license, sell, rent, host, transfer, or distribute in any way the digital file or 3D printed versions of this object, nor any other derivative work of this object in its digital or physical format (including remixes of this object). You can not host these files on other digital platforms, web stores or cloud repositories. The objects may not be used in any way whatsoever in which you charge money, collect fees.
Models(1)
- 青鹿鸽作品-可按压马里奥砖.3mfDesigner

200.11 KB

2026-06-29


