




Magnet
Magnetic Force
Stirring
Magnetic stirrer

- Magnetic Stirrer A

1-disc
PLA
Designer

5

1
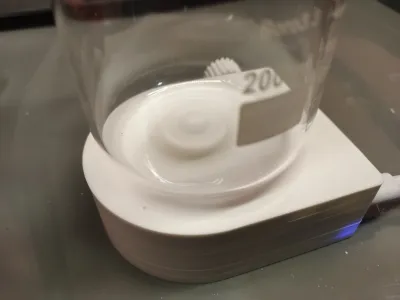
The magnetic stirrer I bought from PDD broke after only half an hour of use—the charging port had come unsoldered, and upon disassembly I found that the soft-pack lithium battery inside was even swollen. Fortunately, the seller proactively issued a full refund, which is truly commendable.
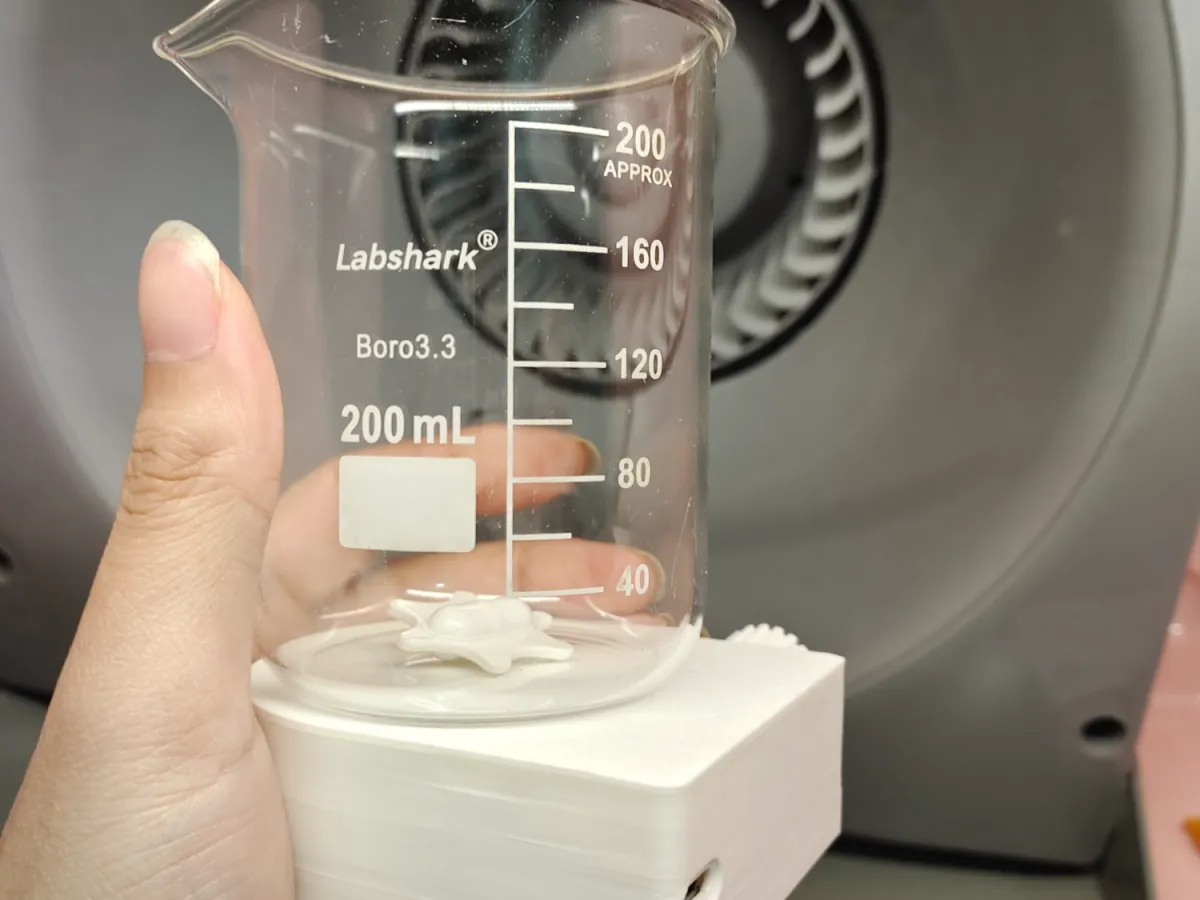
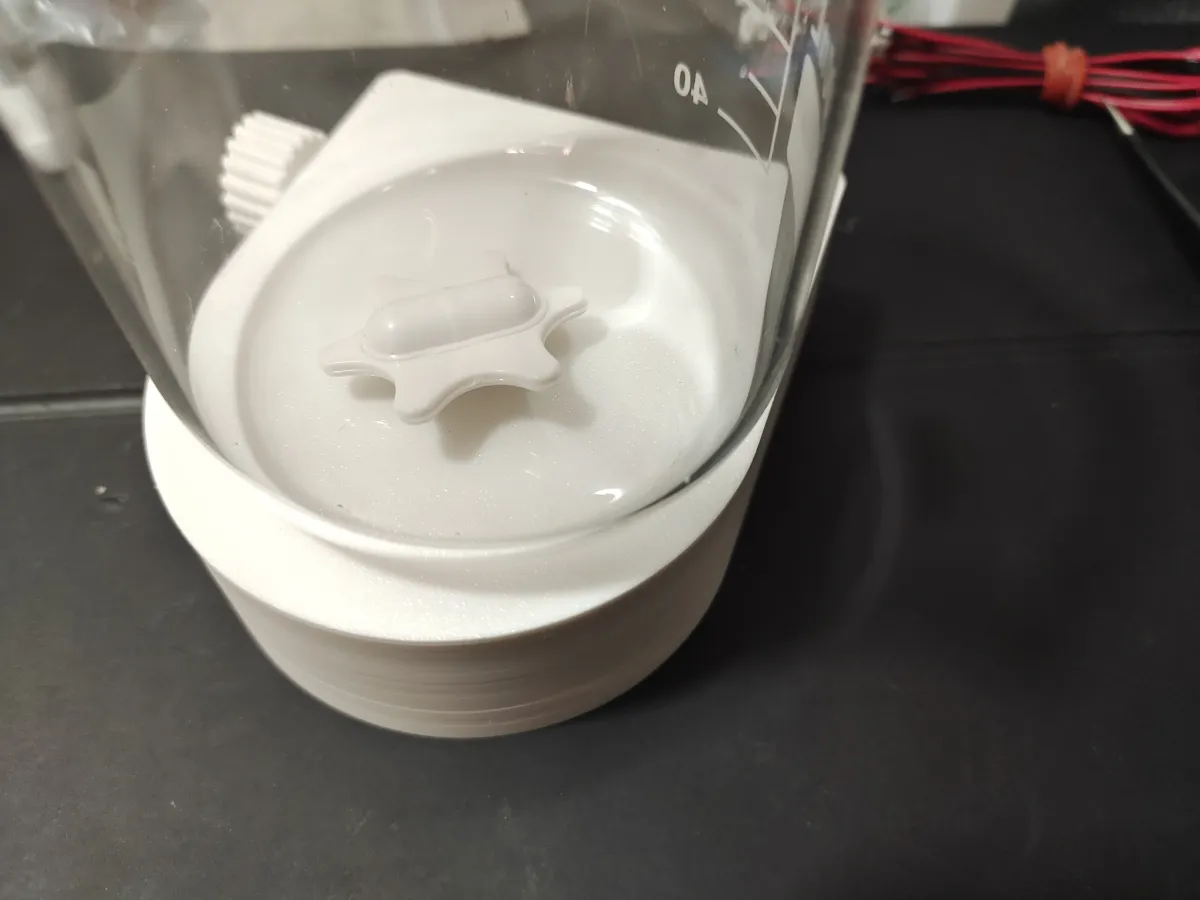
After properly disposing of the soft-pack battery as hazardous waste, I took it apart and discovered that, in addition to the battery, there was also a charging board (likely outputting 3.3 V), an RC300 DC motor, and two magnets. I happened to have a Type-C dongle and a PWM speed controller left over from a previous project, so I quickly cobbled together a plug-in version. Powered by 5 V, the maximum rotational speed is much higher than before, and I’ve added the ability to adjust the speed.
This is the magnetic stirrer I bought from PDD.
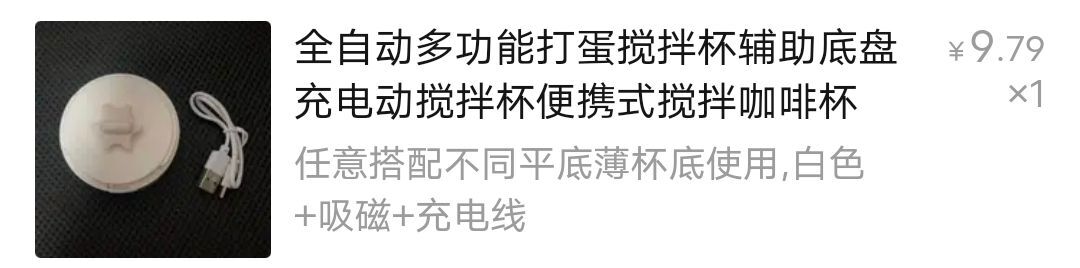
Of course, not everyone is so lucky; here are all the components you’ll need:
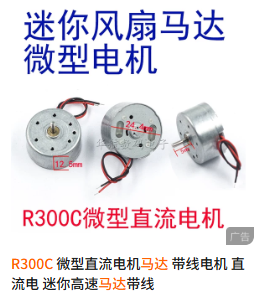
1. RC300 DC motor (if you’re worried the standard wiring isn’t long enough, buy one with terminals and extend the wire using a matching female terminal—soldering enthusiasts can simply solder on a longer wire).
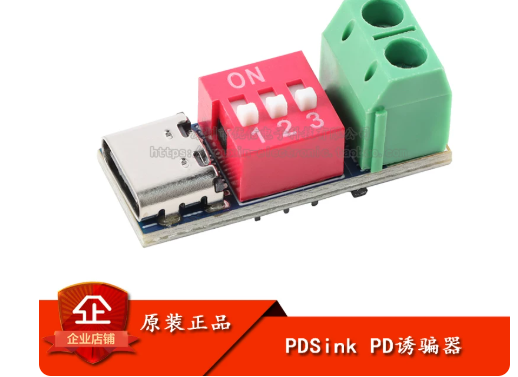
2. Type-C dongle
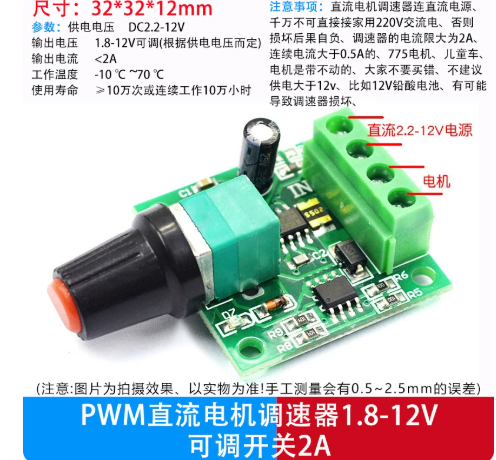
3. PWM speed controller
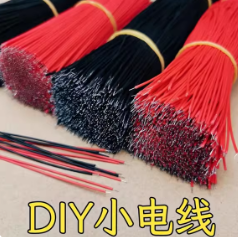
4. Wiring
5. N52 magnets, 6 mm in diameter and 2 mm thick (I used ones I’d dismantled; this size should be sufficient).

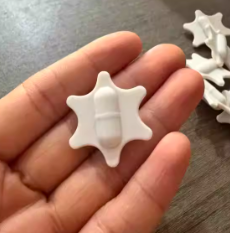
6. Magnetic rotor
Extra tip:
If you’re working with the same model of magnetic stirrer, the wiring is usually long enough—simply remove the MX1.25 terminals from the motor and connect the wires to the PWM speed controller. If the wiring isn’t long enough, purchase a matching MX1.25 female connector and extend the wire accordingly.
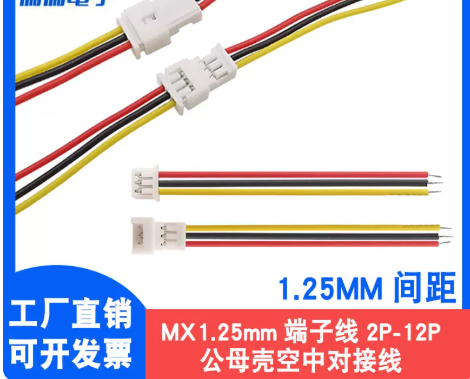
The RC300 motor with terminals may also use PH2.0 connectors; the difference in size is quite obvious, or you can measure the spacing to confirm. In that case, purchase a matching female connector and extend the wire.
Installation instructions:
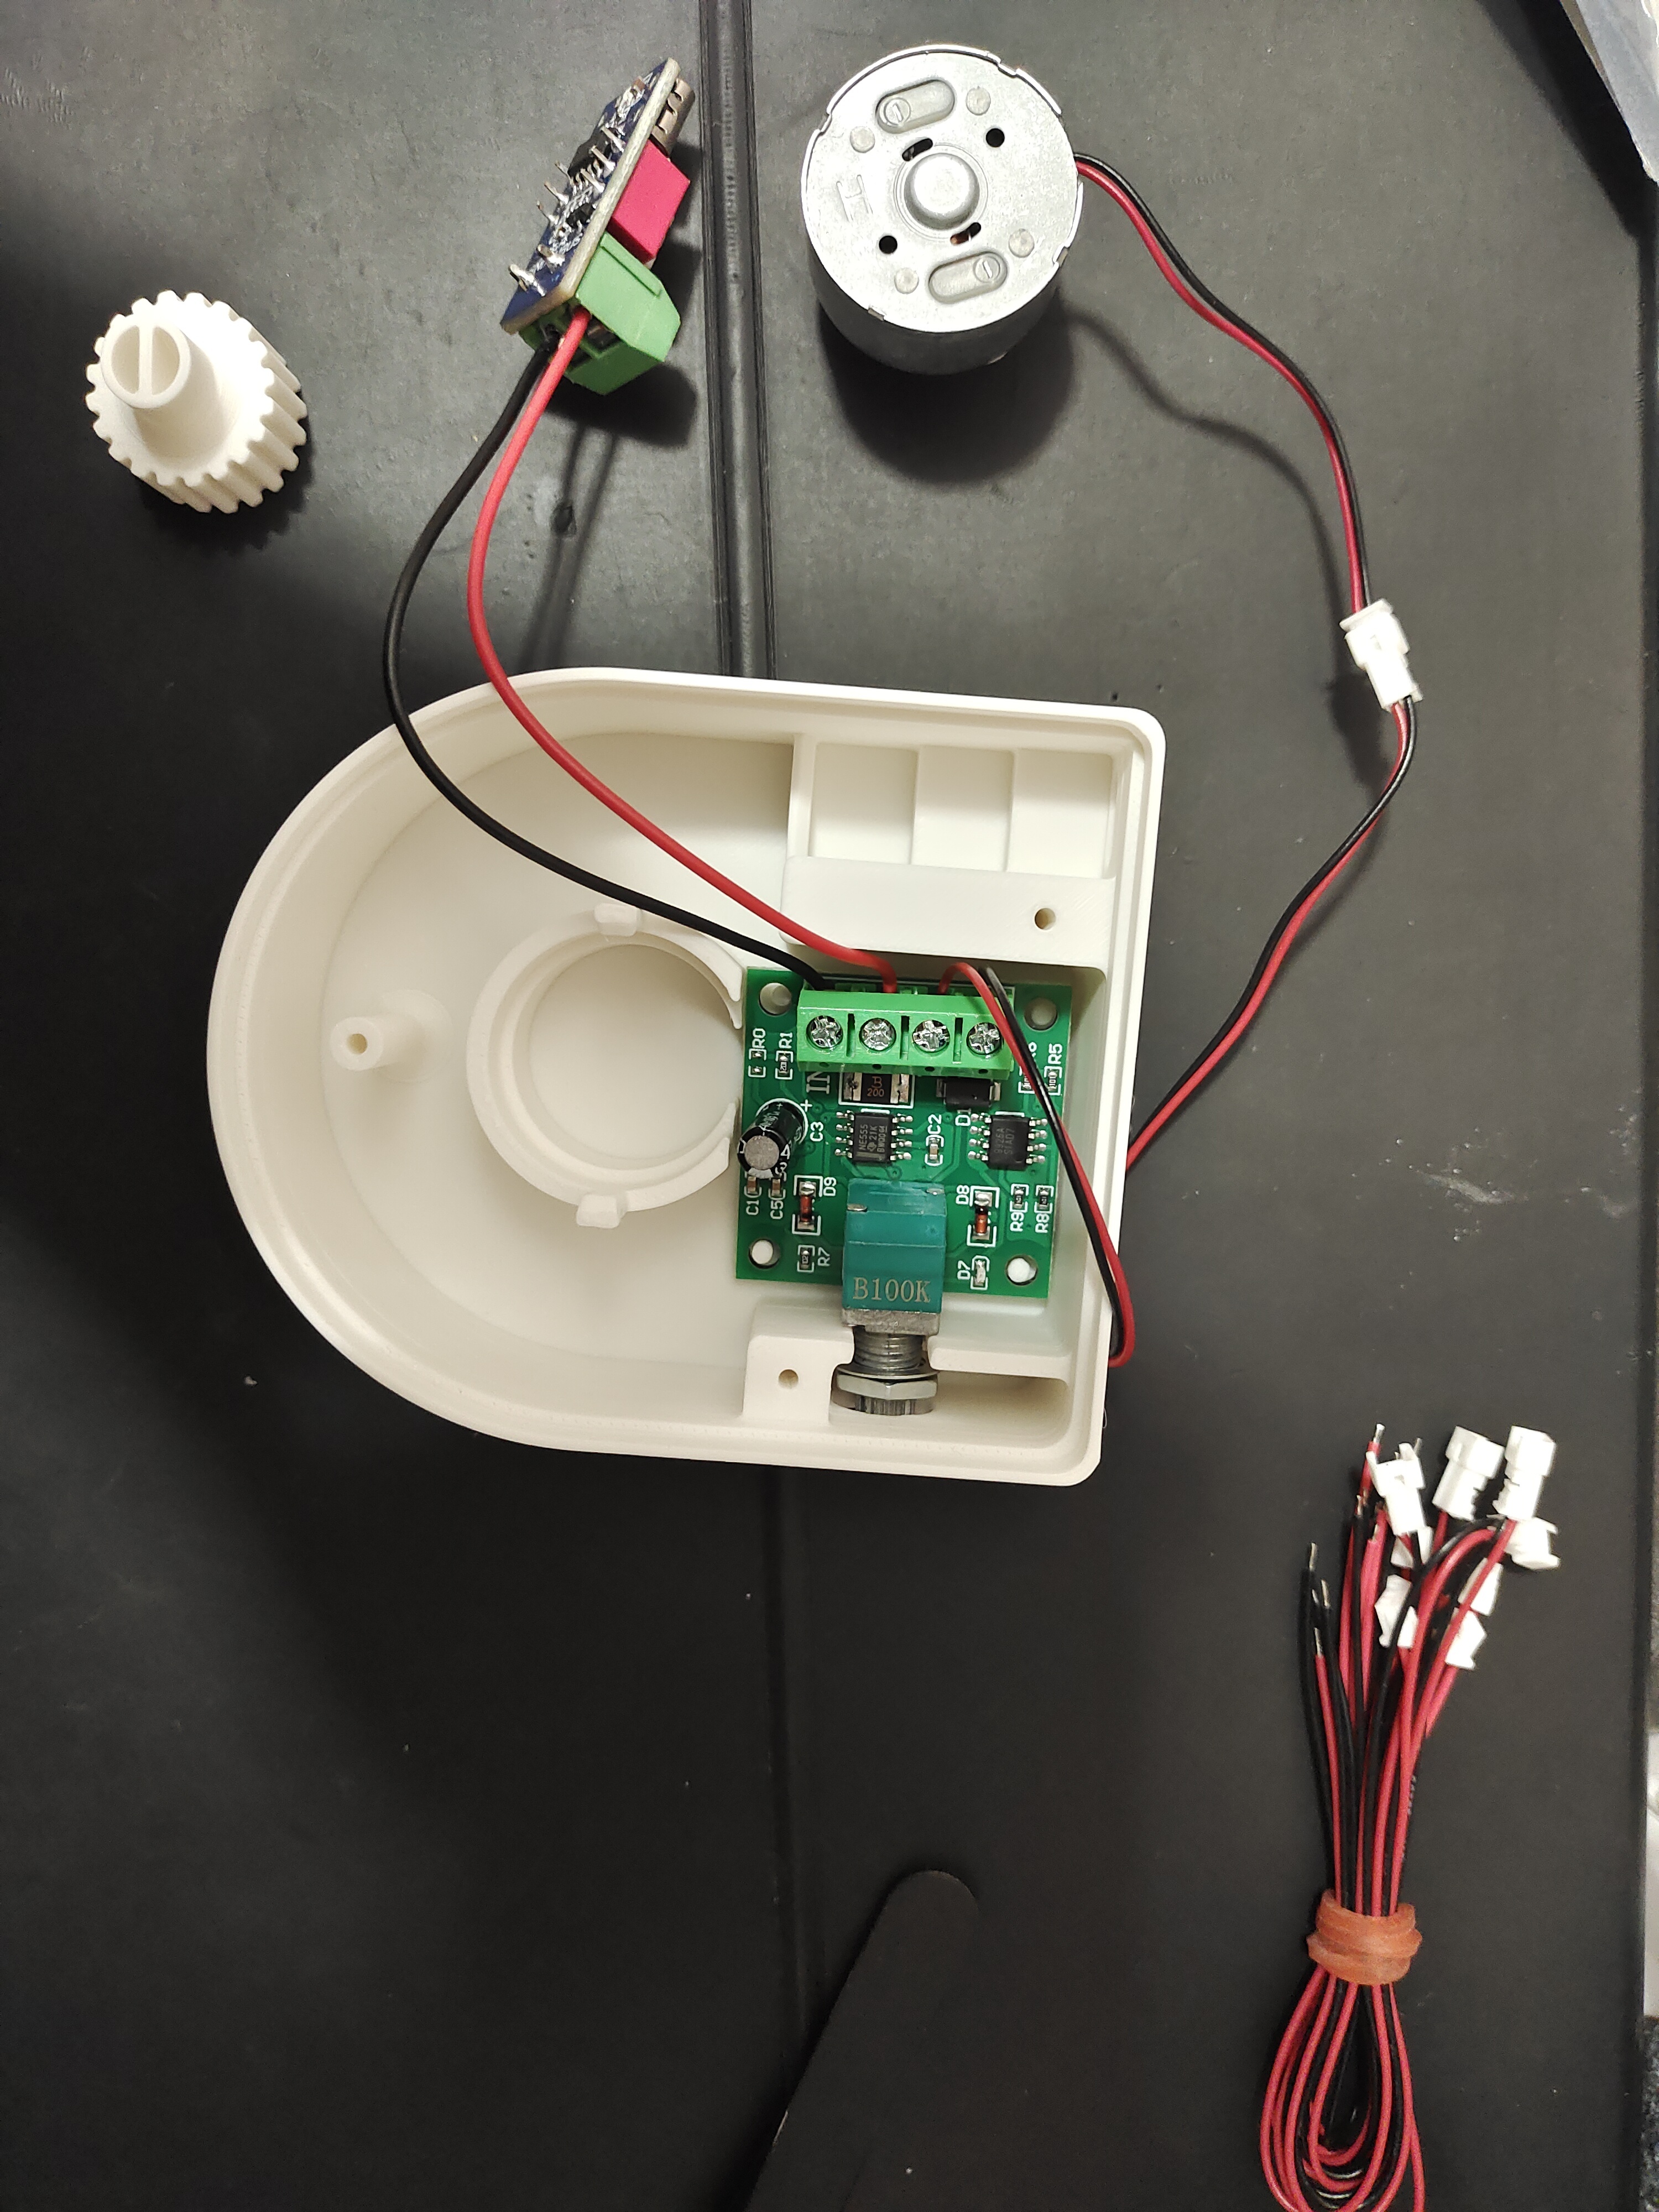
1. Connect the wires as shown in the diagram, placing the speed controller in the indicated position. Be sure to thread the nut that secures the speed controller onto the controller itself. Set the dongle’s DIP switch to 5 V (details can be found on the product page or by contacting customer service). Attach the magnets to the assembly, making sure they’re oriented with opposite poles facing up—one N pole and one S pole—and then secure them to the motor (if they feel loose, apply some glue).
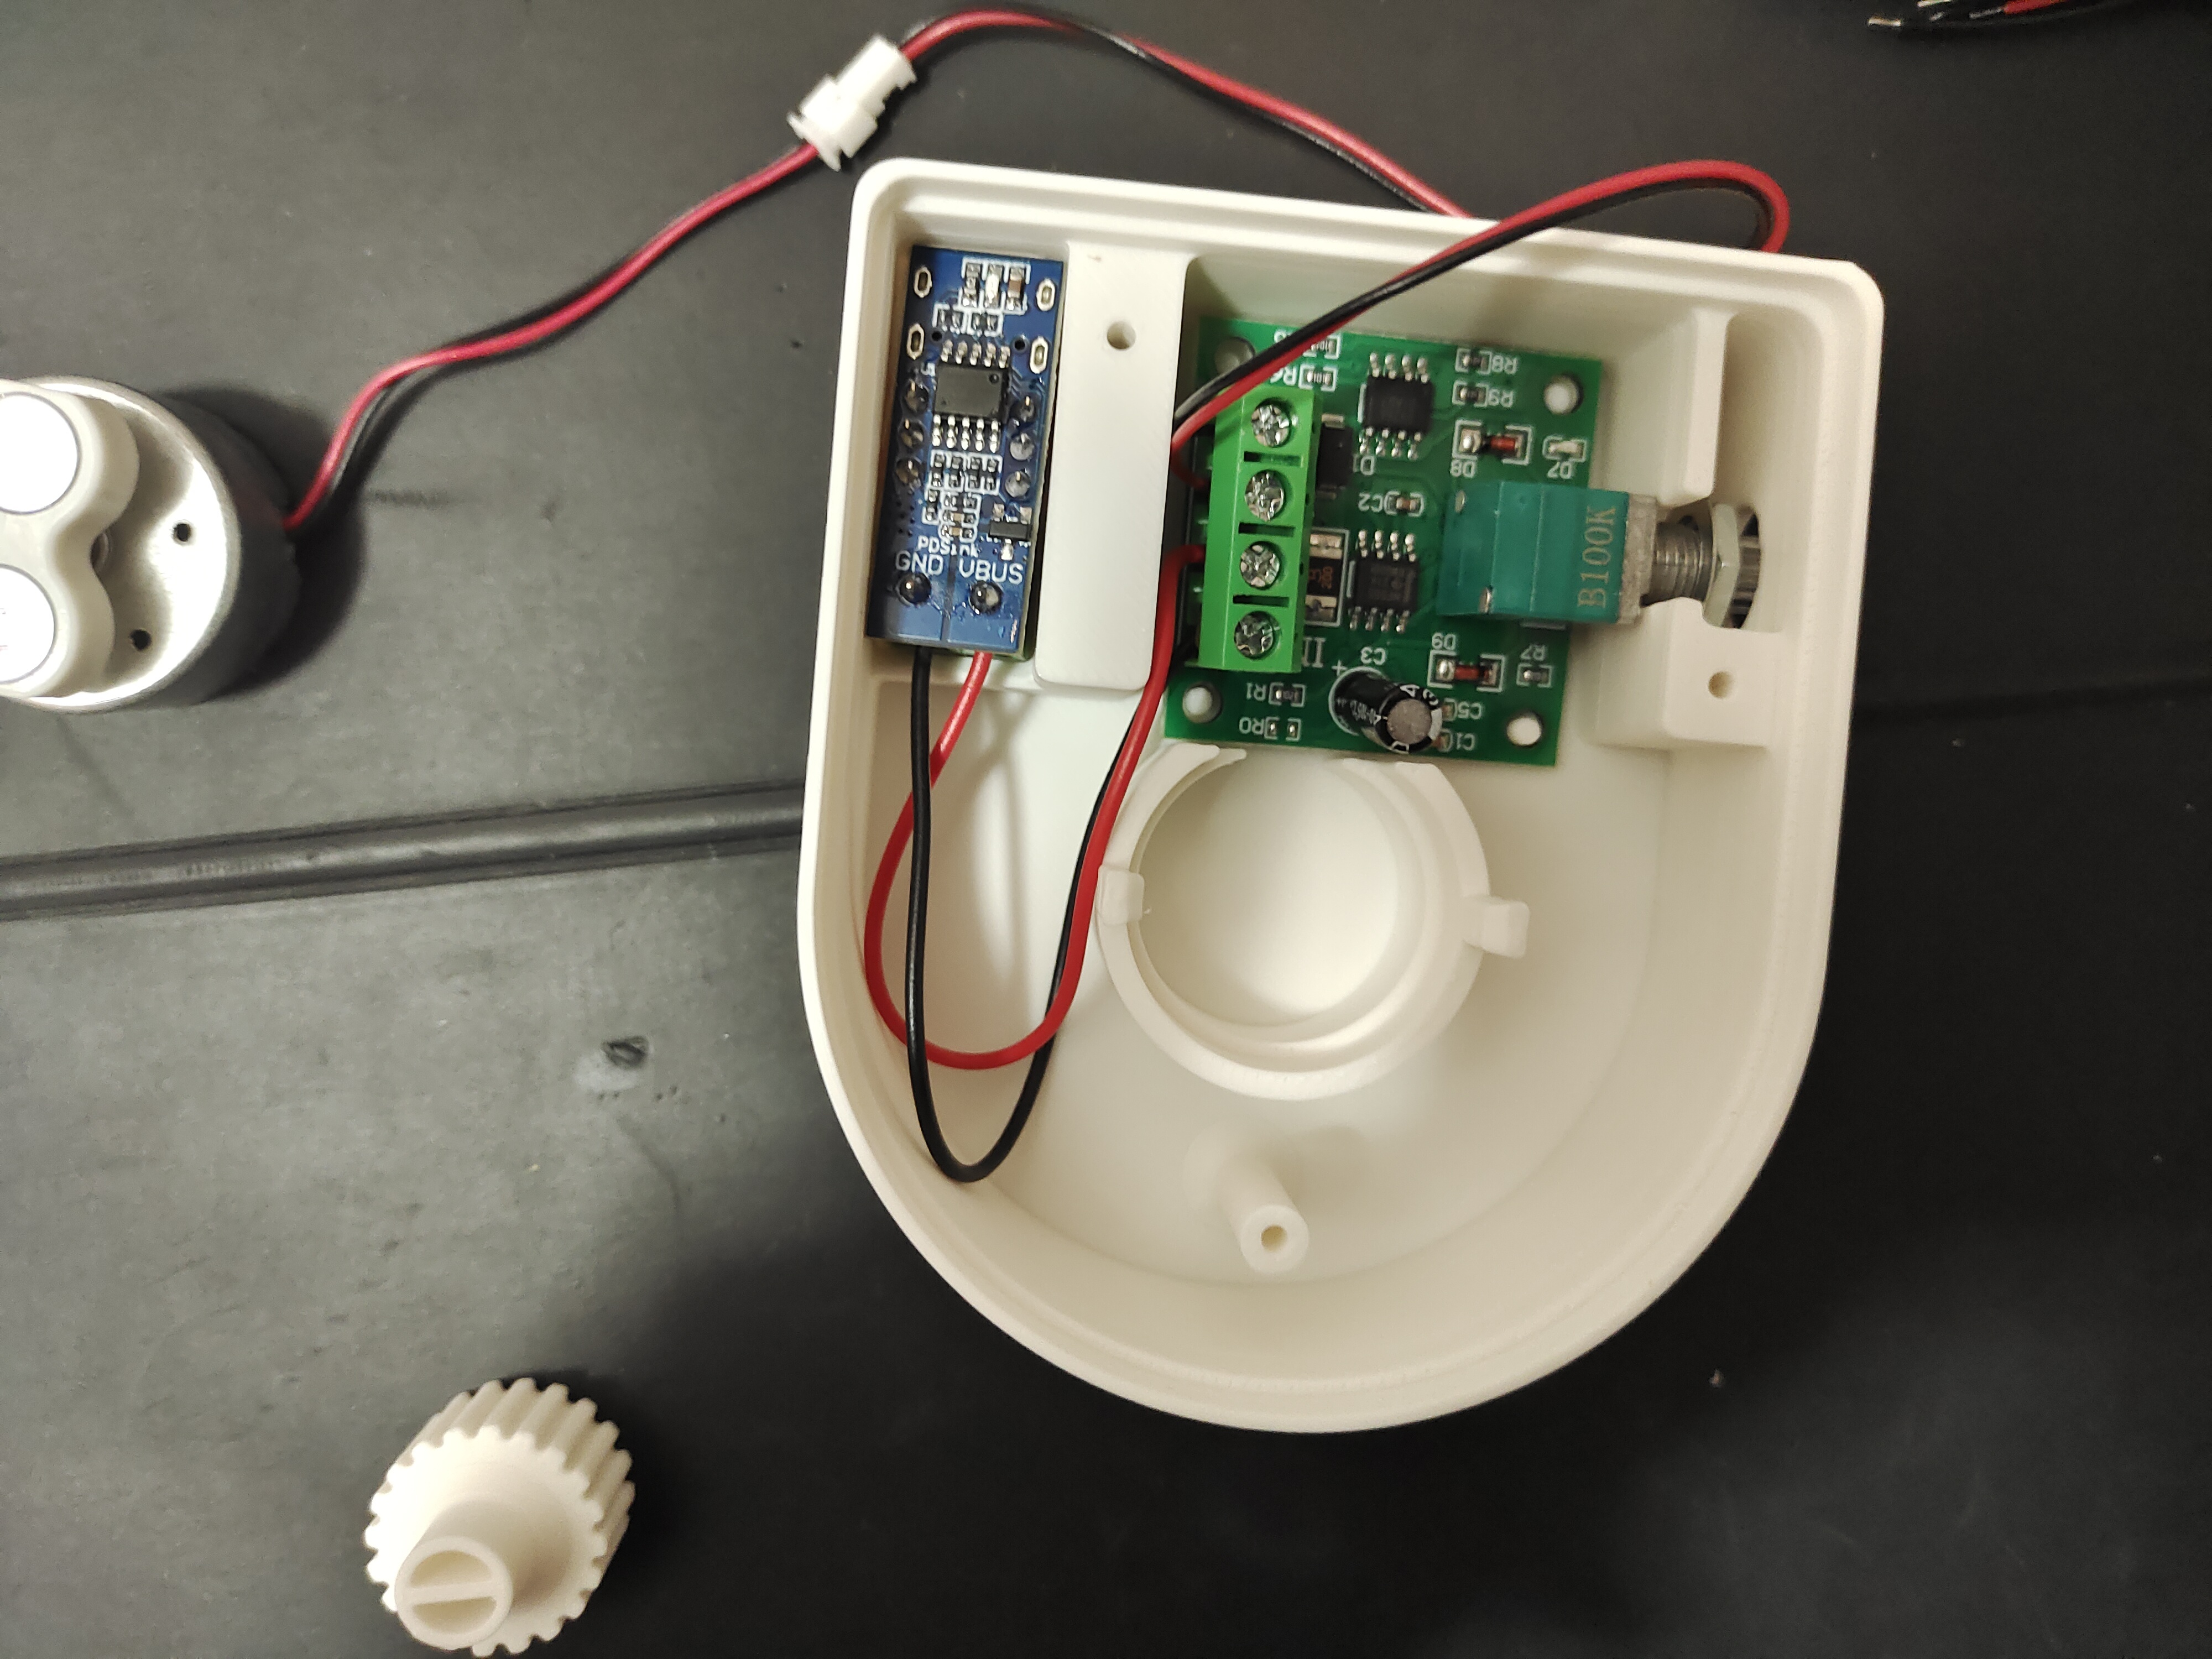
2. Place the Type-C dongle.
3. Install the DC motor. You can use hot melt glue or sponge tape to secure the components, though it’s not strictly necessary—I didn’t use any adhesive, and the parts stayed firmly in place.
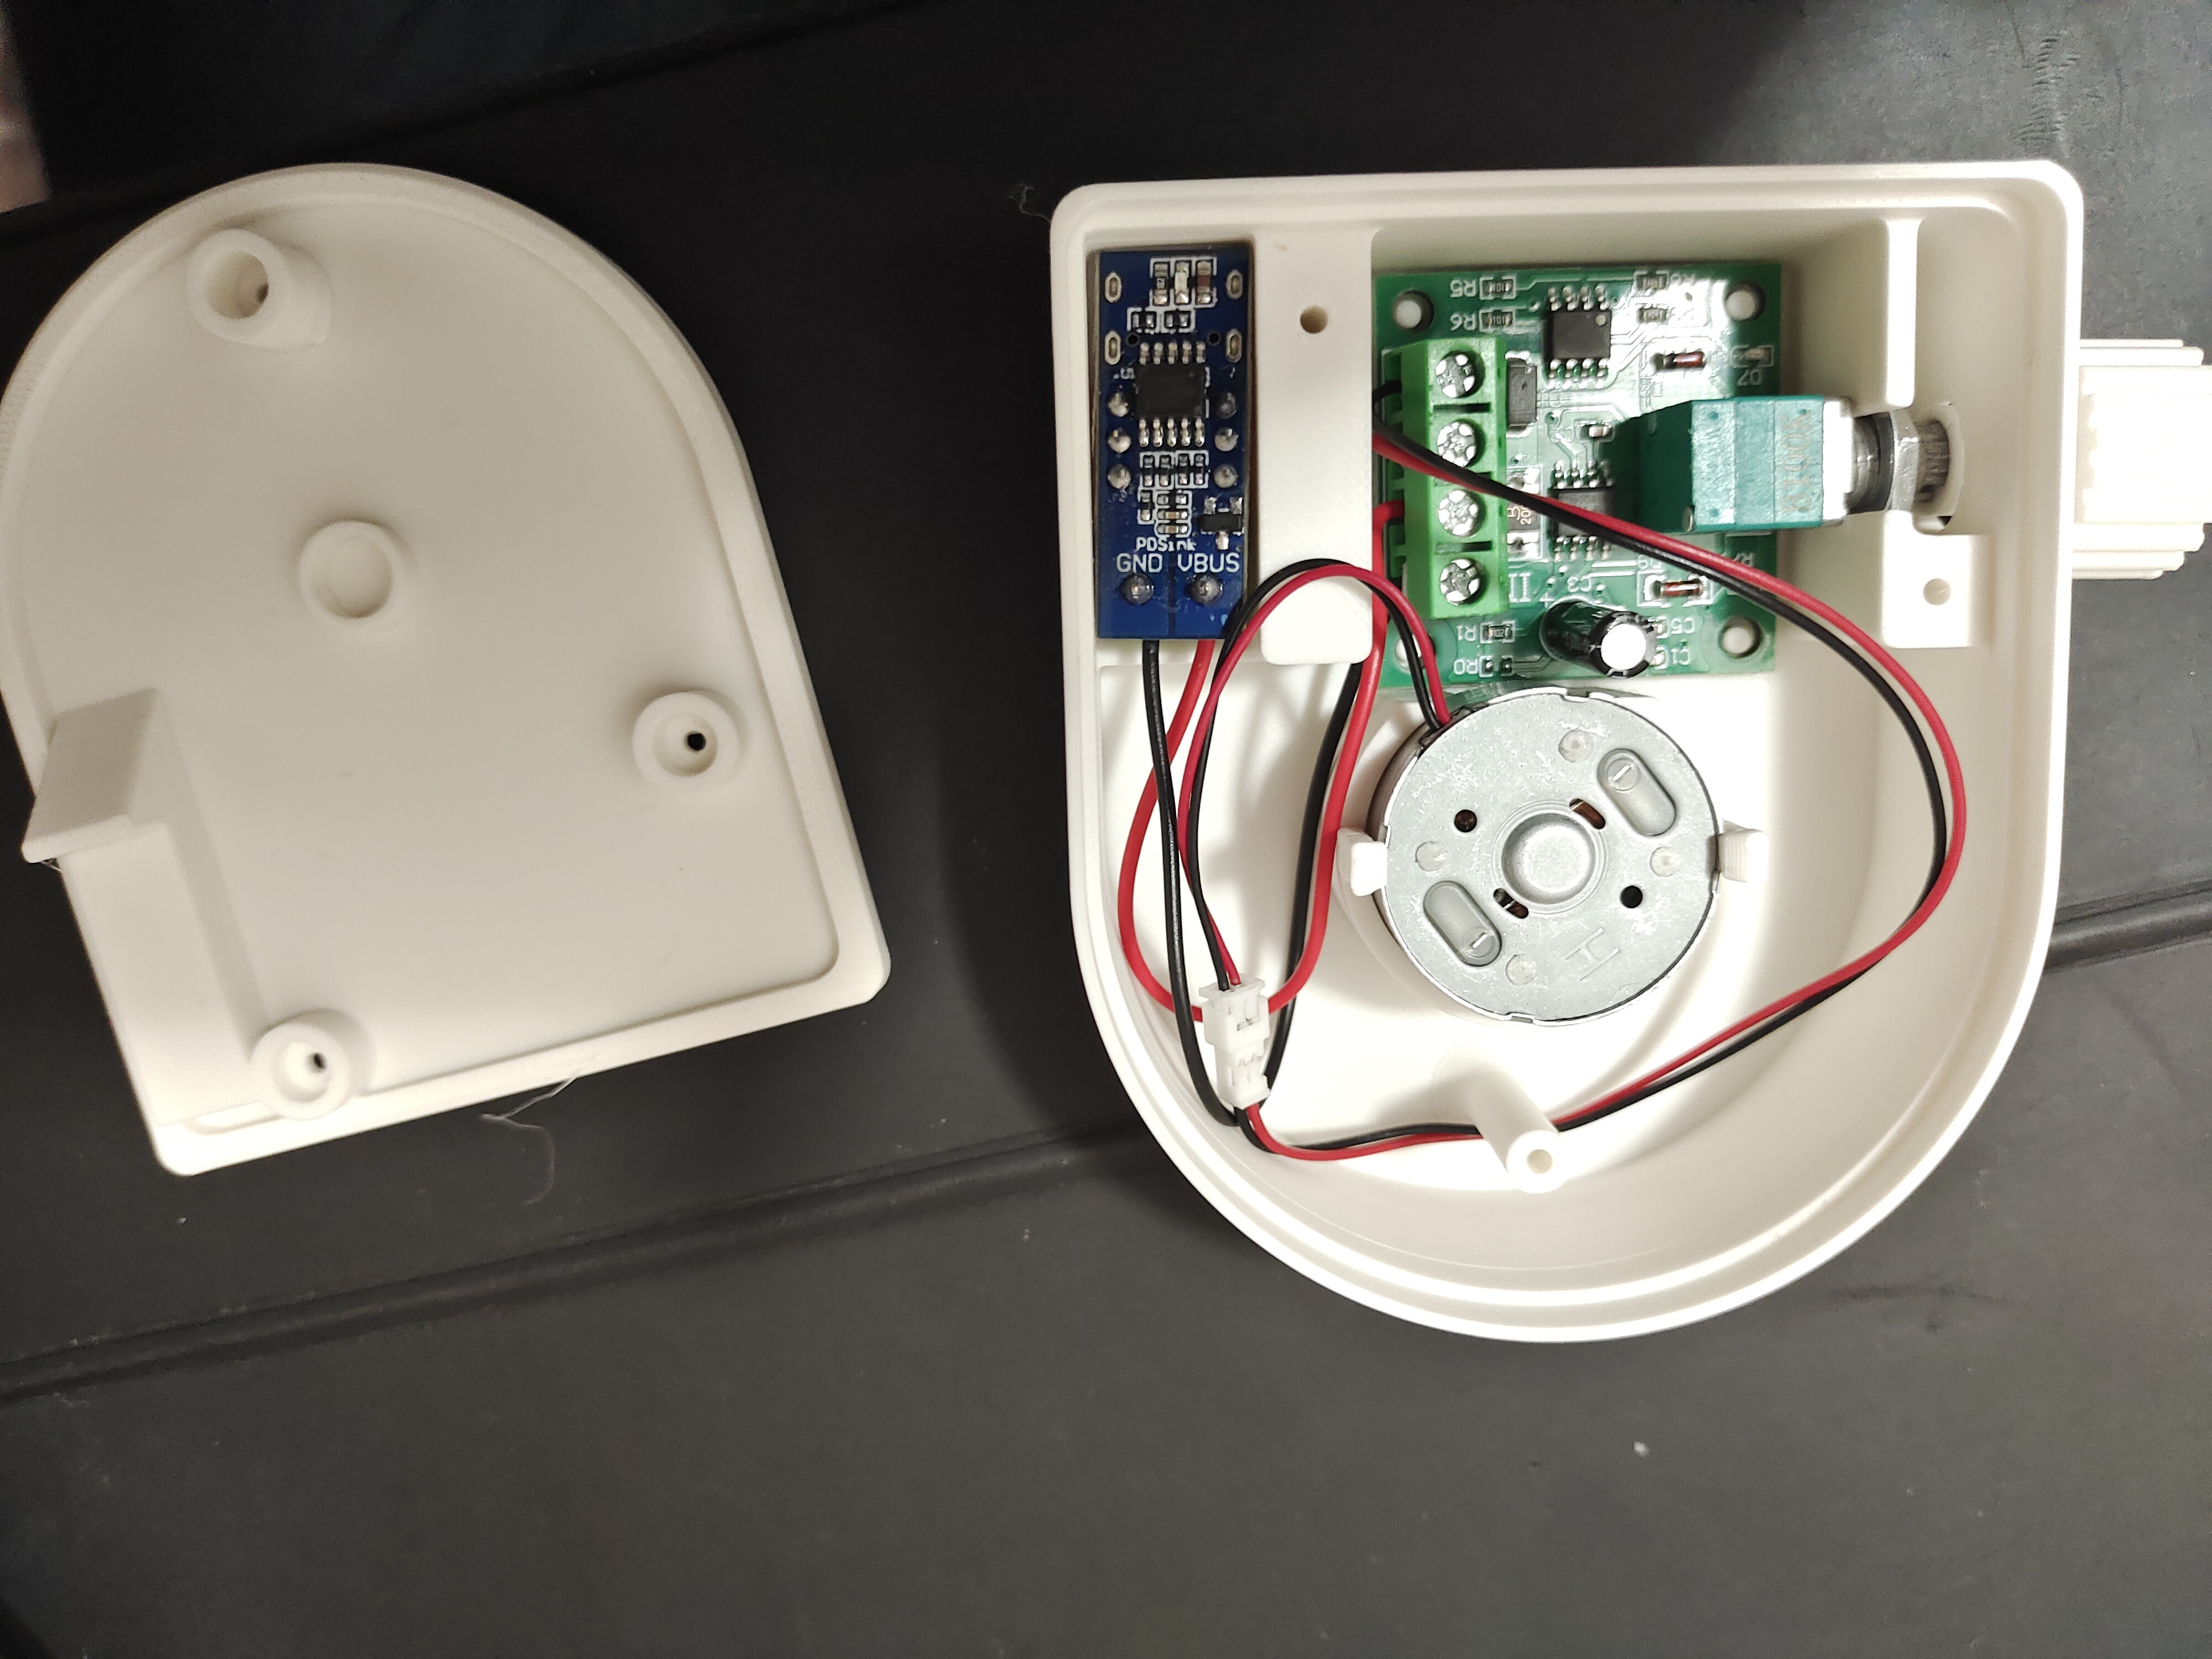
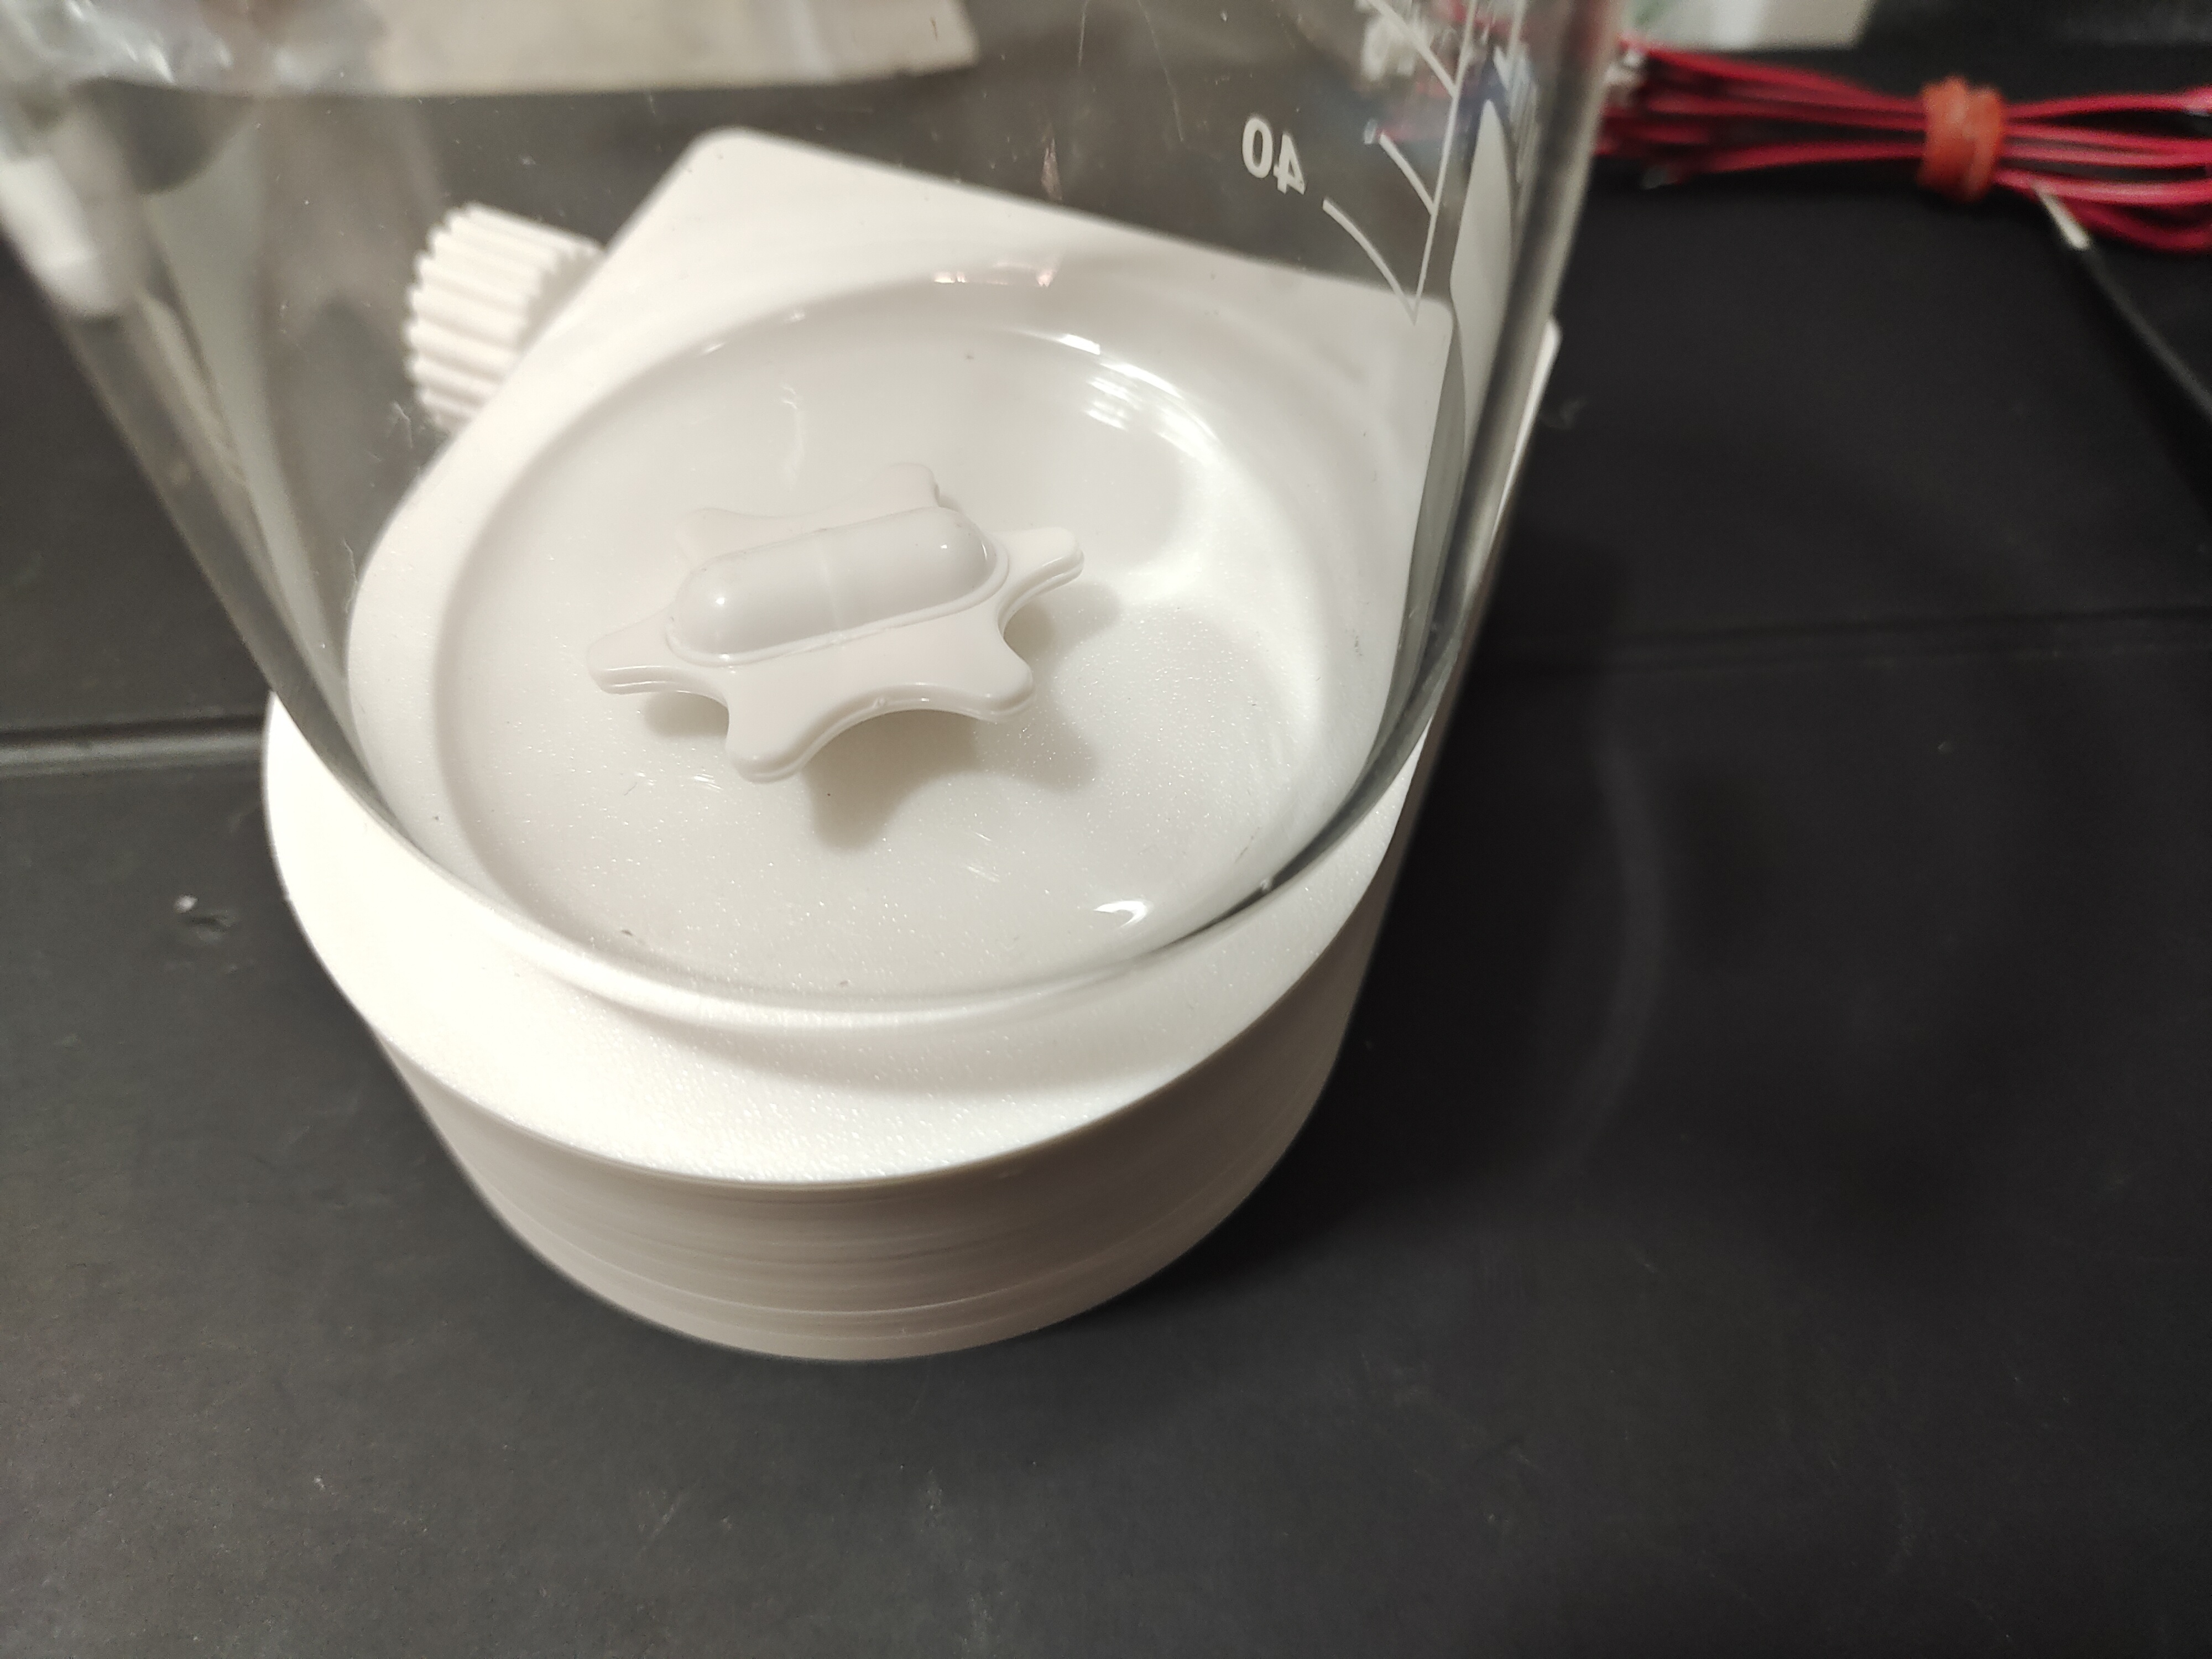
4. Finally, secure the base plate with three M2 self-tapping screws, attach the printed handle to the speed controller, and you’re done.
Bill of materials
- NameQuantityNotes
- 1N52磁铁2直径6mm厚度2mm
- 2pwm调速器1
- 3导线4
- 4RC300直流电机2
- 5磁力转子1
- 6typec诱骗器1
Originality of the Model
The author declares that this work is their personally original model
This model is licensed under the following terms:
This work is licensed under a Standard Digital File License. Digital files have a strict non-commercial, personal use only license.
You shall not share, sub-license, sell, rent, host, transfer, or distribute in any way the digital file or 3D printed versions of this object, nor any other derivative work of this object in its digital or physical format (including remixes of this object). You can not host these files on other digital platforms, web stores or cloud repositories. The objects may not be used in any way whatsoever in which you charge money, collect fees.
Models(1)
- 磁力搅拌器A.3mfDesigner

1.57 MB

2026-04-30


