




neff
Frisbee Launcher
Box
BB pellets
Target
Shooting

 Single-Color Full Version
4-disc
PLA
Designer- (Optional Multi‑Color Components) Logo Front Panel & Multi‑Color Target
3-disc
PLA
Designer 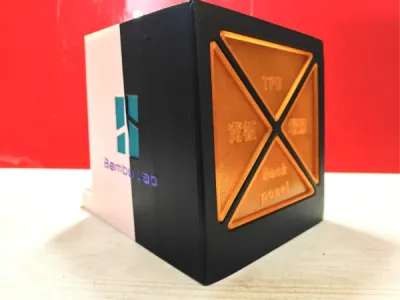 (Optional) TPU‑reinforced backplate for target chamber replacement
2-disc
PLA/TPU
Designer- Increase the target thickness by 1 mm.
3-disc
PLA
Designer

35

7
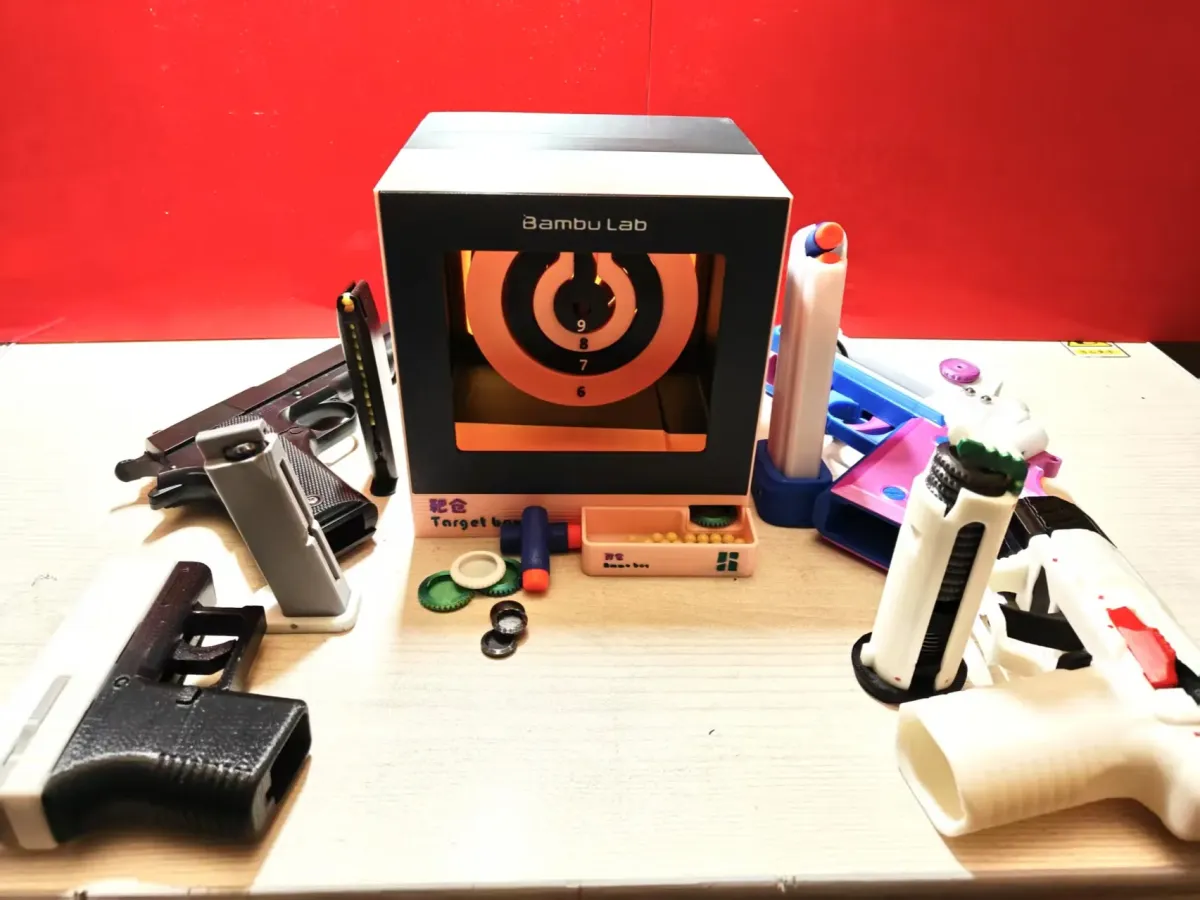
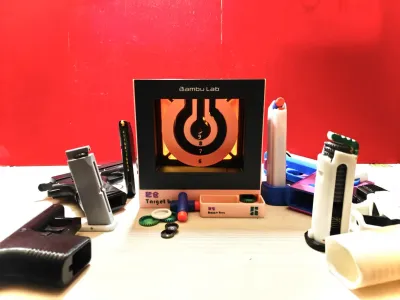
I’ve printed plenty of shooting toys—every day, the little soft bullets, frisbee darts, and BBs that the kids at home are firing everywhere really get under my skin. I couldn’t find a versatile target that would let them practice shooting while also serving as a sleek, bullet‑like collector’s box. So I set out to design this model. Considering the size of my A1 mini and aiming to minimize material waste, I settled on a final design that fits within 180mm. (You can always print it larger 😄—but I don’t recommend scaling it down, as it’ll become quite fragile!)
I’ve printed a lot of shooting toys. Every day, the small soft bullets, flying disc darts, and BBs that the kids at home shoot are scattered all over the place, which is pretty frustrating. After searching high and low, I still hadn’t found a multi‑functional target that could double as both a shooting practice tool and a stylish collector’s box for bullets—or at least something that felt like it could do both. That’s when I decided to design this model myself. Taking into account the compact footprint of my A1 mini and striving to keep material consumption to a minimum, I finalized the design at around 180mm in size. (Feel free to scale it up if you’d like 😄—but be warned: shrinking it too much will make it incredibly delicate.)
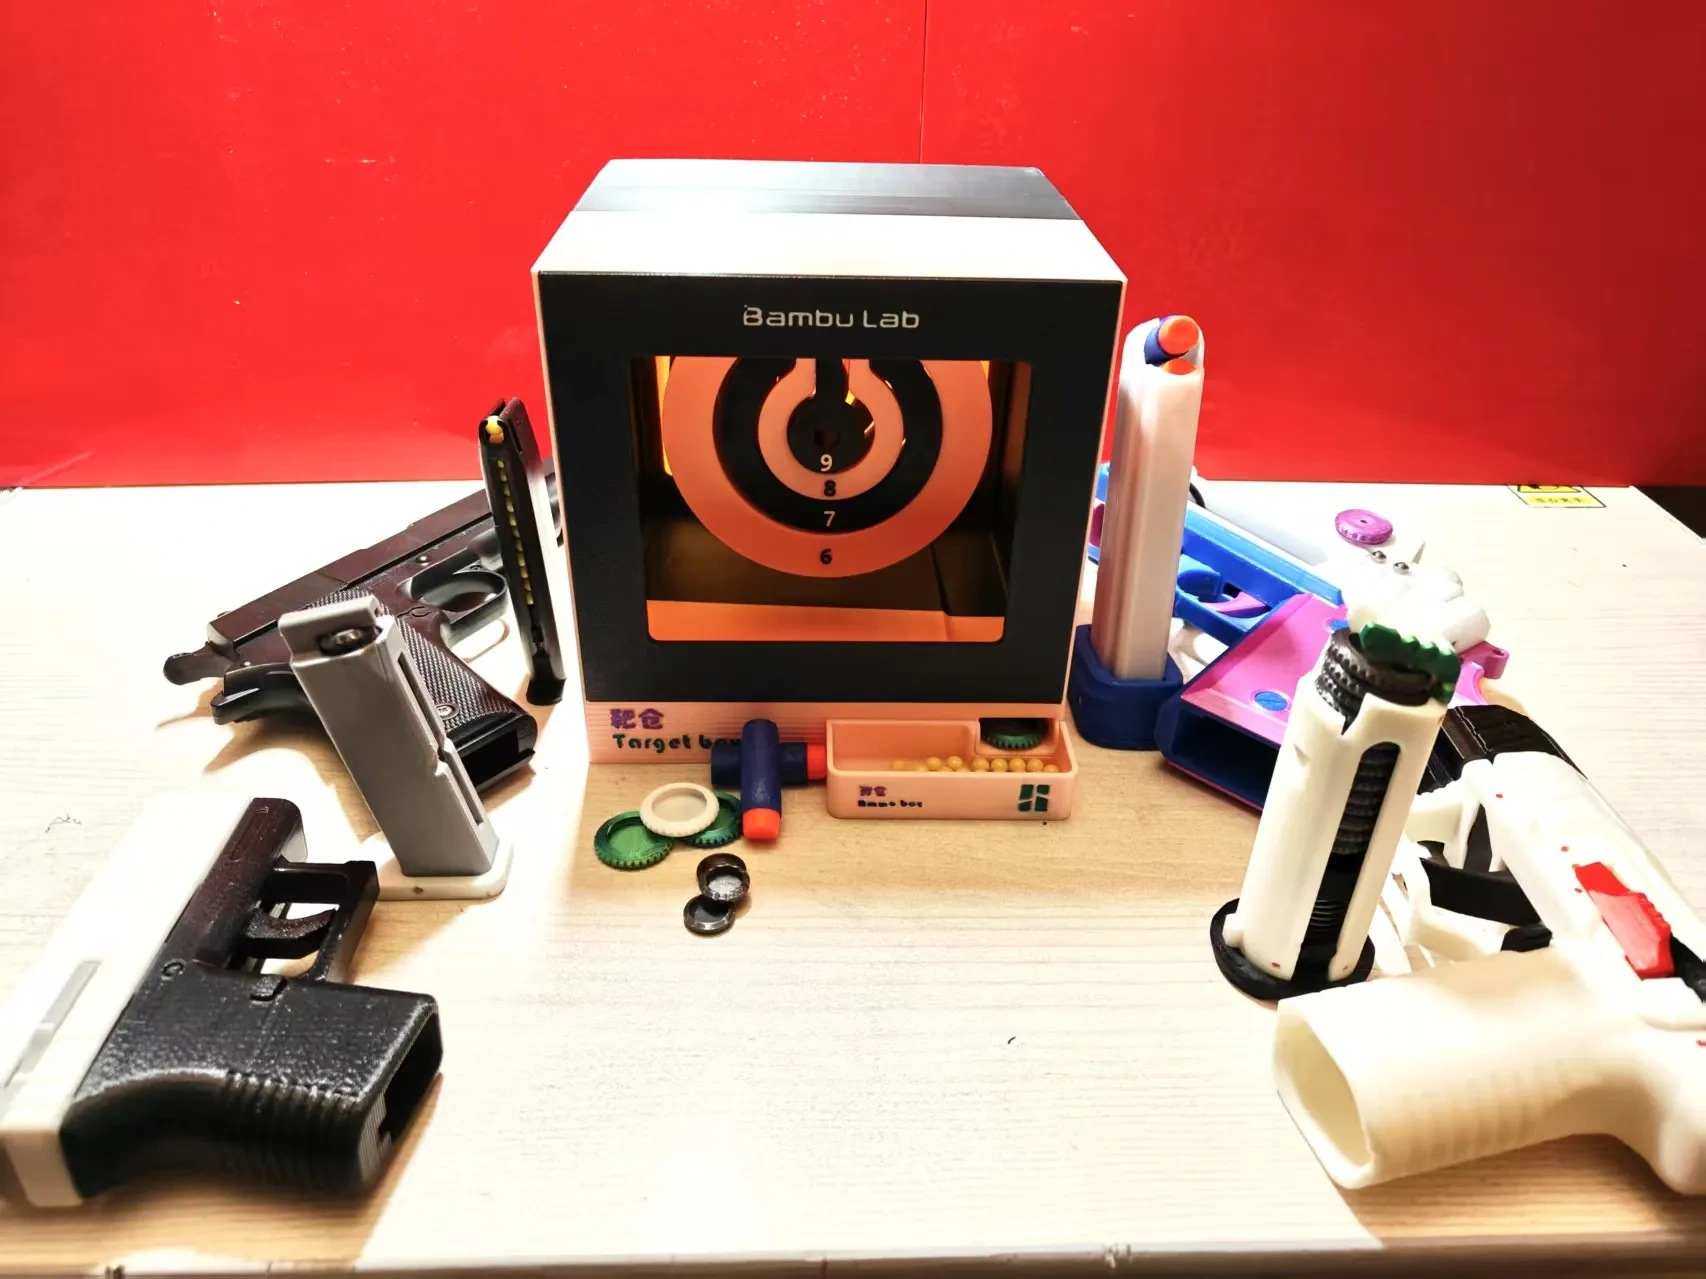
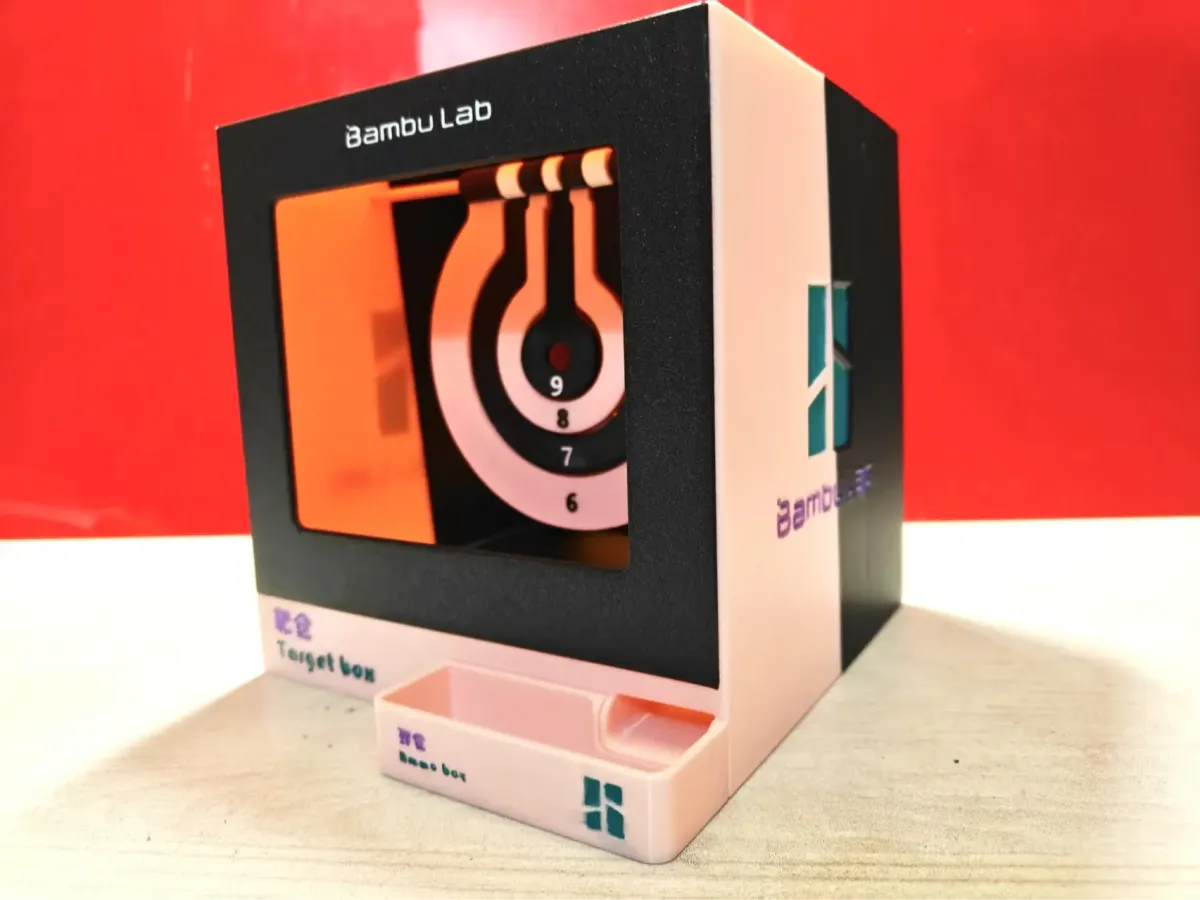
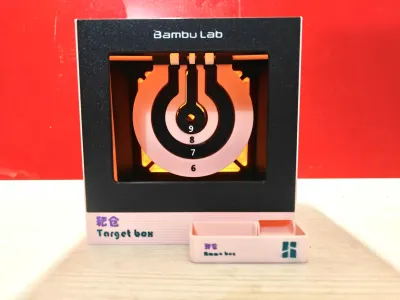
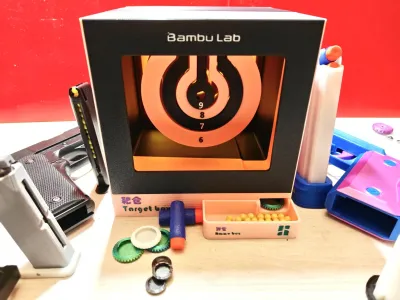
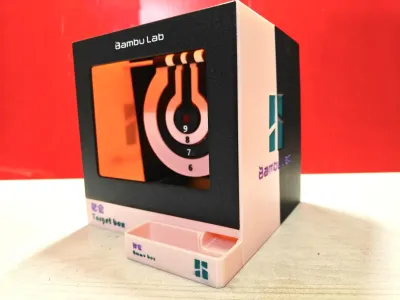
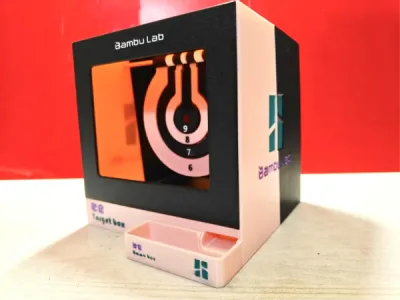
The complete model is straightforward, consisting of just five components:
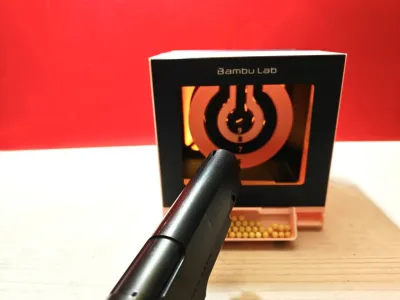
1. Target Magazine: The bottom of the magazine features a gentle slope—perfect for allowing round projectiles like BBs to roll smoothly out of the opening once they’re fired.
The magazine is equipped with two sets of target rod mounting holes, one at the front and one at the back. Depending on your shooter’s power level, you can choose to insert the target rod into either the front or the back pair of holes—and if you have a powerful shooter, we recommend inserting it into the rear holes for added stability. Each hole is designed with a snug groove to securely hold the target rod in place.
2. Target: This component takes the brunt of the impact. If your shooter packs a serious punch, we suggest printing it with PETG—or even TPU 😄, if you’re feeling extra bold. (We offer multi‑color printing options for those who want to add a splash of color to their setup.)
3. Target Rod: Start by inserting one end of the rod into the small circular hole on the magazine side, then thread all the target pieces onto the rod before pulling it through the opposite hole on the magazine’s other side. At both ends of the rod, there are raised bumps that fit precisely into the grooves on the magazine, locking the rod securely in place.
4. Front Panel: Simply snap the panel into the slot at the front of the magazine and secure it with glue. It not only helps prevent bullets from bouncing back but also adds a nice decorative touch. (Available in multiple colors for those who want to customize their setup.)
5. Bullet Magazine: Insert this component into the magazine opening to collect spherical projectiles like BBs or frisbee darts—but soft bullets won’t fit inside.
The complete model is simple and consists of 5 components:
1. Target magazine: There’s a slight incline at the bottom of the magazine—ideal for ensuring that round projectiles like BBs can easily roll out of the opening after being fired. The magazine features two sets of target rod mounting holes, located at the front and back. You can choose whether to insert the target rod into the front or back pair of holes, depending on your shooter’s power requirements—though if you’ve got a high‑powered gun, we recommend going with the rear holes for maximum stability. Each hole is fitted with a snug groove to securely lock the target rod in place.
2. Target: This is where the most force is concentrated. If your shooter packs a serious punch, we recommend printing it with at least PETG—or even TPU 😄, if you’re looking for extra durability. (We offer multi‑color printing options for those who want to add a pop of color to their setup.)
3. Target rod: Start by inserting one end of the rod into the small round hole on the magazine side, then thread all the target parts onto the rod before pulling it through the opposite hole on the magazine’s other side. At both ends of the rod, there are raised bumps that perfectly align with the grooves on the magazine, ensuring a secure and stable connection.
4. Front panel: Just snap the panel into the slot at the front of the magazine and secure it with glue. Not only does it help prevent bullets from rebounding, but it also adds a stylish decorative element to your setup. (Available in multiple colors for those who want to personalize their build.)
5. Bullet magazine: Insert this component into the magazine opening to collect spherical projectiles like BBs or frisbee darts—but soft bullets won’t fit inside.
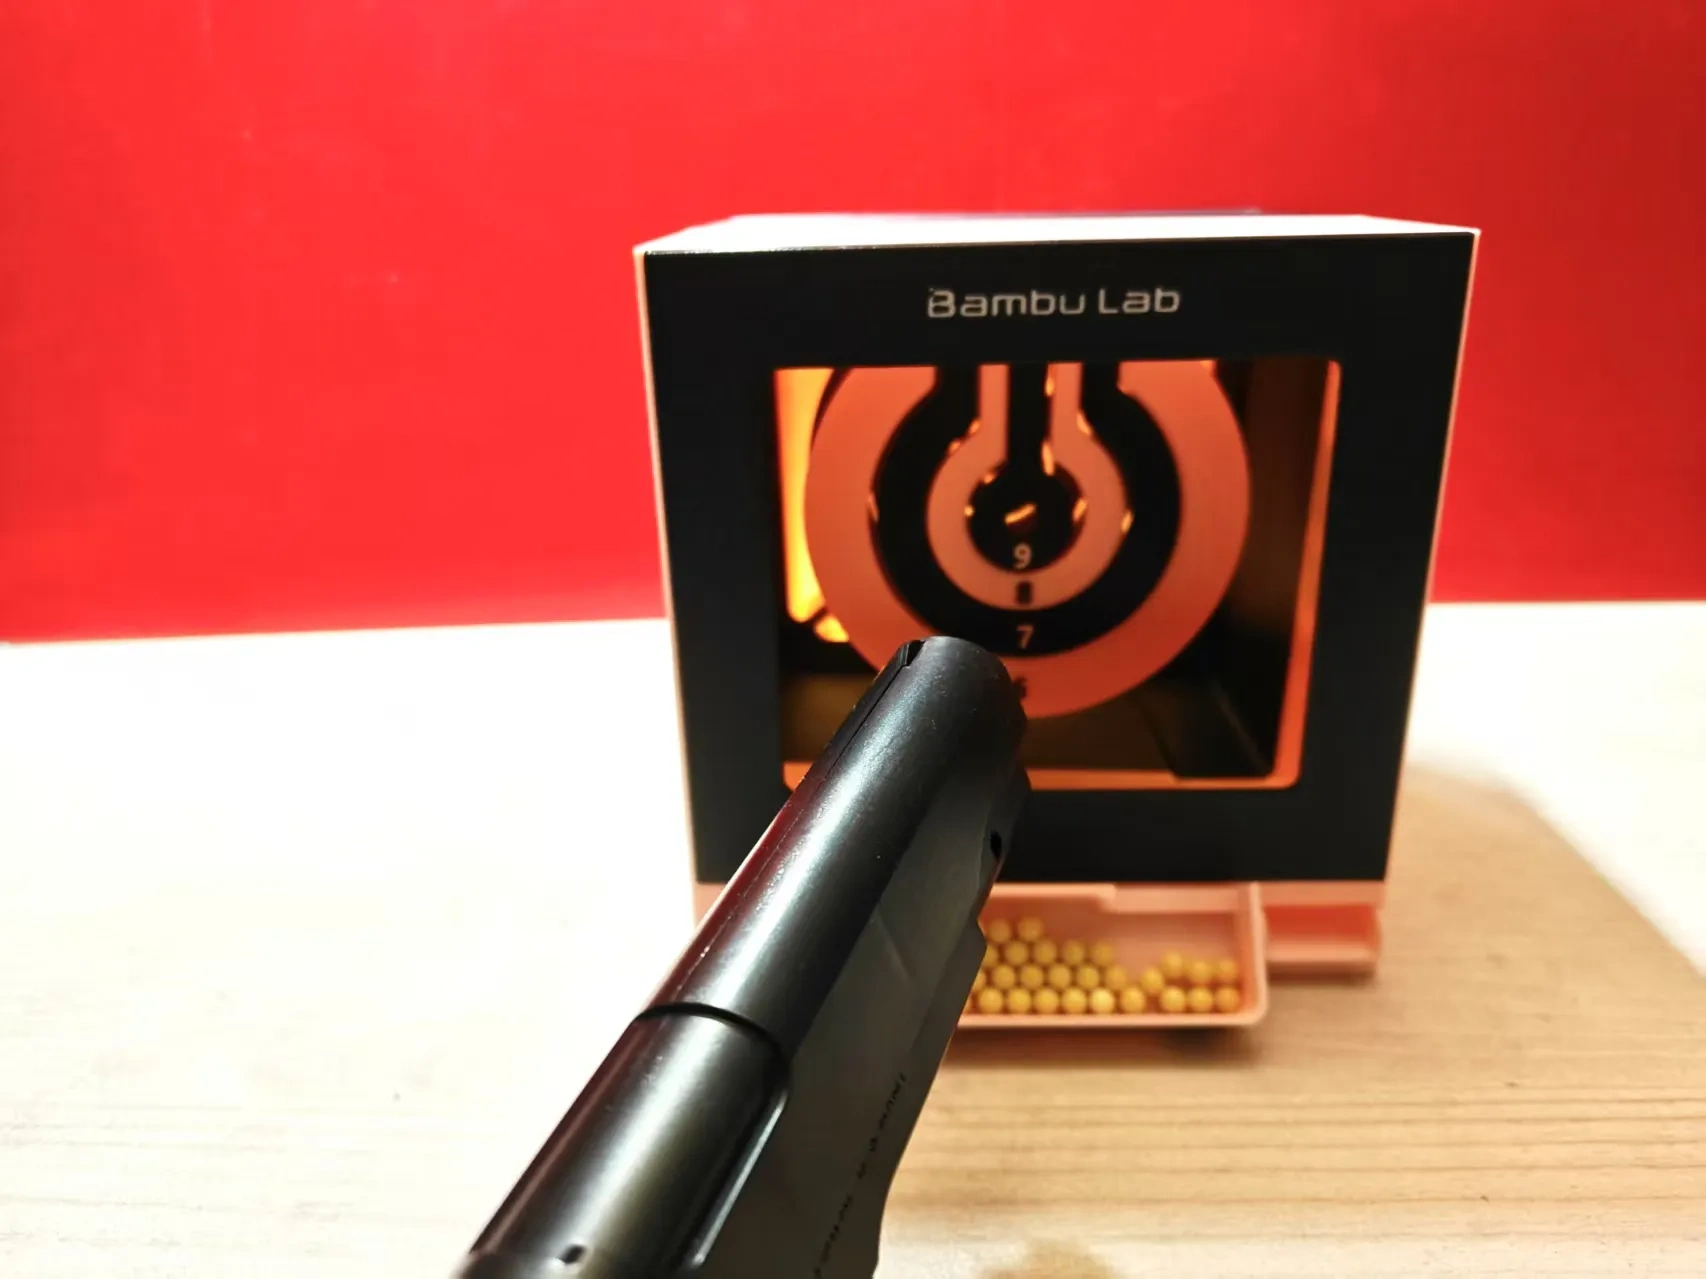
Optional Enhancement Components:
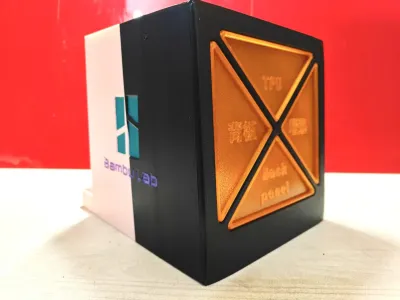
For those seeking even greater durability, we offer a TPU‑reinforced target magazine that can withstand higher impact forces. This version features a redesigned magazine body and an internal TPU backplate. You can print the inner backplate with TPU and then install it into the slot behind the reinforced magazine, securing it with glue. While I haven’t tested this setup with a truly high‑power shooter, the theory holds up: it should work well. Or maybe I’ve been wondering—if we printed the target itself with TPU, would that yield some surprising results? 😄 This design is reserved for those who need it. After all, a shooter capable of such power could easily turn this target into a dangerous projectile… unless you take proper precautions! 😄 (Included in the third enhanced printing configuration.)
Optional Enhanced Components:
There’s also a TPU‑reinforced target bin, designed to handle even more intense bullet impacts. The bin features two key modifications: a redesigned bin body and a TPU inner backplate. You can print the inner backplate with TPU and then install it into the slot behind the reinforced target bin, securing it with glue. While I haven’t actually tested this setup with a shooter powerful enough to put it to the test, the theory seems sound: it should work as intended. Or perhaps I’ve been wondering—what if we printed the target itself with TPU? Would that create a surprisingly effective solution? 😄 This design is meant for those who need it. After all, a shooter capable of such power could easily turn this target into a dangerous projectile… unless you take proper precautions! 😄 (Included in the third enhanced printing configuration.)
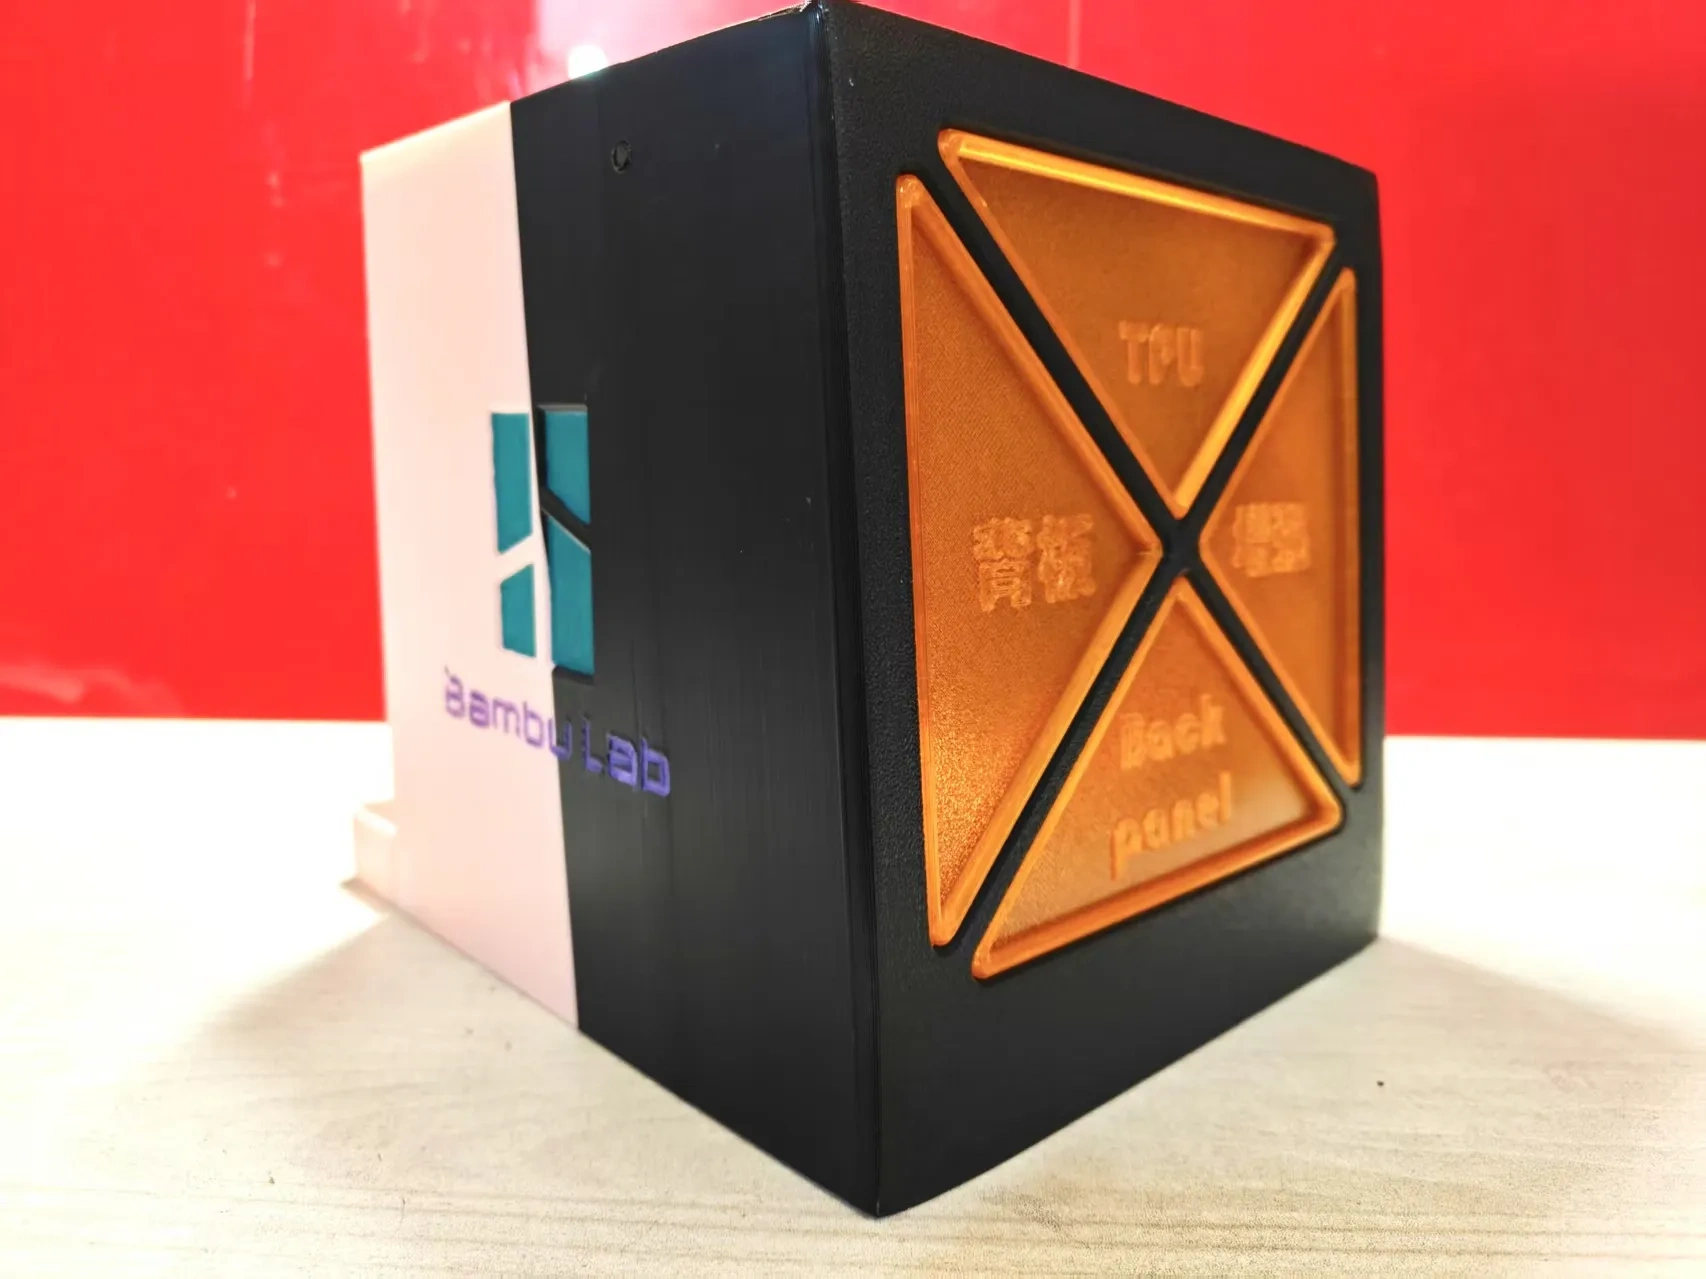
Printing and Usage Notes:
1. Although the model includes a 0.2mm tolerance, printer consumables vary widely among users—so we recommend first printing the TEST plate’s test pieces to evaluate assembly tightness. All you need to adjust is the outer contour compensation for the target rod: if it feels too loose, dial it down slightly into negative territory; if it’s too tight, adjust it upward into negative territory. We suggest making adjustments in increments of 0.05. (Most users probably won’t need the test pieces—I’ve tried both PETG and PLA, and they pass through cleanly. If it feels a bit snug, just give it a few gentle pulls back and forth, and it’ll settle into place.)
2. When printing the target magazine, we recommend applying glue or adding a brim to prevent warping during large‑area flat printing—especially when using PETG.
3. You can also adjust the wall thickness according to your shooter’s power to increase strength—or switch to more flexible materials to boost resilience. However, due to limitations in 3D printing materials, never shoot at the target from close range: doing so could shatter the components or cause ricochets that might injure someone. Always maintain a safe distance of at least 1 meter when shooting, and use the model responsibly. This model is designed for entertainment purposes only—it’s a toy, not a professional-grade target.
Printing and Usage Precautions:
1. Although the model has a reserved tolerance of 0.2mm, due to the different printer consumables among you, it is recommended to print the test parts of the TEST plate first to test the tightness of the assembly. Only the outer contour compensation of the target rod needs to be adjusted. If it is too loose, adjust it to a negative number; if it is too tight, also adjust it to a negative number. It is recommended to adjust in units of 0.05. (Most people probably don’t need the test parts. I’ve tried both PETG and PLA, and they can pass through normally. When it’s a little tight, you can pull it back and forth a few times and it will be okay.)
2. When printing the target magazine, it is recommended to apply glue or add a brim to avoid warping during large‑area flat printing. (Especially when printing with PETG)
3. At the same time, you can increase or decrease the wall thickness according to your shooter’s power to enhance strength—or replace the material with more ductile consumables to improve durability. Limited by 3D printing materials, do not shoot at the target from close range, as this could shatter the components or cause ricochets that might injure someone. Please shoot at the target from a distance of more than 1 meter. Use it safely. This model is a toy and is for entertainment only.
Originality of the Model
The author declares that this work is their personally original model
This model is licensed under the following terms:
Credit must be given to the creator
Only noncommercial uses of the work are permitted
Remixes must be shared under the same license
Models(4)
- 单色完整.3mfDesigner

3.53 MB

2025-11-16
- 靶子增厚1mm.3mfDesigner
1.94 MB
2025-11-16
- (Optional可选增强部分)靶仓替换TPU增强背板.3mfDesigner
2.91 MB
2025-11-16
- (Optional+可选多色部分)Logo前面板&多色靶子.3mfDesigner
1.55 MB
2025-11-16
View all(4)


