




diy
shield
rain

- 0.14mm layer, 2 walls, 15% infill

1-disc
PLA
Designer

11

2
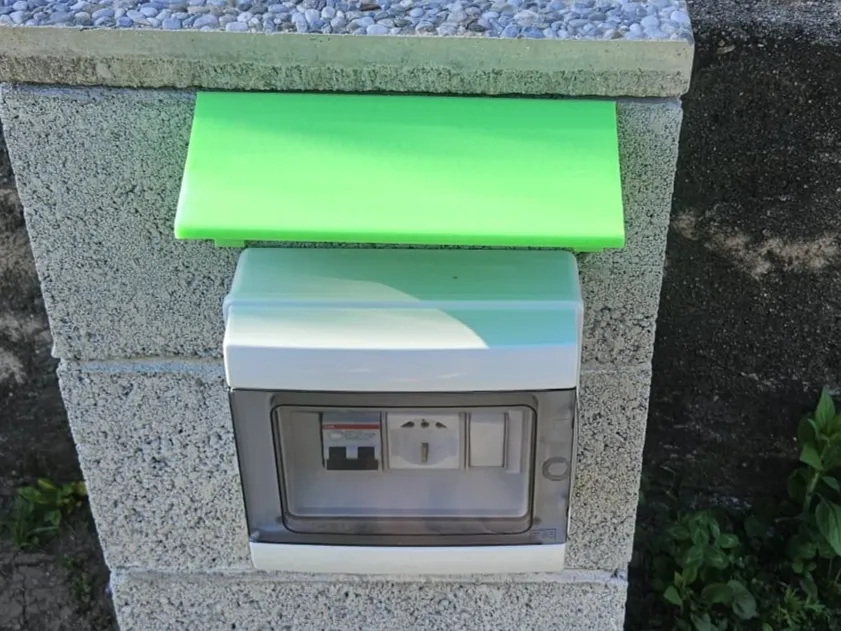
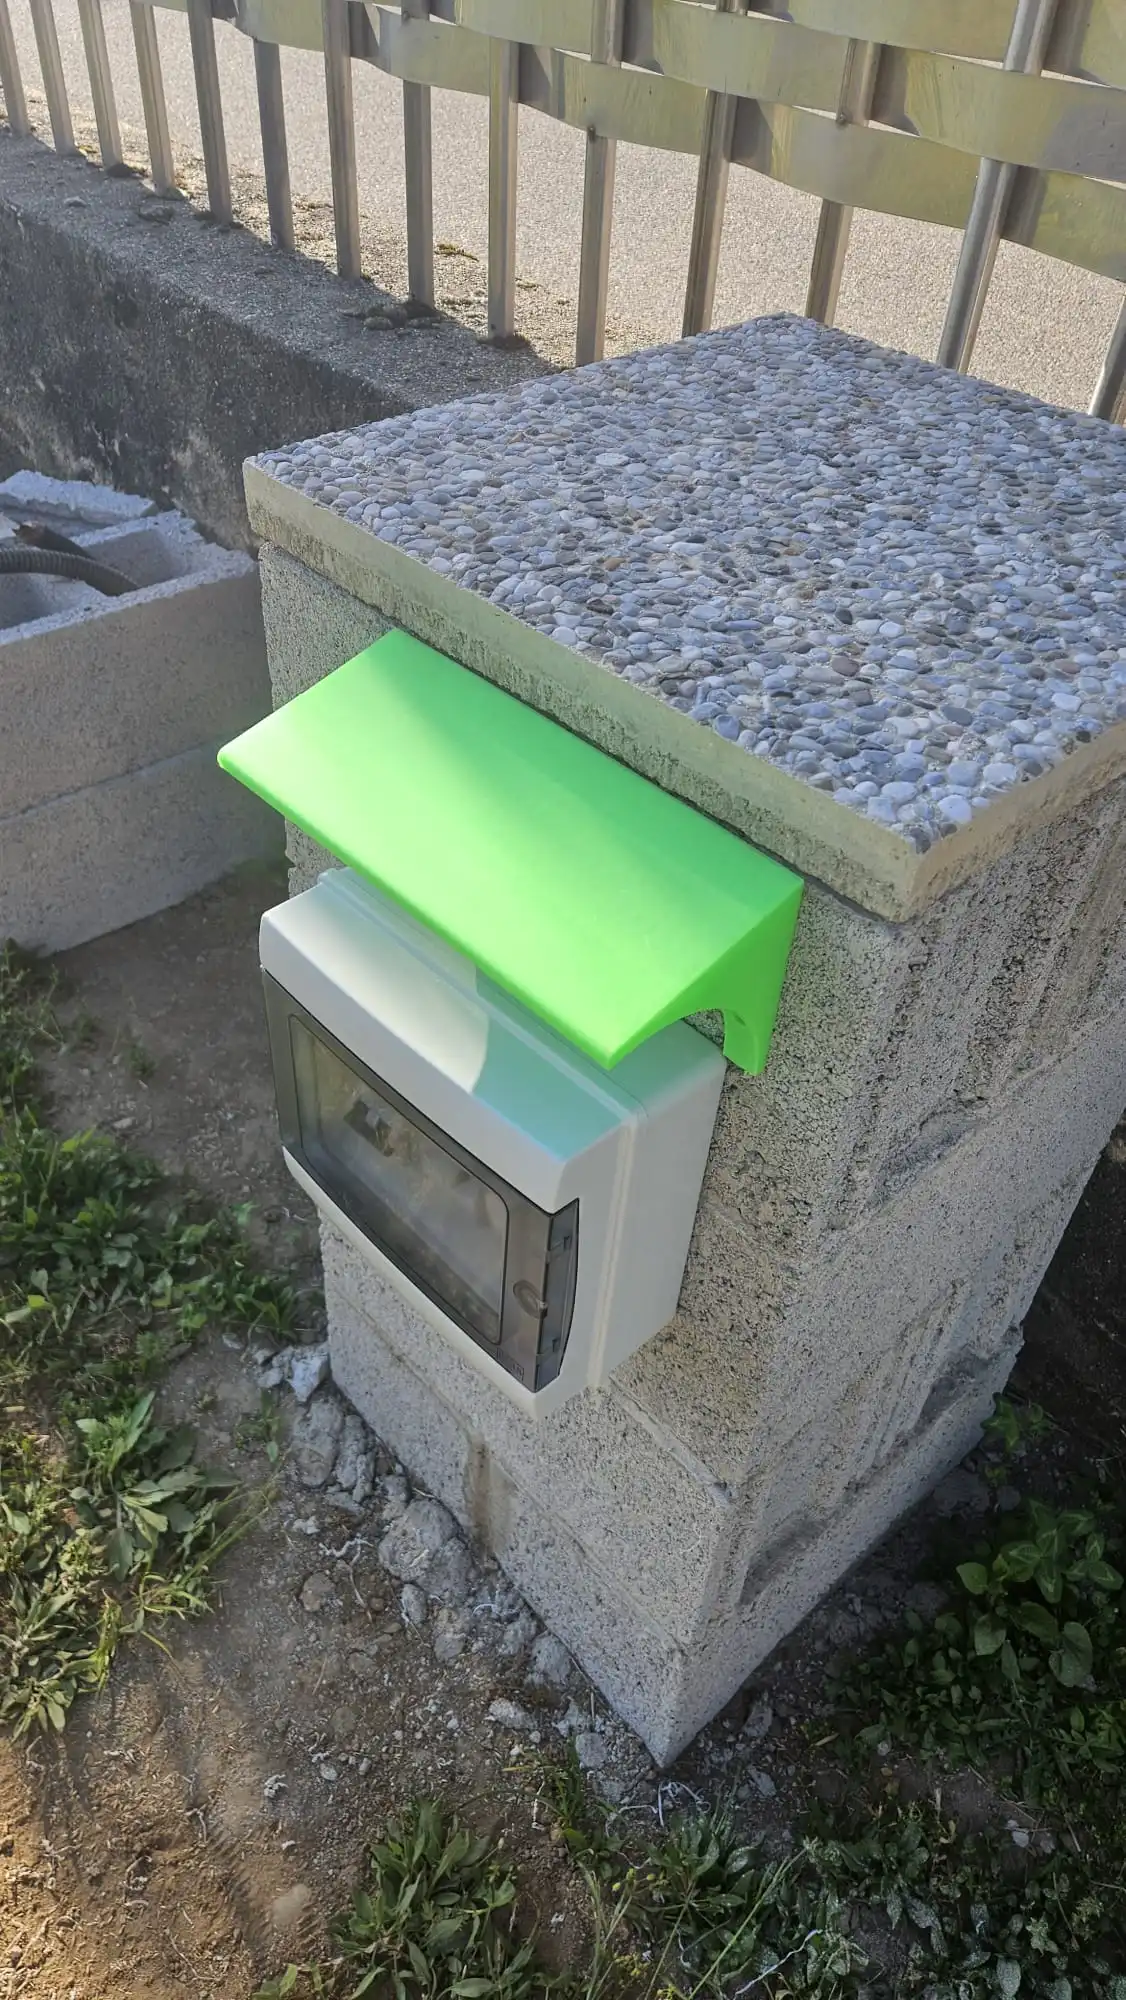
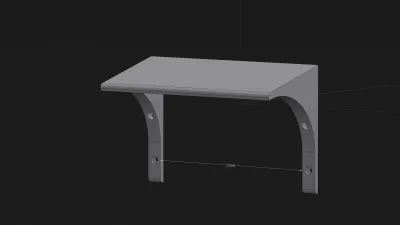
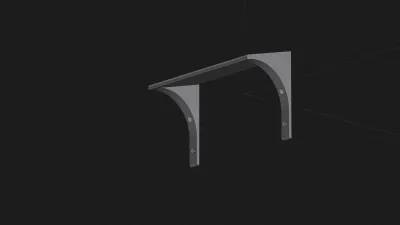
This is a modular, multi-purpose shield designed to protect outdoor electrical equipment—like weatherproof enclosures, outlet boxes, and junction boxes—from the elements. This model is perfect for creating a "porch" effect for your outdoor electrical setup, adding a crucial layer of defense.
It is specifically designed to fit 4-to-6-module weatherproof enclosures (like the one shown in the photos, which is a common size).
Key Features:
- Weather Protection: Shields your outdoor electrical equipment from heavy rain and direct, prolonged sun exposure, extending the life of the enclosure.
- Modular Design: The bracket spacing is customizable (default distance between holes is 200mm). This makes it adaptable to various enclosure widths.
- Easy Installation: Two pre-drilled holes in each bracket facilitate quick mounting with standard screws and anchors.
- Robust Construction: The design features integrated structural arches that provide strong support for the roof, making it durable against environmental stressors.
- Print-Friendly: Optimized for printing without complex supports (check the print settings section for details).
What’s Included in the Download:
- Bracket_Left.stl (or image_98.png left side)
- Bracket_Right.stl (or image_98.png right side)
- Roof_Panel.stl
I highly recommend printing this in ASA or high-quality PETG to ensure maximum UV and weather resistance for long-term outdoor use.
(Optional but highly recommended: add a few links to other compatible models if you have them, e.g., different roof sizes or alternative mounting adapters.)
Print Settings & Recommendations (MakerWorld Style)
- Material: ASA (Recommended for UV) or PETG.
- Layer Height: 0.2mm - 0.28mm.
- Infill: 20% - 25% (use a strong pattern like Gyroid).
- Walls/Perimeters: 3-4 walls.
- Orientation: Print the brackets on their flat sides. Print the roof panel at a 45-degree angle or flat, depending on your printer's overhang capabilities. (Check slicer preview!)
- Supports: Minimal supports may be required for the bracket holes or the roof edge. Use a 'brim' for the roof panel to ensure bed adhesion.
Assembly Instructions (In-depth for users)
- Place the brackets on your mounting surface (e.g., concrete wall, wood post) above your electrical box. Mark the position of the four screw holes. Use the default 200mm distance (between holes) as a guide.
- Drill pilot holes. Use appropriate wall anchors if mounting on concrete or masonry.
- Secure the left and right brackets.
- Align the roof panel with the brackets. The inner edge should snap or rest firmly.
- (Optional but recommended): Add a small bead of outdoor-grade silicone sealant along the top edge between the shield and the wall to prevent water from running behind.
Keep your outdoor power safe and dry!
Happy Printing!
Originality of the Model
The author declares that this work is their personally original model
This model is licensed under the following terms:
This work is licensed under a Standard Digital File License. Digital files have a strict non-commercial, personal use only license.
You shall not share, sub-license, sell, rent, host, transfer, or distribute in any way the digital file or 3D printed versions of this object, nor any other derivative work of this object in its digital or physical format (including remixes of this object). You can not host these files on other digital platforms, web stores or cloud repositories. The objects may not be used in any way whatsoever in which you charge money, collect fees.
Models(1)
- rain shield.3mfDesigner

90.02 KB

2026-04-23


