


diy
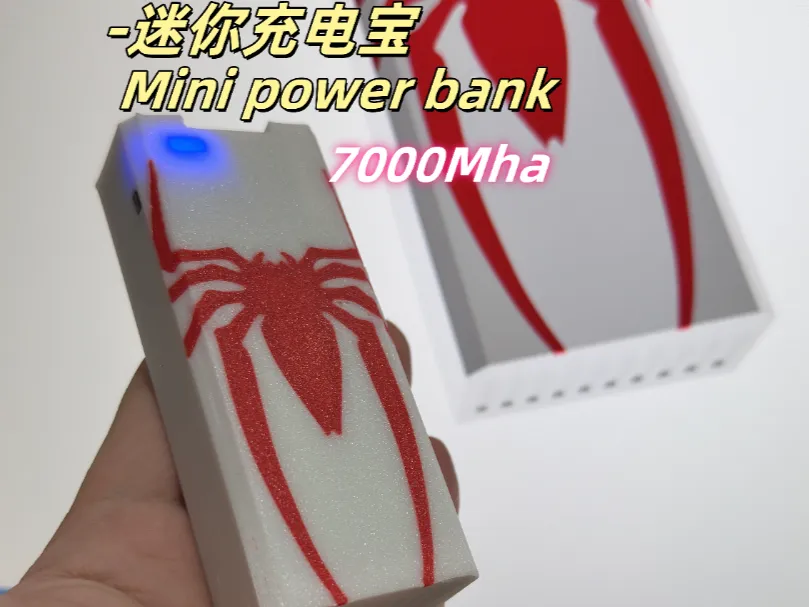
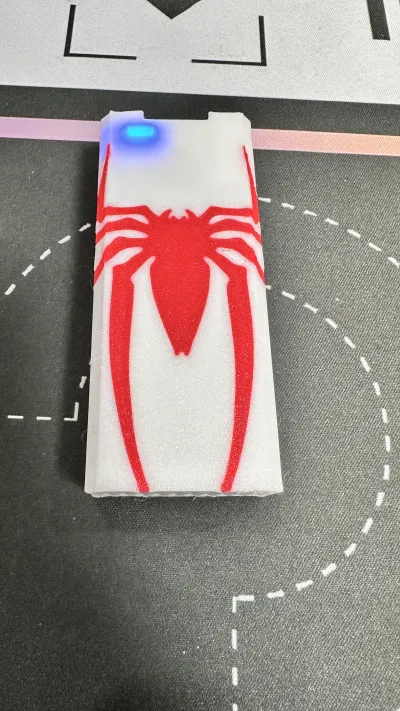
Spider‑Man
Power bank

- 0.2 mm layer height, 6‑layer walls, 100% infill density

1-disc
PETG
Designer

15

2
🔥 Handmade expert ecstasy! The most detailed self-made power bank strategy on the whole network is open source! From the circuit principle to the bill of materials, we will teach you how to create an exclusive mobile power supply, which is more rewarding than saving half of the money compared to buying a finished product!
📦 There are zero obscure terms throughout the process, and it is easy for beginners to get started! The exclusive lightning protection guide allows you to avoid safety pits, and there are more inspiration for super cool appearance transformation, and you have to play with personality when charging!
👉 Click to download to unlock the joy of technology DIY, so that charging is no longer the same!
Link to purchase the board: https://e.tb.cn/h.6lDqWPcjmCAPvIt?tk=yDOjVeGCZNu
Accessories Required:
18650 battery*2
M3 *10 screw *4
Charging protection board*1
Wire nickel strip
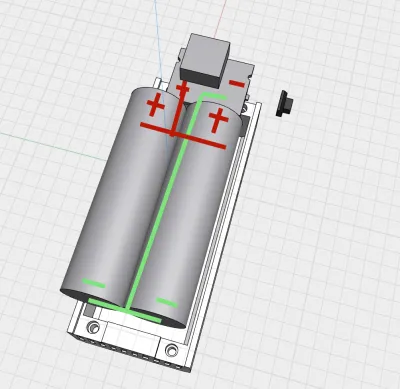
The following are the detailed steps: First, prepare two 18650 batteries: Use a soldering iron or spot welding machine to connect the two batteries in parallel (1. The positive electrodes of the two batteries are soldered together, 2. The negative electrodes of the two batteries are soldered together), weld the connected battery pack from the positive and negative electrodes, and connect one wire to the positive and negative electrodes of the protection plate (please do not connect incorrectly, the protective plate will be damaged), and wrap the positive and negative electrodes with appropriate tape
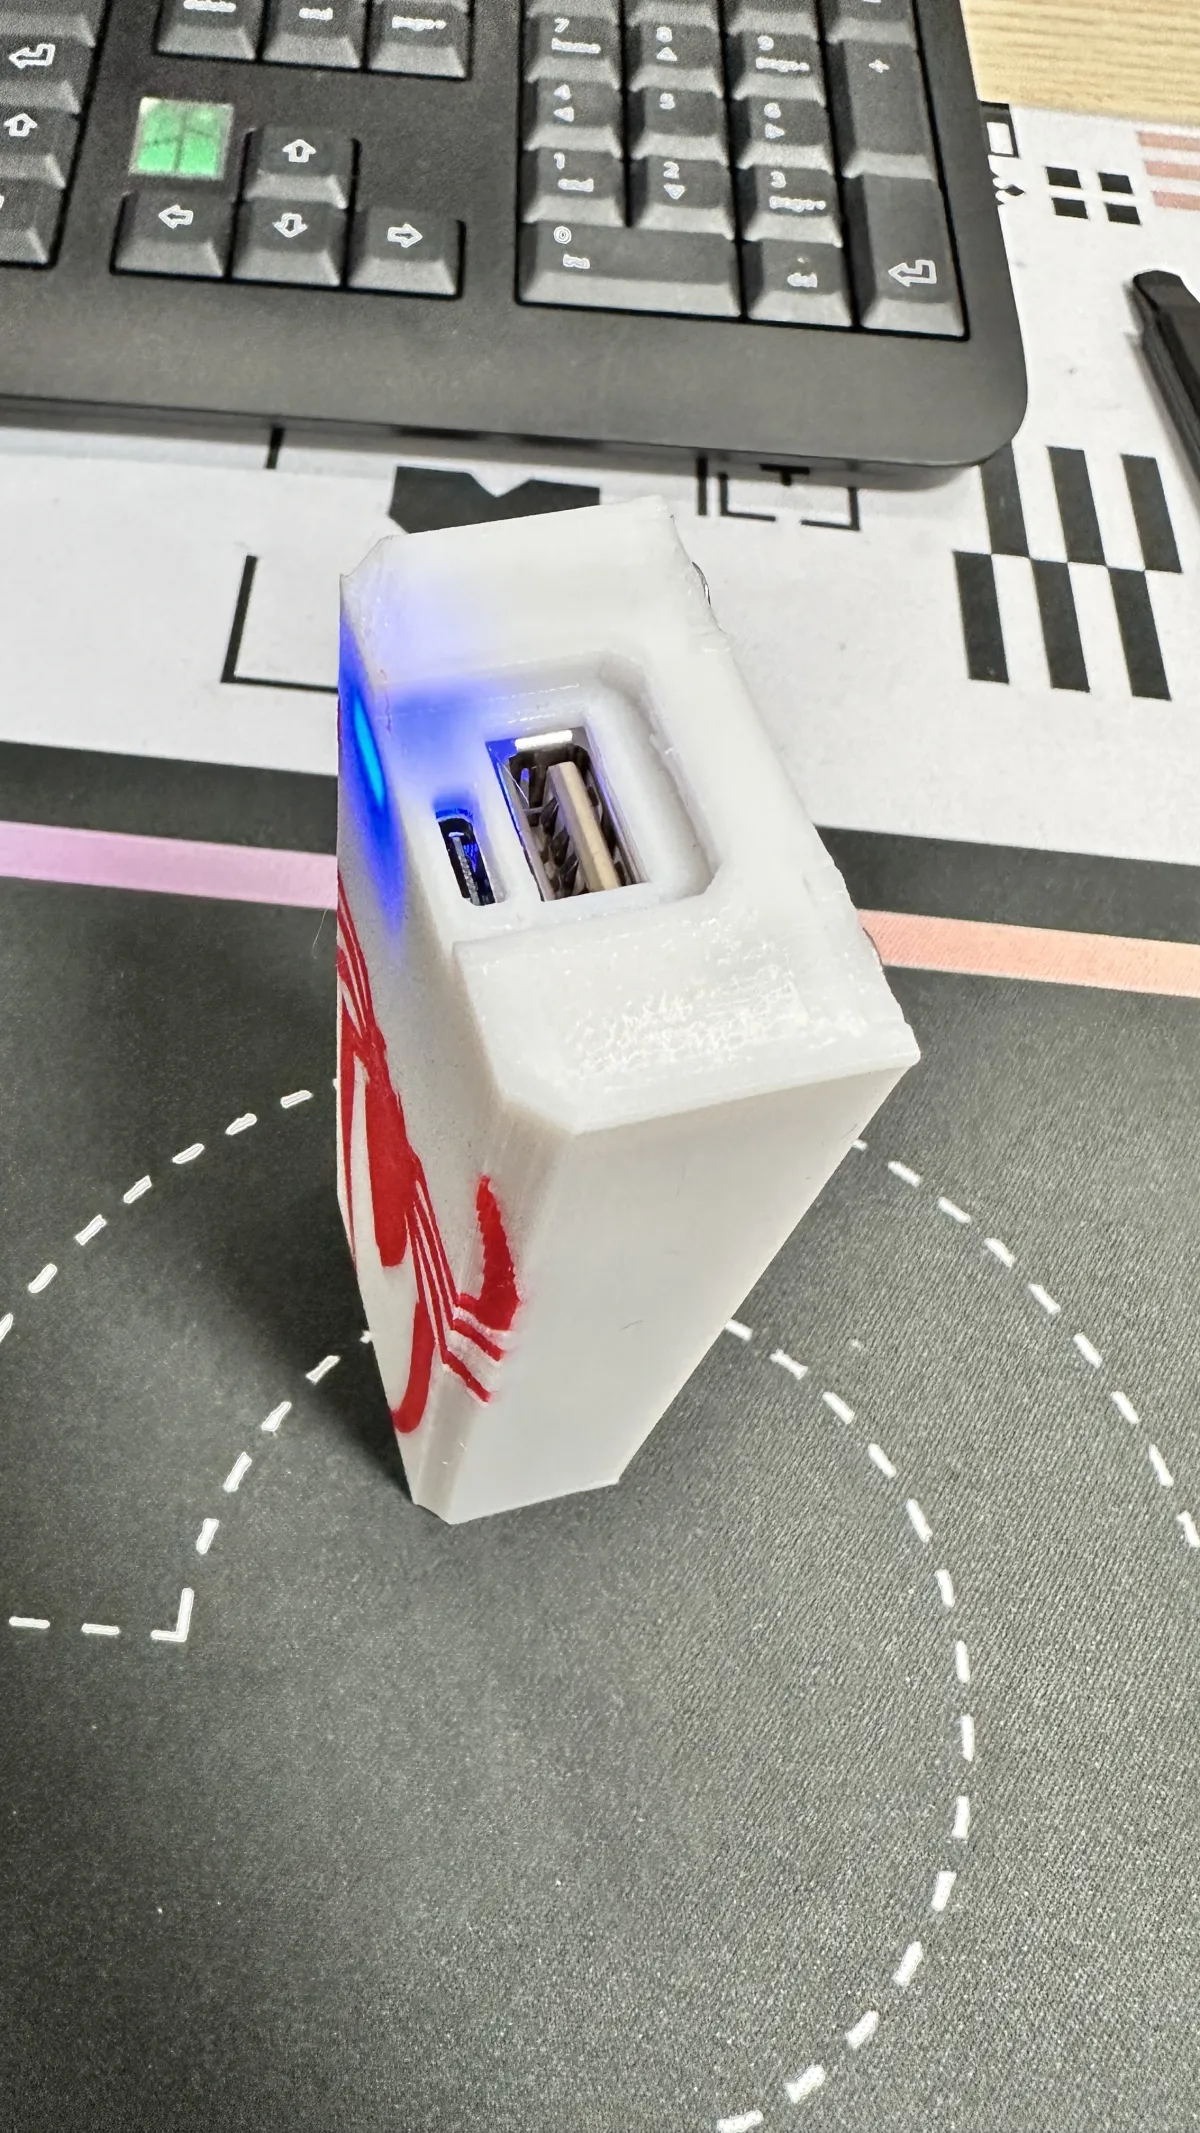
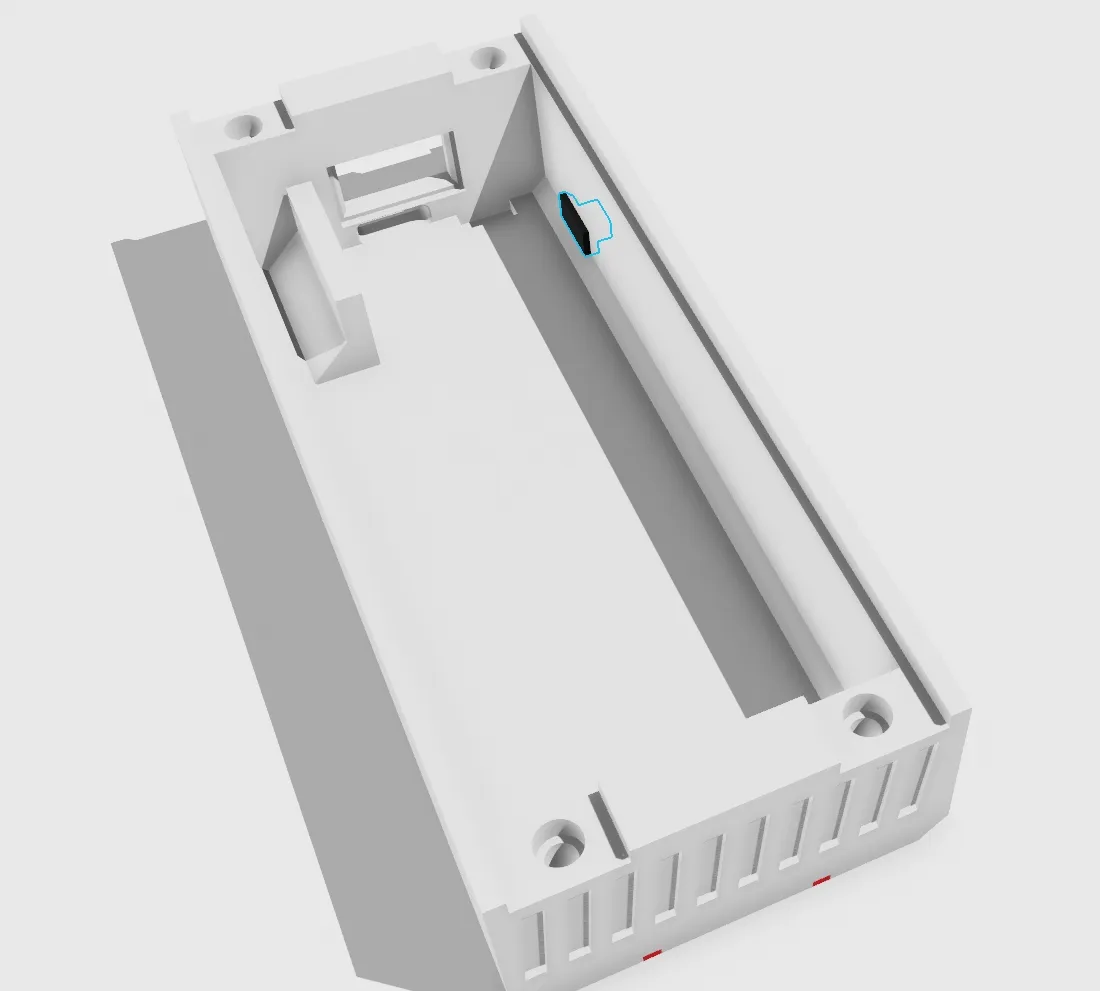
Take out the prepared printout: Insert the switch first

Then put the installed battery pack and protection plate directly into the empty space, pay attention to the position of the wires, ideally all accessories can be directly fixed
Check whether the switch can be used normally, if not, please adjust the position of the protection plate It is recommended that after the switch is used normally, you can use hot melt adhesive to fix the protection plate (please do not apply glue near the switch to prevent the switch from being fixed and causing it to be unusable)

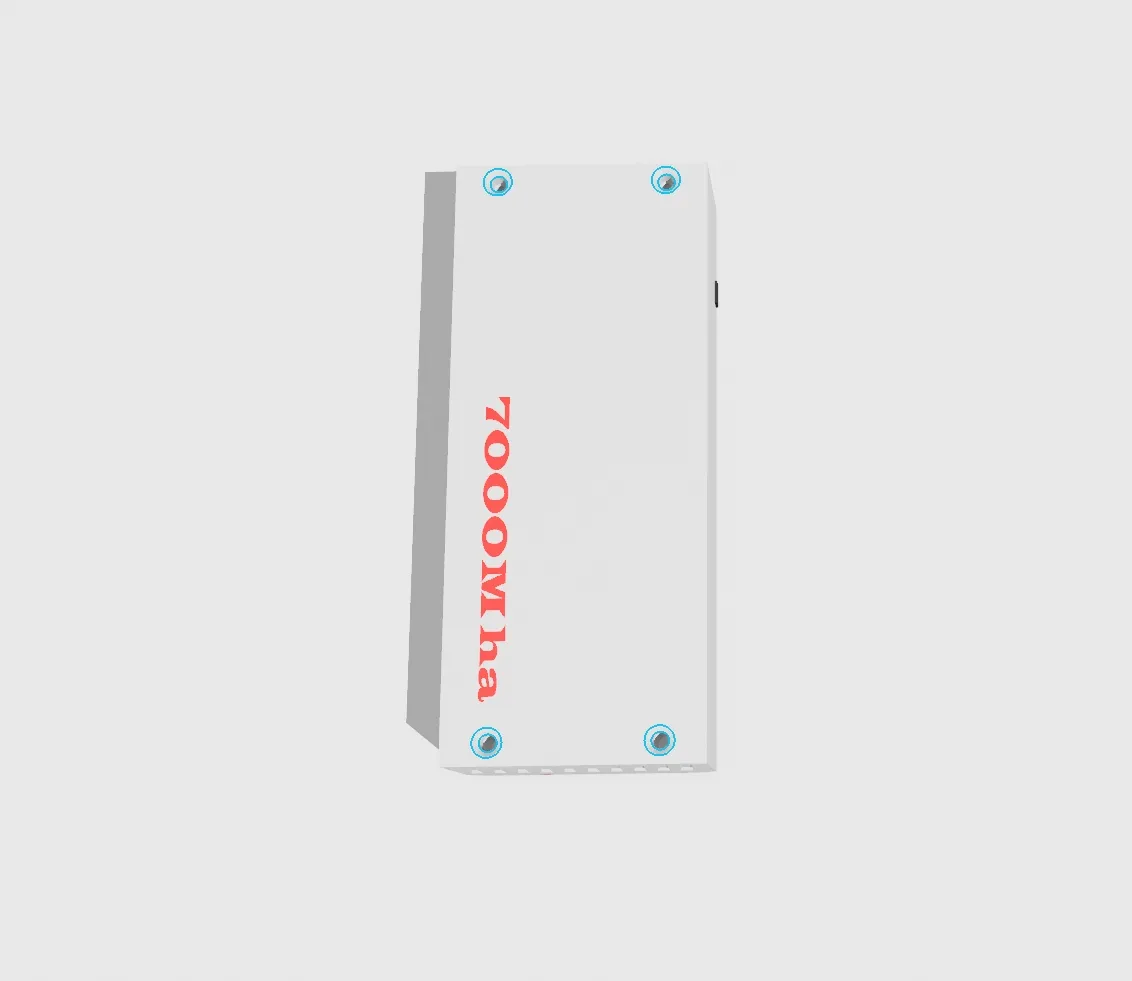
Install the upper cover with M3*10 screws

🔥手作达人狂喜!全网最详细自制充电宝攻略开源啦!从电路原理到材料清单,手把手教你打造专属移动电源,比买成品省一半钱还超有成就感!
📦全程零晦涩术语,小白也能轻松上手!独家避雷指南让你避开安全坑,更有超酷外观改造灵感,充电也要玩出个性!
👉点击下载,解锁科技 DIY 的快乐,让充电不再千篇一律!
充电保护板购买链接: https://e.tb.cn/h.6lDqWPcjmCAPvIt?tk=yDOjVeGCZNu
需要的配件:
18650电池*2
M3*10螺丝*4
充电保护板*1
导线+镍带
以下是详细步骤 首先准备两节18650电池 使用烙铁或者点焊机将两个电池并联(1.两个电池的正极焊接到一起 2.两个电池的负极焊接到一起)将连接好的电池组从正极和负极各焊接一条导线连接到保护板的正负极(请不要连接错误 会导致保护板损坏)适当胶带包裹正负极连接处
取出准备好的打印件:先把开关装进去
然后把已经安装好的电池组和保护板直接对准空位塞进去,请注意导线位置,理想状态下所有配件都可以直接被固定
检查开关是否能正常使用,如果不能 请调整保护板的位置 建议开关正常使用后 可以使用热熔胶固定住保护板(请不要将胶水涂抹在开关附近 防止开关被固定导致无法使用)

将上盖安装 使用M3*10螺丝固定
Bill of materials
- NameQuantityNotes
- 118650电池2
- 2m3*10螺丝2
- 3充电保护板1
Originality of the Model
The author declares that this work is their personally original model
This model is licensed under the following terms:
Credit must be given to the creator
Only noncommercial uses of the work are permitted
Remixes must be shared under the same license
Models(1)
- heti.3mfDesigner

1.35 MB

2025-11-07