




Flightstick
arcade
Raptor


16

0
UPDATE 02/04/25: Added Ultimarc & M10x30 Hex nut compatible Raptor bodies (Many thanks to user francislej )
UPDATE 31/05/24: Fixed errors in Raptor MAIN body STL, now V45. Print upright on bed.
UPDATE 29/05/24: This has been exclusive to my Patreon for two years, it's time for The Raptor to fly free.
Update: Received my cheap analog arcade joystick mechanism from AliExpress and I can confirm that The Raptor fits and works well BUT it doesn't have a strong recentering effect so it needs to be mounted flat and not at an angle plus I can't vouch for how long it will last because I only just got it. $24 AUD (Around $17 USD) inc. postage, If you want to try it out.
Link is down in the misc. notes.
...
Now I'm on v3 of my Digital arcade Flightstick series I am starting to think it shouldn't be digital anymore, so I have searched down a not-too-expensive (read: cheap) arcade analog stick and placed an order. I did consider the Ultimarc UltraStik (especially the 360FS) but the cost was high and you could buy an off the shelf analog stick for less.
If anybody has a spare UltraStik or knows of a cheap way to get one to Australia please message me.
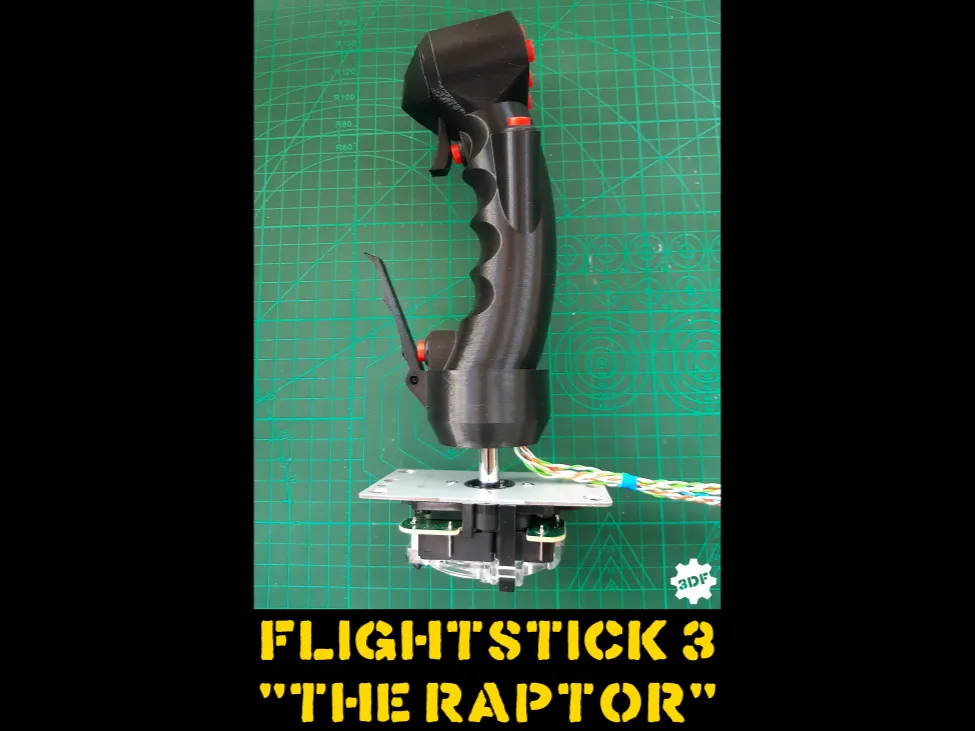
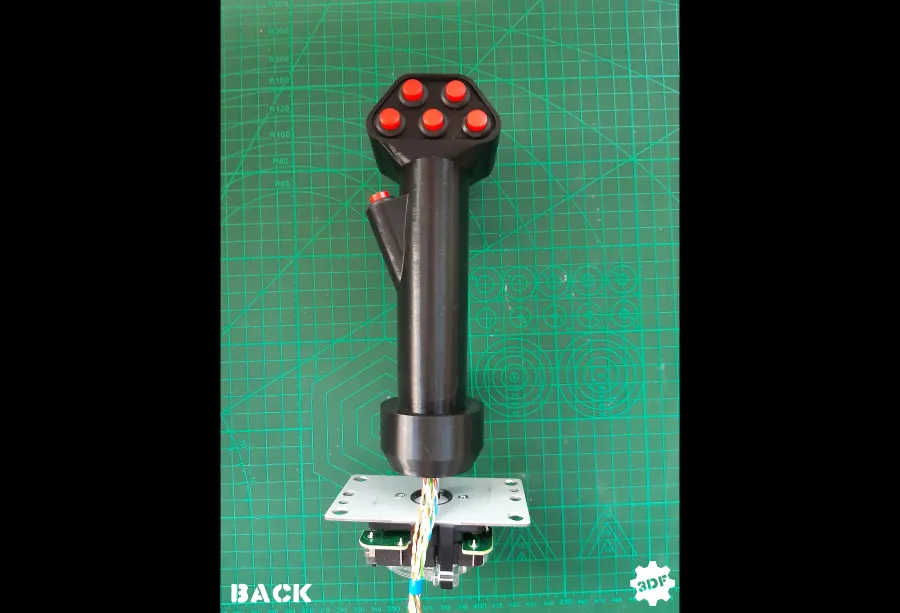
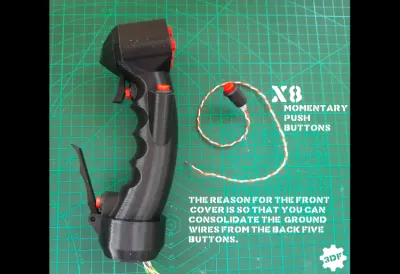
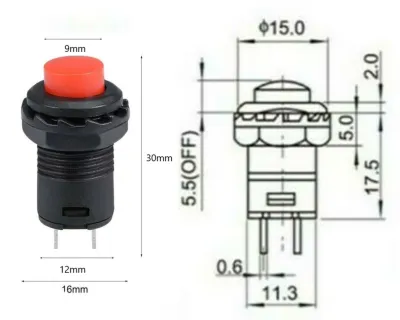
Anyway, continuing on from my other flightsticks, "The Raptor" is relatively simple to print and requires only 8 of a single type of push button to be ready for battle!
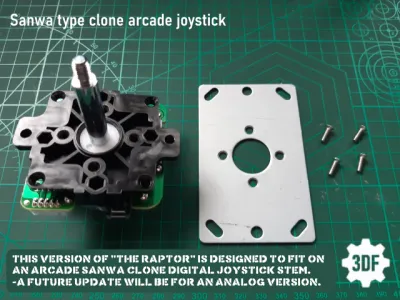
Obviously, you will need to wire up the buttons, have a Sanwa clone joystick to plant it on and an encoder to interface with your chosen device.
The reason this version has a separate front cover is so you can consolidate the ground wires from the back 5 buttons, thus reducing the amount of wiring running through the body. I also would suggest feeding a wire up to the trigger push button location from the bottom, the turn is a little tight to be able to feed it from the top.
As a connection suggestion, considering that there are 8 fire buttons and a ground wire you could use a coiled spring type cable terminating in a 9pin D plug with a connector situated on the front of your control panel, or just under if it overhangs.
I hope someone gets as much of a kick out of this as I did designing and making it, this is not the end of the flightstick series but I might have a go at a few others things in the meantime.
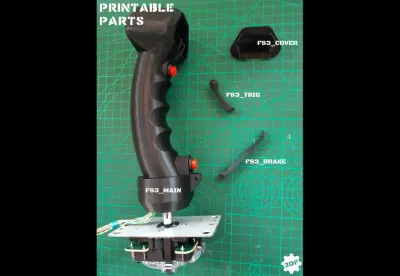
There are two versions of the main body, one is lighter, takes less material and time to print, and the other is stronger.
PATREON & PATREON SHOP.
https://www.patreon.com/3DFreeman
Thanks for checking out my designs.
Originality of the Model
The author declares that this work is their personally original model
This model is licensed under the following terms:
Credit must be given to the creator
Only noncommercial uses of the work are permitted
Models(6)
 FS3_V31_TRIG.stlDesigner
40.71 KB

2026-01-23
- FS3_V33_COVER.stlDesigner
20.69 KB
2026-01-23
- FS3_V34_BRAKE.stlDesigner
41.29 KB
2026-01-23
- FS3_V45_MAIN.stlDesigner
1.34 MB
2026-01-23
- Raptor_Hexnut_Insert_V2.stlDesigner
1.34 MB
2026-01-23
- Raptor_Ultimarc.stlDesigner
1.36 MB
2026-01-23
View all(6)


