




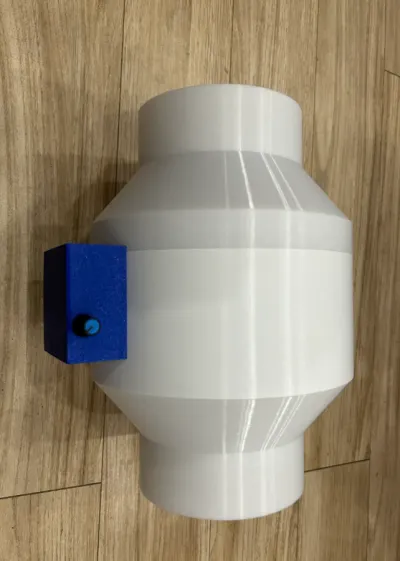
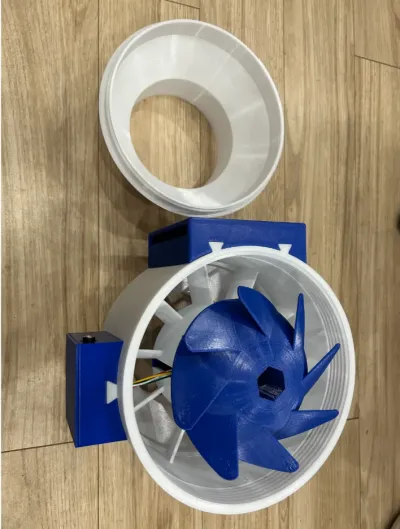
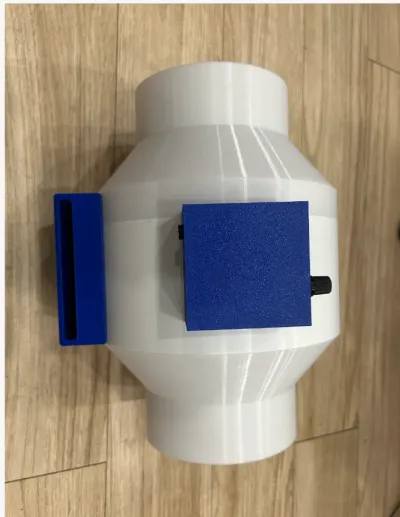
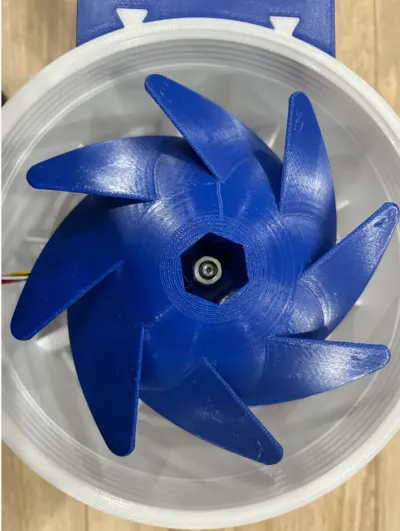

Duct Fan

- 0.2 mm layer height, 2‑wall walls, 15% infill density

6-disc
PETG
Designer

28

2
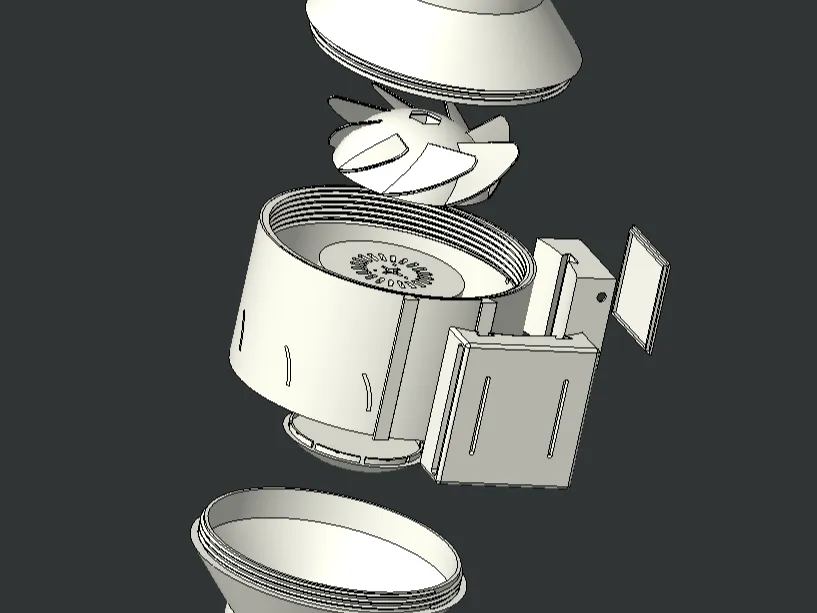
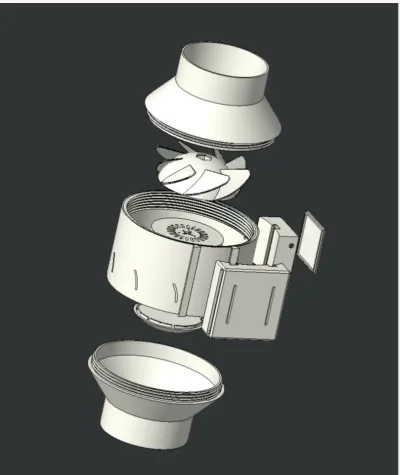
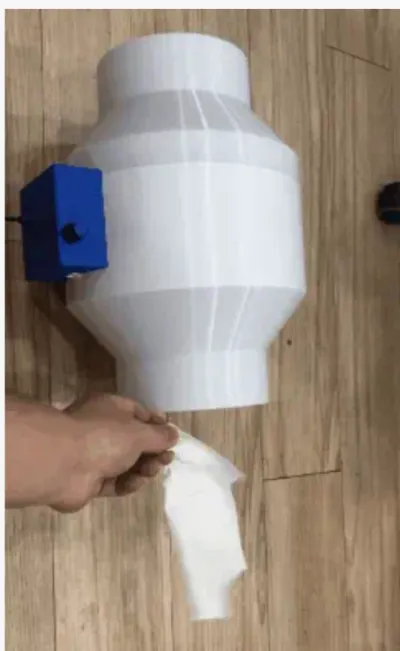
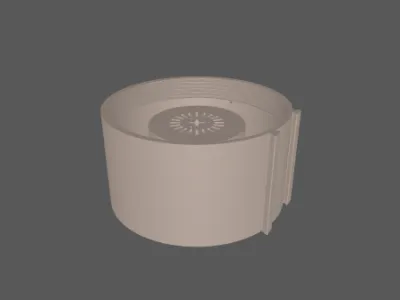
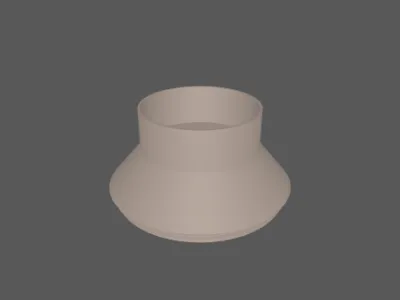
3D printing can solve a wide range of real-world problems—but when printing indoors for extended periods, especially during winter when many people prefer to keep windows closed, there’s an urgent need for an exhaust fan to circulate fresh air throughout the space. This particular exhaust fan features a 150mm diameter duct (after calculating the costs, I decided it might be more practical to simply purchase a commercial unit—but with 3D printing, you can tailor the design to your exact needs and even experiment with miniaturized versions based on user feedback). The required components are listed below; be sure to read the following instructions carefully before starting your print—this will help you avoid wasting materials:
Motor purchase link: [Xianyu] https://m.tb.cn/h.TfpFp8s?tk=6bjH3CZQfE8 MF7997 – “I’ve listed a ‘Duct Fan Motor Kit’ on Xianyu!”
Click the link to open the page directly.
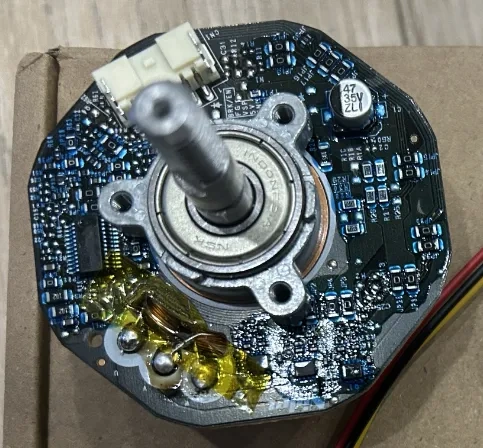
1. Motor
Given the specific requirements of the duct fan, I selected a high‑speed motor that operates with relatively low noise. While it doesn’t offer the rapid PWM response of some other options, I don’t plan to adjust the speed frequently—just plug it in and let it run. With two hours of operation per day, the fan easily provides sufficient ventilation for my indoor space.
Note: The duct fan motor is designed to rotate counterclockwise—that is, in reverse. To achieve this, simply swap any two of the UVW wires; since the wires cross over each other, be sure to insulate them properly—high‑temperature tape works perfectly for this purpose.
For other motor models, you can often modify them yourself based on the manufacturer’s recommendations—just make sure the dimensions fit snugly within the designated housing.
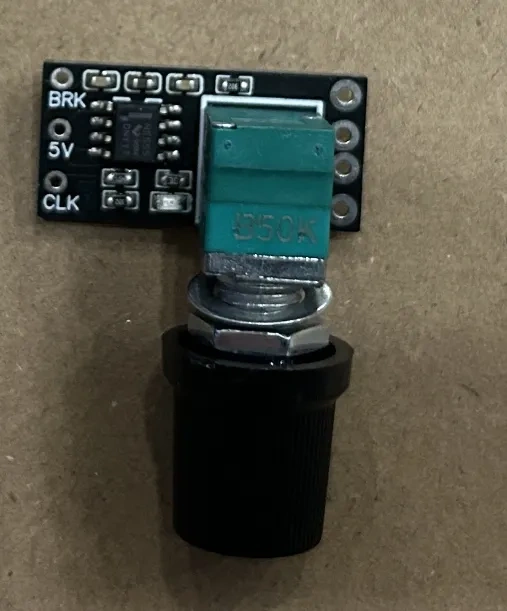
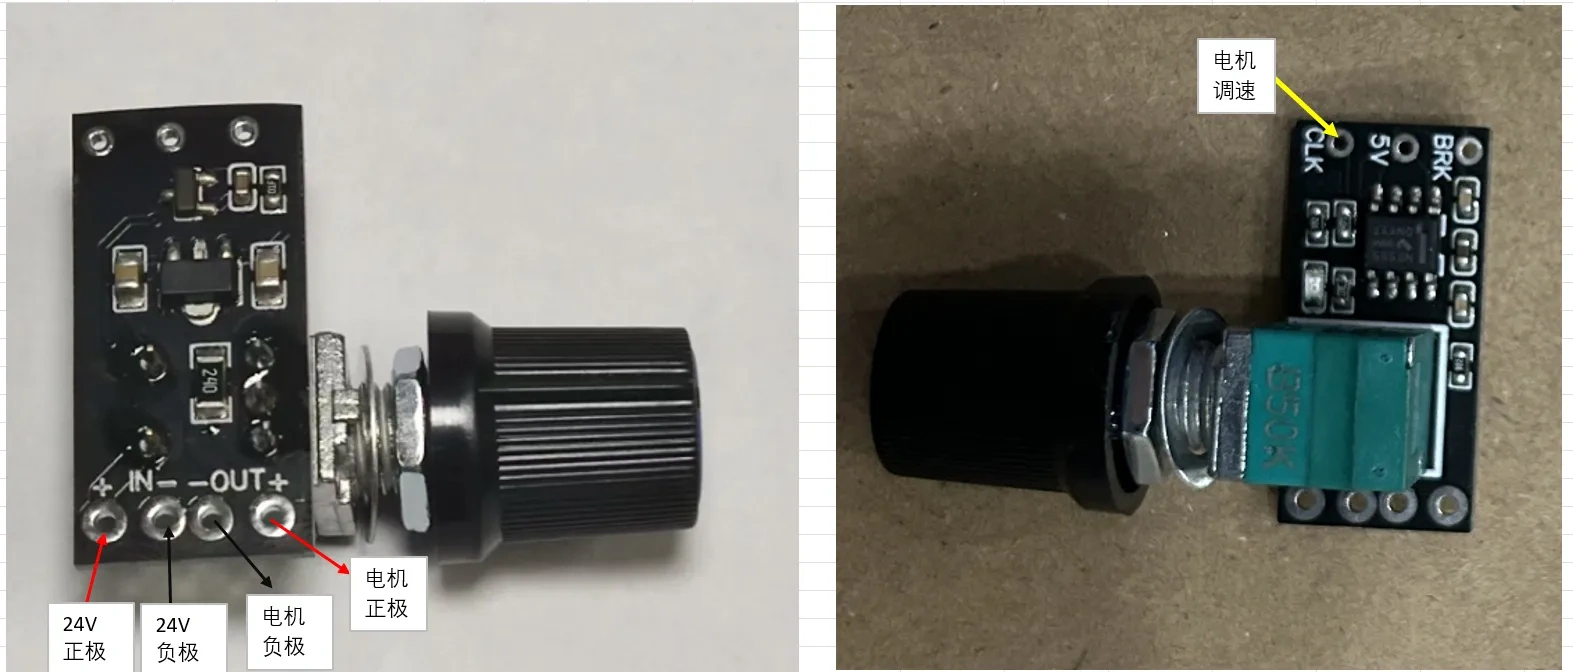
2. Speed Controller: I opted for a compact CLK‑type speed controller that also includes a built‑in power switch.
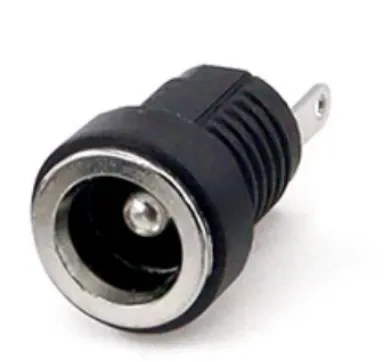
3. Power Supply & Connectors:
This motor runs on 24V, so I chose a DC 5525 connector with an M8 thread size.
4. Wiring & Installation Notes:
1) Installation
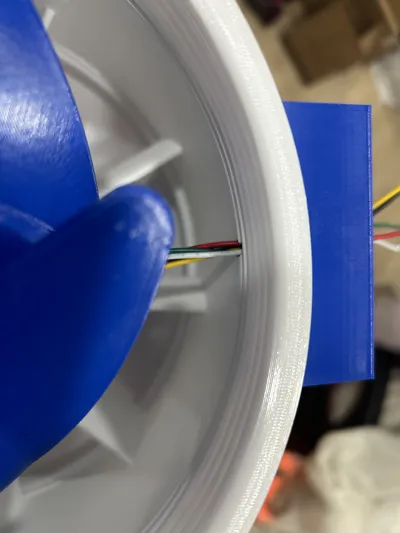
Be sure to mount the blue control board enclosure onto the main body first, then route the wires through the designated holes.
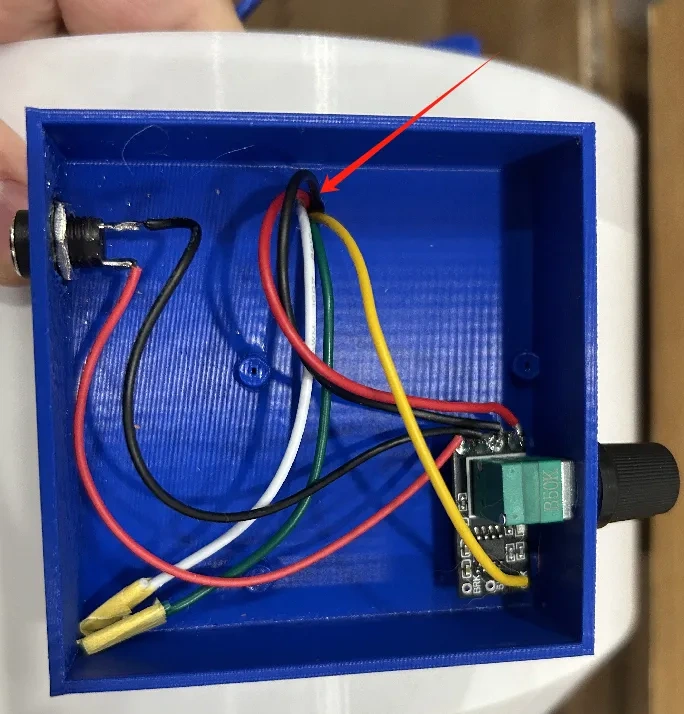
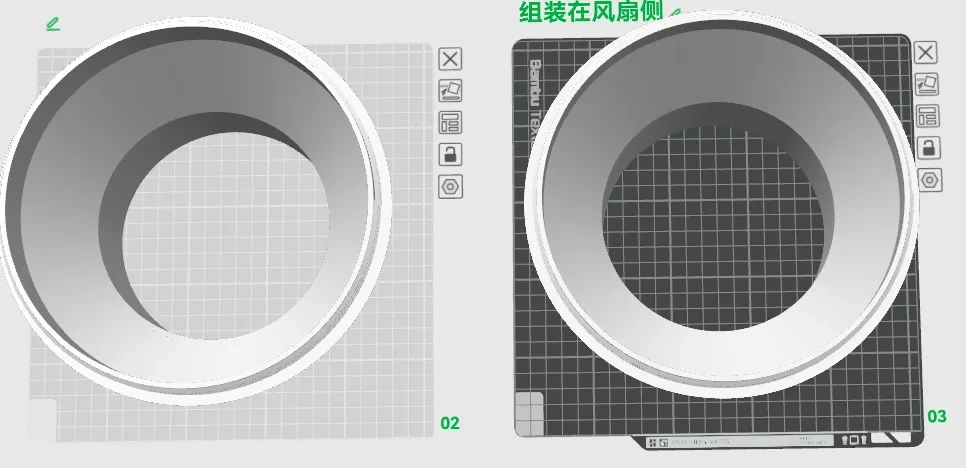
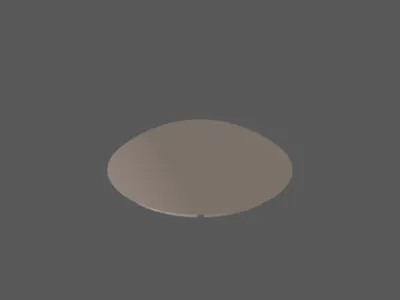
2) In the 3MF files, Disk 2 and Disk 3 serve different purposes: Disk 3 should be assembled on the fan blade side.
Ps: If installed backward, the fan blades may scrape against the side walls, potentially causing damage.
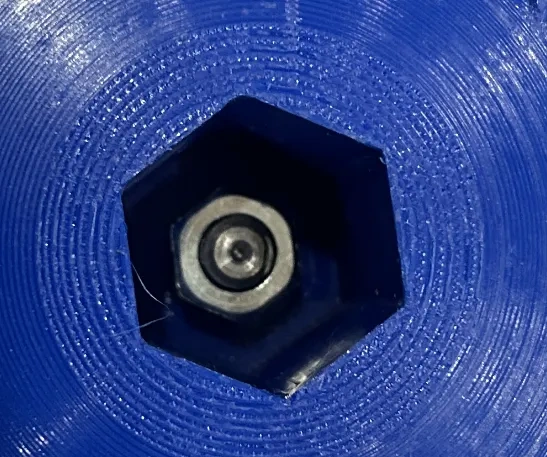
3) Since the motor rotates in reverse, you’ll need two M8 left‑hand threaded nuts—one for secure mounting and one for anti‑loosening protection.
Using just a single nut will inevitably lead to loosening over time.
4) Wiring:
If you have any questions or encounter issues during the process, feel free to leave a comment or send me a private message—we’re here to help!
Originality of the Model
The author declares that this work is their personally original model
This model is licensed under the following terms:
Credit must be given to the creator
Models(9)
- 3mf.3mfDesigner

3.62 MB

2025-08-19
 000001.stlDesigner
4.30 MB
2025-08-19
 111.stlDesigner
1.19 MB
2025-08-19
 01111-111.stlDesigner
1.19 MB
2025-08-19
 3333.stlDesigner
427.33 KB
2025-08-19
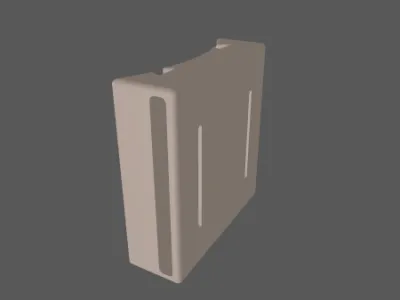 5555.stlDesigner
242.86 KB
2025-08-19
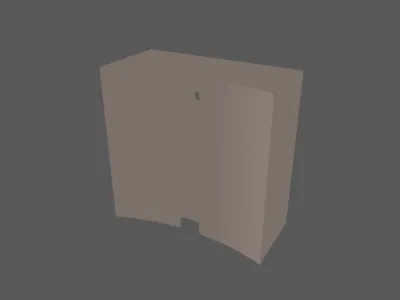 11111.stlDesigner
39.44 KB
2025-08-19
 22222.stlDesigner
2.23 KB
2025-08-19
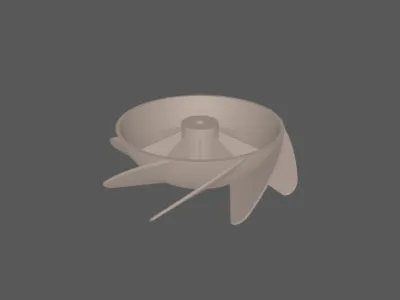 shanye.stlDesigner
4.69 MB
2025-08-19
View all(9)


