


5

2
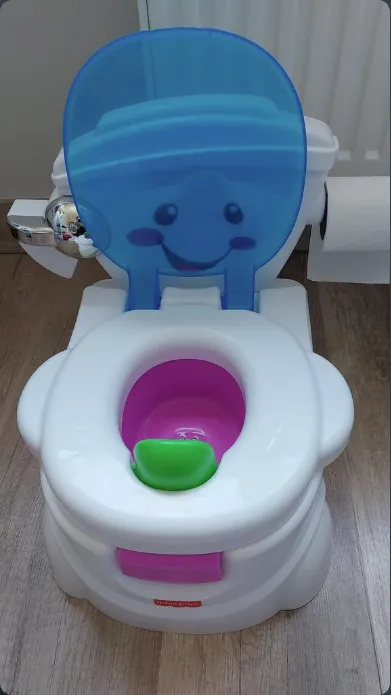
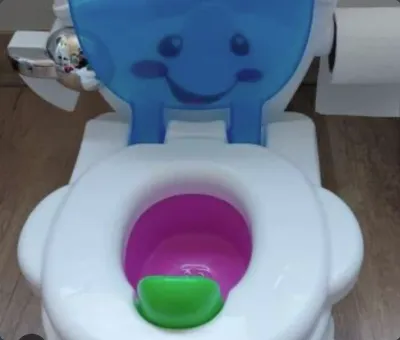
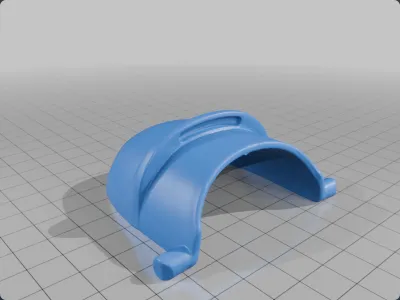
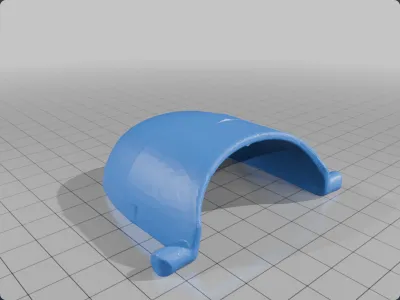
Fisher-Price Educational Toilet 3D Printing Guide
Design a custom toilet just for your child!
This guide will help you easily create the Fisher-Price Educational Toilet model using your 3D printer.
Why 3D Printing?
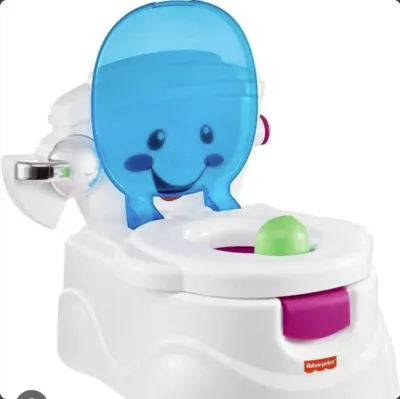
Personalization: Design the toilet in your child’s favorite colors and patterns.
Cost-Effective: Much more affordable than pre-made products.
Hygienic: Easy to clean and sterilize.
What Do You Need?
3D Printer
[Filament Type and Colors] (e.g., PLA, white, blue)
Support Materials (adhesive tape, craft knife)
[Optional Accessories] (stickers, LED lights)
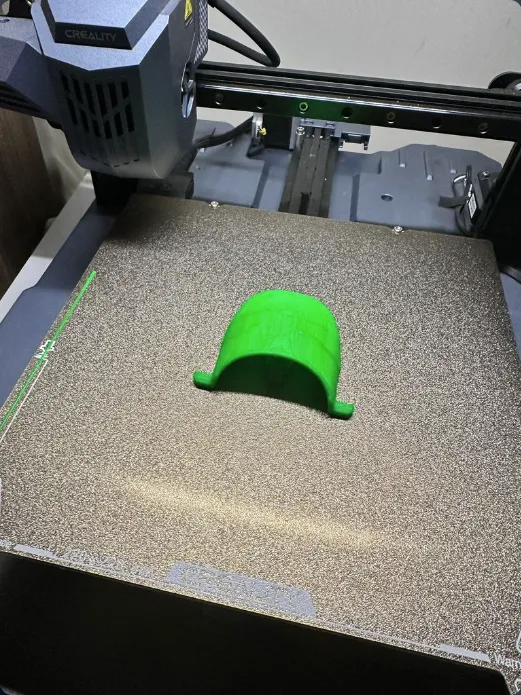
How to Make It?
Preparation: Convert your 3D model files into a format compatible with your printer.
Printing: Print the parts one by one—support materials may be required.
Assembly: Join the parts together; you can use screws or adhesive for added stability.
Customization: Decorate with stickers or LED lights.
Important Notes
Safety: Ensure all components are securely fastened.
Hygiene: Clean the toilet regularly.
Age Group: This product is suitable for [a specific age range].
For more information, visit [your website].
[Your Company Logo]
[Contact Information]
3D Printing #FisherPrice #KidsToys
This guide serves as a reference for more detailed instructions—if you need further assistance, feel free to reach out to us.
You can also consider adding the following:
Video Tutorial: A short video to visually walk you through the assembly process.
Interactive Guide: Enhance the assembly experience with augmented reality.
Community: A platform where you can share your experiences with other users.
This concise guide will be an effective tool for attracting potential customers and promoting your product.
Originality of the Model
The author declares that this work is their personally shared model

This model is licensed under the following terms:
No Copyright.
Models(2)
 Fisher_Price_Toilet.stl
4.74 MB

2025-07-09
- Fisher_Price_Toilet_2.stl
657.70 KB
2025-07-09