




darth vader
lightbox
lightbox lamp
RGB LED
WLED
LED animation
starwars
star wars
ISD
hyperspace
star destroyer
imperial class star destroyer
spaceship
The Empire
Vader
empire
emperor
galactic empire

- 0.2mm layer, 2 walls, 15% infill

3-disc
PLA
Designer

22

4
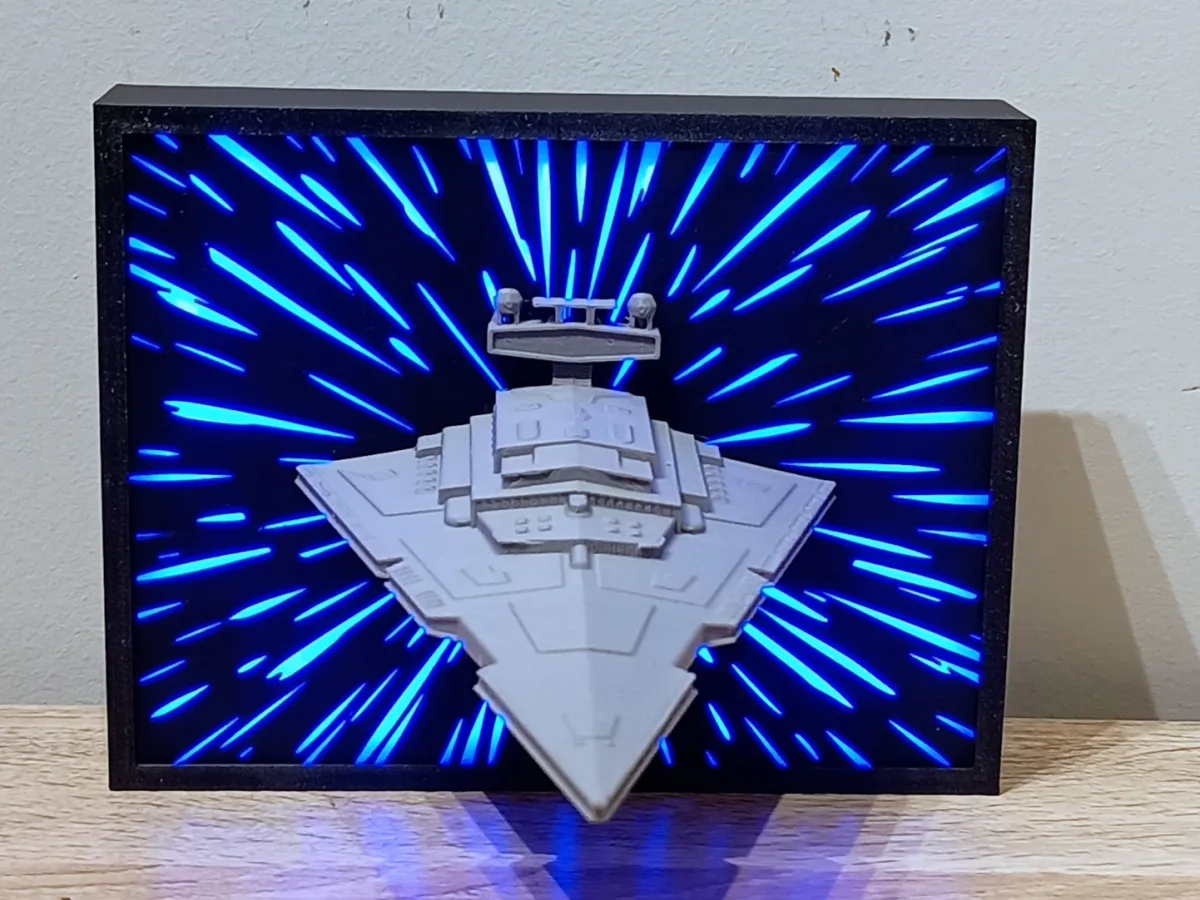
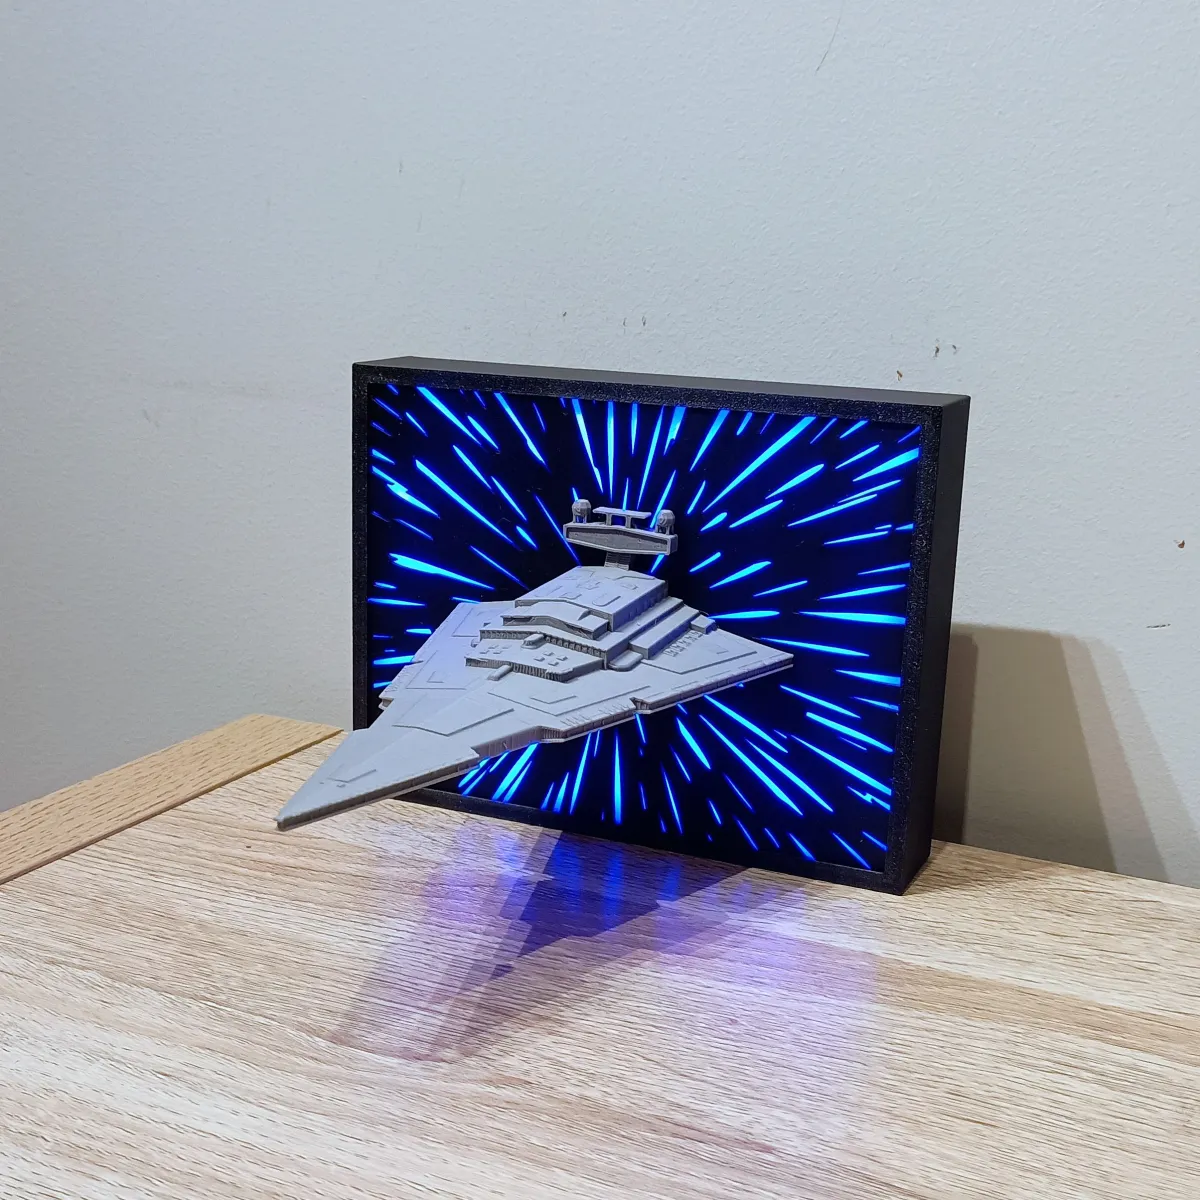
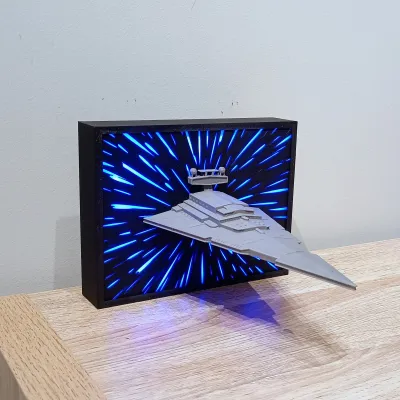
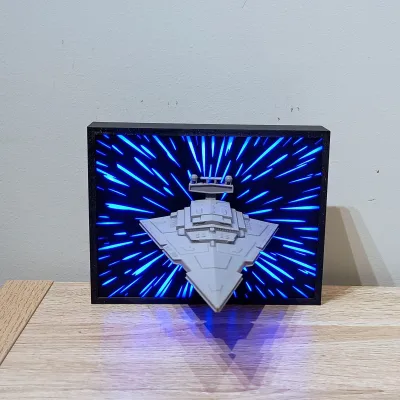
Attention, loyal Imperials, bounty hunters, and Star Wars fans from across the galaxy! Witness the unstoppable might of the Empire as a colossal Imperial Star Destroyer tears through hyperspace with dazzling LED effects. This 3D-printed masterpiece brings the fearsome power of the Imperial Navy right into your collection!
✨ Features
Hyperdrive Engaged: Feel the rumble of Imperial power as your Star Destroyer blazes through hyperspace with stunning LED effects powered by 62 WS2812B LEDs! One moment it looms menacingly… the next it vanishes into lightspeed.
Customizable LED Effects: Harness the dark side with WLED running on a D1 Mini ESP8266, giving you full control over hyperspace streaks, pulsing star fields, or even a sinister Imperial-red glow.
👉 Want a simpler build? This project can also be powered by the Bambu Lab KA001 LED kit, which drops straight in with no soldering required.
Assembly Fit for an Admiral: No need for a Starfleet of droids — my step-by-step guide will walk you through the build faster than you can say “Executor-class.”
Prints Faster Than a Blockade Run: With a Bambu Lab printer (or your own trusty starship), you’ll be commanding your Imperial Star Destroyer Hyperspace Frame in no time.
🎨 Printing Notes
If not using Bambu Studio or a Bambu Lab printer, you’ll need to perform filament swaps during the print:
White at the start
Black at 0.6 mm layer height
Grey (or any Destroyer colour) at 1.8 mm layer height
(based on a 0.2 mm layer height)
So whether you’re an Imperial Admiral seeking to dominate the Outer Rim, or just want to impress visitors in your personal cantina, the Imperial Star Destroyer Hyperspace Frame is the ultimate conversation piece.
Remember: The Empire’s reach is infinite… even in hyperspace.
🛠 Assembly Guide – Hyperspace Frame (WS2812B LEDs + D1 Mini ESP8266)
Step 1: Flash WLED to Your D1 Mini ESP8266
Go to install.wled.me and flash the WLED firmware.
Optional: set up Wi-Fi now, or leave it in AP mode for later.
Step 2: Prepare the USB Power Cable
Feed a USB cable through the hole in the Backplate.
Strip back the red (5V) and black (GND) wires.
Cut and strip two extra short wires (one red, one black).
Twist the extra red wire together with the USB 5V, and the extra black wire with the USB GND.
(This way the LED strip gets power directly from USB, and the D1 Mini “taps” into the same lines.)Also cut and strip one signal wire (for LED data).
Step 3: Wire the LED Strip
Solder the prepared wires to the LED strip pads:
5V → 5V pad
GND → GND pad
Signal wire → DIN pad
Now the strip is fully pre-wired before sticking it down.
Step 4: Mount the LED Strip
Peel off the adhesive backing and stick the strip along the inside wall of the Backplate in two rows.
If needed, cut at marked cut-lines and bridge with short solder jumpers.
Make sure the arrow direction points away from the D1 Mini’s connection point.
Step 5: Wire the D1 Mini
Solder the tapped 5V wire from Step 2 → 5V pin on the D1 Mini.
Solder the tapped GND wire from Step 2 → G pin.
Solder the signal wire from the LED strip → GPIO2 (D4) on the D1 Mini.
Step 6: Secure the D1 Mini
Fix the D1 Mini to the Backplate with double-sided tape or hot glue.
Mount it chip-side down so the onboard Wi-Fi LED doesn’t leak into the frame.
Step 7: Assemble the Frame
Place the ship + hyperspace background onto the Backplate.
Align carefully so LEDs shine through evenly.
Slide the Frame over the Backplate, ensuring no wires are pinched.
Step 8: Power On & Test
Plug into a 5V / 2A USB power source.
LEDs should light with the default WLED effect.
If not: recheck solder joints and LED strip direction.
Step 9: Customize with WLED
Connect to WLED via browser or app.
Experiment with hyperspace streaks, Imperial red, or starfield effects.
Step 10: Enjoy Hyperspace!
Display proudly — whether it’s the Millennium Falcon outrunning TIEs or the Empire’s Star Destroyer dominating the galaxy.
Bill of Materials (BOM)
Item | Quantity | Links |
|---|---|---|
| D1 Mini (ESP8266) | 1 | https://www.aliexpress.com/item/1005006235653025.html |
| WS2812B LED strip | 60 per Meter | https://www.aliexpress.com/item/1005006766819624.html |
| USB cable | 1 | https://www.aliexpress.com/item/1005008045179029.html |
| Wire 26 AWG Red, Black, Yellow | as needed | https://www.aliexpress.com/item/4001283806251.html |
| VHB Tape | as needed | https://www.aliexpress.com/item/1005008305877251.html |
| Soldering Iron | 1 | https://www.aliexpress.com/item/1005007099216072.html |
| Solder | as needed | https://www.aliexpress.com/item/1005008695639704.html |
| Hot glue | as needed | https://www.aliexpress.com/item/1005008055271799.html? |
| CA glue | as needed | https://www.aliexpress.com/item/1005003643576389.html? |
Originality of the Model
The author declares that this work is their personally original model
This model is licensed under the following terms:
This work is licensed under a Standard Digital File License. Digital files have a strict non-commercial, personal use only license.
You shall not share, sub-license, sell, rent, host, transfer, or distribute in any way the digital file or 3D printed versions of this object, nor any other derivative work of this object in its digital or physical format (including remixes of this object). You can not host these files on other digital platforms, web stores or cloud repositories. The objects may not be used in any way whatsoever in which you charge money, collect fees.
Models(1)
- ISD+LED+Hyperspace (1).3mfDesigner

4.75 MB

2026-06-04


