




milwaukee


48

3
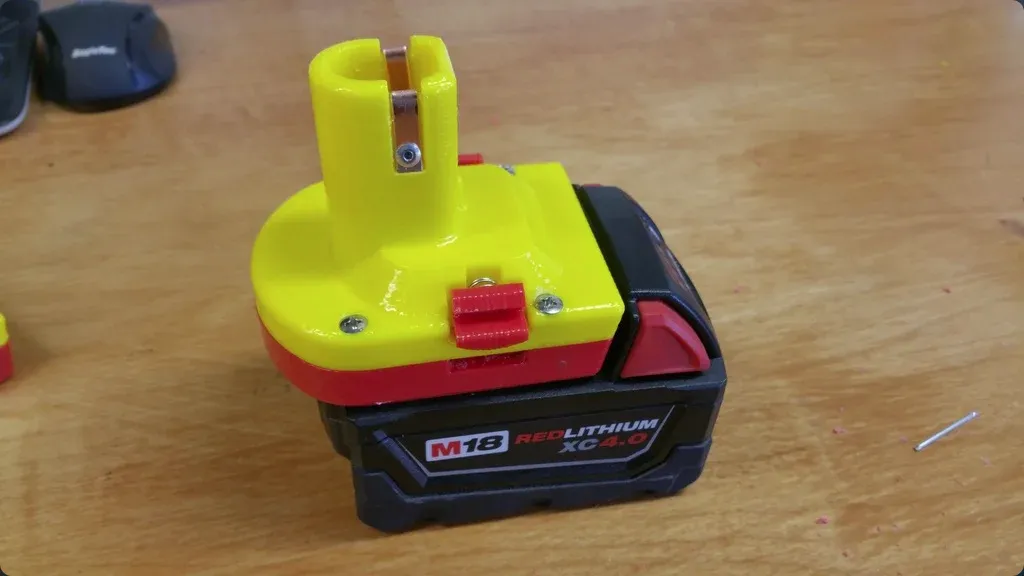
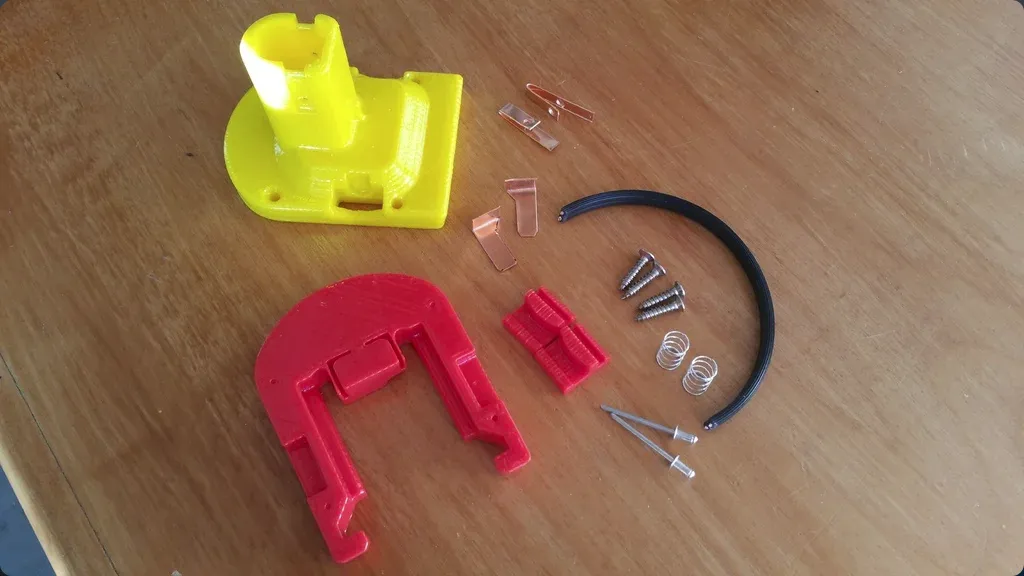
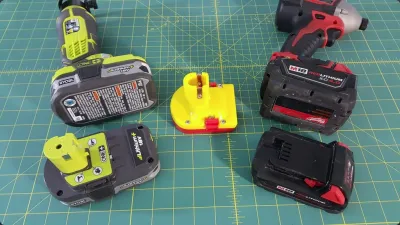
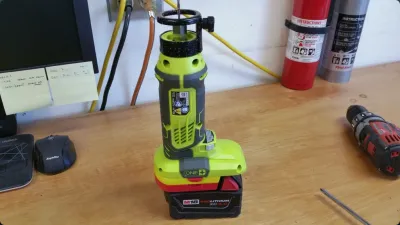
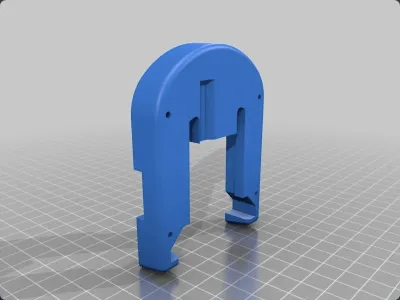
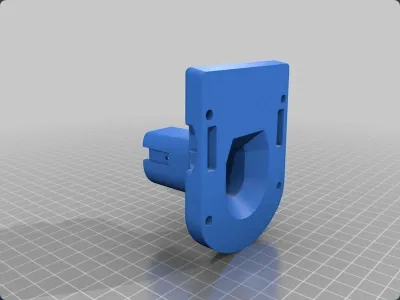
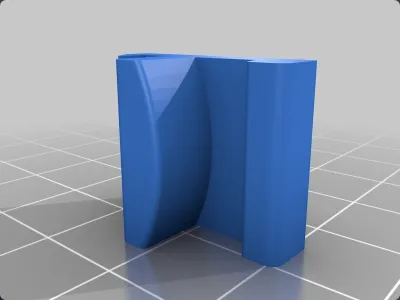
Figured it was about time I shared something I've made. This is a simple adapter to be able to use your Milwaukee lithium batteries with your Ryobi tools. There are four total parts to print and then a few pieces necessary to assemble.
Here's a quick youtube video I made of the assembly:
https://youtu.be/78Nx49VKUew
Everything fits a bit tight together (particularly onto the Milwaukee tool), so I might need to increase the tolerances later. I printed all the pieces in ABS, but might try another in Nylon 910 to see if it is a little more "slippery" (for battery insertion) and overall more durable.
Basically this is all you'll need to assemble:
(1) Small copper sheet, 1/32" thick
(4) #8 x 3/4" screws (or just epoxy it together)
(2) 3/8" D x 5/8" L compression springs
(2) 1/8" x 1/4" rivets (or small machine screws of your choice)
(1) wire (I used lamp cord)
Let me know what you think!
If you make this, it's at your own risk! Be very careful with the wiring!
Some of the protections that I believe are monitored by the other pins in the milwaukee battery (overcurrent? under voltage? temperature?) of course aren't going to work, so just be careful about how hard you run the tools. Running too low a voltage will damage your cells and I believe the under voltage cutoff is disabled.
Originality of the Model
The author declares that this work is their personally shared model

This model is licensed under the following terms:
Credit must be given to the creator
Models(6)
 battery_adapter_-_bottom_plate_-_milwaukee.STL
122.74 KB

2025-07-05
- battery_adapter_-_bottom_plate_-_milwaukee.SLDPRT
265.08 KB
2025-07-05
- battery_adapter_-_button.STL
48.32 KB
2025-07-05
- battery_adapter_-_button.SLDPRT
104.92 KB
2025-07-05
- battery_adapter_-_top_plate_-_ryobi.SLDPRT
542.50 KB
2025-07-05
- battery_adapter_-_top_plate_-_ryobi.STL
430.65 KB
2025-07-05
View all(6)


