











Microscopic
Desktop
Model
Office Environment
Decorative items
Aesthetics
Home Decor
Realistic
Micro‑scale painting
Mini Book
Furniture
Chair Model
Detailed
PLA Printing
3D‑printed decorative items

- 0.2 mm layer height, 3‑layer walls, 15% infill density

2-disc
PLA
Designer

6

2
Miniature Office Desk Model Documentation
I. Source of Inspiration 💡
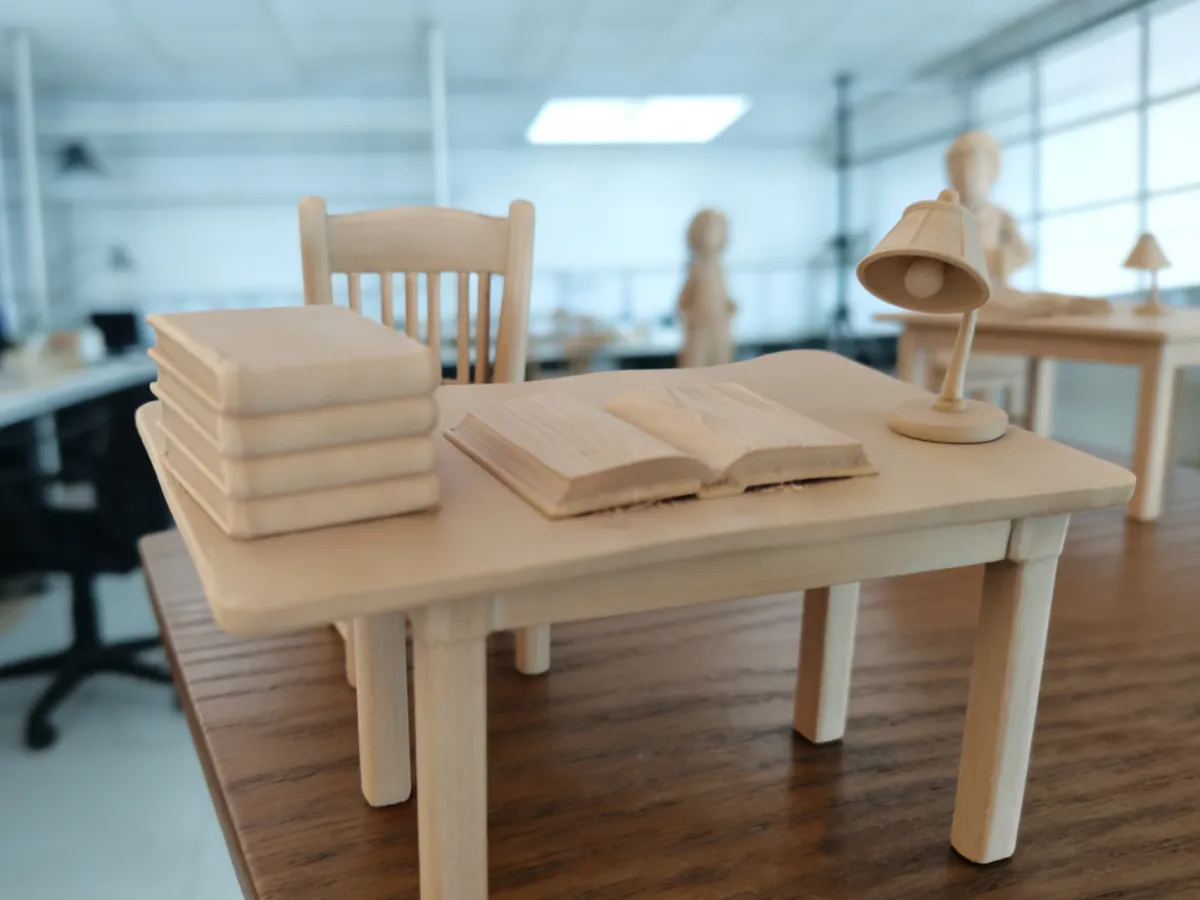
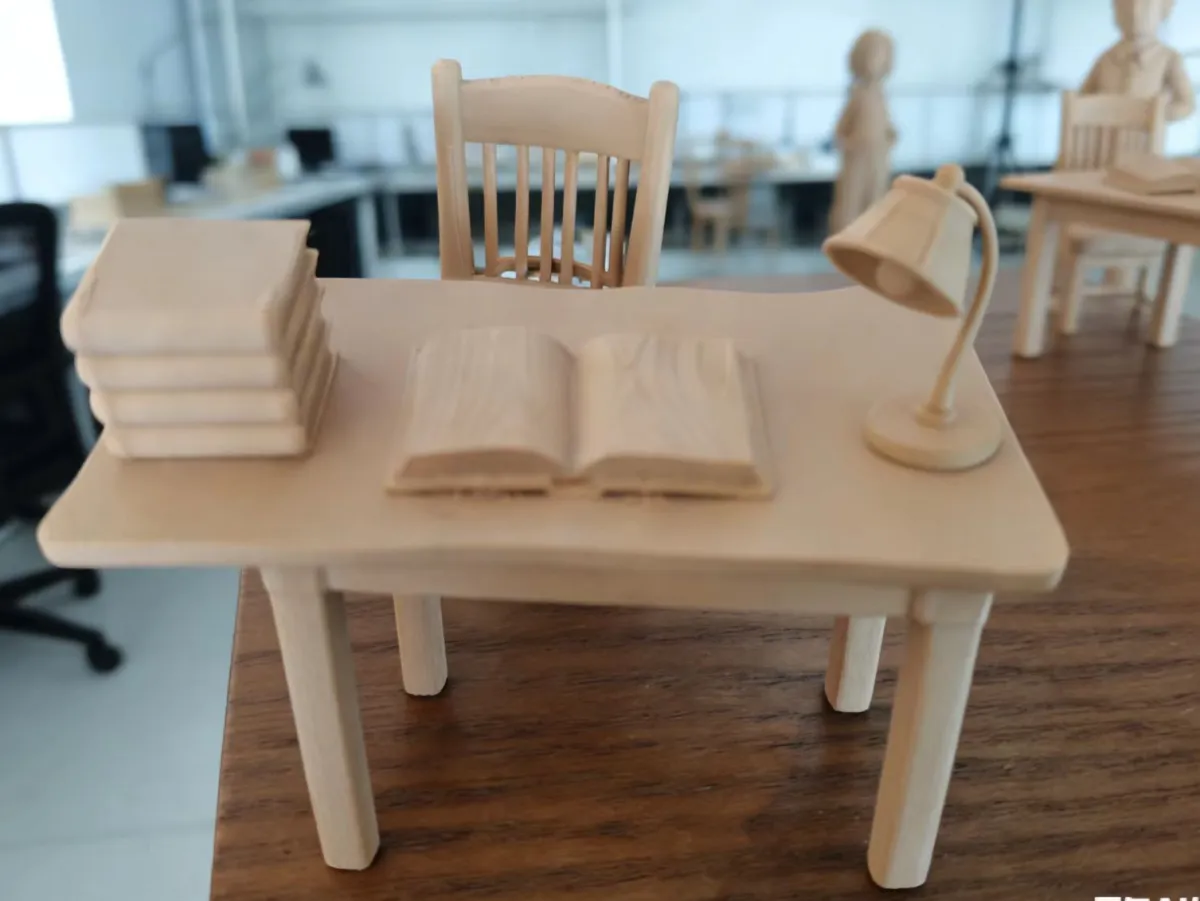
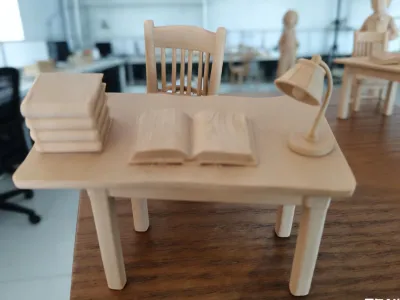
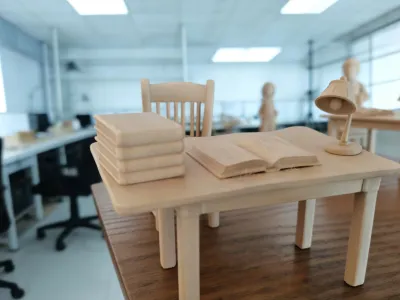
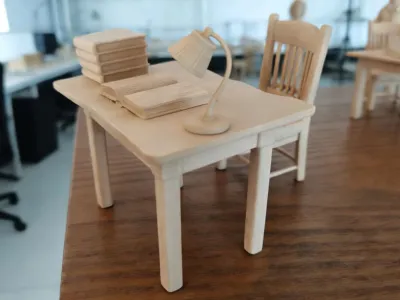
The inspiration for this miniature office desk model stems from a desire to artistically recreate and scale down modern office environments. The design distills the core elements of everyday office life—such as desks, chairs, desk lamps, and books—into a highly detailed 1:12 scale, capturing both realism and refined aesthetics. The primary goal was to craft a tabletop display piece that not only showcases the capabilities of 3D printing technology but also evokes emotional resonance with users’ workspaces, transforming cold, utilitarian office furniture into something warm and engaging within the realm of miniaturization.
II. Printing Requirements ⚙️
1. Basic Configuration
- Recommended Filament: PLA / PETG (PLA is easier to print, while PETG offers superior strength)
- Print Temperature: Nozzle 200–210°C, Build Plate 60–70°C (for PLA)
- Layer Height: 0.15–0.2mm (balancing precision with print speed)
- Infill Density: 15–20% (ensuring structural integrity while minimizing material usage)
- Print Speed: 40–60mm/s; for intricate features like desk lamp joints, it’s recommended to reduce the speed to 30mm/s
2. Special Considerations
- Supports: Must be added. Focus on areas such as the desk lamp’s cantilevered arm, the floating pages of the book, the slender backrest struts of the chair, and the base of the table legs. We recommend using easy‑peel supports with moderate density, generated only in overhanging or unsupported regions.
- Raft: Highly recommended to prevent warping and lifting of large flat surfaces like the desktop and chair seat, while also enhancing adhesion at the base.
- Adhesive: The main components do not require glue; only when removing supports causes small parts—such as chair slats or desk lamp joints—to break should you use a quick‑setting adhesive like 502 to repair them.
III. Printing & Assembly Instructions 🛠️
1. Separate Part Printing: The model is divided into independent components—including the desktop, table legs, chair, desk lamp, and books—so we recommend printing each part separately to minimize support requirements and reduce the risk of warping.
2. Removing Supports: Use diagonal pliers to carefully cut the supports at their base, then smooth out any rough edges with a utility knife to avoid stressing delicate components.
3. Assembly:
- Insert the table legs into the pre‑drilled holes on the desktop—no glue is needed for a secure fit.
- Place the chair, desk lamp, and books directly onto the desktop; if you’d like to secure them in place, apply a small amount of adhesive at the points of contact.
- The desk lamp’s joint allows for fine‑tuning of the angle—if you wish to lock the position, simply apply a drop of adhesive at the joint.
IV. Important Notes
- Be patient when removing supports—small parts like chair slats and desk lamp arms are particularly prone to breakage. For these areas, gently heat them with a hot air gun to soften the material before proceeding.
- Before printing, always double‑check the model’s dimensions to ensure that all component tolerances align properly, preventing assemblies that are either too tight or too loose.
- If you’re aiming for an even higher level of finish, consider sanding the surface after printing, followed by painting or applying tinted resin fills to enhance detail and texture.
Originality of the Model
The author declares that this work is their personally original model
This model is licensed under the following terms:
Credit must be given to the creator
Models(2)
- 办公桌.3mfDesigner

10.92 MB

2026-02-21
 ed838718660d51841d4958f2f4f8b588.stlDesigner
21.21 MB
2026-02-21


