


3D‑printed camel
Desert Camel Model
Desktop 3D Printing
Biological Form Models
Bactrian Camel
3D Printing Enthusiast
Print Detail Optimization
3D Printing Model Library
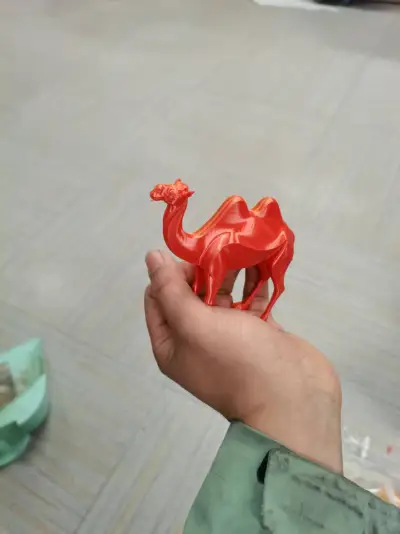
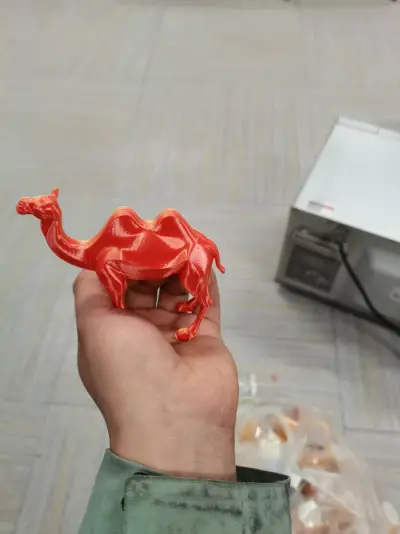
3D Printed Finished Product Showcase
Printing Requirements
Printing Precautions
Platform Adhesive
Selecting Printing Materials
Support Removal Techniques
Printing Configuration Guide

- 0.2 mm layer height, 2‑wall walls, 15% infill density

1-disc
PLA
Designer

3

2
✨ Printing Inspiration
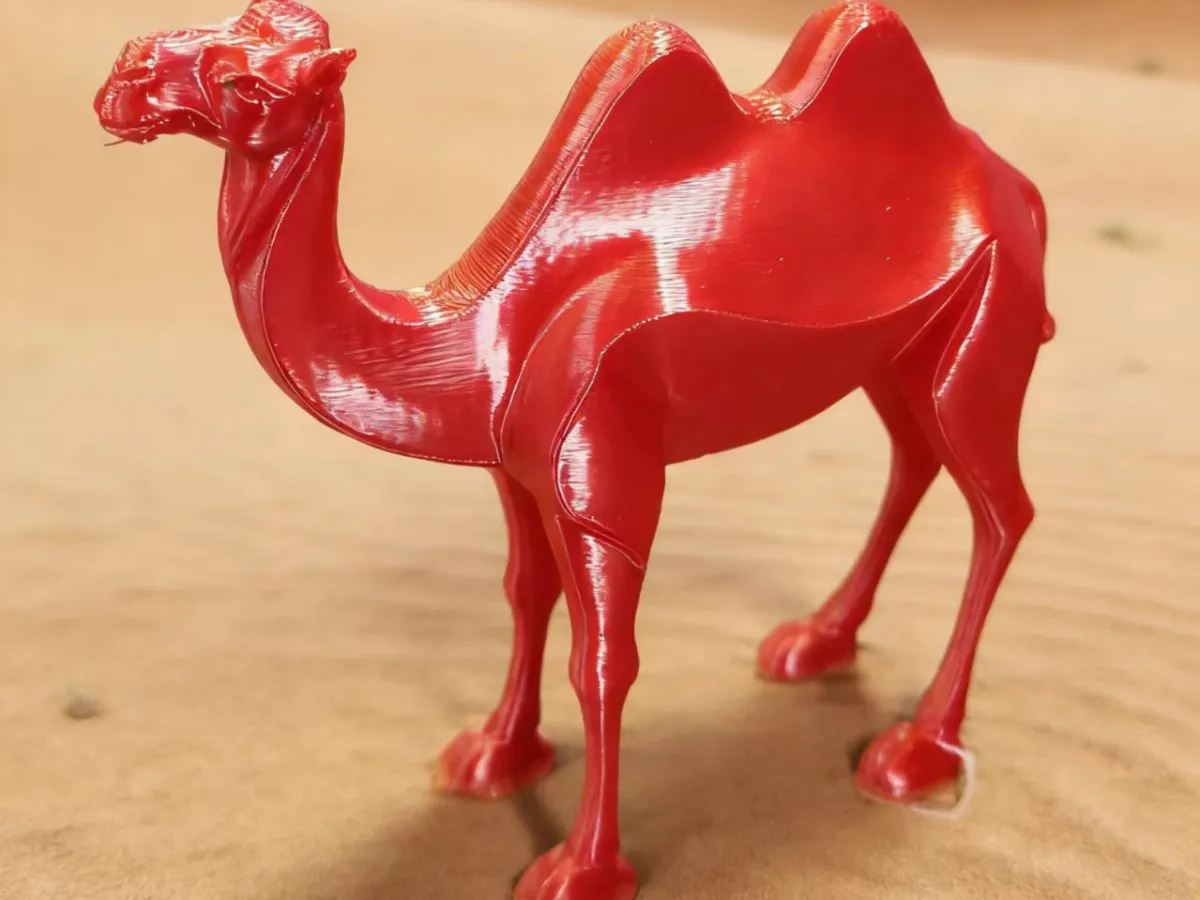
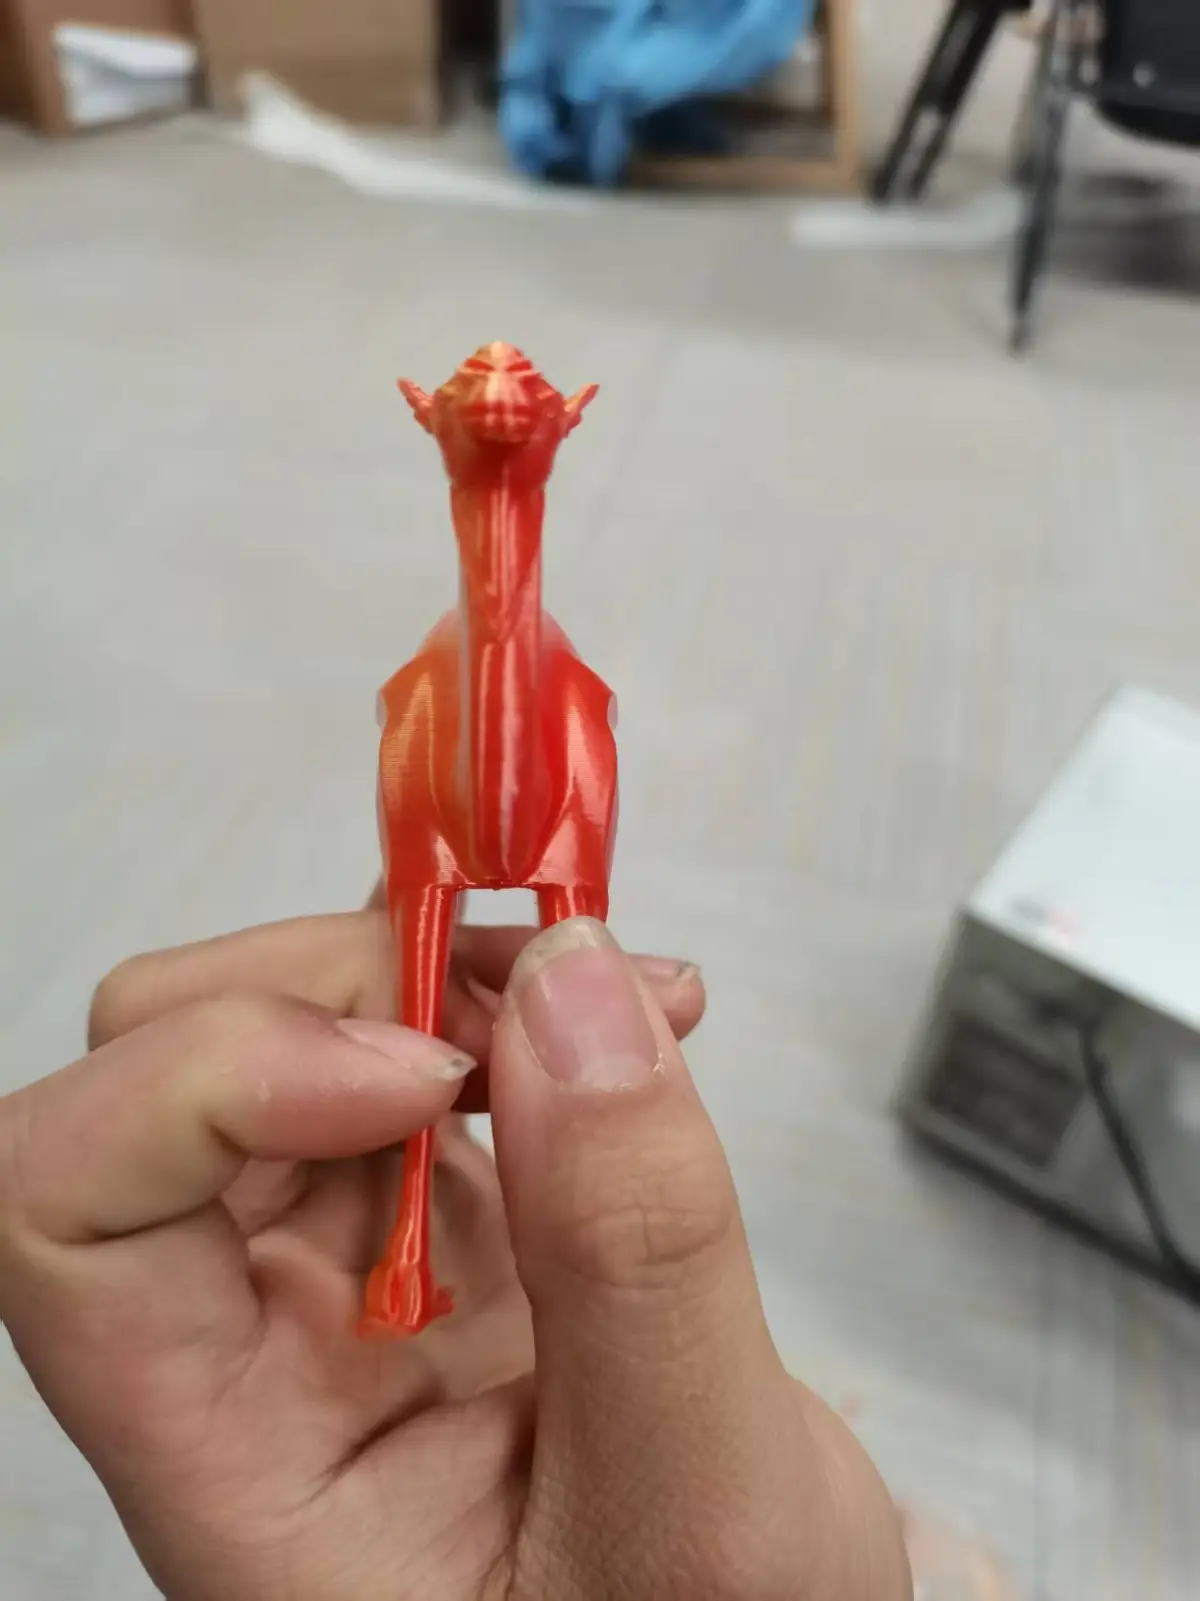
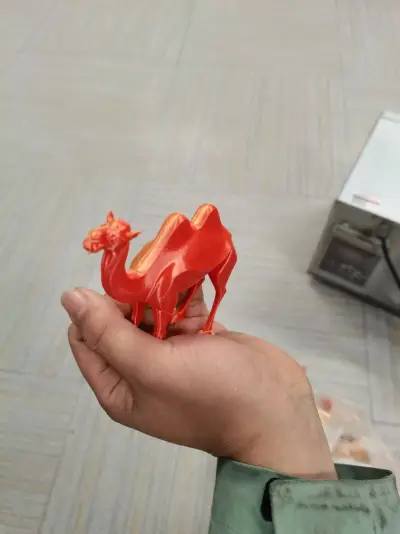
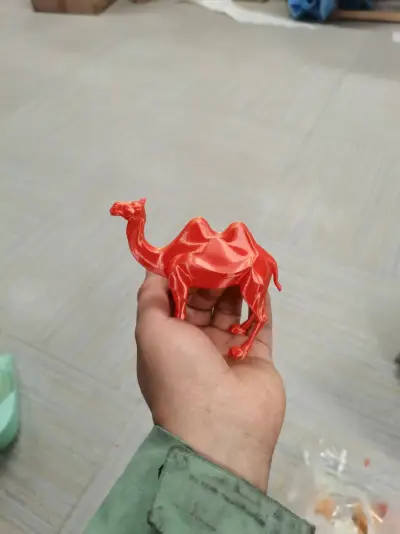
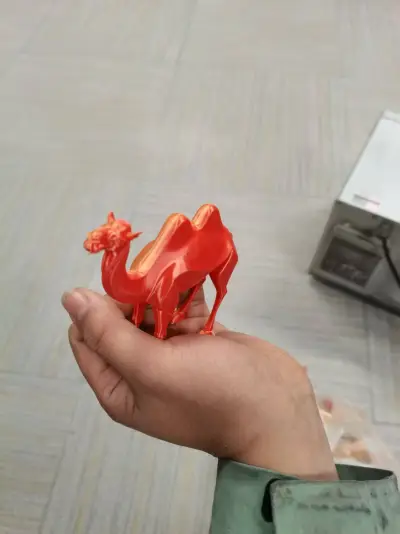
This dual-humped camel model draws its design inspiration from the resilient image of the “ship of the desert,” aiming to capture the camel’s steady, determined stride across the harsh desert landscape through 3D printing—blending aesthetic appeal with symbolic significance. The model’s lines and structural elements are inspired by realistic biological forms while also being carefully optimized for 3D printing feasibility.
🛠️ Printing Requirements
- Filament Selection: We recommend using PLA filament (red or sand‑colored finishes yield the best results), as it boasts low shrinkage and delivers exceptional detail fidelity.
- Core Settings:
- Layer Height: 0.2 mm—striking a balance between print accuracy and efficiency.
- Raft: Must be enabled, with a width of 6–8 mm to enhance bed adhesion.
- Supports: Add tree‑like supports beneath the legs and under the humps at a density of 15%, ensuring support contact points are confined to the bottom layer only.
- Bed Preparation: We suggest applying a thin coat of solid glue or spraying with hairspray to prevent warping and lifting at the base.
- Bottom Layer Height: Set to 0.24 mm to reinforce bottom stability.
🧩 Assembly Instructions
This model is designed for integrated one‑piece printing, requiring no additional assembly—simply proceed with post‑processing after printing:
1. Remove Supports: When dismantling leg supports, work slowly and gently. We recommend using needle‑nose pliers in conjunction with a utility knife to carefully peel away each layer; avoid forceful pulling to prevent leg fractures.
2. Finish Details: If residual supports remain or minor layer lines appear, lightly sand and polish the surface with 800–1200 grit fine sandpaper to achieve a smooth, refined finish.
3. Placement Tips: When positioning the model, choose a stable, level surface to ensure even weight distribution across the legs and minimize the risk of breakage.
Originality of the Model
The author declares that this work is their personally original model
This model is licensed under the following terms:
Credit must be given to the creator
Models(1)
- 骆驼.3mfDesigner

2.01 MB

2026-02-06