


LED
Light
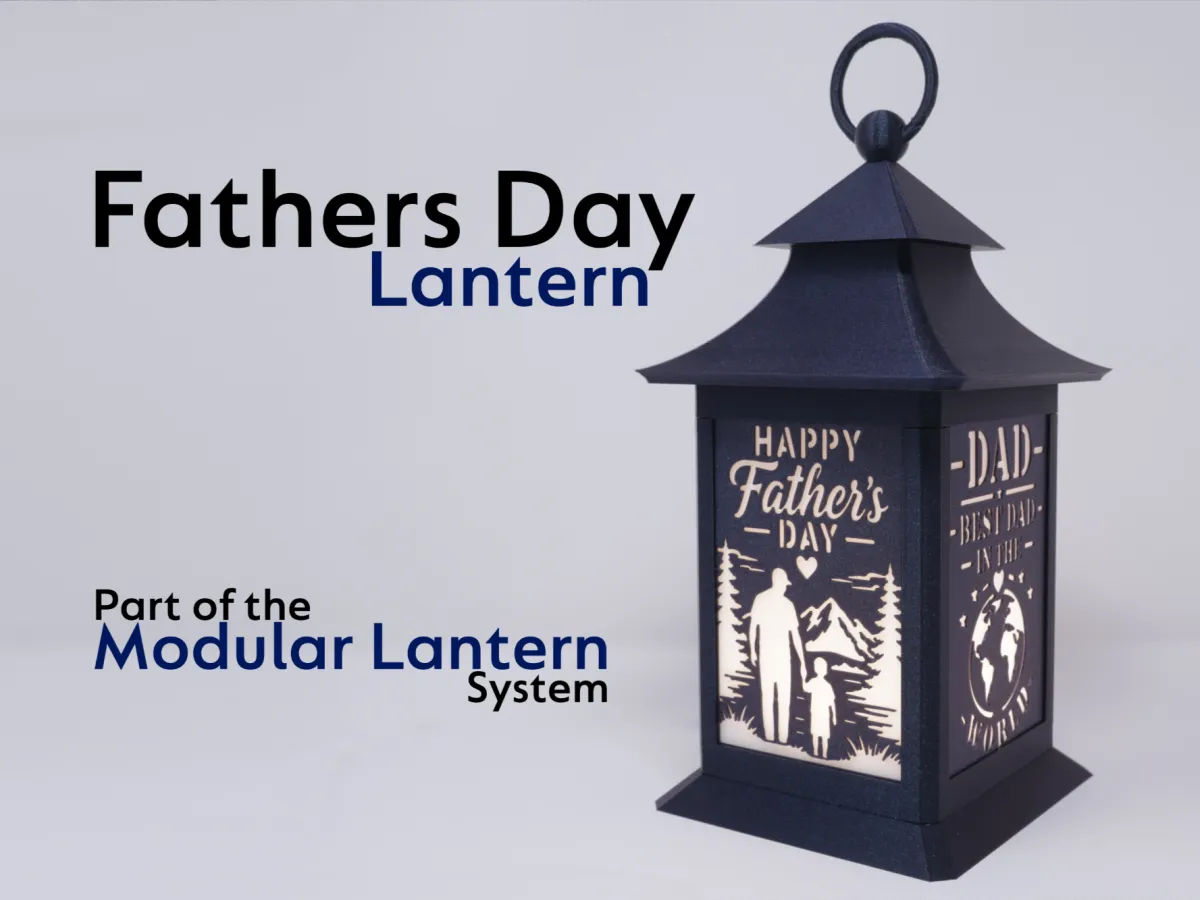
Modular
Lantern
Dad
Father
Modular Lantern
Inserts
Grandad

- 0.2mm layer, 2 walls, 10% infill

8-disc
PLA
Designer

39

12
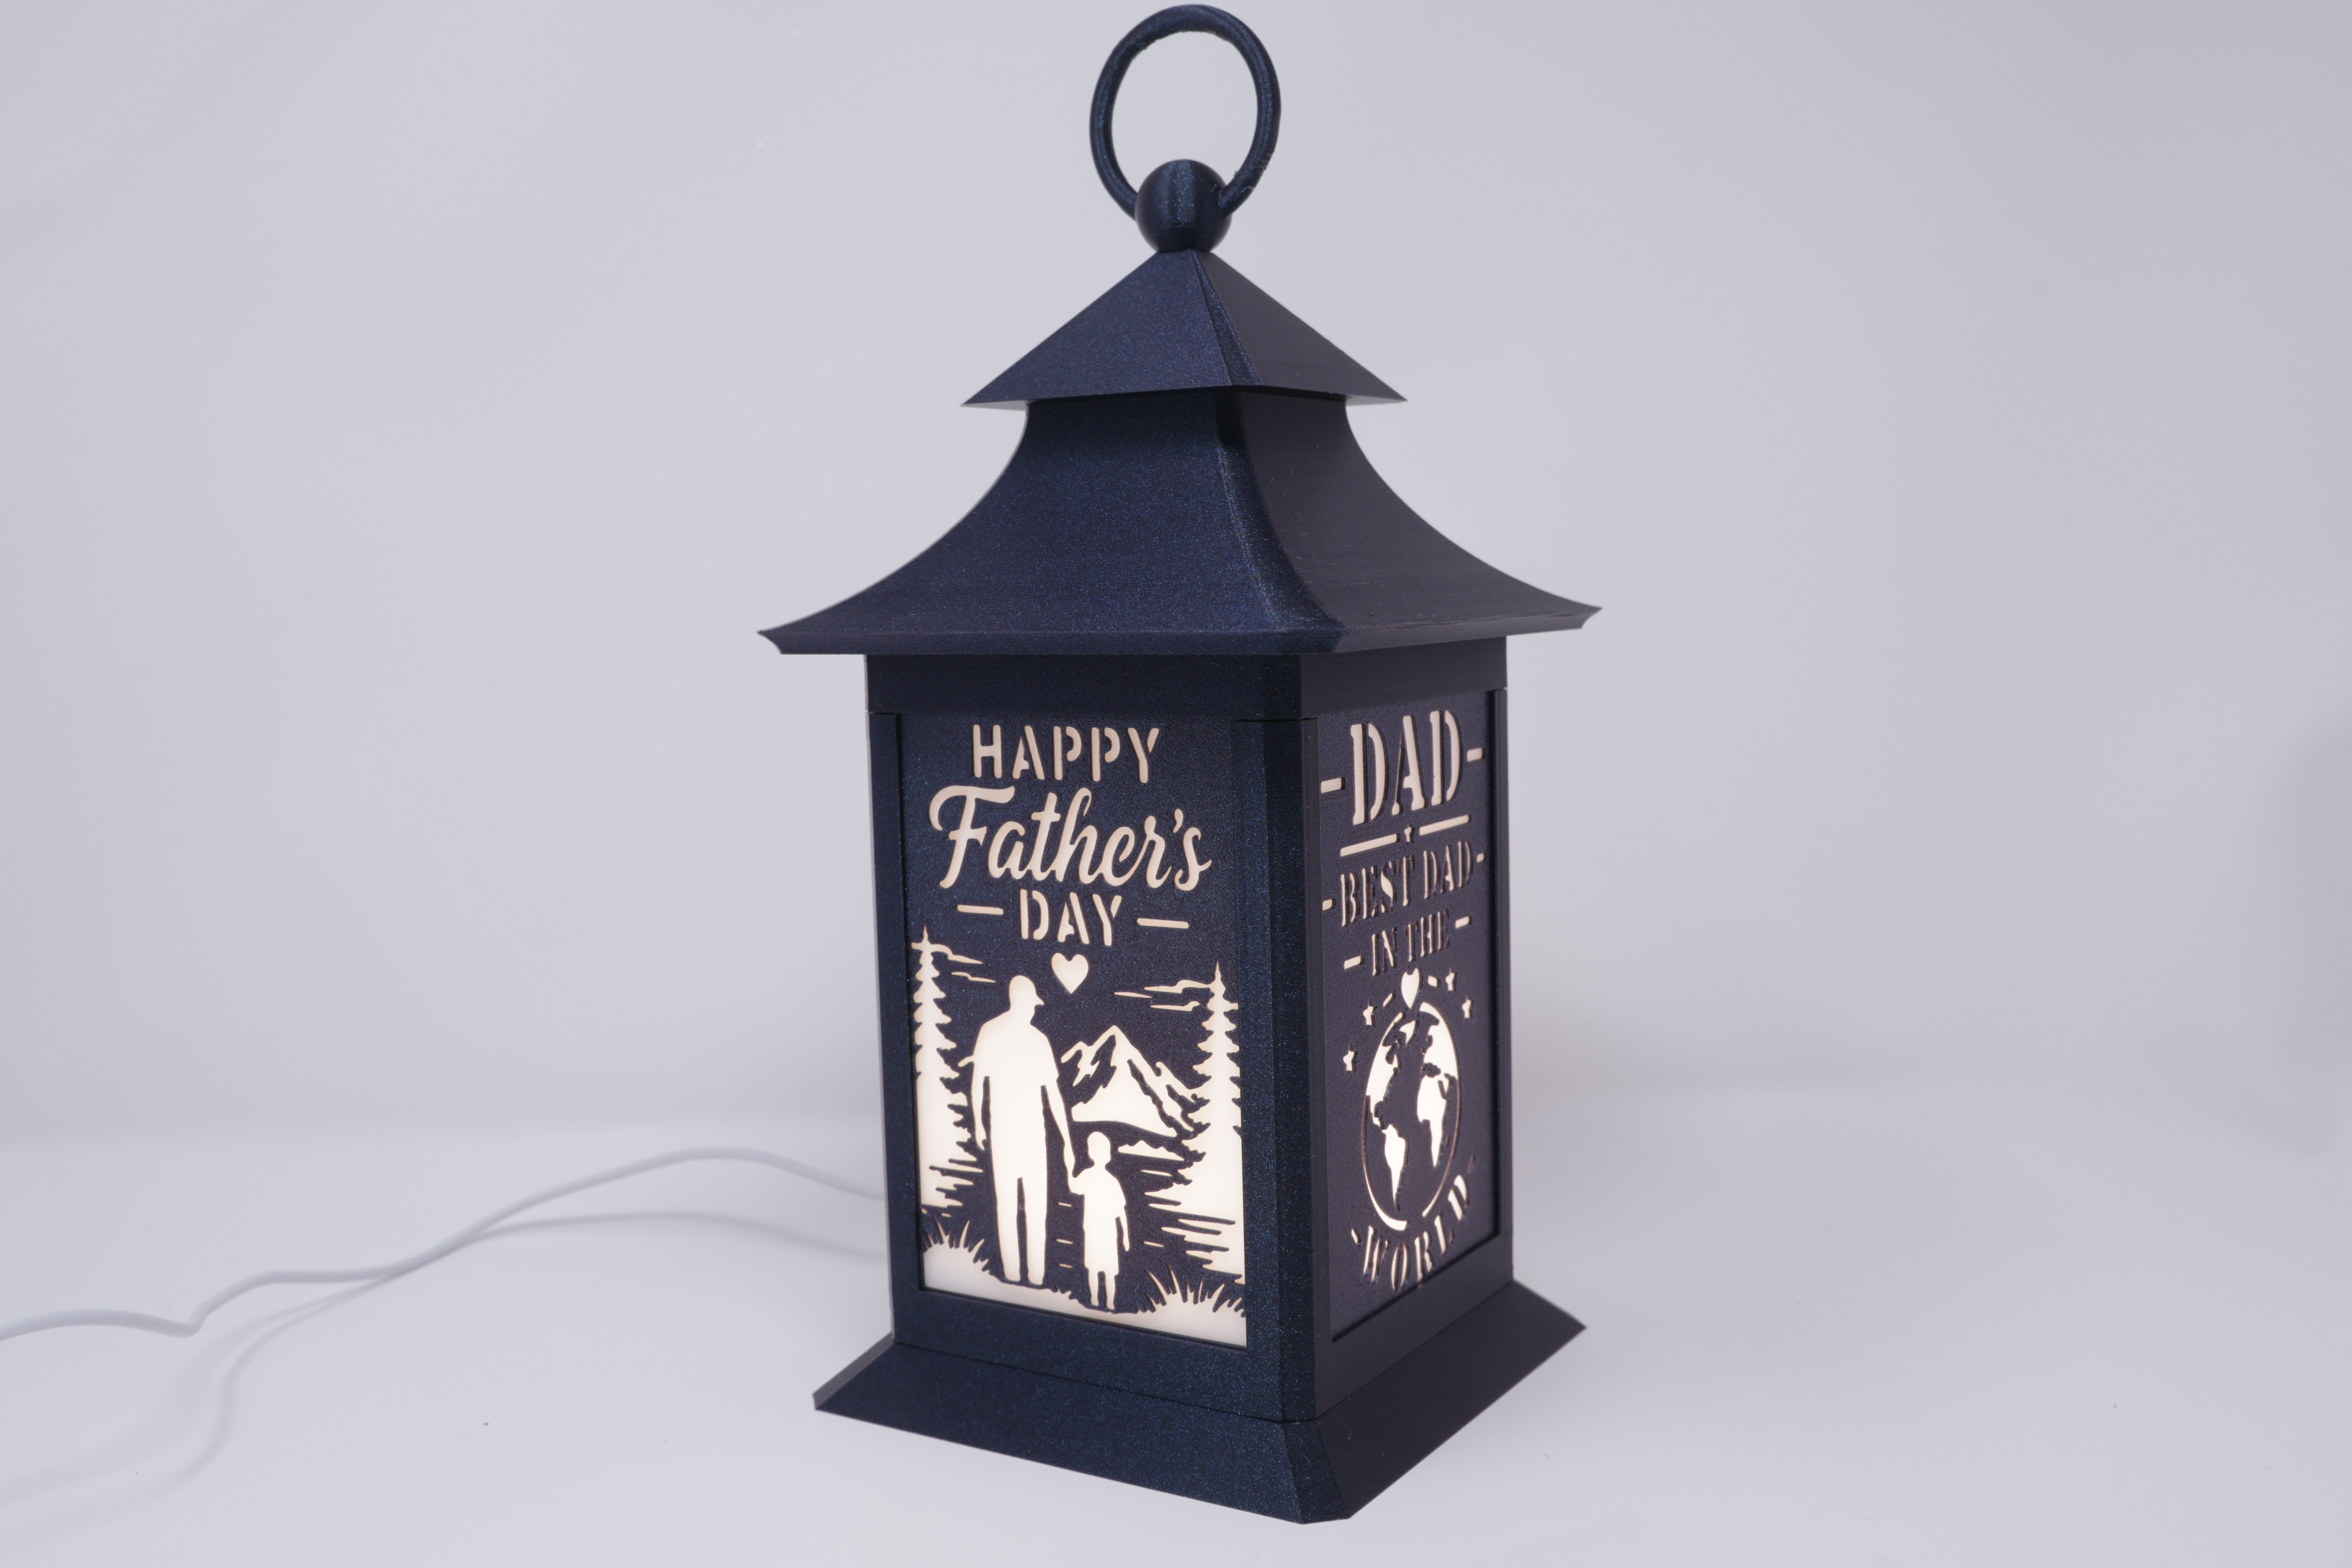
Welcome to another set of models in my Modular Lantern series all parts carefully designed to be cross compatible allowing you to customise the style of the lantern body while the side panels are carefully designed in two parts allowing you to easily experiment with different colour panels, re-using them with different stencil inserts.
Be sure to check out my Patreon and Profile which includes many inserts and parts including those made by members of the community. There are over 500 inserts now available for use throughout the year and hundreds of lantern parts.
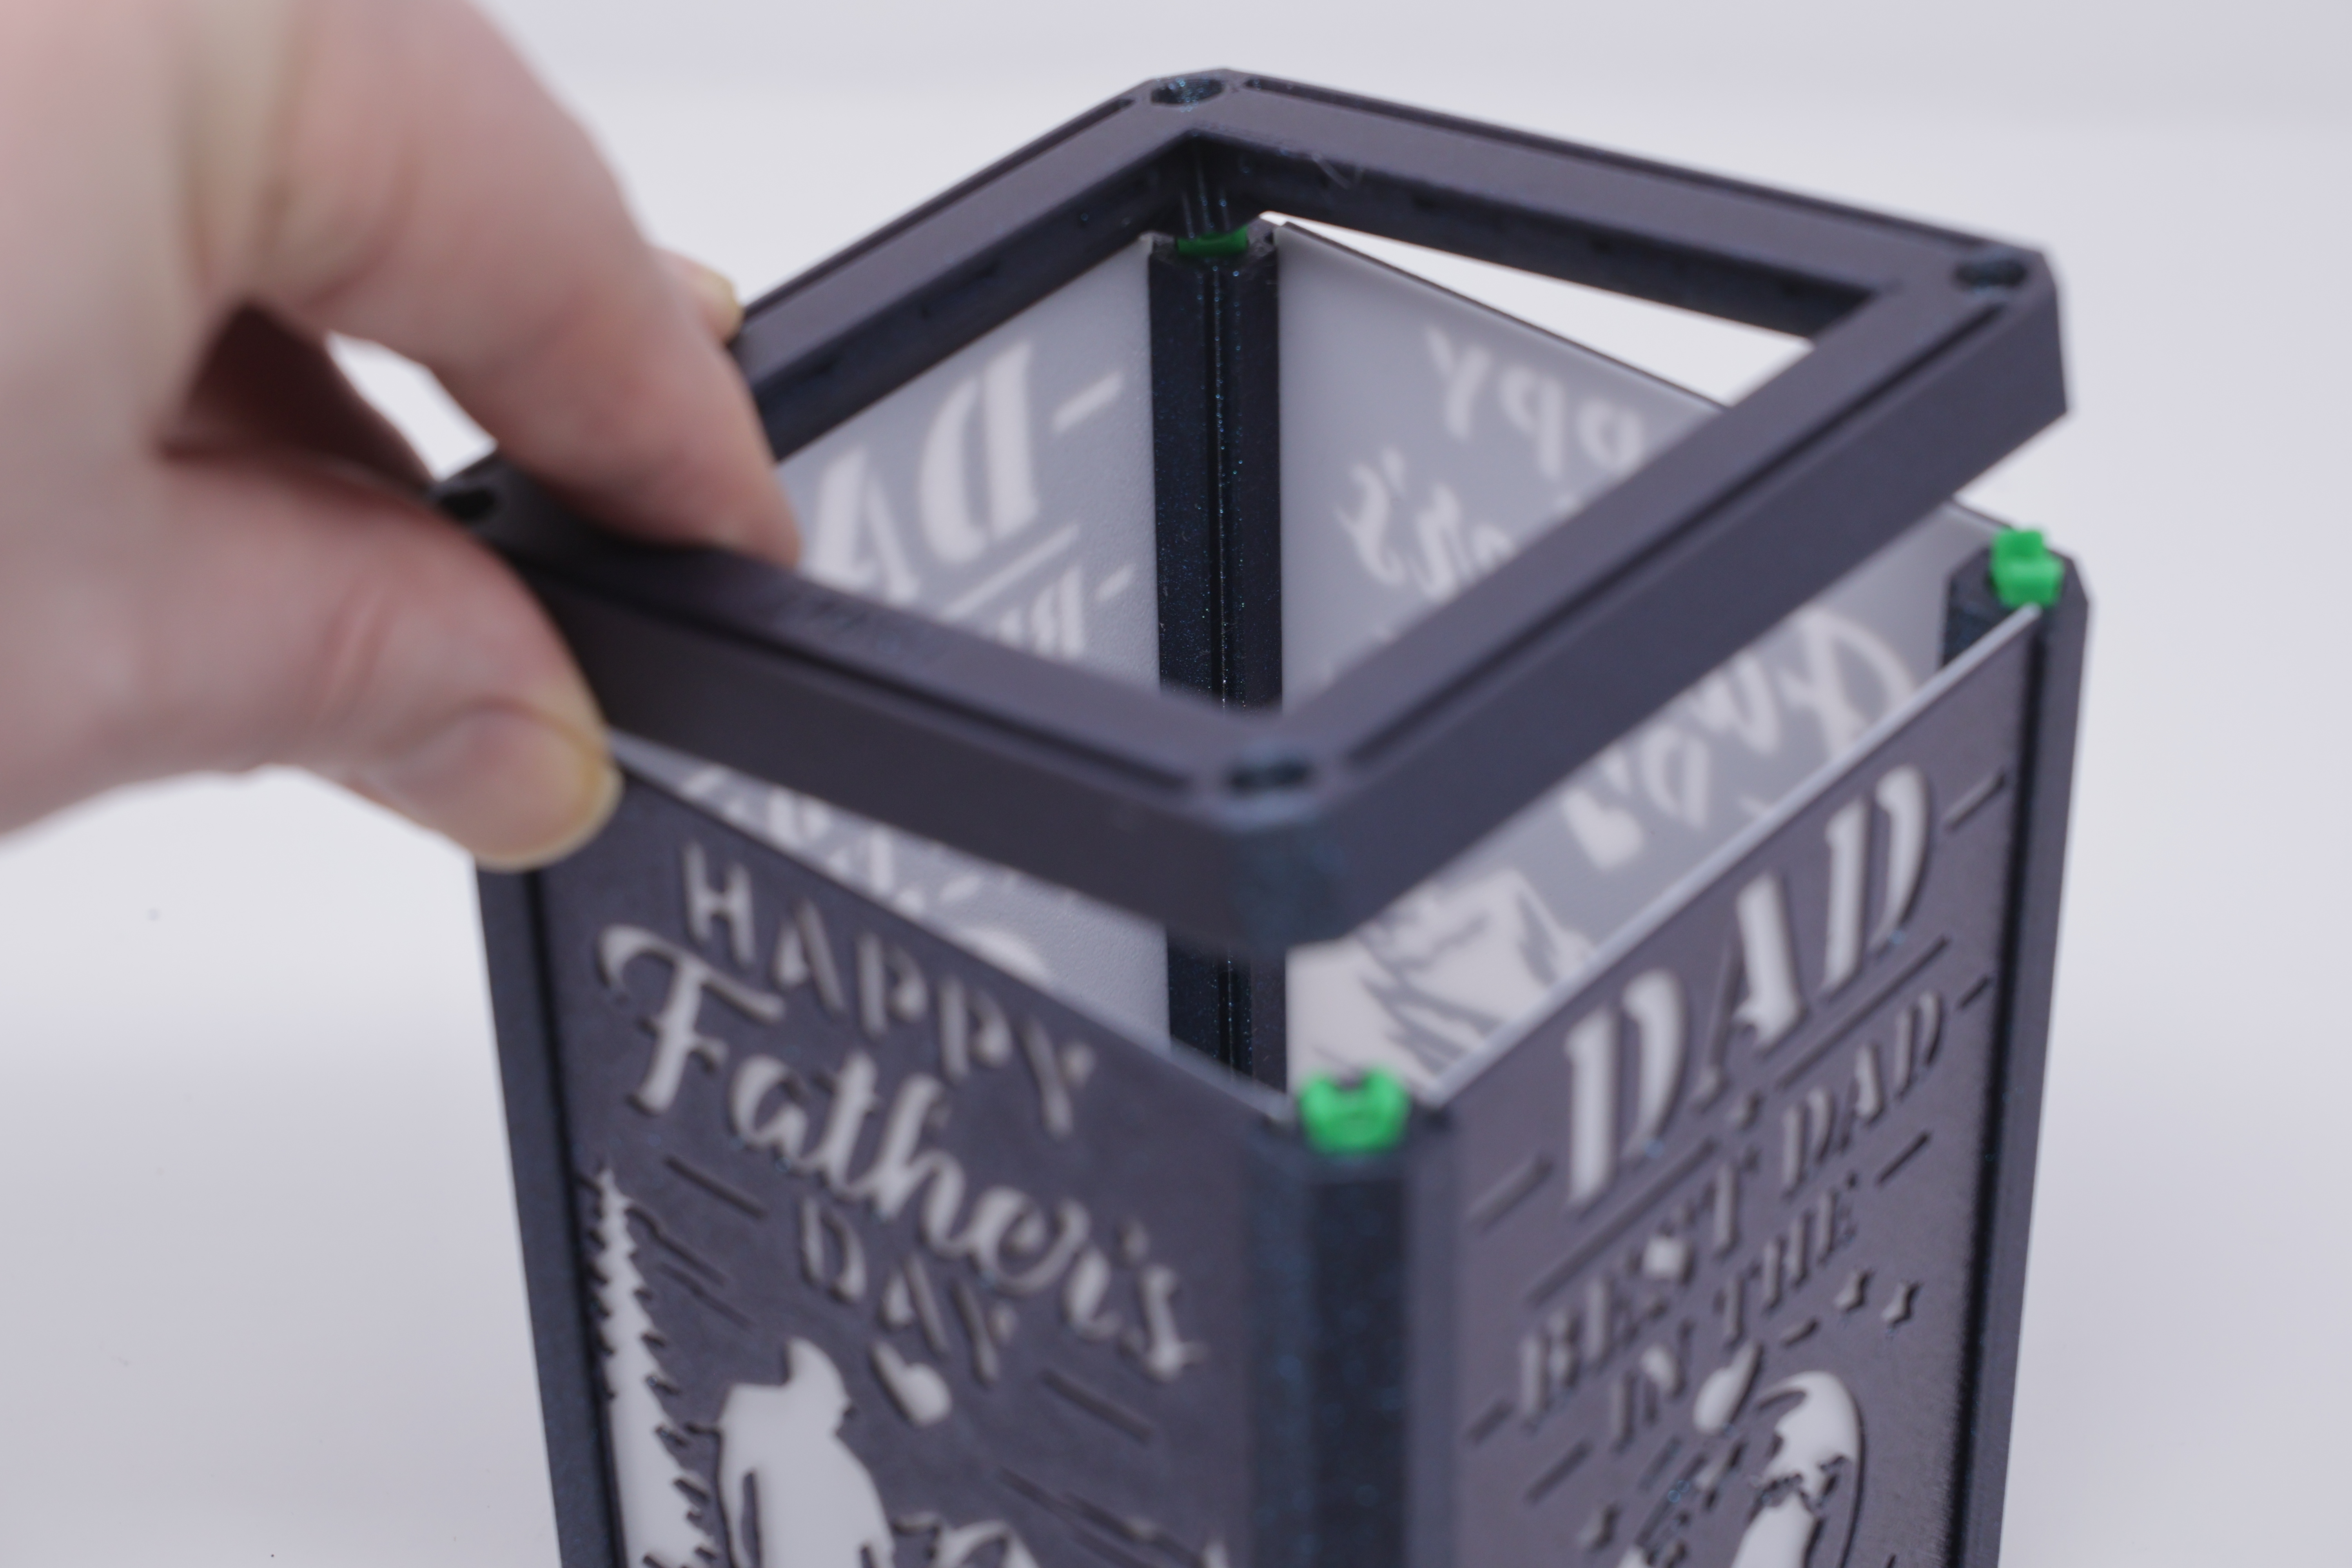
The Core and Base
Plate 1 contains the new 3:4 portrait core and Plate 2 a flat base. If using a wired LED thread it through the core base first and then add the base, be sure to checkout the additional bases that can hold your LED securely.

Push into place with a click.

If you have a wire push it into the wire exit which is designed to clamp the wire.

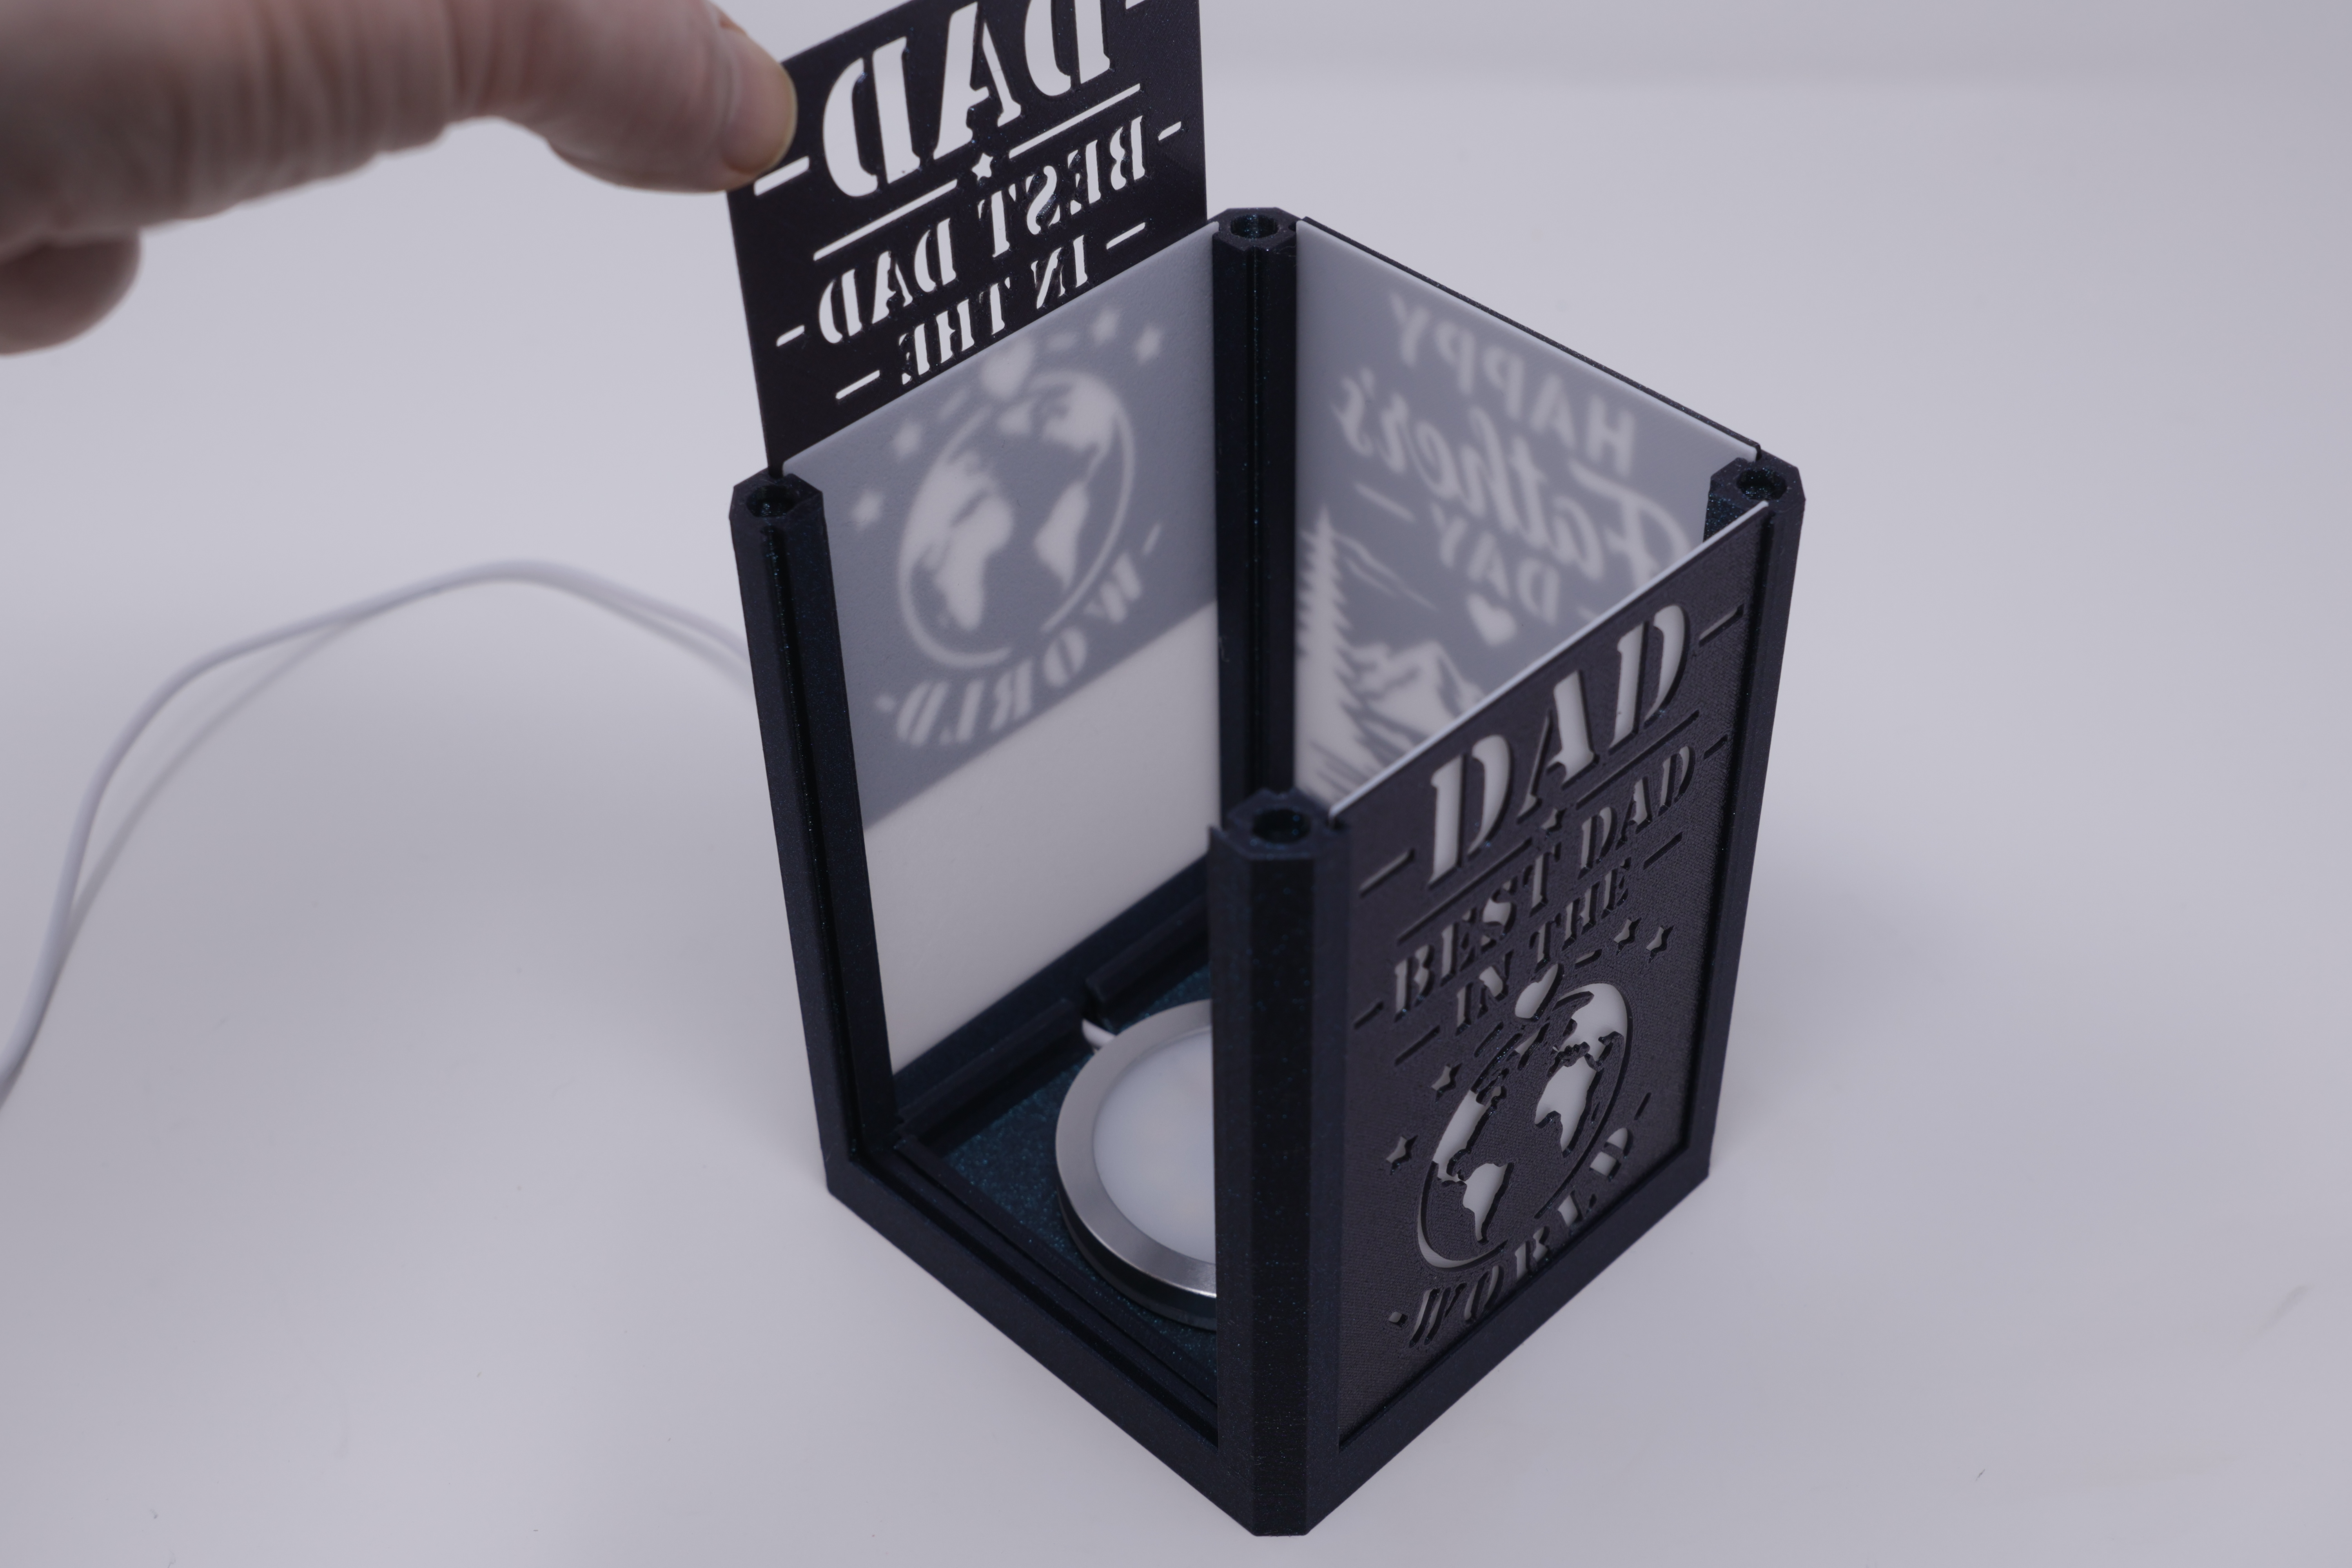
Inserts
Now print plate 5 a contains some solid colour panels. You can use any PLA or PETG they are almost all translucent at this thickness.
This is a core feature of my inserts the colour is separate to the stencil design allowing you to experiment and reuse coloured panels.
Pick your inserts, the Father's Day inserts are on Plate 8 and insert them in front of the panels or, if you want a less focused look behind the solid panels.
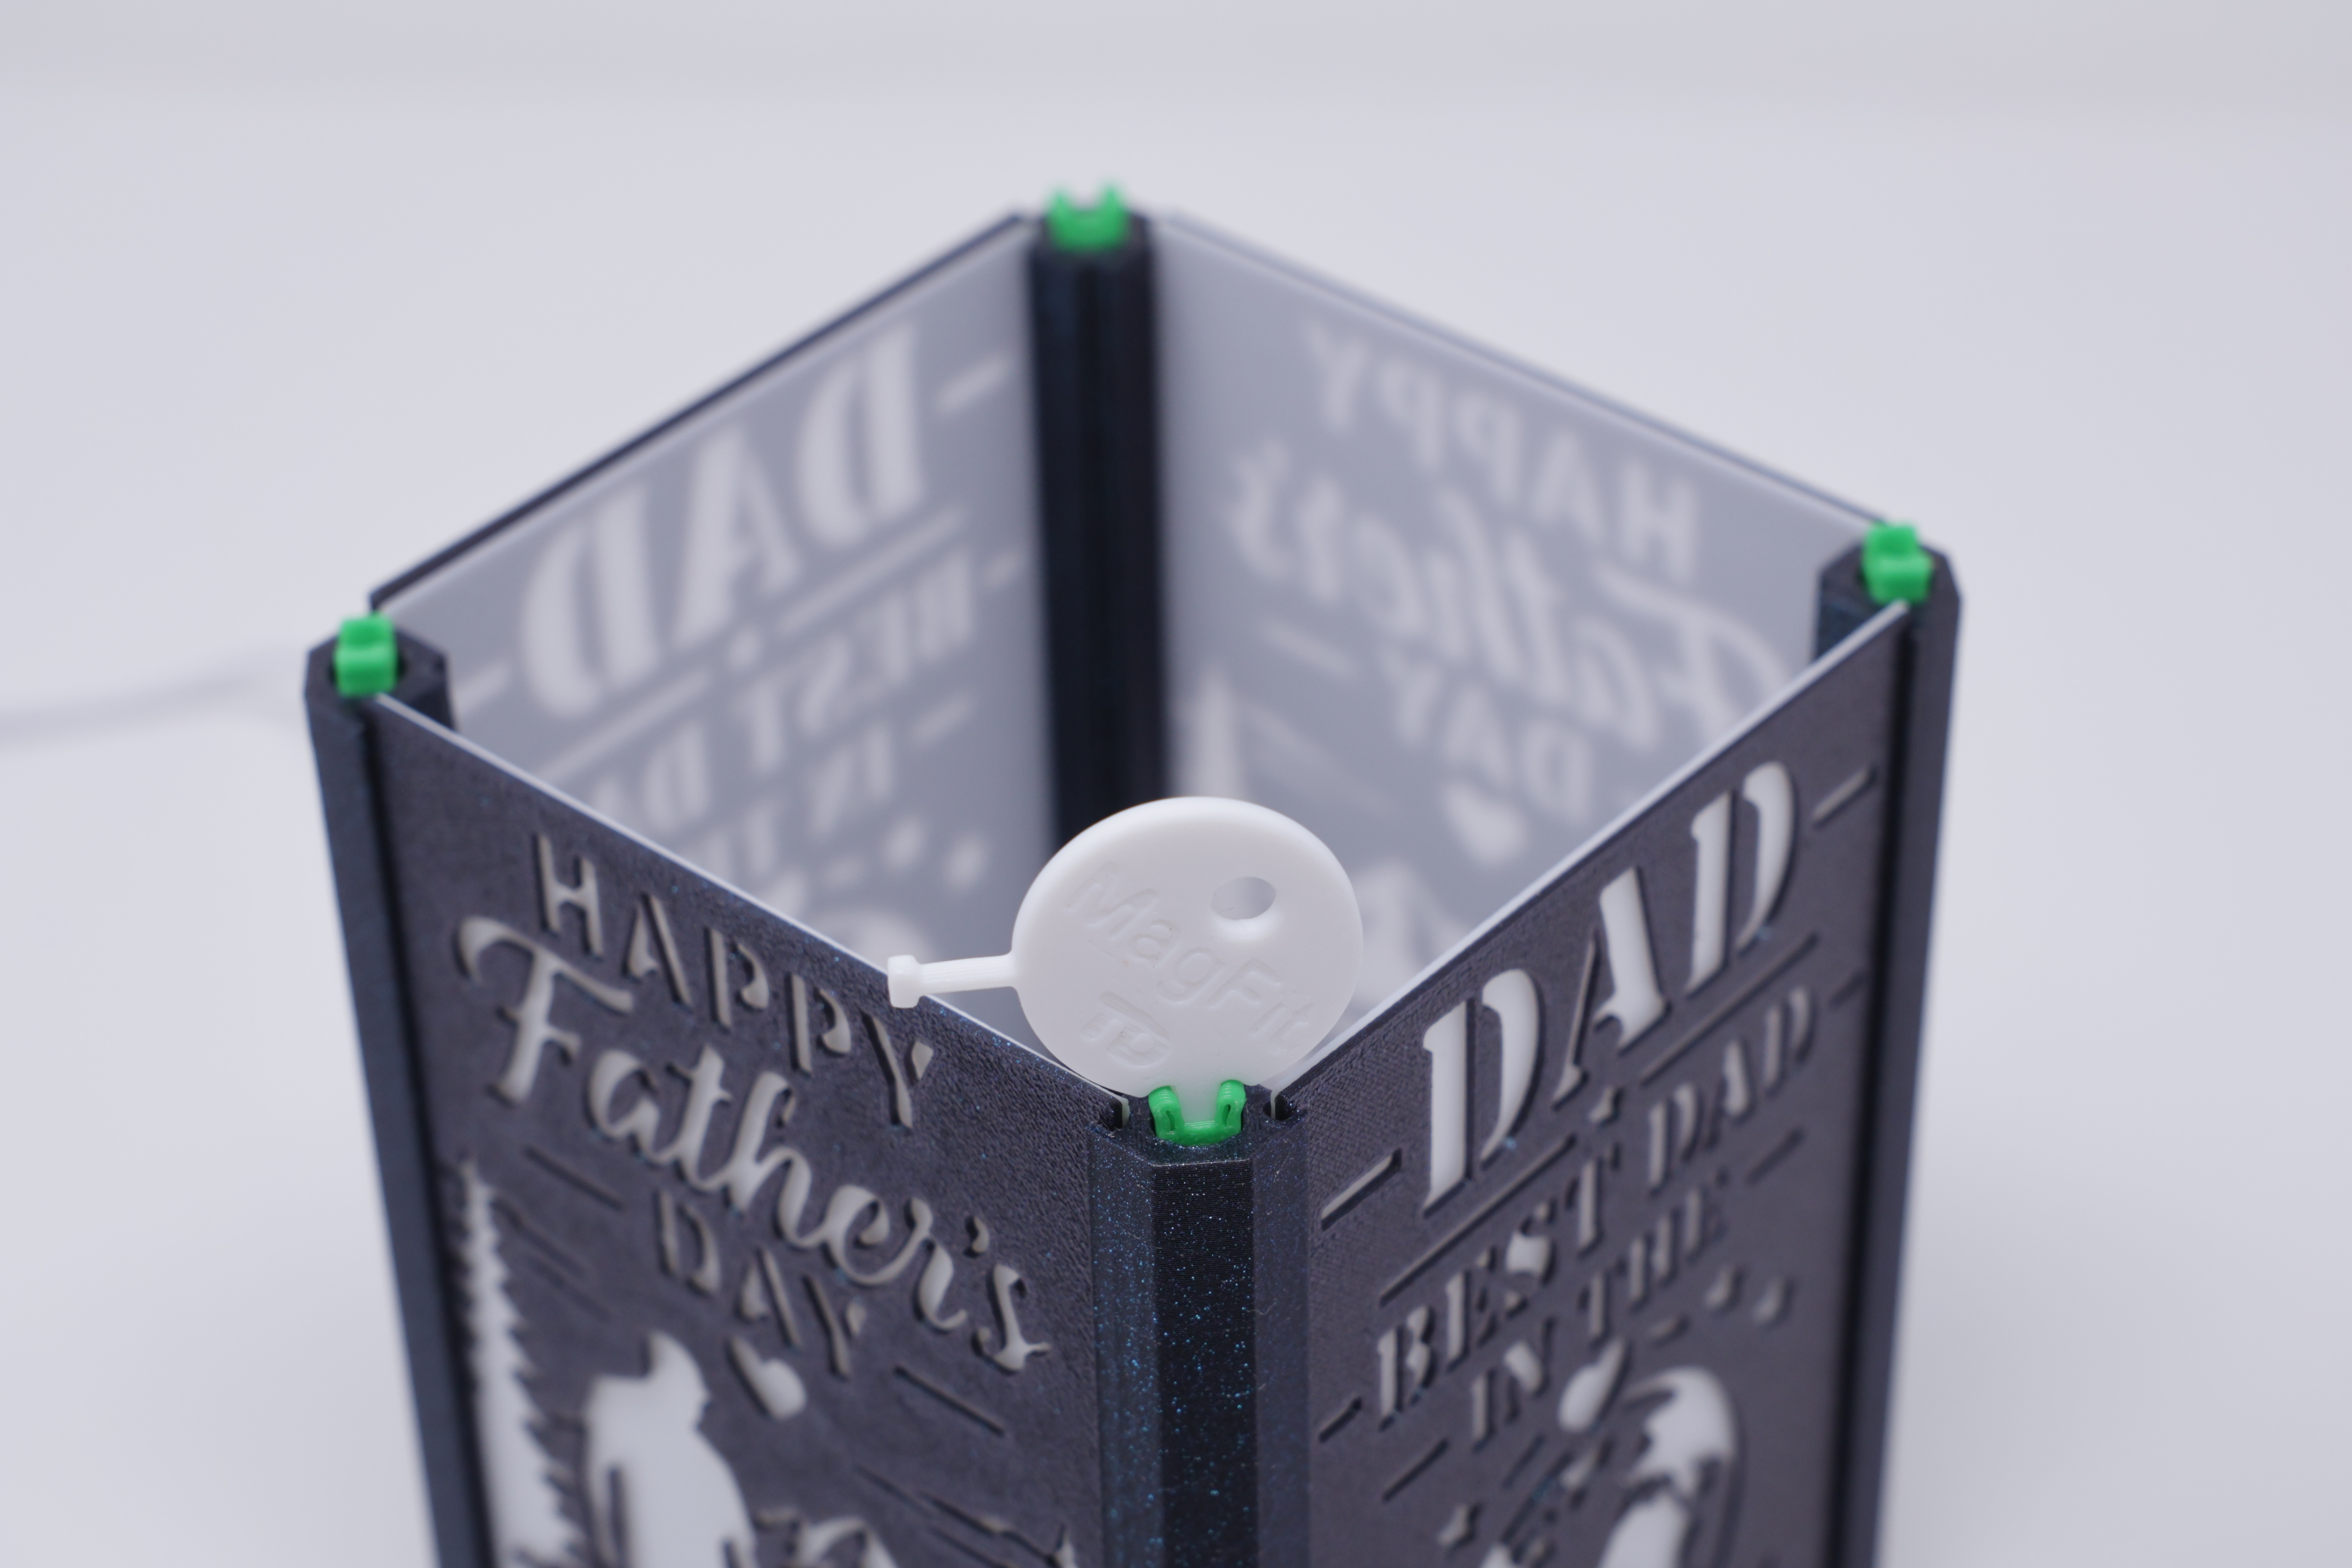
Spacer
Now you have options on how you wish to attach parts to the lantern core. Personally I use my MagFit clips which can be downloaded here. They are designed to fit where the magnets go and can be easily replaced if they wear after replacing panels many times. Just push one into each post using the tool provided.
Using Magnets instead of the clip
You can use 6mmx4mm magnets and just glue them into the hole, the extra depth gives additional strength.
Alternatively print a couple of 2mm spacers and use 6mmx2mm magnets, but remember magnets are not great at stopping shearing movement:

To stop shearing movement in the direction of the arrows above you can use a 1mm and 3mm spacer. This is what I advise for my Modular Lantern posts, by forcing a magnet to protrude by 1mm and insetting the other by an extra mm we solve the problem:

Glue
You can also use the provided 8mm high cylinders in the print profile and glue them into the top of the lantern. But really I suggest using MagFit they have so many benefits.
Concave Top
Now add 4 more clips into the top of the spacer and push the top onto it:
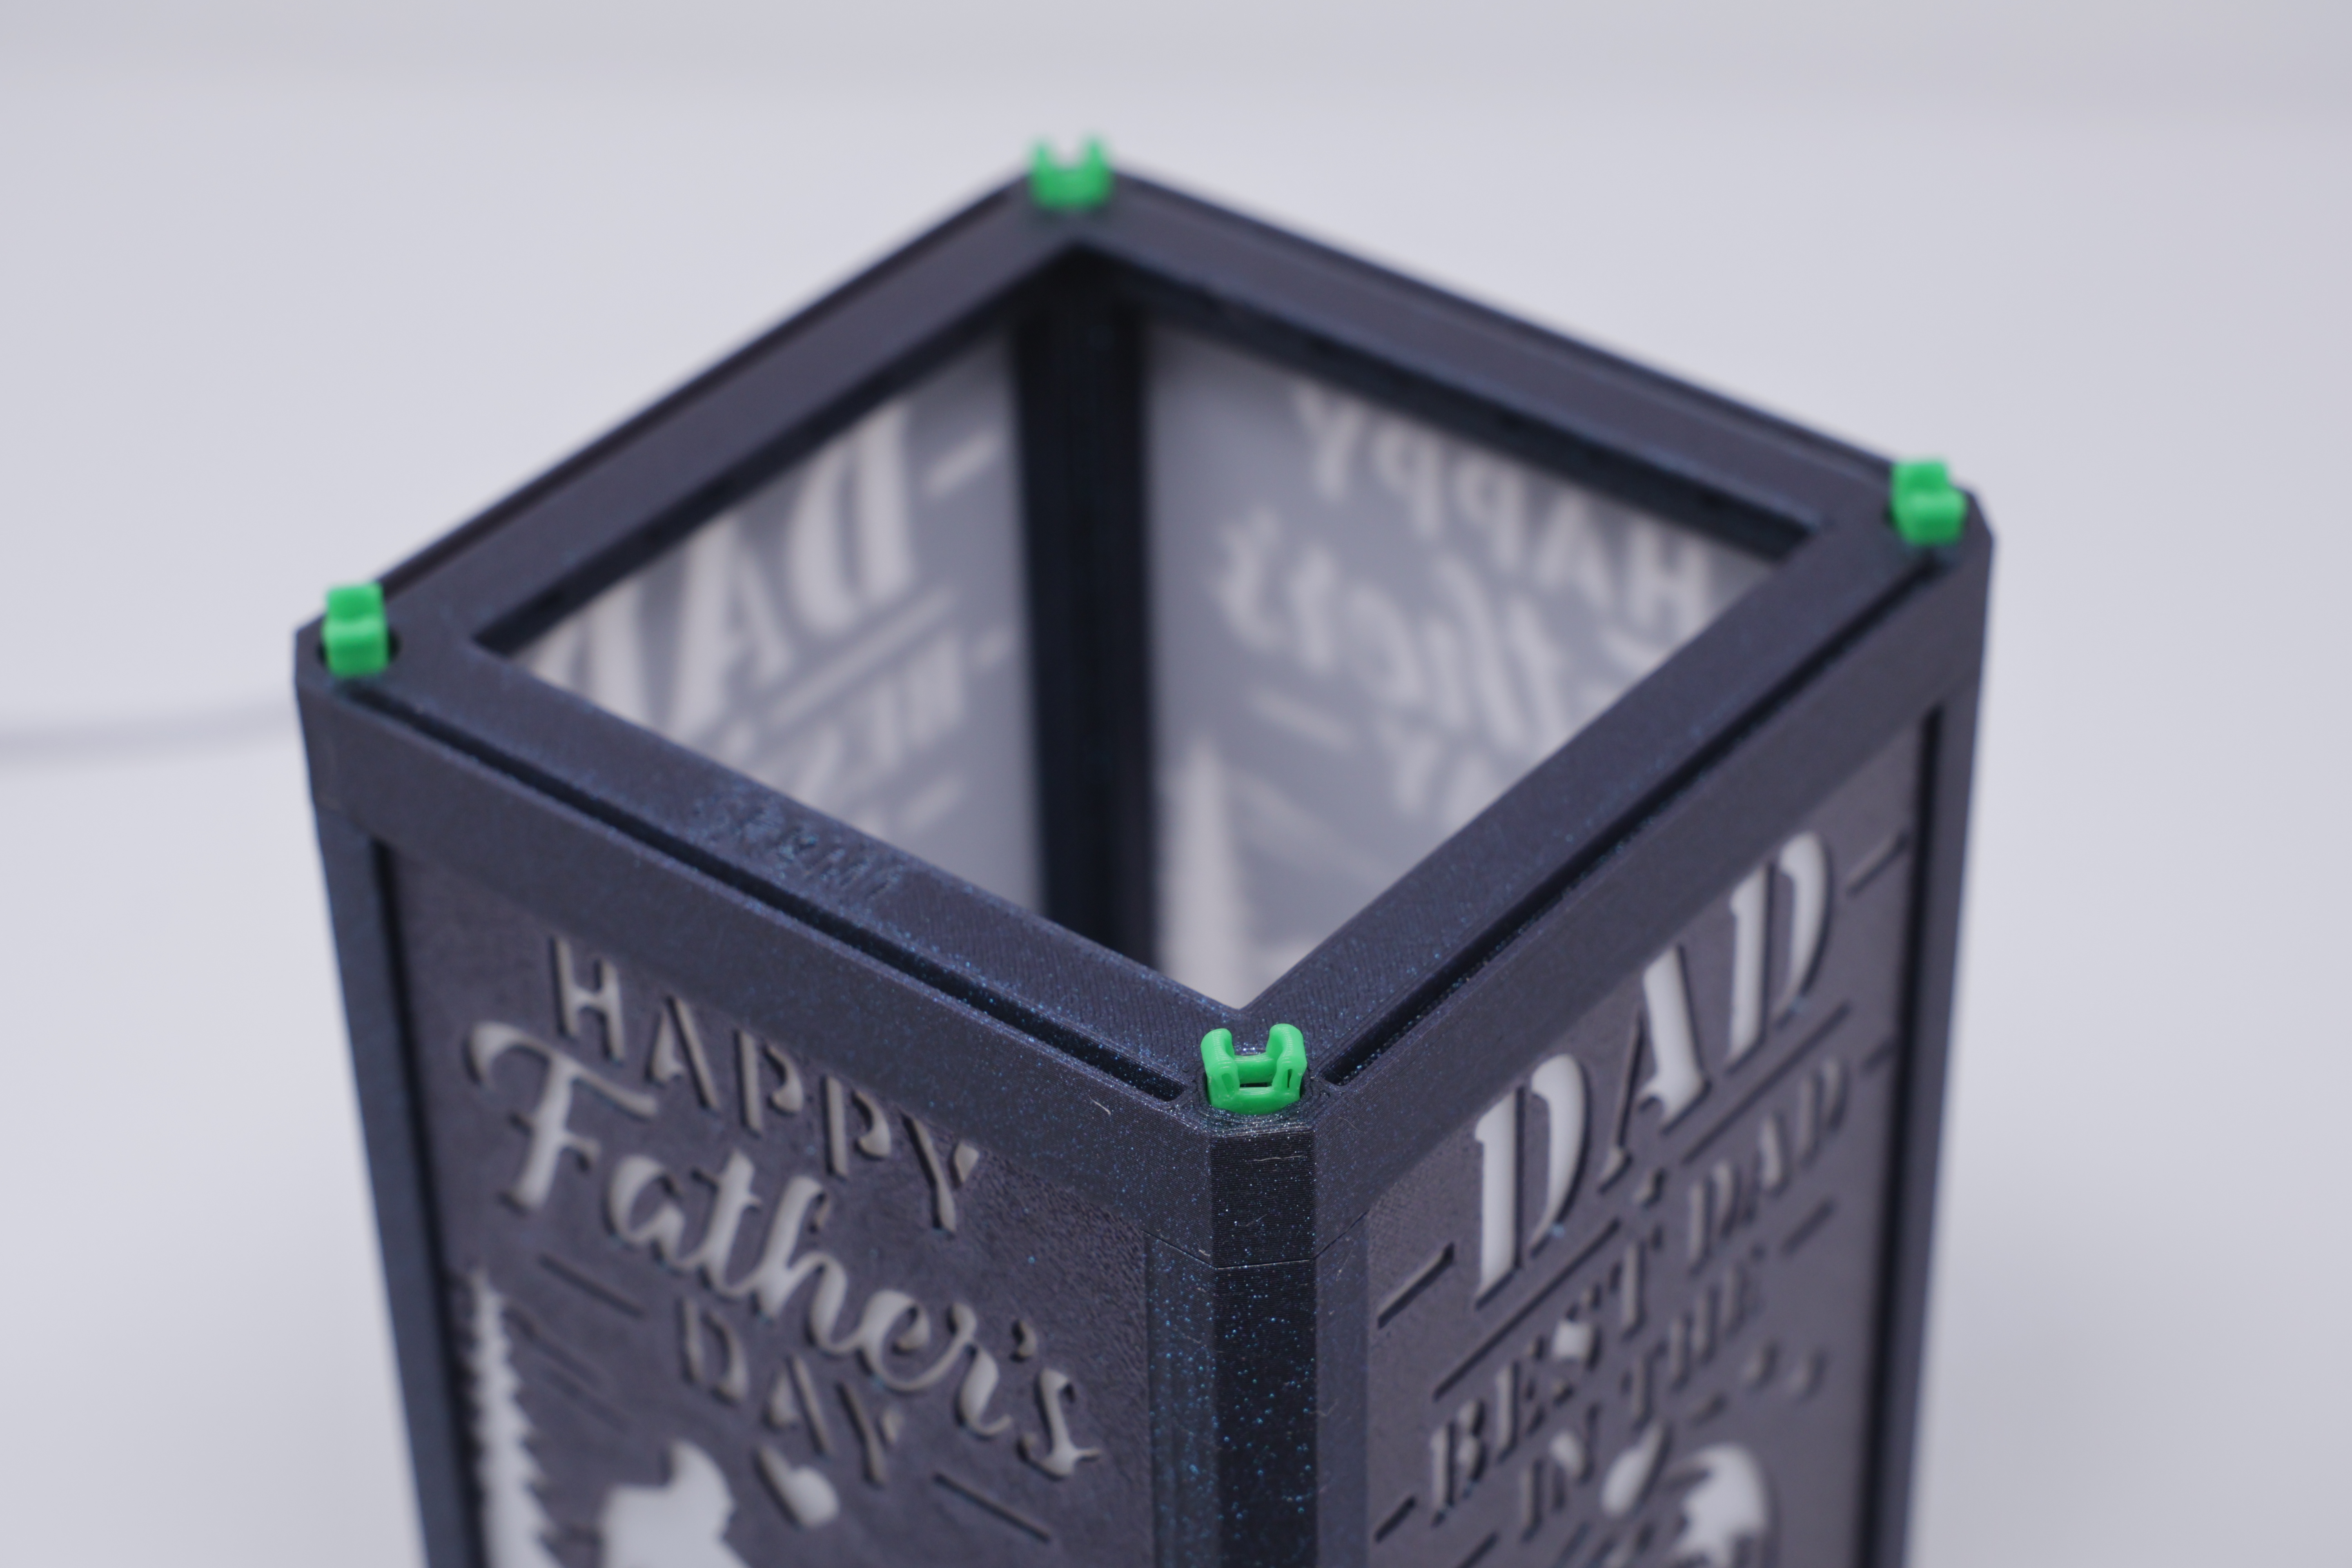
Also add 4 MagFits to the top of the top ready for…
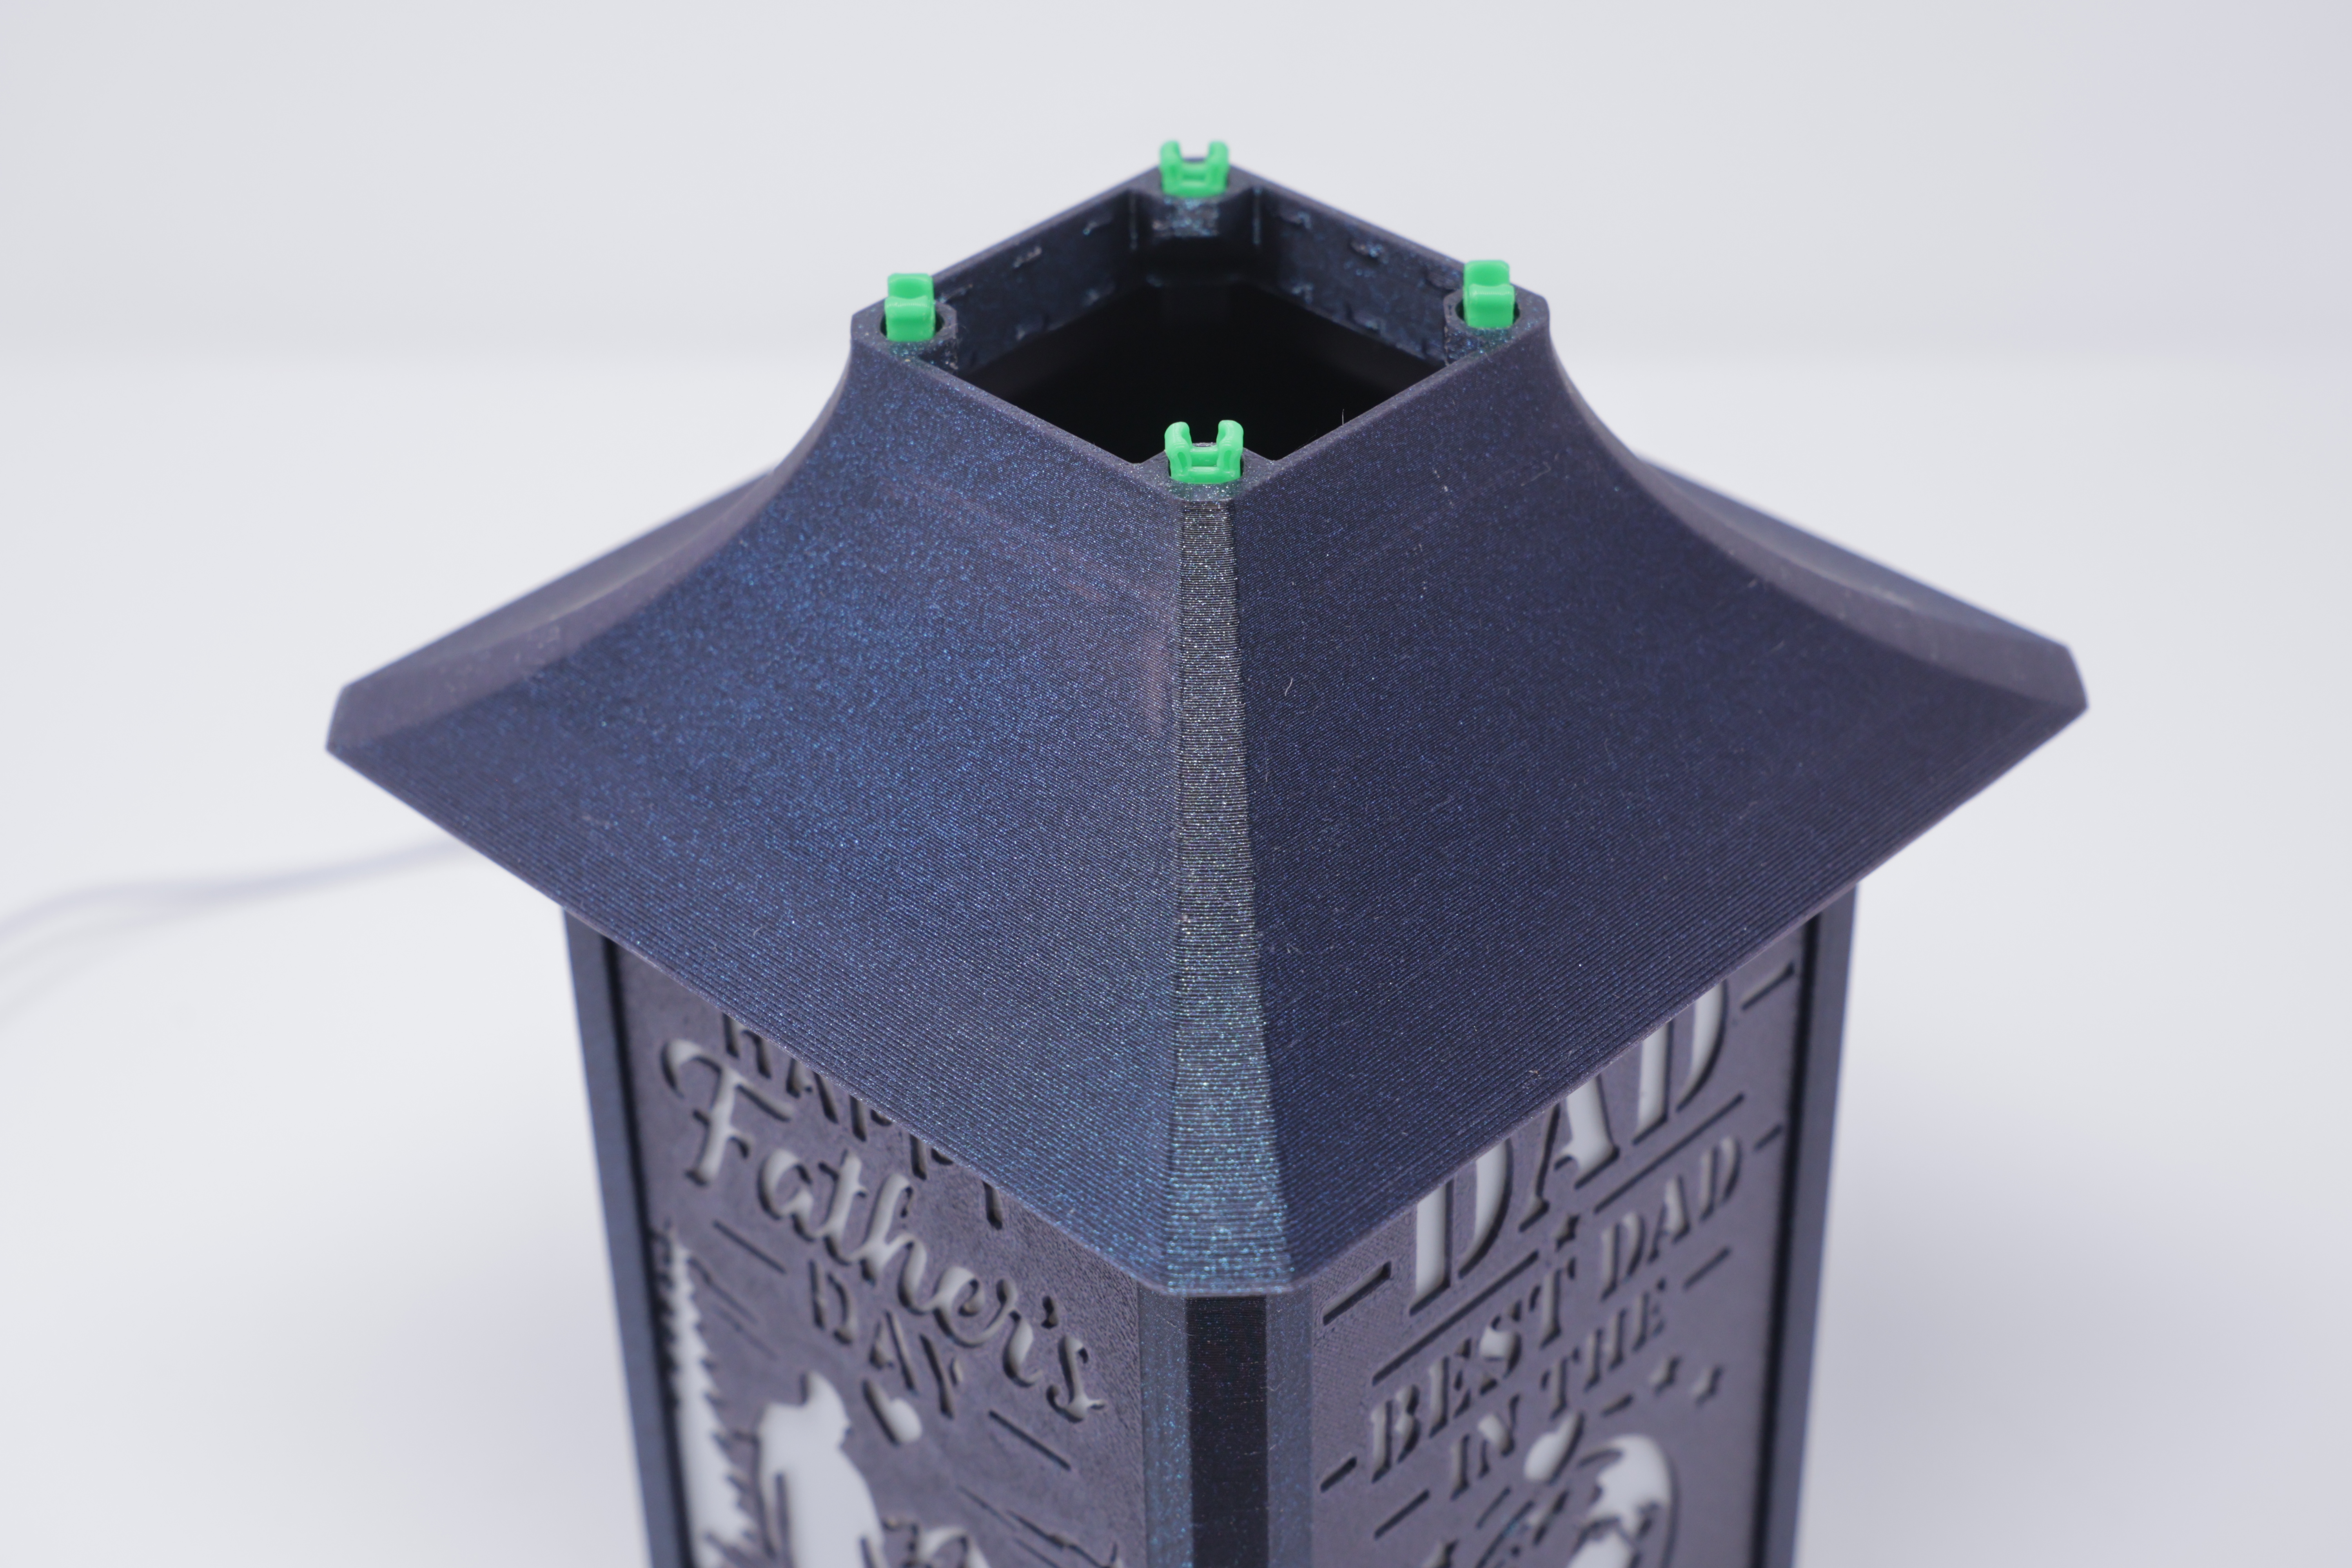
Straight Topper
Next find the topper and just push it on and add a clip to the top of it.

Ring Decorator
Now clip the ring into place. This is one of the few places where I often use the stronger version of the clip if you are going to hold the lantern, or you can add a dab of glue.

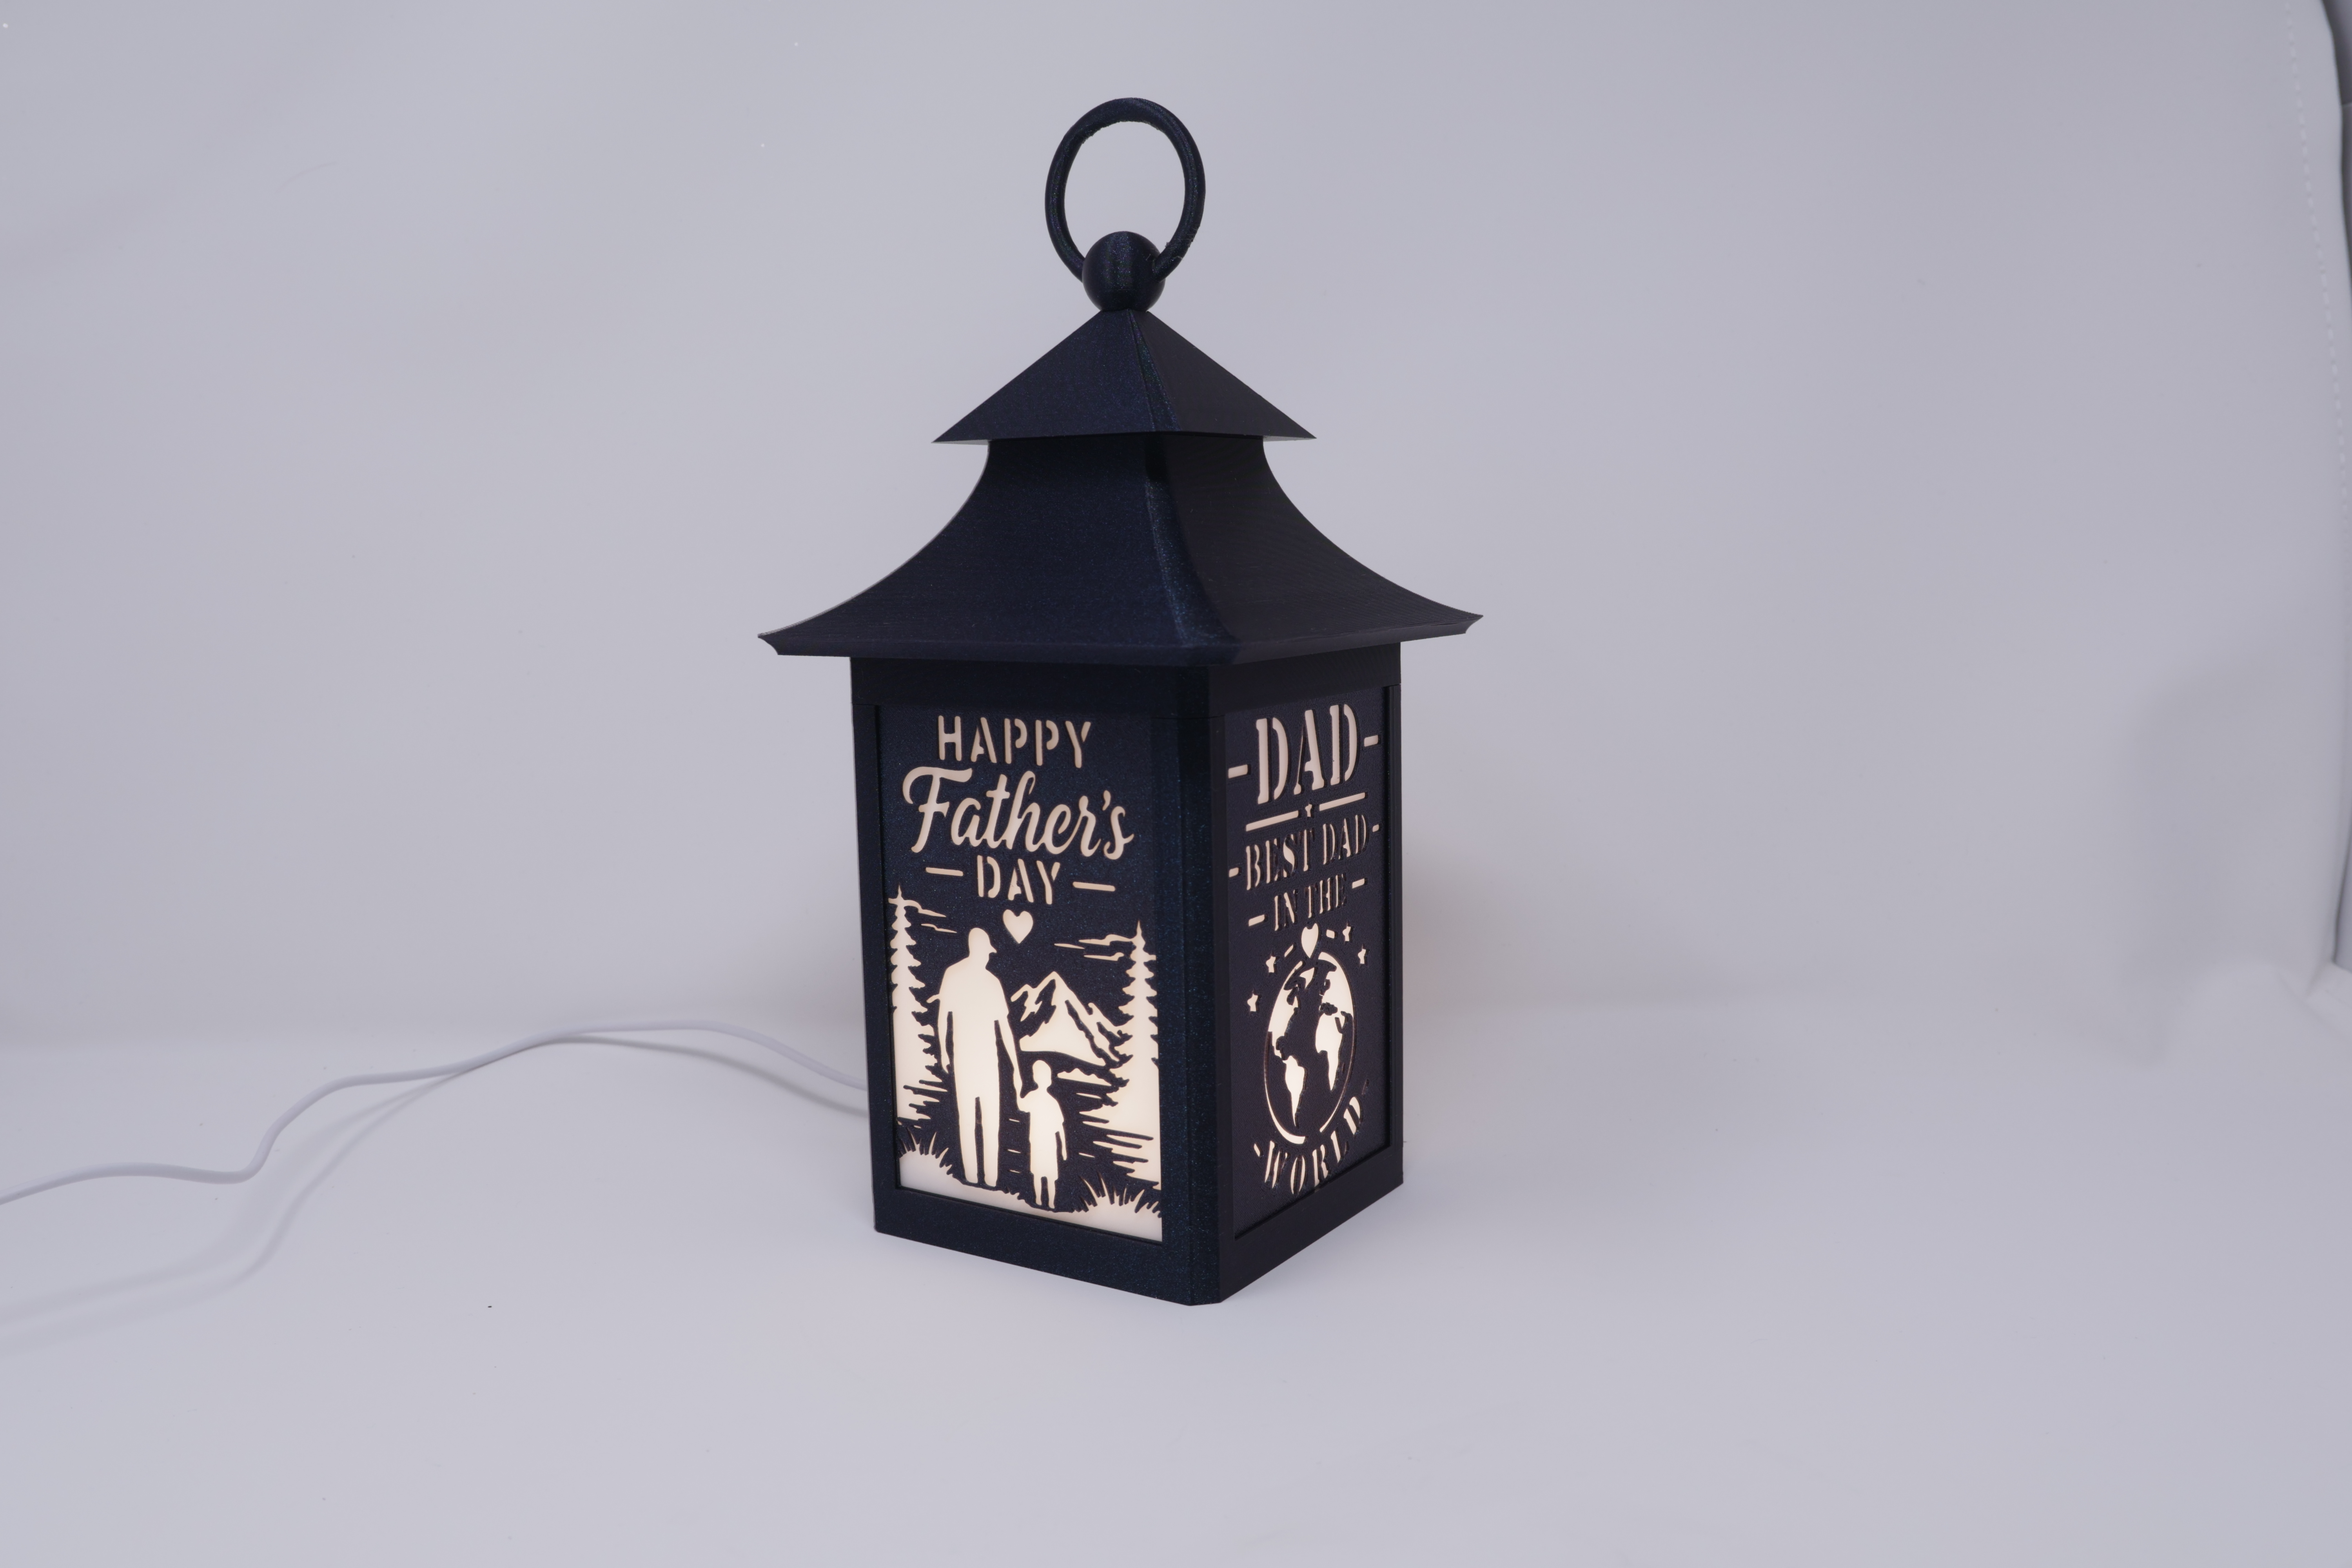
You now have a complete lantern:
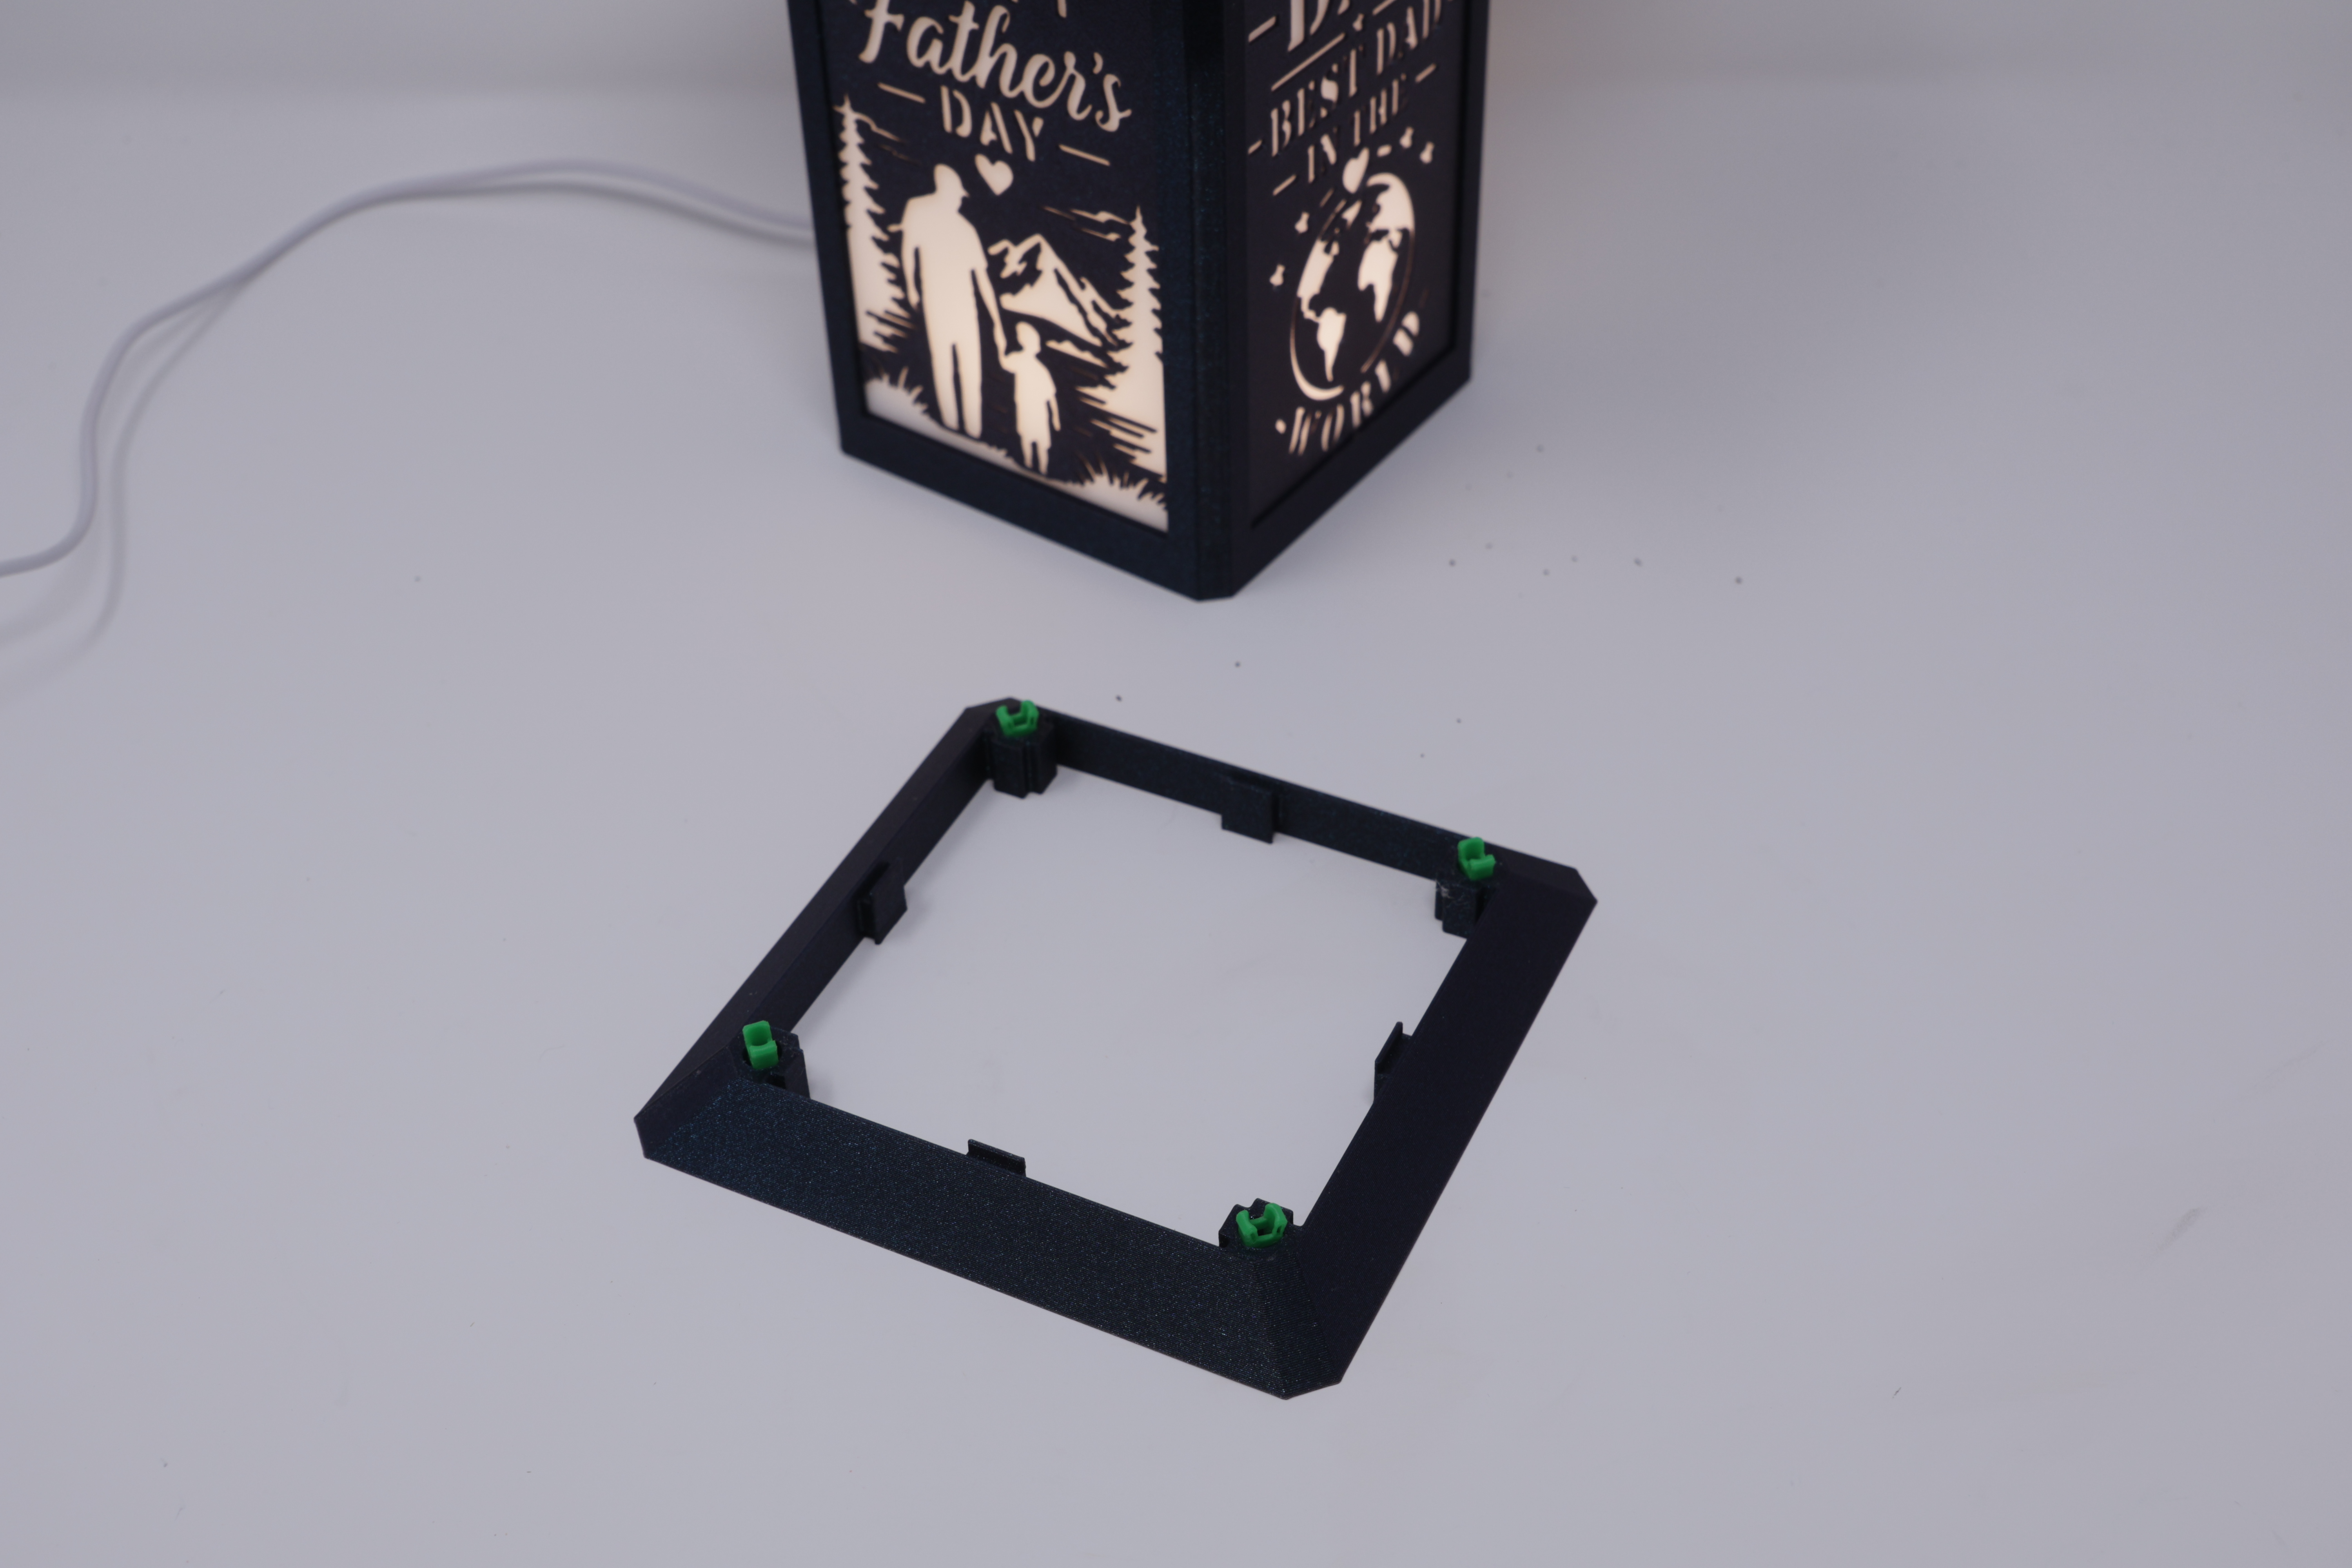
Skirts
Skirt models can add that final flare to the lantern there are several styles available with the straight skirt availiable in this print profile. Just add 4 clips and push onto the core.
That's it for this print profile. Be sure to check my Patreon for more inserts including others celebrating Dads!
Originality of the Model
The author declares that this work is their personally original model
This model is licensed under the following terms:
This work is licensed under a Standard Digital File License. Digital files have a strict non-commercial, personal use only license.
You shall not share, sub-license, sell, rent, host, transfer, or distribute in any way the digital file or 3D printed versions of this object, nor any other derivative work of this object in its digital or physical format (including remixes of this object). You can not host these files on other digital platforms, web stores or cloud repositories. The objects may not be used in any way whatsoever in which you charge money, collect fees.
Models(1)
- FathersDay_MediumLanternChamfered_EG.3mfDesigner

2.59 MB

2026-05-24