




storage
storagebox
organizer
screw
organizers
storagesystem
storagecontainer
organizer tray
screworganizer
organizerbox
boardgameorganizer
screwcase
screwcontainer
modularstoragecase
modularorganizer
organizercase
boardgamecontainer
modularstorage
screwstoragebox
personalorganizer

- 0.2mm layer, 2 walls, 15% infill

2-disc
PETG
Designer - 0.2mm layer, 2 walls, 15% infill
2-disc
PETG
Designer - 0.2mm layer, 2 walls, 15% infill
1-disc
PETG
Designer - 0.2mm layer, 2 walls, 15% infill
1-disc
PETG
Designer - 0.2mm layer, 2 walls, 15% infill
2-disc
PETG
Designer - 0.2mm layer, 2 walls, 15% infill
2-disc
PETG
Designer - 0.2mm layer, 2 walls, 15% infill
2-disc
PETG
Designer - 0.2mm layer, 2 walls, 15% infill
2-disc
PETG
Designer - 0.2mm layer, 2 walls, 15% infill
2-disc
PETG
Designer - 0.2mm layer, 2 walls, 15% infill
2-disc
PETG
Designer - 0.2mm layer, 2 walls, 15% infill
1-disc
PETG
Designer - 0.2mm layer, 2 walls, 15% infill
1-disc
PETG
Designer - 0.2mm layer, 2 walls, 15% infill
1-disc
PETG
Designer - 0.2mm layer, 2 walls, 15% infill
2-disc
PETG
Designer - 0.2mm layer, 2 walls, 15% infill
1-disc
PETG
Designer - 0.2mm layer, 2 walls, 15% infill
1-disc
PETG
Designer - 0.2mm layer, 2 walls, 15% infill
1-disc
PETG
Designer - 0.2mm layer, 2 walls, 15% infill
2-disc
PETG
Designer

14

5
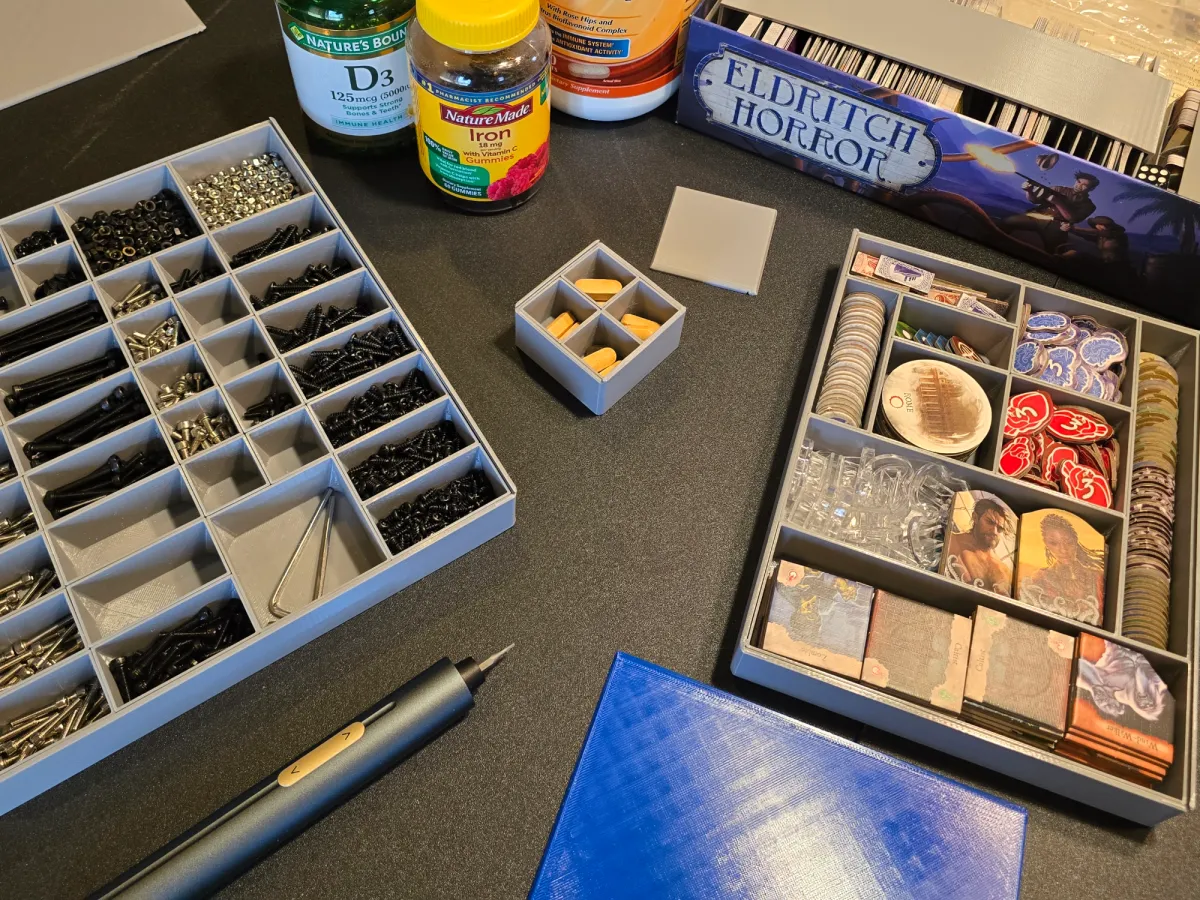
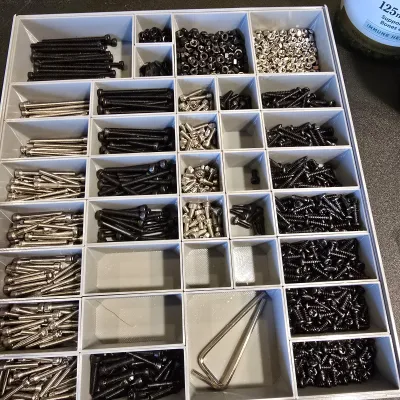
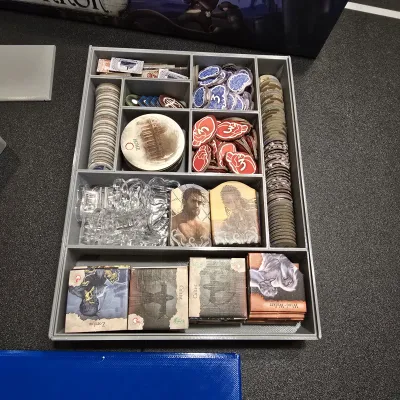
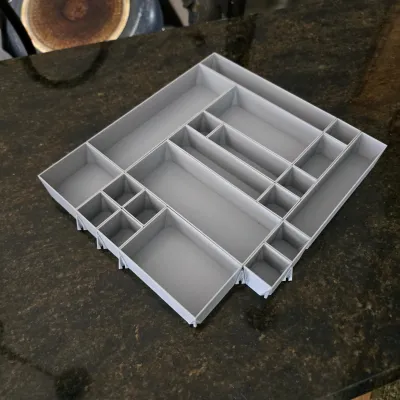
Customize your organizer any way you want it!
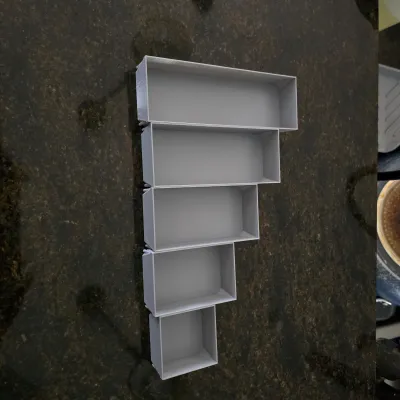
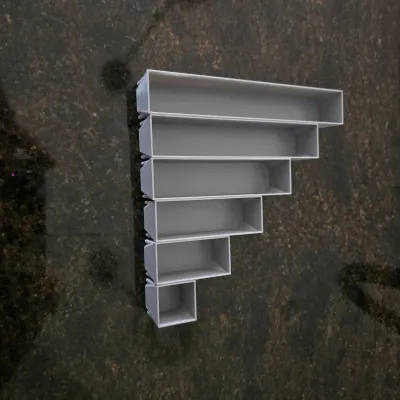
Choose the size and number of inserts to fit your needs!
Choose the size of your container based on YOUR needs for YOUR project.
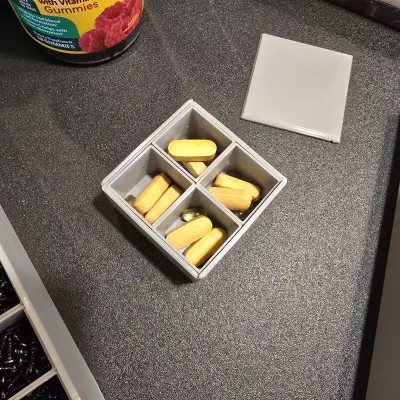
When I was looking for screw/nut cases/organizers online, it was frustrating that none had exactly all the compartments I needed for the various items. After all, there were all designed by others who had their own very specific needs. . Inevitably, the ones I printed never were quite right since they were always designed by individuals who had their own collection of screws/nuts/bolts etc. I started designing one for my own needs -- but what if I needed to change the compartments as my needs changed? As I was designing a medication case/organizer to meet the needs of a family member, one of the designs I was working on eventually led to this idea. Thus, this project was born.
I had several goals for this project:
1) Print with no supports
2) Modular, can arrange in any order and all parts fit together
3) Can change parts as needed to fit needs without needing to reprint the entire thing.
4) Customizable in both inserts and size of container
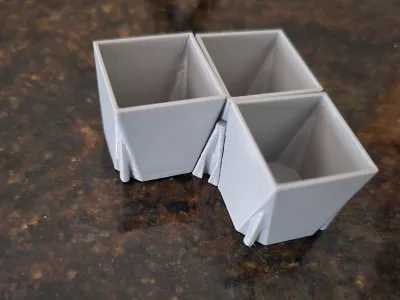
The boxes are exact, fit snugly and stay in the frame without needing the anchors. However, you may need to slightly adjust sizes depending on the tolerances of your own printer. To compensate for this variability, I added an extra 0.2mm of interior space in the frame for every 75mm of the frame – for example, the 100 mm x 100 mm is designed as a 100.4 mm x 100.4 mm interior space. Nevertheless, you may need slightly change the size if the boxes do not fit quite right. If your printer has elephant feet, make sure to trim them off. Also, depending on the tolerances of your printer, if you put many small boxes in the frame there may be even more variance. Thus, for the larger frames, you may want to print out the inner boxes first and measure the dimensions first; you can thenresize the outer frame in the slicer if needed.
As a general rule:
USE THE ANCHORS WHEN YOU WANT THE INNER BOXES TO STAY FIRMLY IN THE CONTAINER. You can still take them out again, but it will require more force -- I needed to use pliers)
DO NOT USE THE ANCHORS WHEN YOU WANT TO EASILY REMOVE/INSERT THE BOXES (say for example when you use it for a board game organizer and you want to pull the parts out to play the game).
Some other thoughts:
I used PETG at 0.2mm layer height and it worked fine. I have not tested other filaments, but I expect most will work fine.
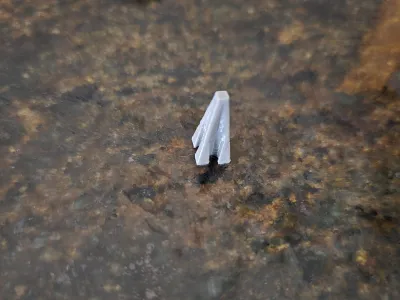
Although the model printed great on my Prusa Core One, I added a triangular joint to the edges to allow a little give for variation in tolerances of different printers. That joint may not work as well for stiffer/brittle filaments. However, if you have excellent tolerances on your printer, it should not matter.
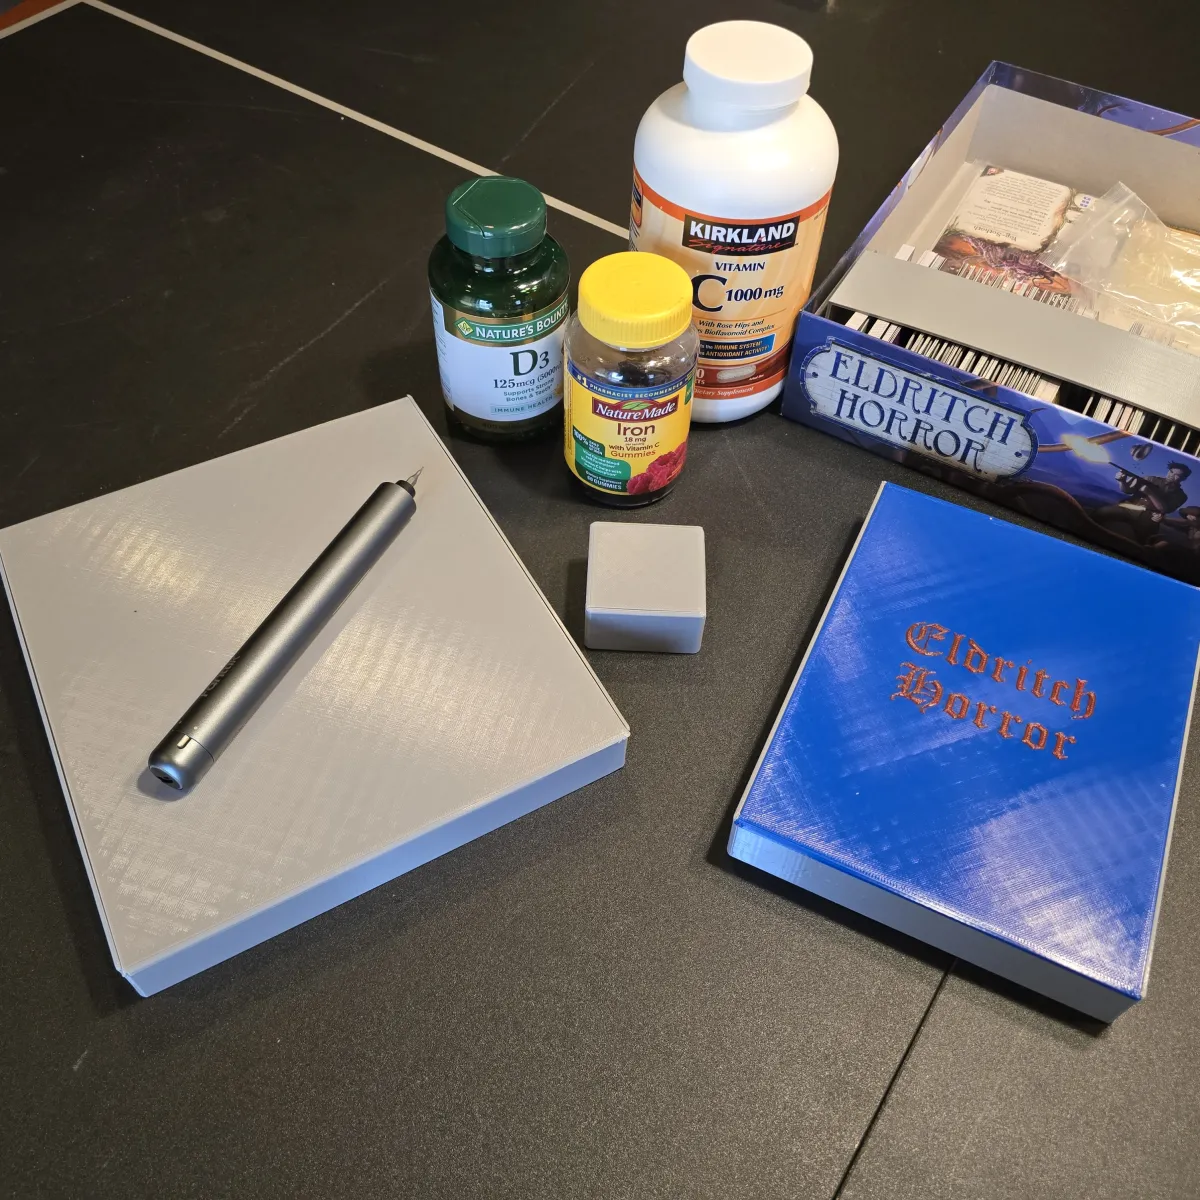
To save on filament I printed the cover with 10% infill and 3 top/bottom layers at 0.2mm height, but as a result I could see shadows of the infill pattern when I did so. Aesthetics vs cost savings, up to you.
Personalize
To personalize/customize the organizer further by adding writing to the cover using the slicer, hit "T" on your keyboard (in Prusaslicer or Orcaslicer) and type what you wish.
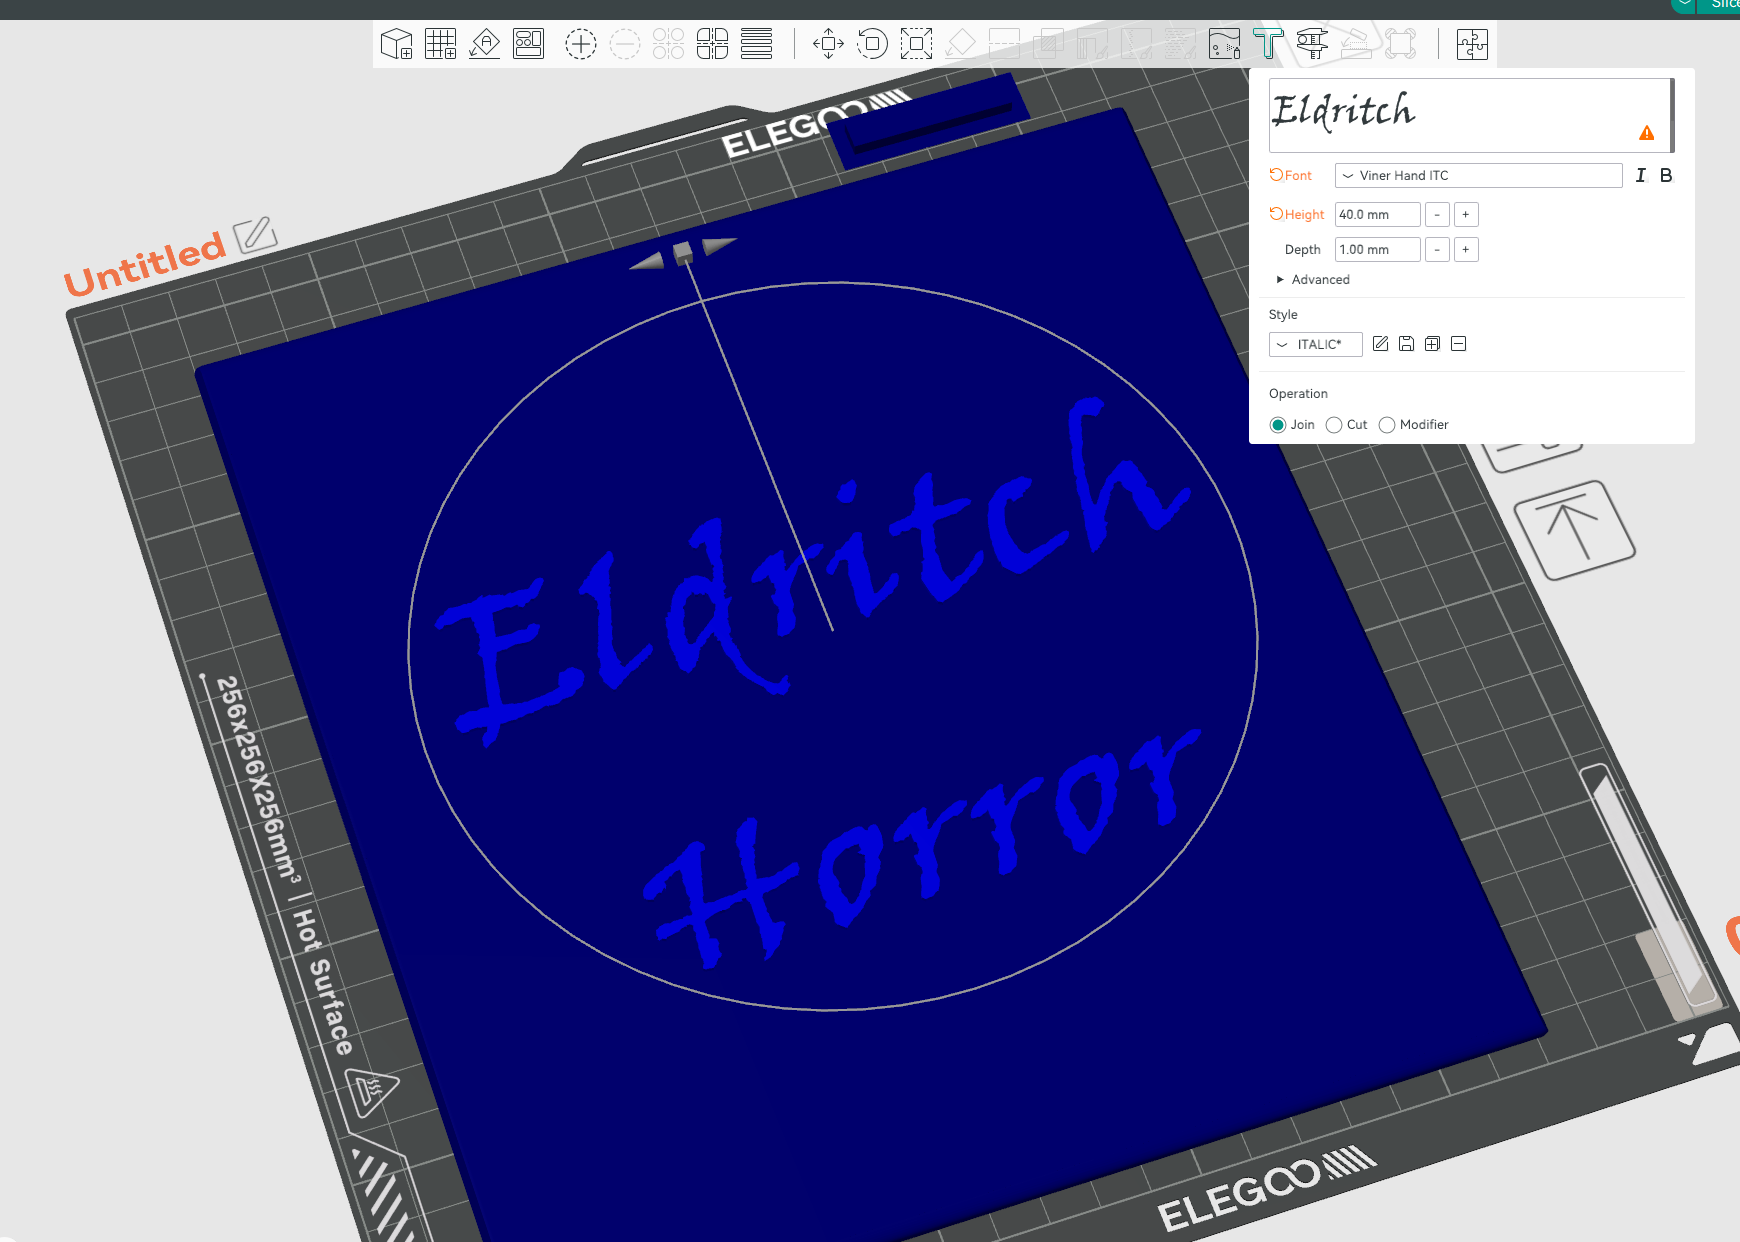
If you want multicolor on the label but do not have an AMS/MMU/tool changer, simply add a color change to the model at 3.00 mm (if you are using 0.2mm heights)
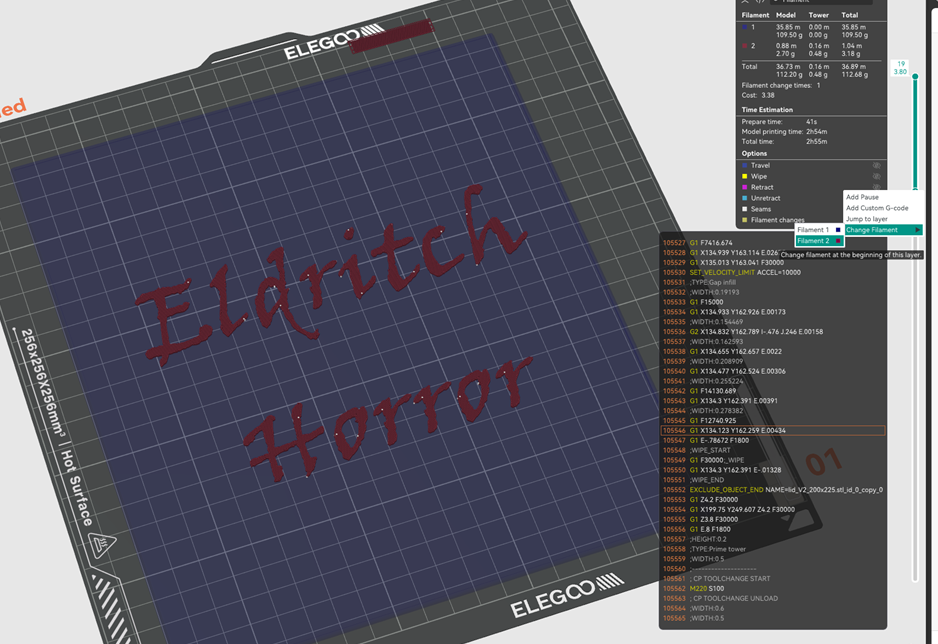
For those of you who want to customize the cover with labels, to make it easier I added a model in a 25mm grid pattern so that you can put the labels in the desired area. Just plan out the boxes. I printed some of the various sizes first and checked fit for the parts I needed. Once I knew what size boxes and how many, I then printed them out and arranged them in an order that worked for me. I then chose the appropriate size outer box and cover.
Once you know the layout, in the slicer, when getting ready to print the cover, just add the 25mm grid overlay, type "T" to add text, and move the text to the appropriate area using the grid and your layout. Once all the text labels are done don't forget to delete the grid before you slice and print.
Originality of the Model
The author declares that this work is their personally original model
This model is licensed under the following terms:
Credit must be given to the creator
Only noncommercial uses of the work are permitted
Models(40)
- frame V2 50x100.3mfDesigner

123.73 KB

2026-05-01
- frame V2 50x150.3mfDesigner
123.91 KB
2026-05-01
- frame V2 150x250.3mfDesigner
127.73 KB
2026-05-01
- frame V2 200x250.3mfDesigner
152.67 KB
2026-05-01
- frame V2 100x100.3mfDesigner
112.66 KB
2026-05-01
- frame V2 50x50.3mfDesigner
118.11 KB
2026-05-01
- frame V2 100x200.3mfDesigner
118.15 KB
2026-05-01
- frame V2 250x250.3mfDesigner
118.40 KB
2026-05-01
- frame V2 100x150.3mfDesigner
118.45 KB
2026-05-01
- frame V2 100x225.3mfDesigner
118.72 KB
2026-05-01
- frame V2 100x250.3mfDesigner
129.56 KB
2026-05-01
- frame V2 225x250.3mfDesigner
133.45 KB
2026-05-01
- frame V2 225x225.3mfDesigner
136.29 KB
2026-05-01
- frame V2 150x150.3mfDesigner
144.40 KB
2026-05-01
- frame V2 150x225.3mfDesigner
149.48 KB
2026-05-01
- frame V2 200x200.3mfDesigner
150.32 KB
2026-05-01
- frame V2 200x225.3mfDesigner
152.63 KB
2026-05-01
- frame V2 150x200.3mfDesigner
165.08 KB
2026-05-01
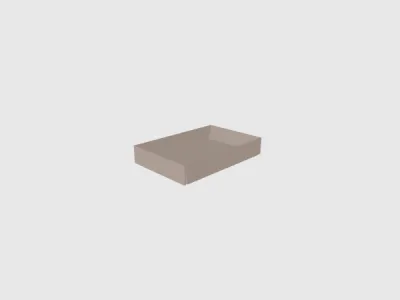 box 100x150.stlDesigner
23.91 KB
2026-05-01
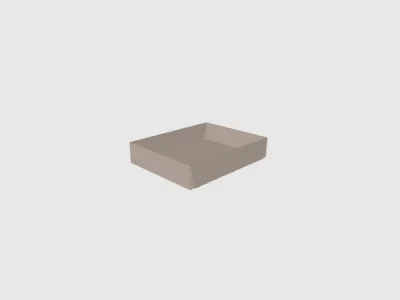 box 100x125.stlDesigner
20.88 KB
2026-05-01
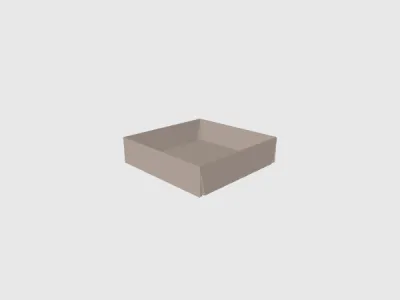 box 100x100.stlDesigner
20.98 KB
2026-05-01
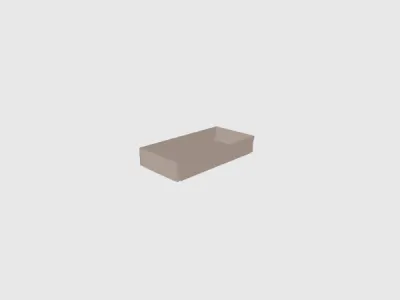 box 75x150.stlDesigner
21.47 KB
2026-05-01
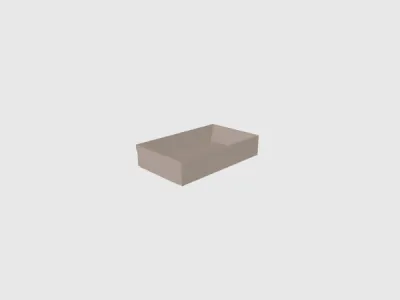 box 75x125.stlDesigner
20.98 KB
2026-05-01
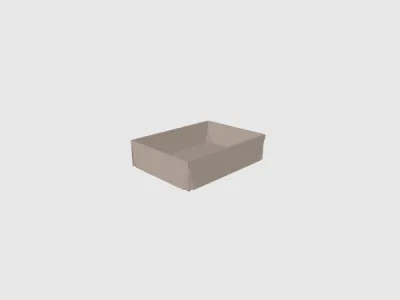 box 75x100.stlDesigner
21.27 KB
2026-05-01
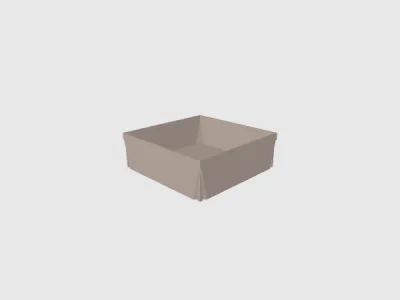 box 75x75.stlDesigner
20.10 KB
2026-05-01
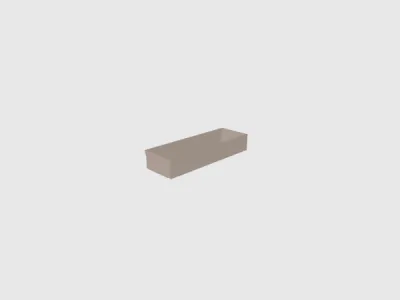 box 50x150.stlDesigner
19.13 KB
2026-05-01
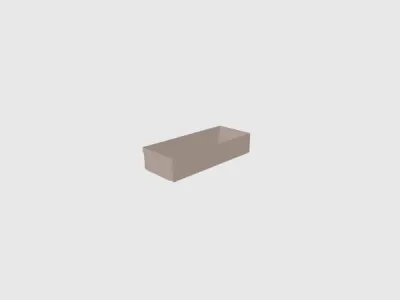 box 50x125.stlDesigner
19.13 KB
2026-05-01
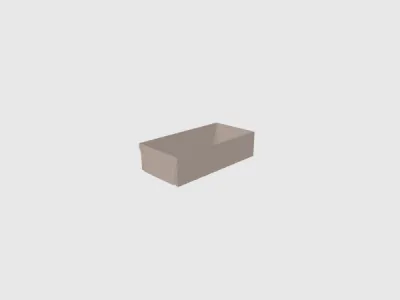 box 50x100.stlDesigner
19.13 KB
2026-05-01
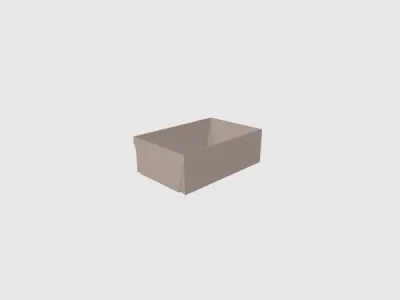 box 50x75.stlDesigner
19.13 KB
2026-05-01
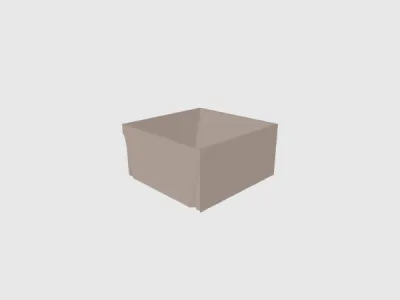 box 50x50.stlDesigner
19.13 KB
2026-05-01
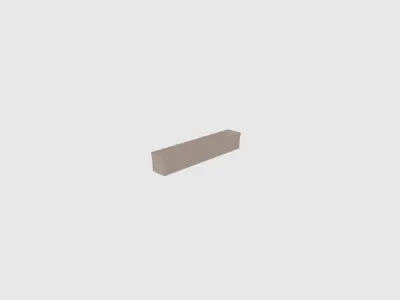 box 25x150.stlDesigner
18.64 KB
2026-05-01
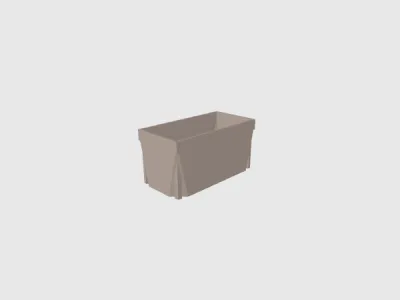 box 25x50.stlDesigner
18.93 KB
2026-05-01
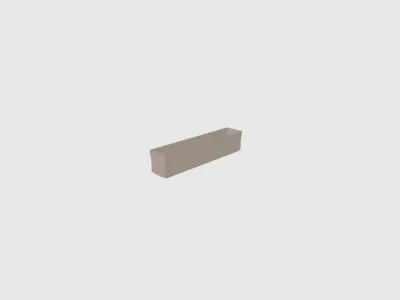 box 25x125.stlDesigner
18.64 KB
2026-05-01
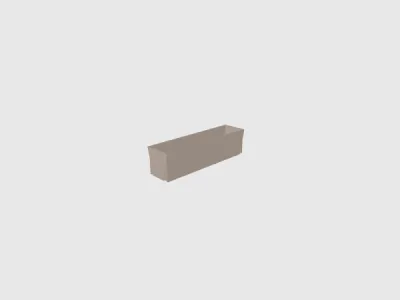 box 25x100.stlDesigner
18.64 KB
2026-05-01
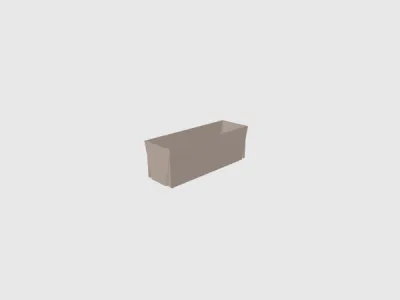 box 25x75.stlDesigner
18.73 KB
2026-05-01
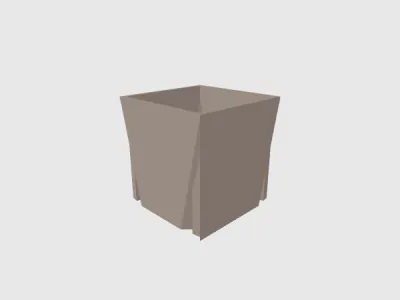 25x25 box.stlDesigner
18.54 KB
2026-05-01
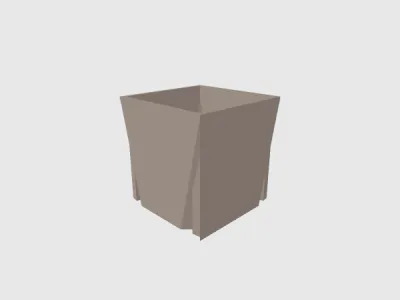 box 25x25.stlDesigner
18.54 KB
2026-05-01
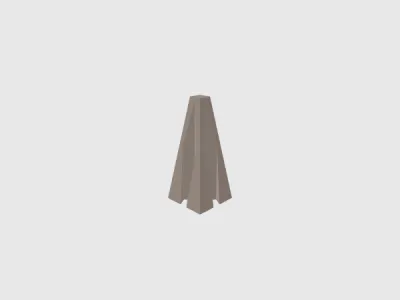 organizer anchor V1.1 .stlDesigner
12.78 KB
2026-05-01
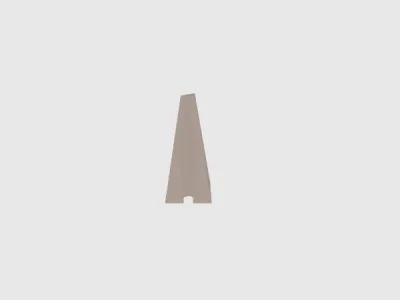 organizer half anchor V1.1 .stlDesigner
6.63 KB
2026-05-01
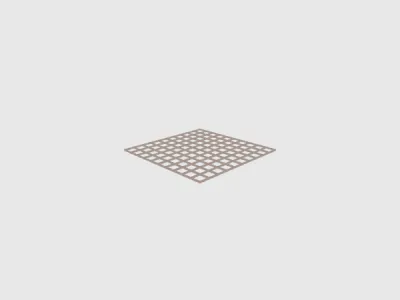 Guide grid for lid label.stlDesigner
98.32 KB
2026-05-01
View all(40)


