



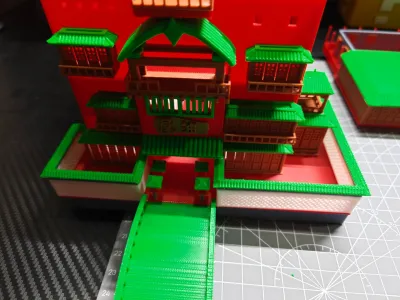
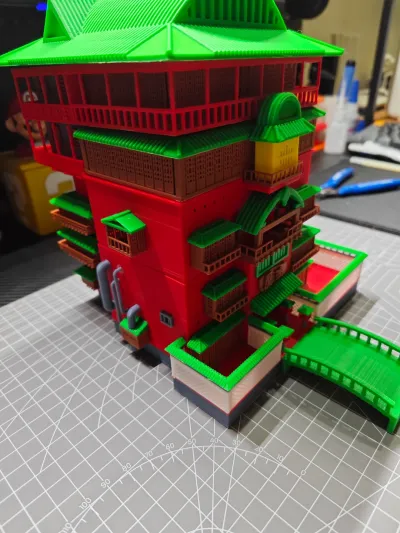
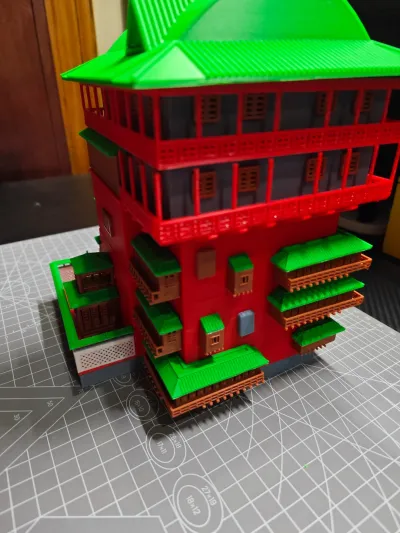
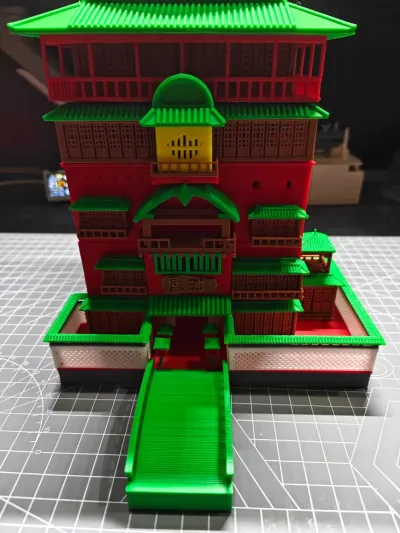


- 0.2mm layer, 2 walls, 15% infill

2-disc
PLA
Designer - 0.2mm layer, 2 walls, 15% infill
6-disc
PLA
Designer - 0.2mm layer, 2 walls, 15% infill
3-disc
PLA
Designer - 0.2mm layer, 2 walls, 15% infill
9-disc
PLA
Designer

50

9
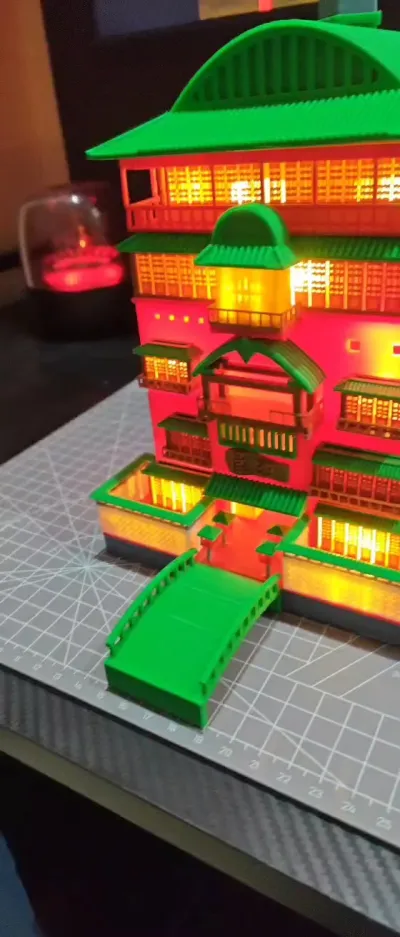
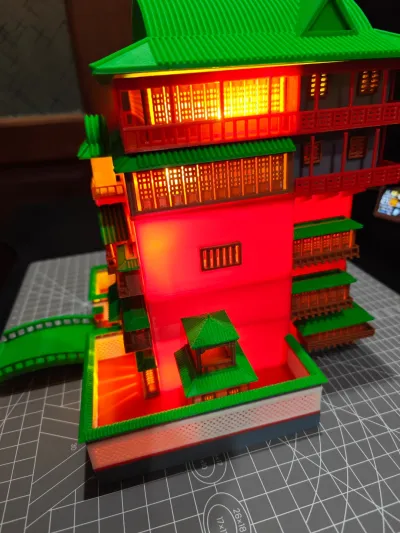
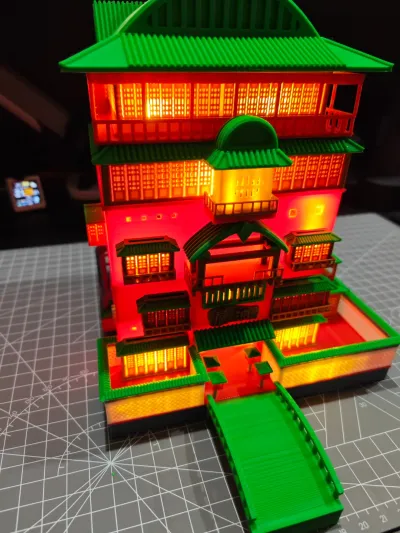
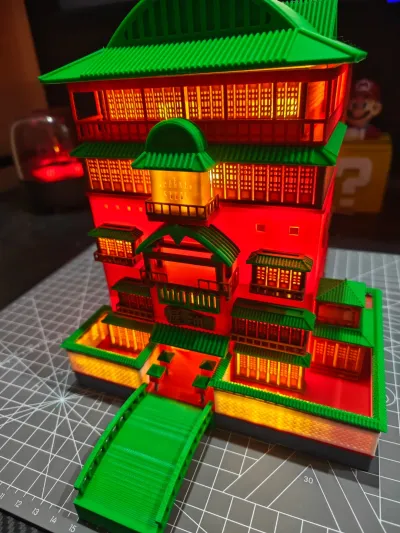
1. Component Organization: With so many individual parts, even after categorizing some smaller components, clutter still tends to accumulate, making it difficult to start assembly. To streamline the process, I’ve divided the model into four main sections, each further subdivided into distinct discs and color-coded markers. It’s best to assemble one section at a time—print one part, then move on to the next—so that the pieces remain neatly organized and don’t get scattered. The first upload includes the initial section, with subsequent parts added immediately afterward.
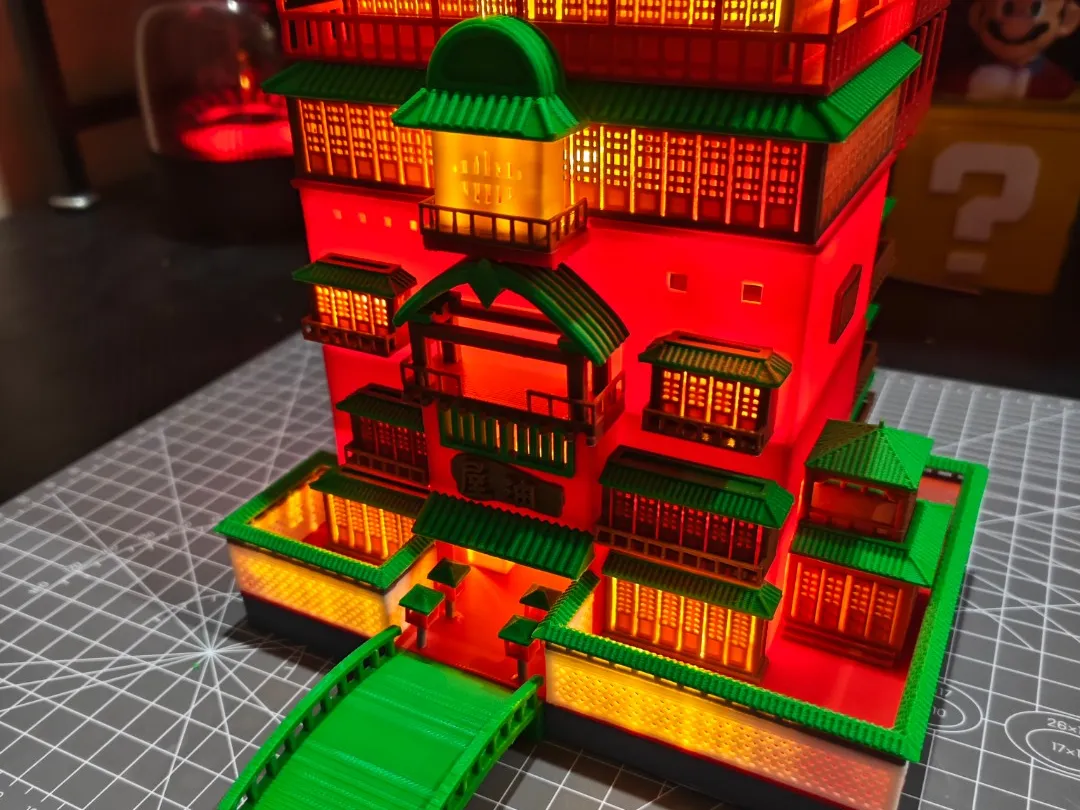
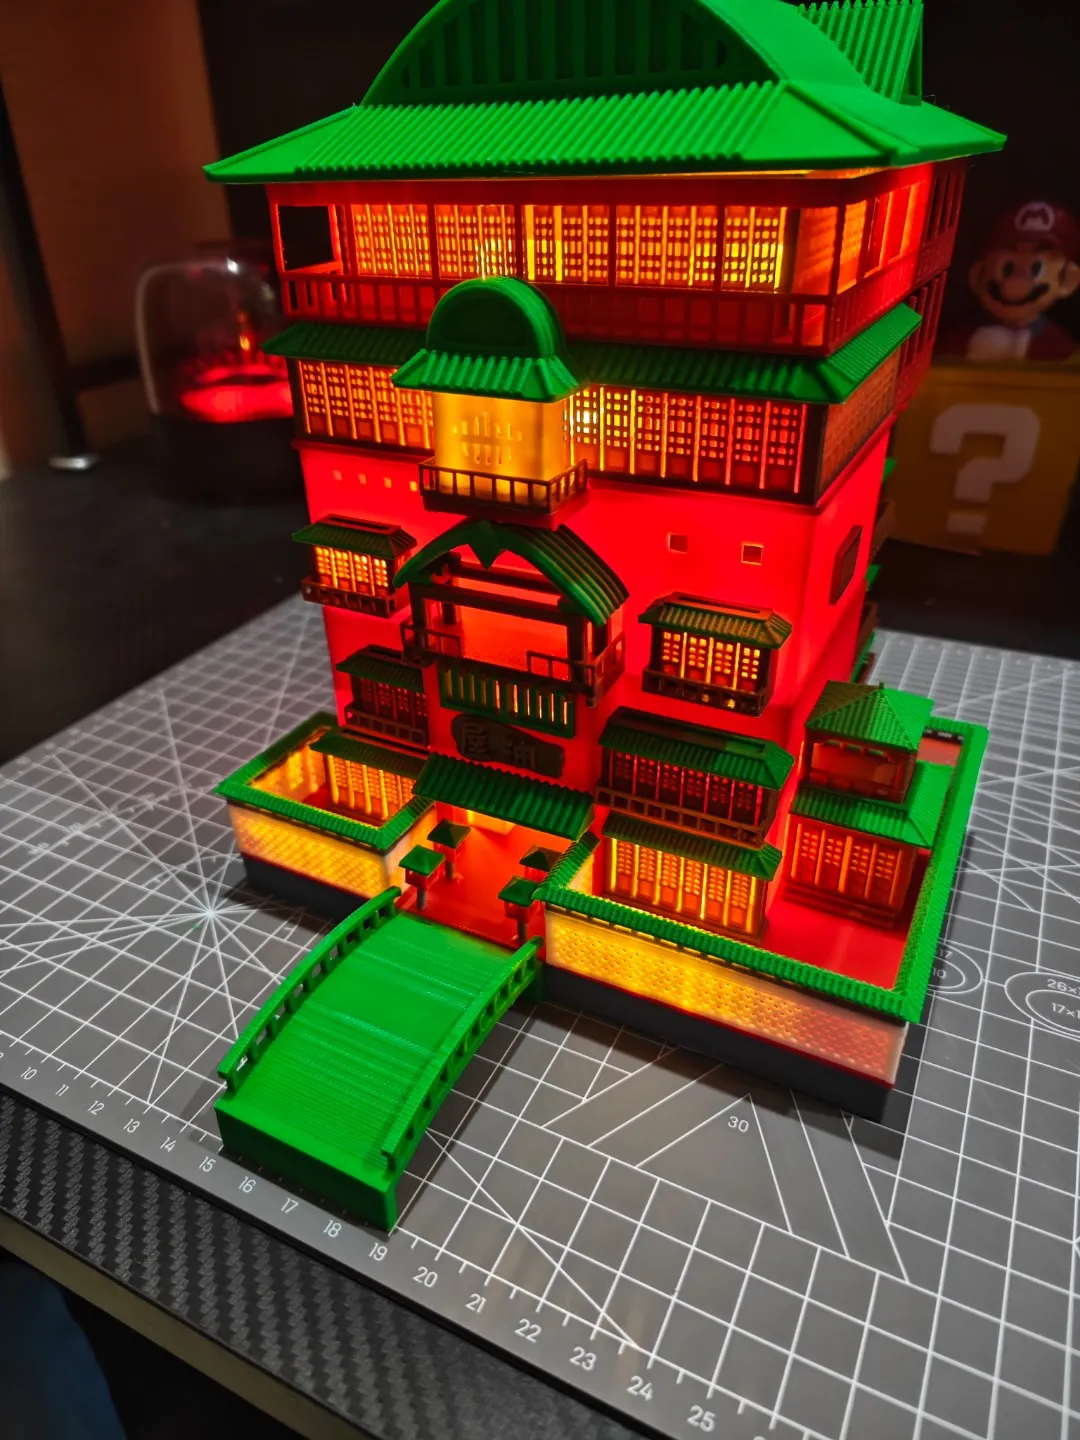
2. Color Scheme: This time, the model has been faithfully restored using the original animation color palette. The base material is PLA, with sub‑plates in gray, white, and apricot (these colors can be adjusted flexibly—they represent the internal material hues, which are not visible from the exterior), as well as green, red, brown, and yellow. Green, red, and brown are used more extensively across the model.
3. Assembly Design: Each component features specially designed tabs and card slots to simplify assembly. Once the pieces are snapped together, it’s recommended to secure them with adhesive for added stability. While most parts fit snugly into their designated slots, certain window elements may require slight polishing if they don’t fully align with the card holes—especially where frequent opening and closing is needed. If a piece doesn’t adhere perfectly when glued, a light polish will smooth the surface, lending it a silky finish.
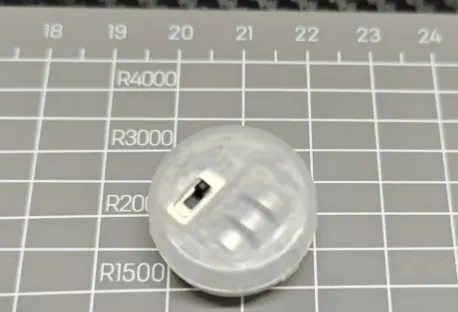
4. Lighting Setup: I’ve incorporated small LED ring lights purchased online, which can be placed directly within the model’s interior. Each light is controlled independently, just like in the reference image, allowing you to fine‑tune the lighting effects to enhance the overall visual impact. Of course, if you prefer, you can wire the lights internally and mount them in each room—then connect them to a dedicated switch for seamless control. However, this approach requires some additional manual setup and wiring.
5. Interior Design: Due to limited build volume, I’ve kept the interiors of both the first and second floors relatively compact, while also incorporating a touch of personal design flair and simplification—adding a unique charm and elevating the immersive experience.
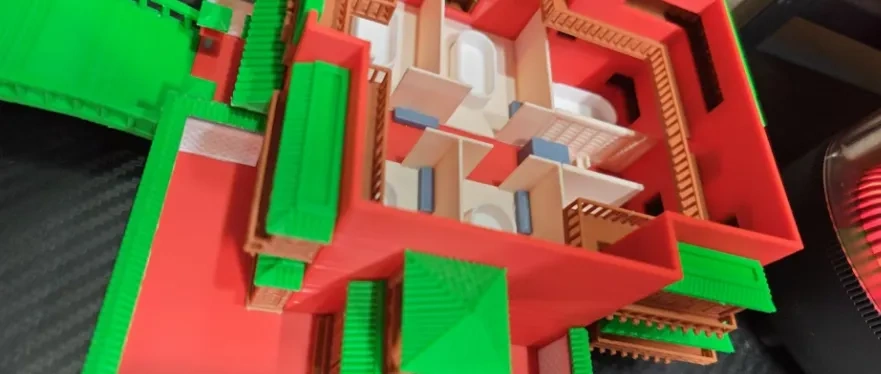
When assembling and pasting, attention to detail is key. The entire project—from printing to final assembly—requires significant time and effort. This is also the largest and most intricate model I’ve ever created. So far, I haven’t encountered any major issues during assembly or pasting. If you find yourself with too many parts or accidentally misspell a component during reassembly, don’t worry—simply refer to my reference images for comparison.
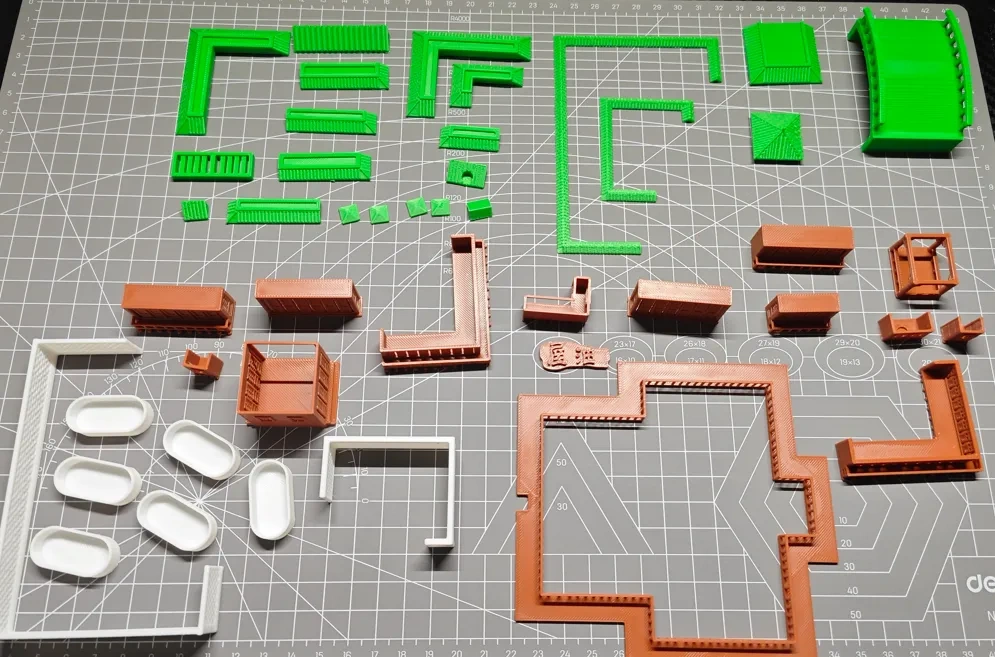
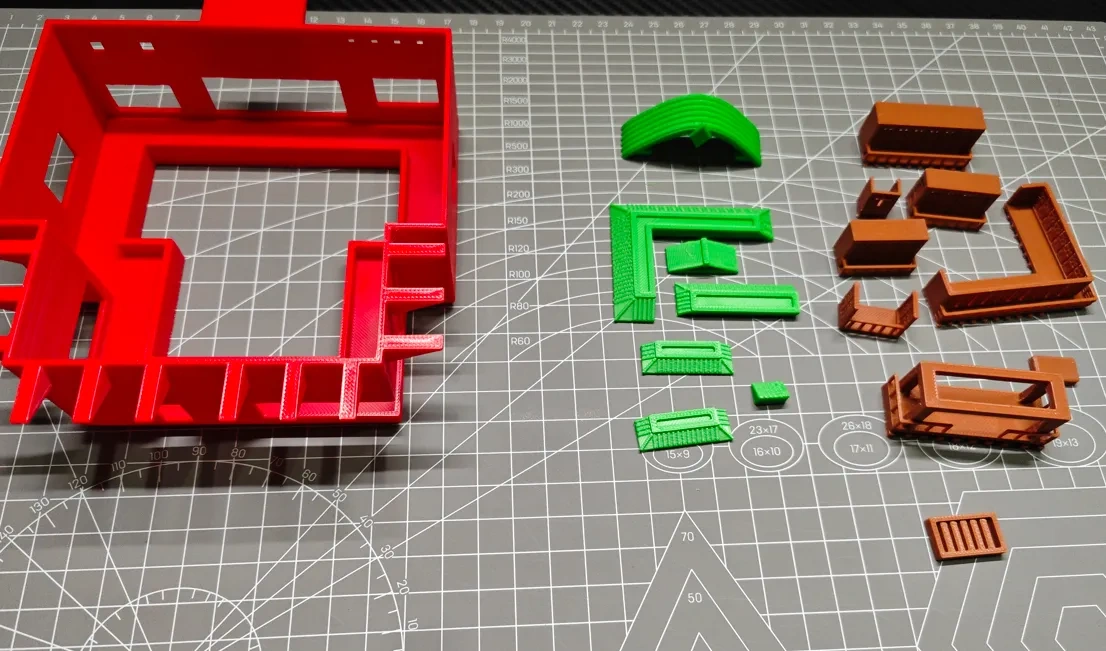
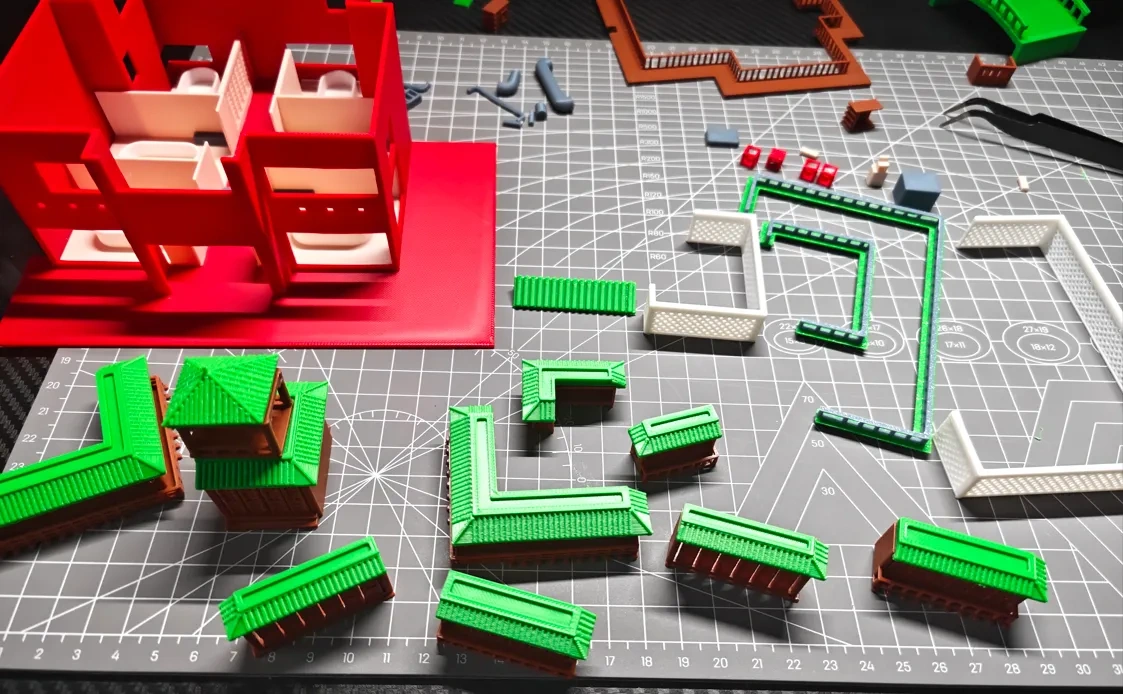
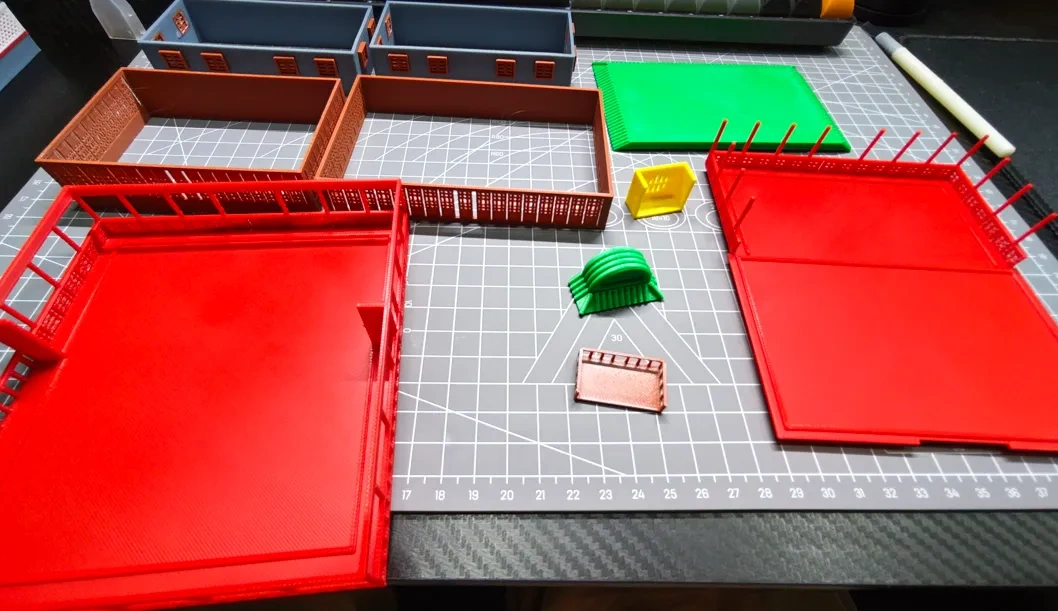
I hope you enjoy it—thank you!
There are still a few small parts left to print; remember to enable Brim for those, while the remaining sections can be supported simply with standard supports~
Originality of the Model
The author declares that this work is their personally original model
This model is licensed under the following terms:
Credit must be given to the creator
Models(4)
- 第一层拆分(分色版).3mfDesigner

1.85 MB

2025-10-03
- 第二层拆分(多色).3mfDesigner
432.33 KB
2025-10-03
- 第三层拆分(多色).3mfDesigner
682.00 KB
2025-10-03
- 第四层拆分(多色).3mfDesigner
502.74 KB
2025-10-03
View all(4)


