










Useful is Beautiful
centauri carbon
toolhead
printhead
cover
magnetic

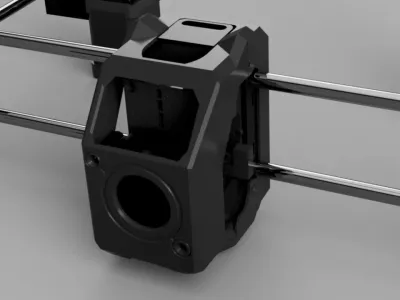 0.16mm layer, 2 walls, 5% infill
1-disc
ASA
Designer

2.6k

203
Description
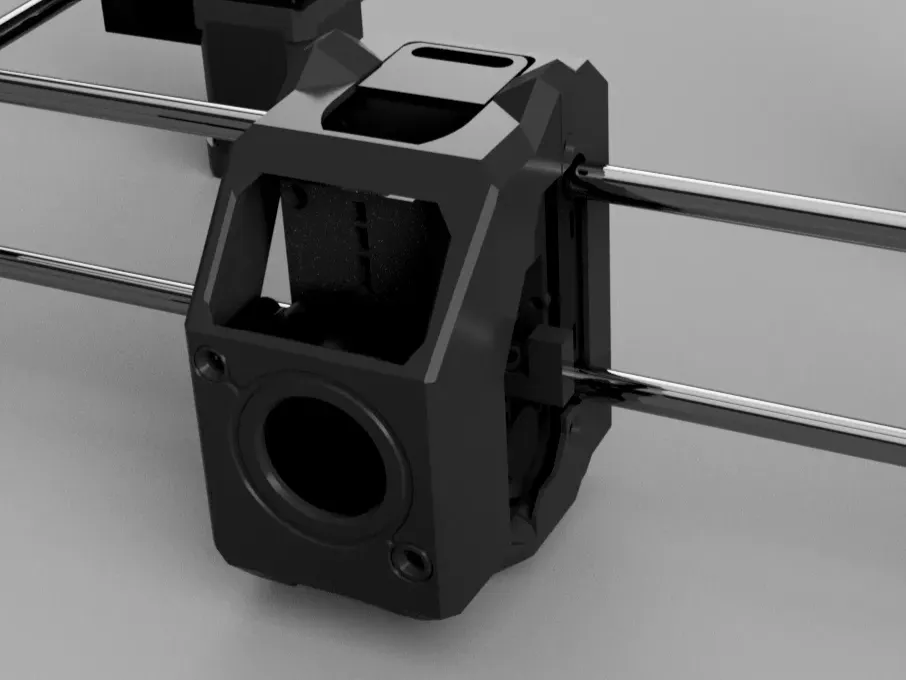
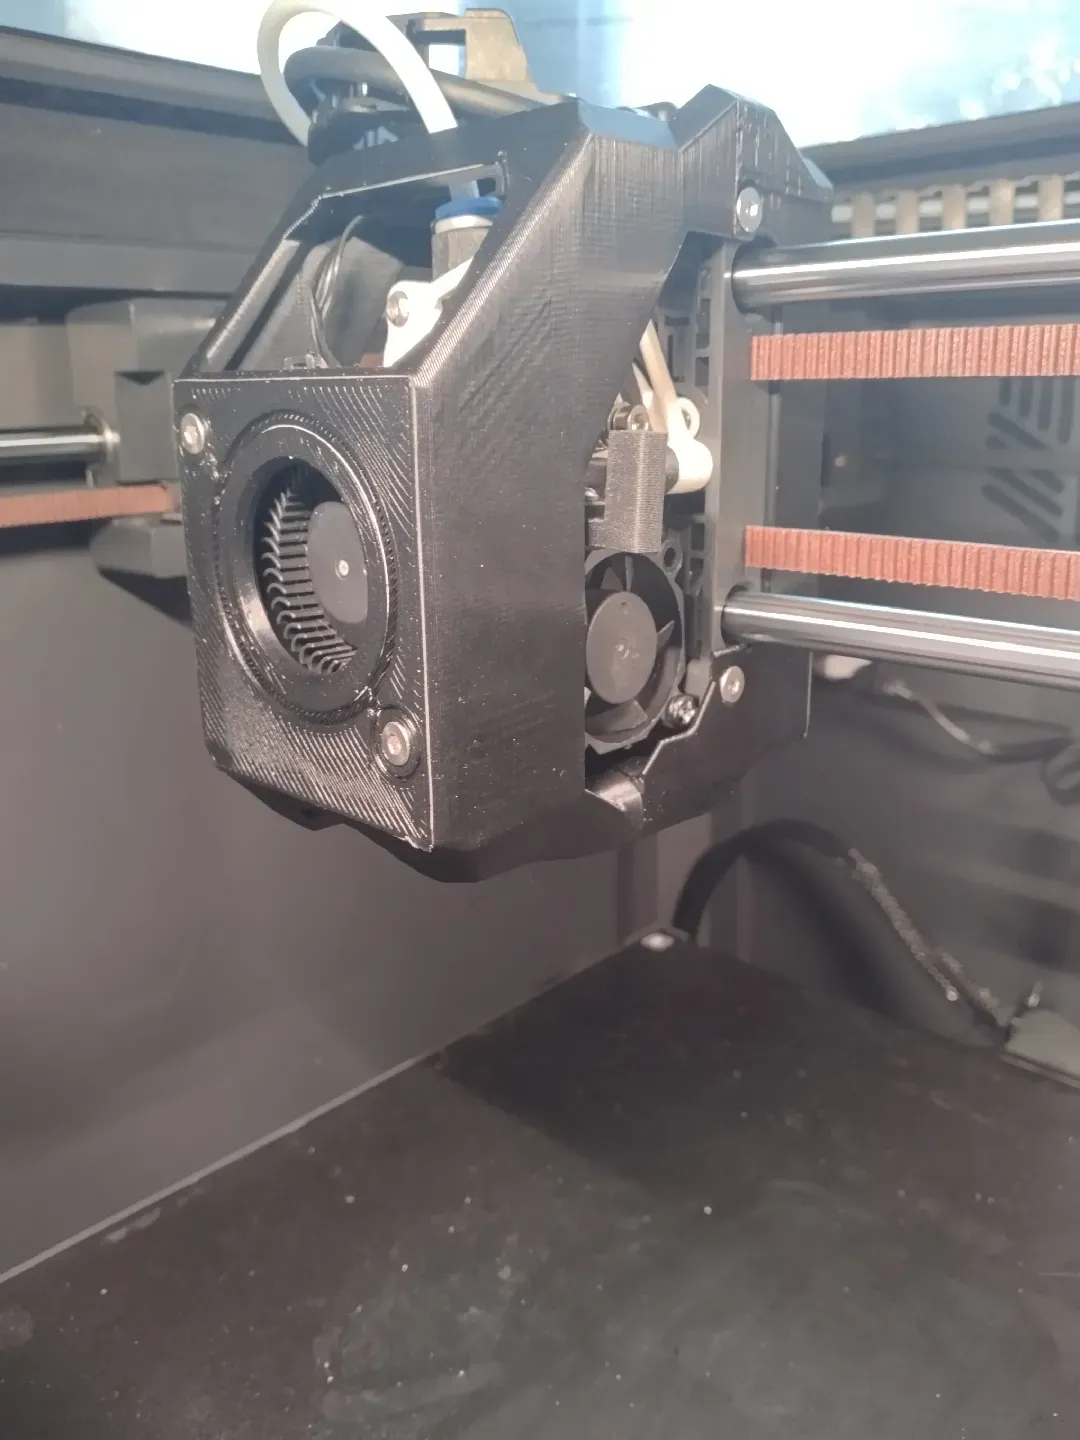
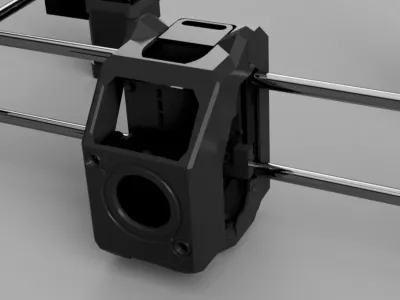
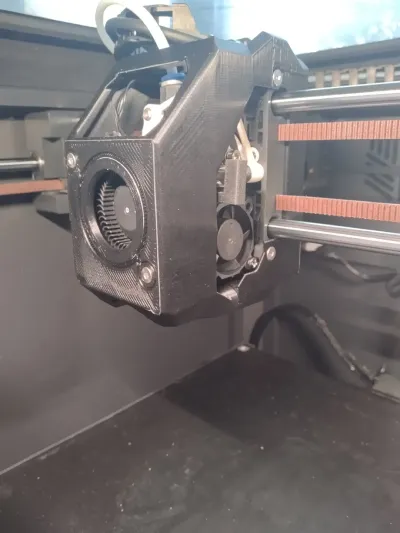
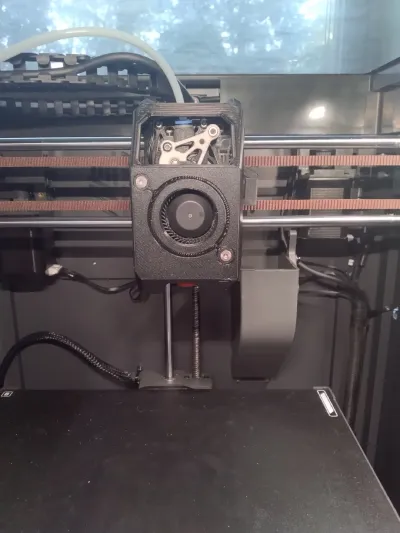
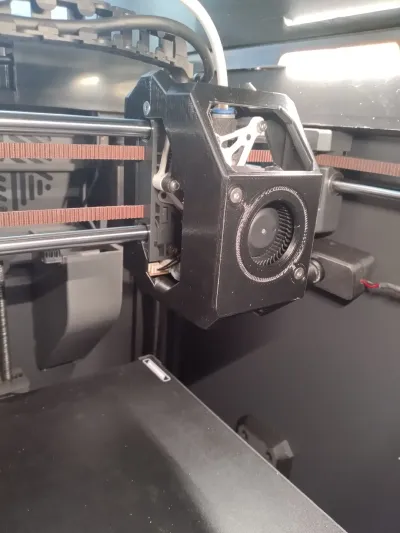
A scratch designed Toolhead cover/cowling for the Centauri carbon that is weight and strength optimized. The uninspired name comes from the star in centaurus, and this being the third (γ being the third letter of the greek alphabet) scratch cover design available after the stock cover and the SE3D design.
Why should you print this?
TL;DR: Its lighter than the alternatives while still being strong enough that I can do this without damaging it:
main advantages:
- Only 95g grams vs 99 for the SE3D cover and 120 for the stock cover including the fan
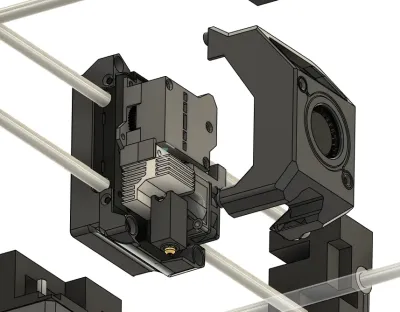
- magnets installed in tapered pegs so it does not rely on printing tolerances to make a secure rattle-free connection
- No thin delicate shell wrapping around the carriage and filament cutter arm
- Reinforced ribs make it very strong. The front cover is difficult to bend when printed in ABS and will not break
- No delicate thin parts obstructing the part cooling,
- Easy access to the exruder, hotend connectors, etc
- Front mounting points means that you don't haave to reprint the whole cover because a delicate column snapped off.
- Works with both the constellation extruder AND stock extruder
To get an idea of how reliable the magnetic mounting is I can pull the gantry using only the cover:
Materials:
- The stock screws for the read and mid cowling/cover. Optional but preferred- substitute the three button head cap screws with m3x12 countersunk screws, but this is not necessary.
- 2 6-8 mm length m3 machine screws or 3mm self tapping screws (countersunk head preferred)
- 8 6x3 mm (standard voron size) disc magnets. N42 or N52 are probably best, I have not tested with weaker N35 magnets.
Printing and assembly Instructions:
Print in ABS or better with 4 walls and 5-6 top and bottom shell layers. I used adaptive cubic infill at 50% but any infill at 25-50% should be fine. DO NOT TURN ON SUPPORT- all support needed is built into the model. Print with 0.2mm layer height Note: the built in supports appear to not slice correctly with classic wall generation. enable the arachne wall generator for this if you aren't using it as the default:

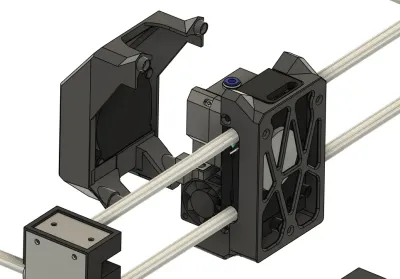
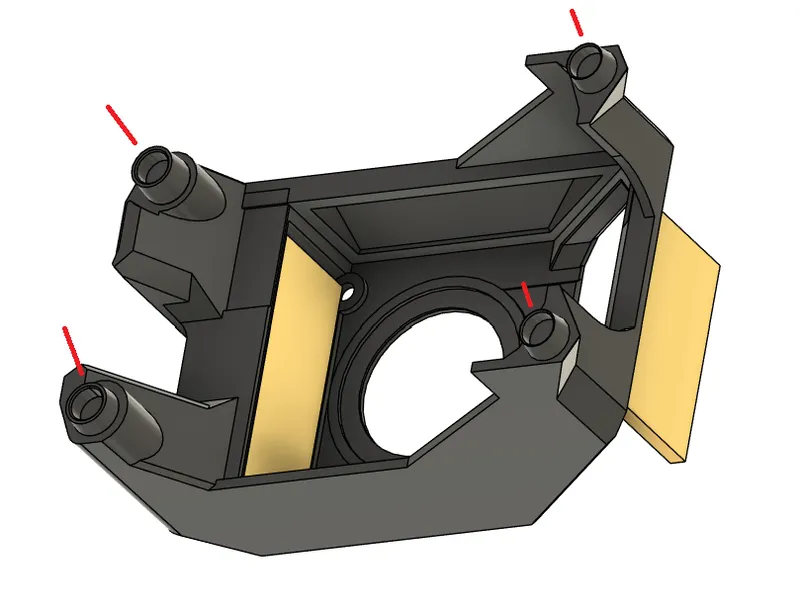
- Remove the built in support in yellow. It should come out without much trouble.
- Glue magnets into the 4 holes indicated in red, also glue 4 more in the corresponding recessed holes in the back cover- Double check the polarity to make sure the cover goes together before gluing!
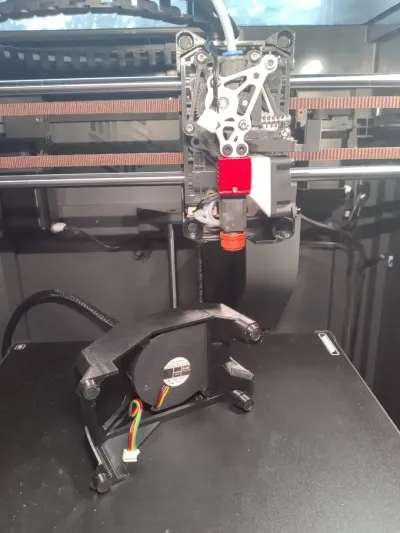
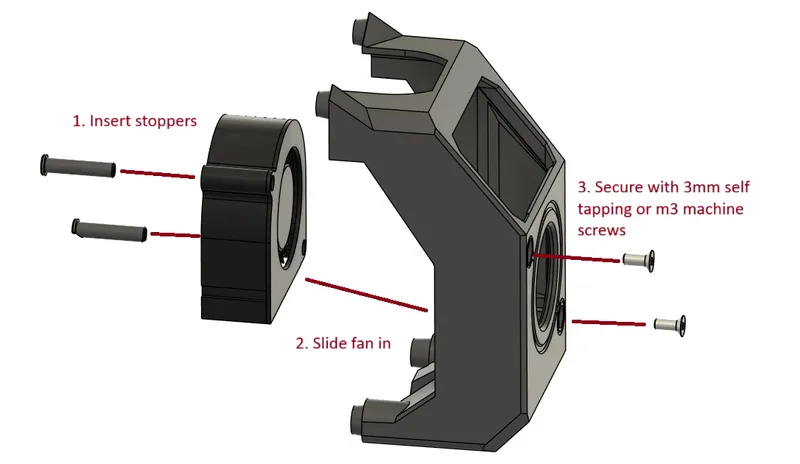
3. Perform the assembly steps shown to mount the fan. Slip the stoppers inside the holes in the fan from the back, the one with a notch goes in the lower hole so it does not interfere when the fan is inserted. Insert the fan into the front cover and slide it downward into the slot. Then secure with self tapping or
I have also included a version without the cosmetic circular recessed pattern on the front and have updated the built in support to have a handle that makes it easier to remove
Originality of the Model
The author declares that this work is their personally original model
This model is licensed under the following terms:
No Copyright.
Models(7)
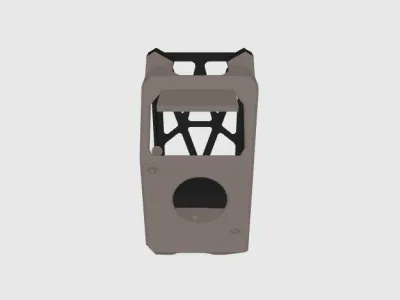 gamma-cover-v3.stepDesigner
2.58 MB

2025-09-29
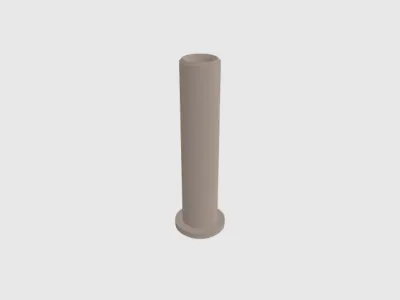 fan-holders_2.stlDesigner
162.58 KB
2025-09-29
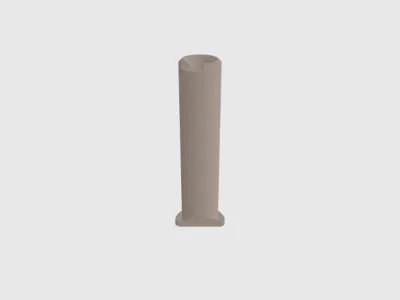 fan-holders_1.stlDesigner
145.59 KB
2025-09-29
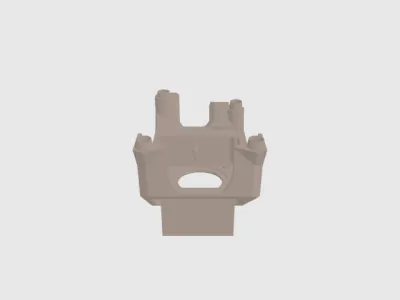 front cowling_presupported.stlDesigner
1.97 MB
2025-09-29
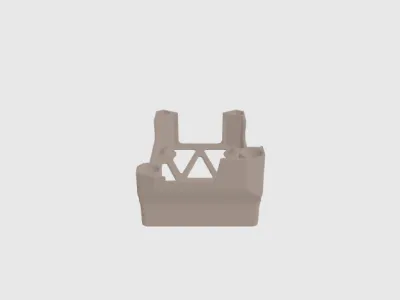 back-cowling.stlDesigner
3.16 MB
2025-09-29
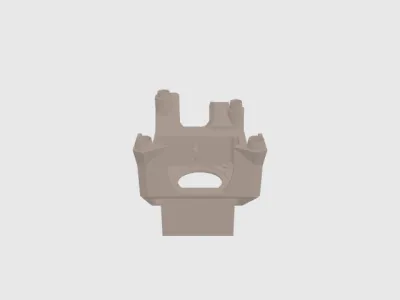 front cowling_presupported_nocircles.stlDesigner
1.71 MB
2025-09-29
- gamma-ecc-profile.3mf
1.32 MB
2025-11-30
View all(7)


