



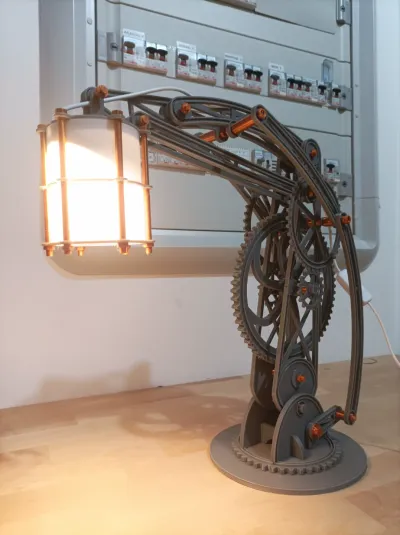
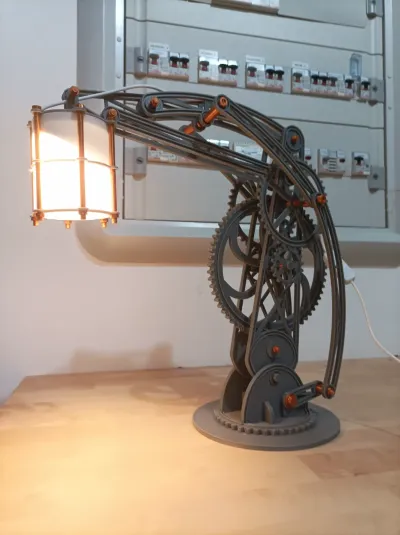
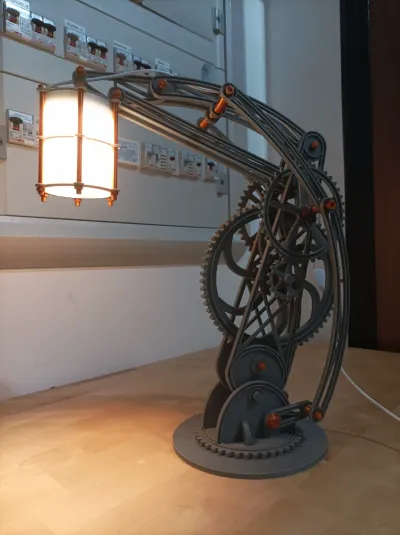
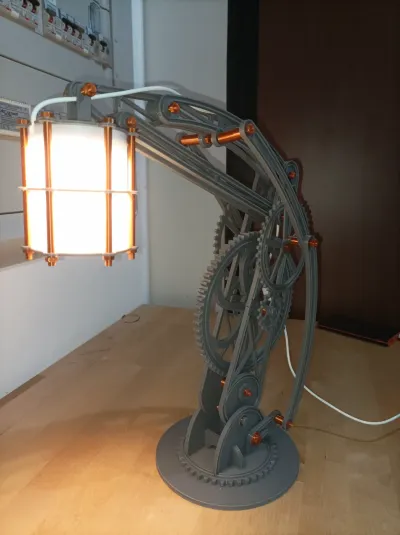
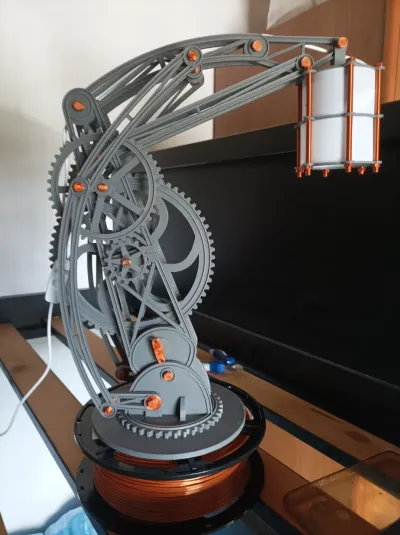
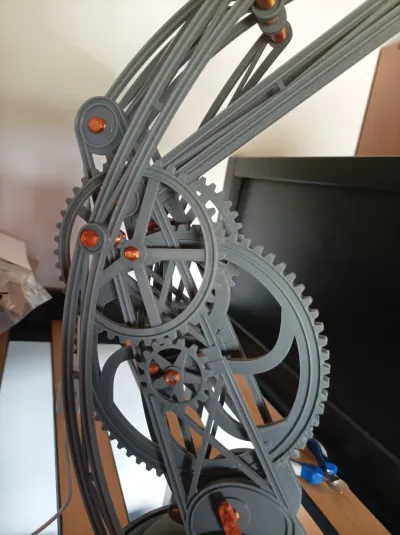
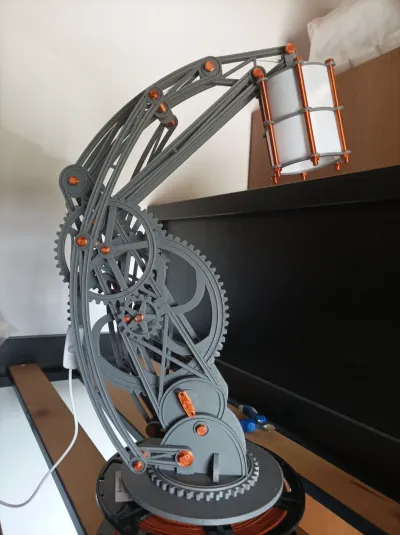

lamp
led kit
steampunk

- 0.2mm layer, 2 walls, 15% infill

16-disc
PLA
Designer5(1)

115

21
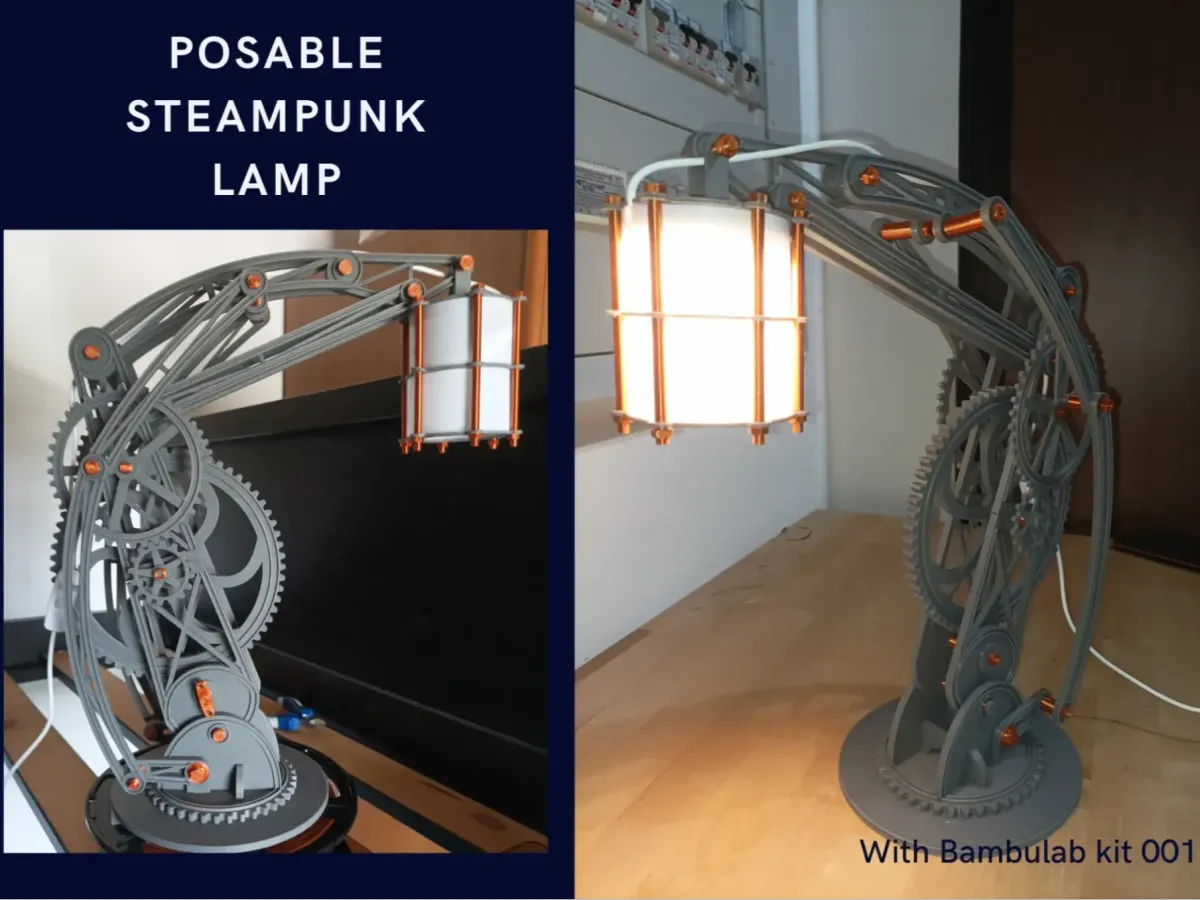
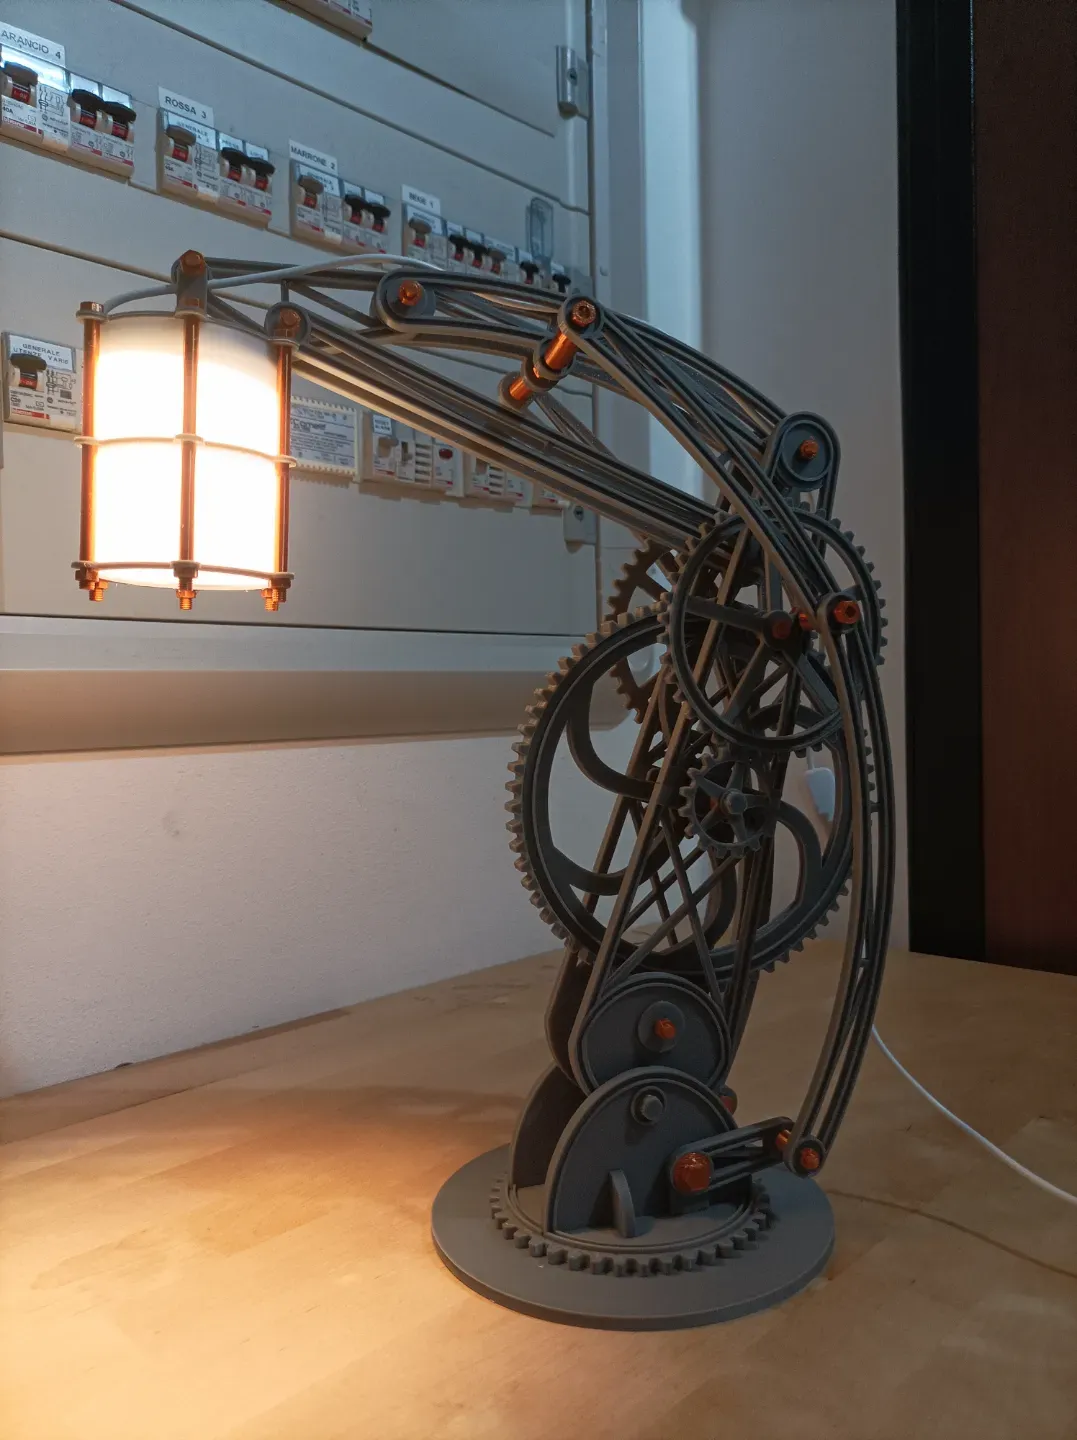
POSABLE STEAMPUNK LAMP WITH BAMBULAB KIT 001
WARING:
-THE FIRST PLATE IS A TOLERANCE TEST. PRINT IT AND IF BOLT AND NUT FITS, GO AHEAD. OTHERWISE YOU NEED TO SCALE THE NUTS. better results with PETG
most of the parts are press fitted or go in place with screw and nuts. you will need to glue the lamp to the base and if the bolts and nuts put a little bit of glue put in the 2 little gear connected to the main gear to make sure it transmits movement
Secure led panel with tape on the back or a little bit of glue
Assembling Guide
every nut is the same, only the bolts change
put a washer on each bolt head and each nut
I will not indicate for each step which bolt and which spacer to use in assembly, for reference download the "assembly guide" print profile, there each bolt and each spacer are colored differently and in thàe assembly view you can see where they go. Just check which element to use and align all the pieces in order of length in order to assign the right color to each one (as you see in the pictures below)
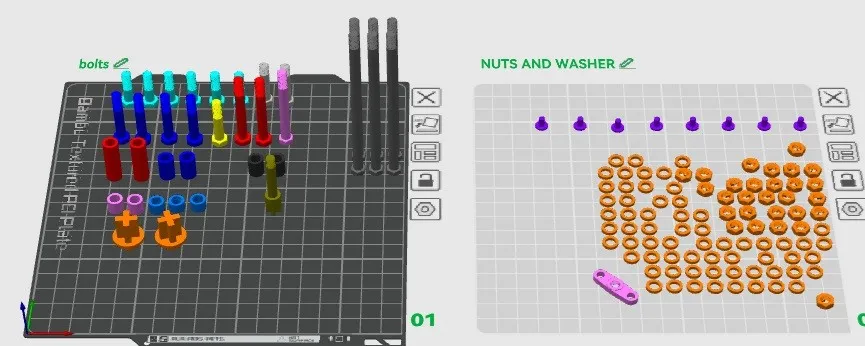
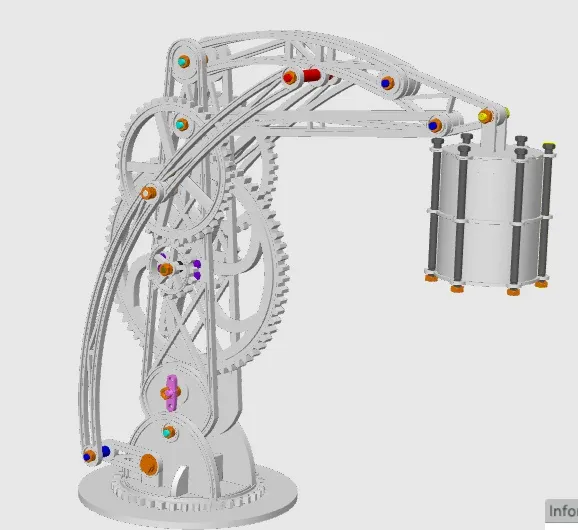
This guide is "work in progress". I'm modifying the print profiles to assign to each object the name that you will find in this guide. for now you will have to identify them by sight,
as I update the print profile and the guide, the name of the pieces in the guide in bold italics you will find them as the name of the individual objects in the 3mf file
let's start!
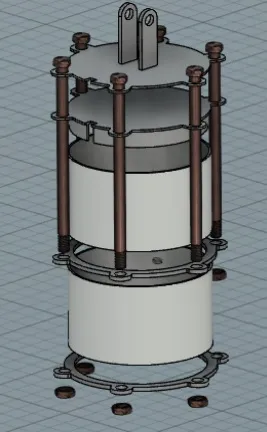
first assemble the lamp holder and install the 001 kit by sliding the wire into the appropriate slot and secure them with the dark grey Bolts. these are the only nuts that don't need washers
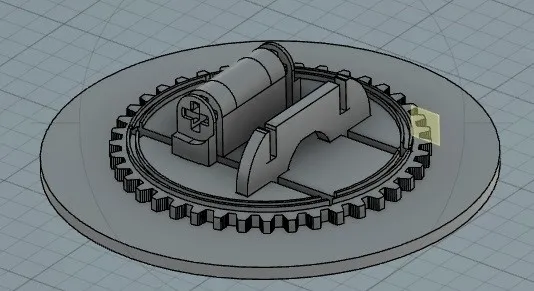
assemble the base parts (base pt1, base pt2 and base pt3) (don't glue anything for the moment, assemble everything dry first, if everything works correctly then you can glue)
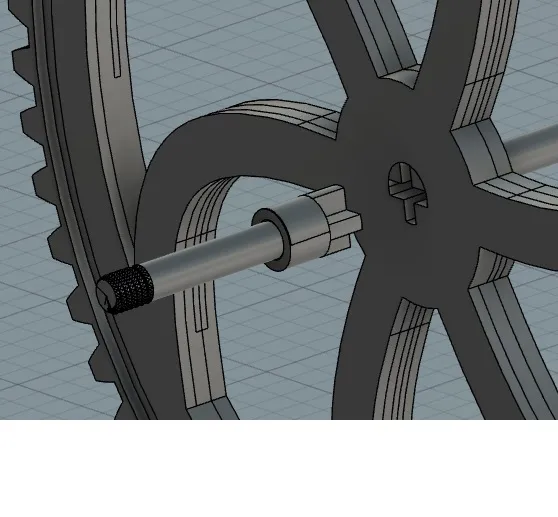
assemble the main gear by placing the olive green bolt in its socket. It should fit but if it's too loose you can use a little glue
choose a side between right and left and start assembling. First you will need to connect the two pieces of the main frame (main frame pt1, main frame pt2) with the mounting plate secured with the purple false bolts. here you have to use a little bit of glue
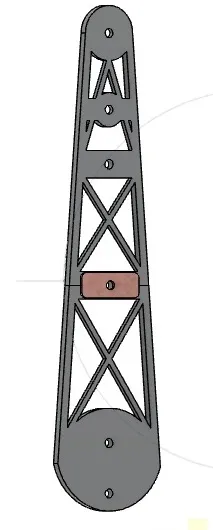
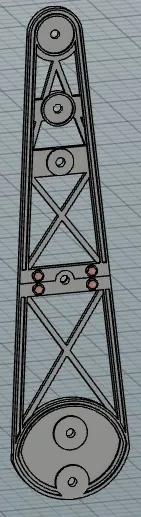
now you can assemble arm1 and arm 2 with the cyan bolts
install gear 1 to the frame with the light gray bolt and the spacer axle (light blue spacer)
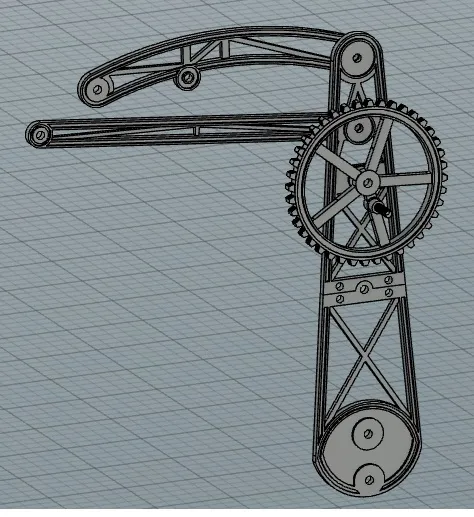
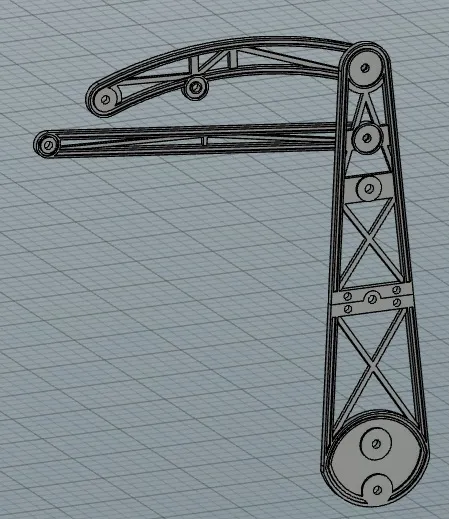
now you can install arm3 and arm4 by connecting them to gear1 and arm1. arm3 must be connected to arm1with the red spacer and the red bolt INSTALL THEM IN THE EXACT SEQUENCE OF THE PHOTOS, IF YOU REVERSE THE POSITIONS OF ARM3 AND ARM4 THE SPACERS WILL BE WRONG AND THE MECHANISM WILL NOT WORK
ARM4 MUST BE EXTERNAL
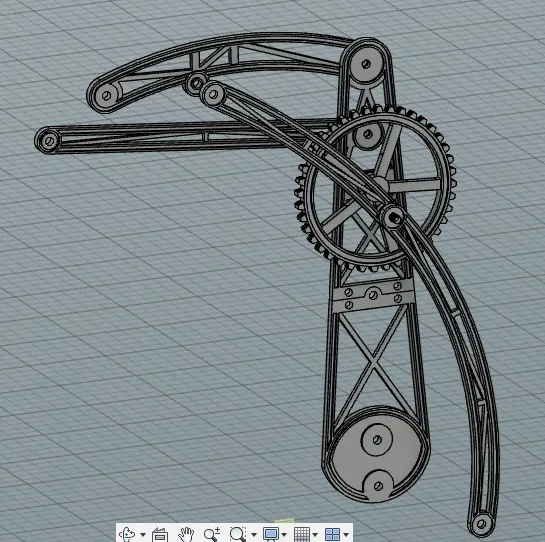
repeat the process for the other half of the lamp. in the end you will have to have two equal parts
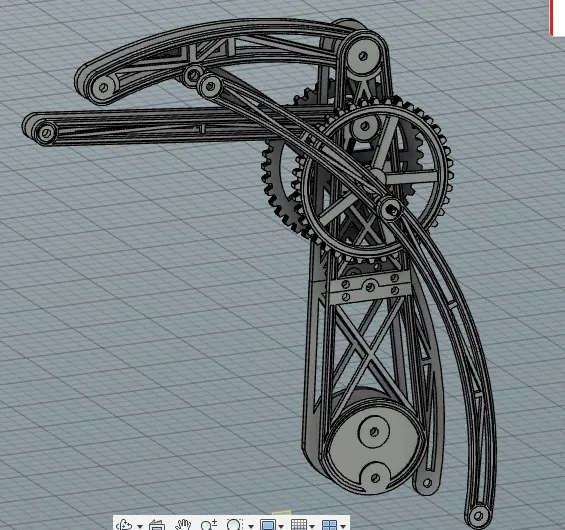
now you can install the main gear. its axis must pass through the hole in the mounting plates. the side with the olive green bolt does not need spacers, on the other side you must install one light blue spacer
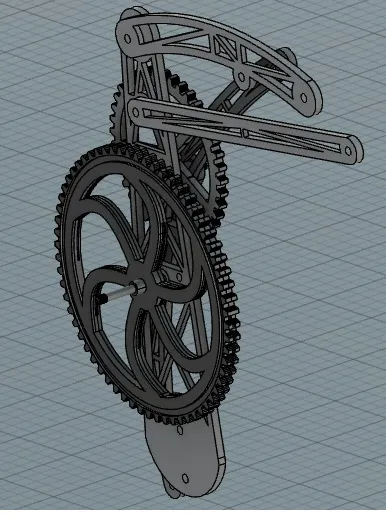
now you can install gear3 with pink bolt and putting on both sides pink spacer. use a little glue on the gear3 axis to make sure that the movement is transmitted to main gear, but in my model it was not necessary
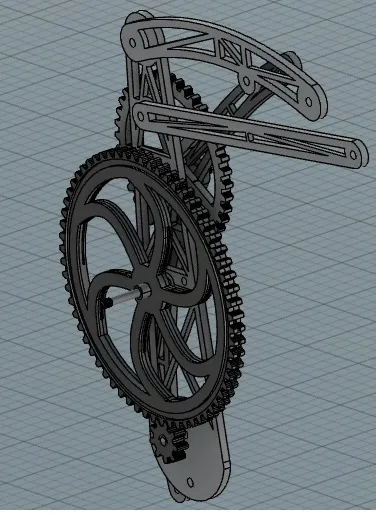
now you can join the 2 half
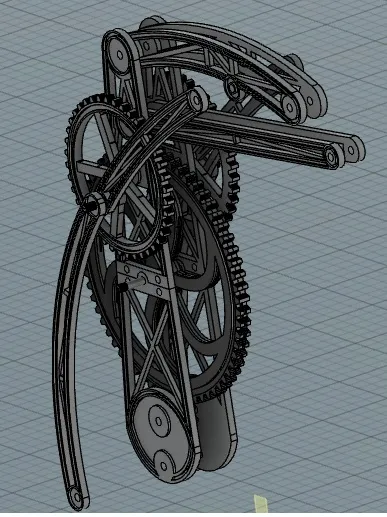
Attach base connector1 on both sides using cyan bolts
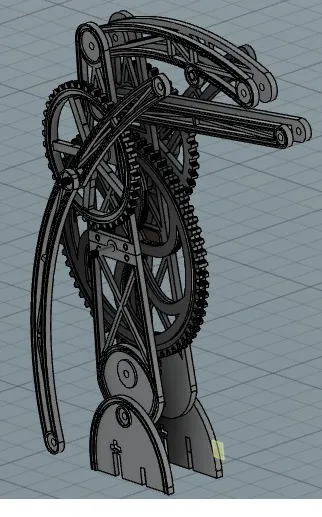
now you can install gear2 on the main gear axis. remember to use black spacer to separate the gear from the frame on both sides,
THE POSITION OF GEAR1 MUST BE THE SAME ON BOTH SIDES. IF THE GEAR ON ONE SIDE IS ROTATED COMPARED TO THE OTHER THE PIECES WILL NOT ALIGN AND YOU WILL NOT BE ABLE TO COMPLETE THE ASSEMBLY
you can also install lamp support using two blue bolts, you can install the crank. fix it between two nuts
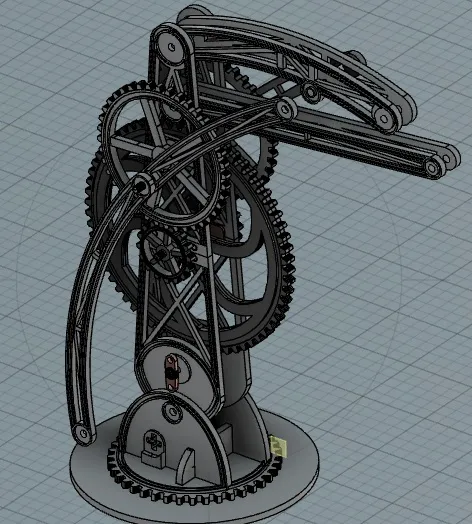
connect everything to the base, connecting arm4 to base connector2 using blue bolt and blue spacer. Fix base connector2 to base with orange pin. check that the mechanism works, if everything flows you can glue the base
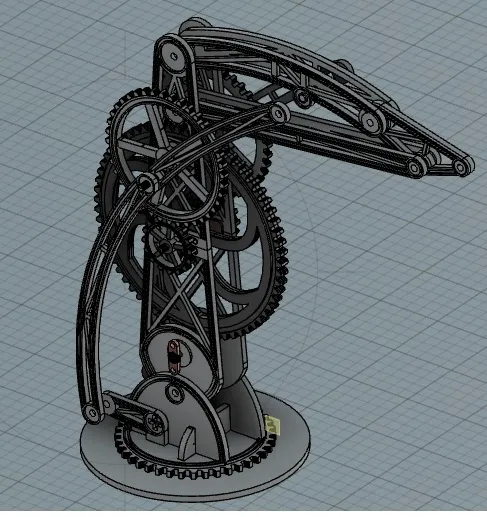
now you can join the lamp to the LED holder with yellow bolt
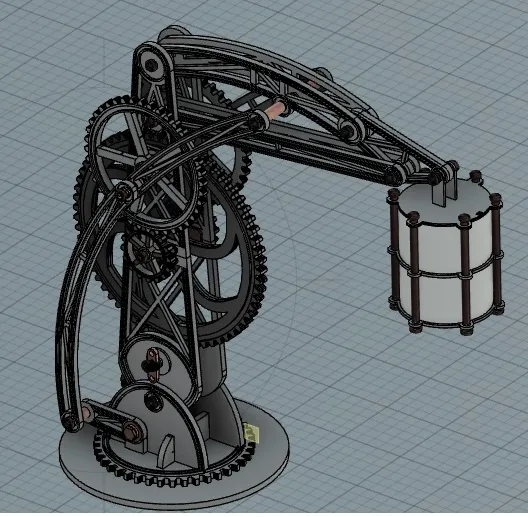
enjoy your new lamp!
Originality of the Model
The author declares that this work is their personally original model
This model is licensed under the following terms:
Credit must be given to the creator
Only noncommercial uses of the work are permitted
Remixes must be shared under the same license
Models(1)
- elegoo STEAMPUNK+LAMP+V2+(1)+(1).3mfDesigner

4.14 MB

2025-08-29


